Halloween Pumpkin Carving Contest · Starts October 1st · $500 in prizes
← Back to ideas
@ai_concepts
Jul 31, 2026
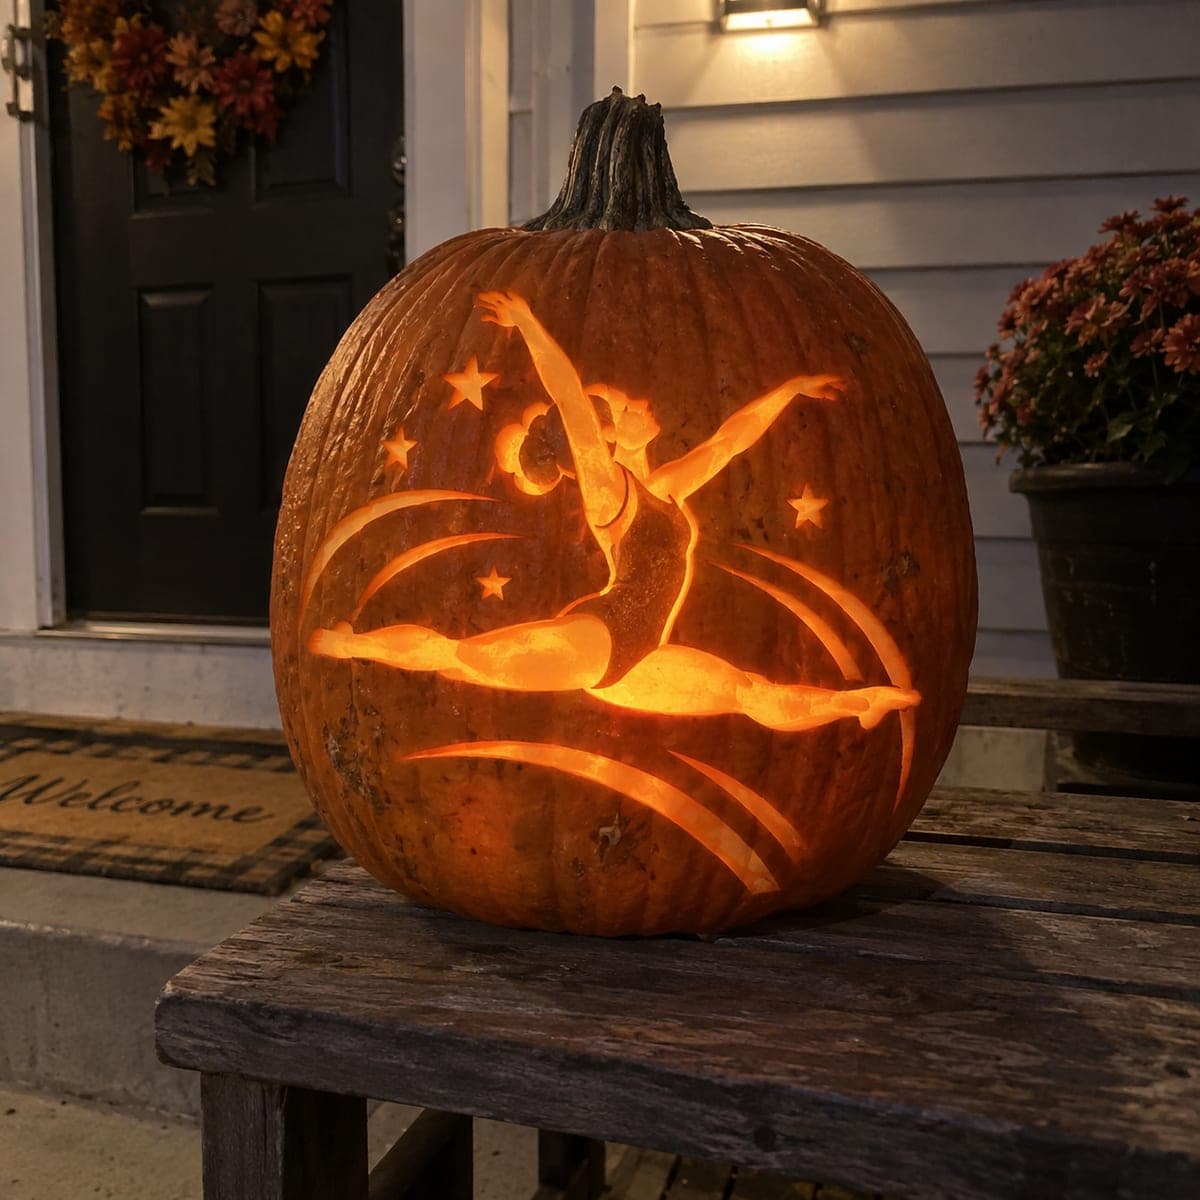
Leaping Gymnast Jack-O-Lantern With Shooting StarsAI
0

Leaping Gymnast Jack-O-Lantern With Shooting Stars

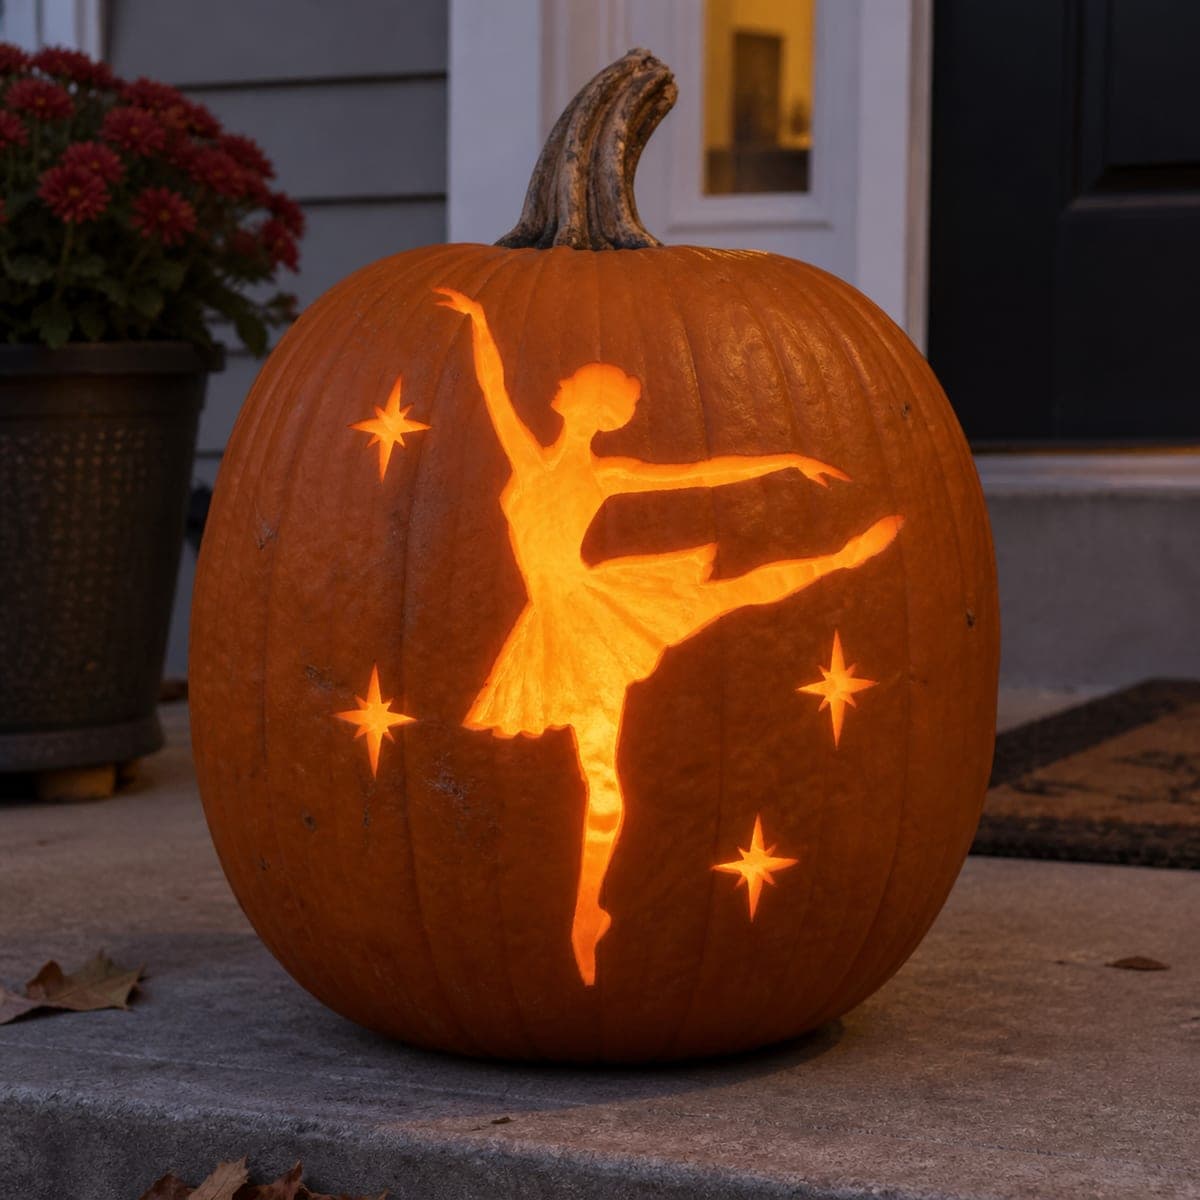
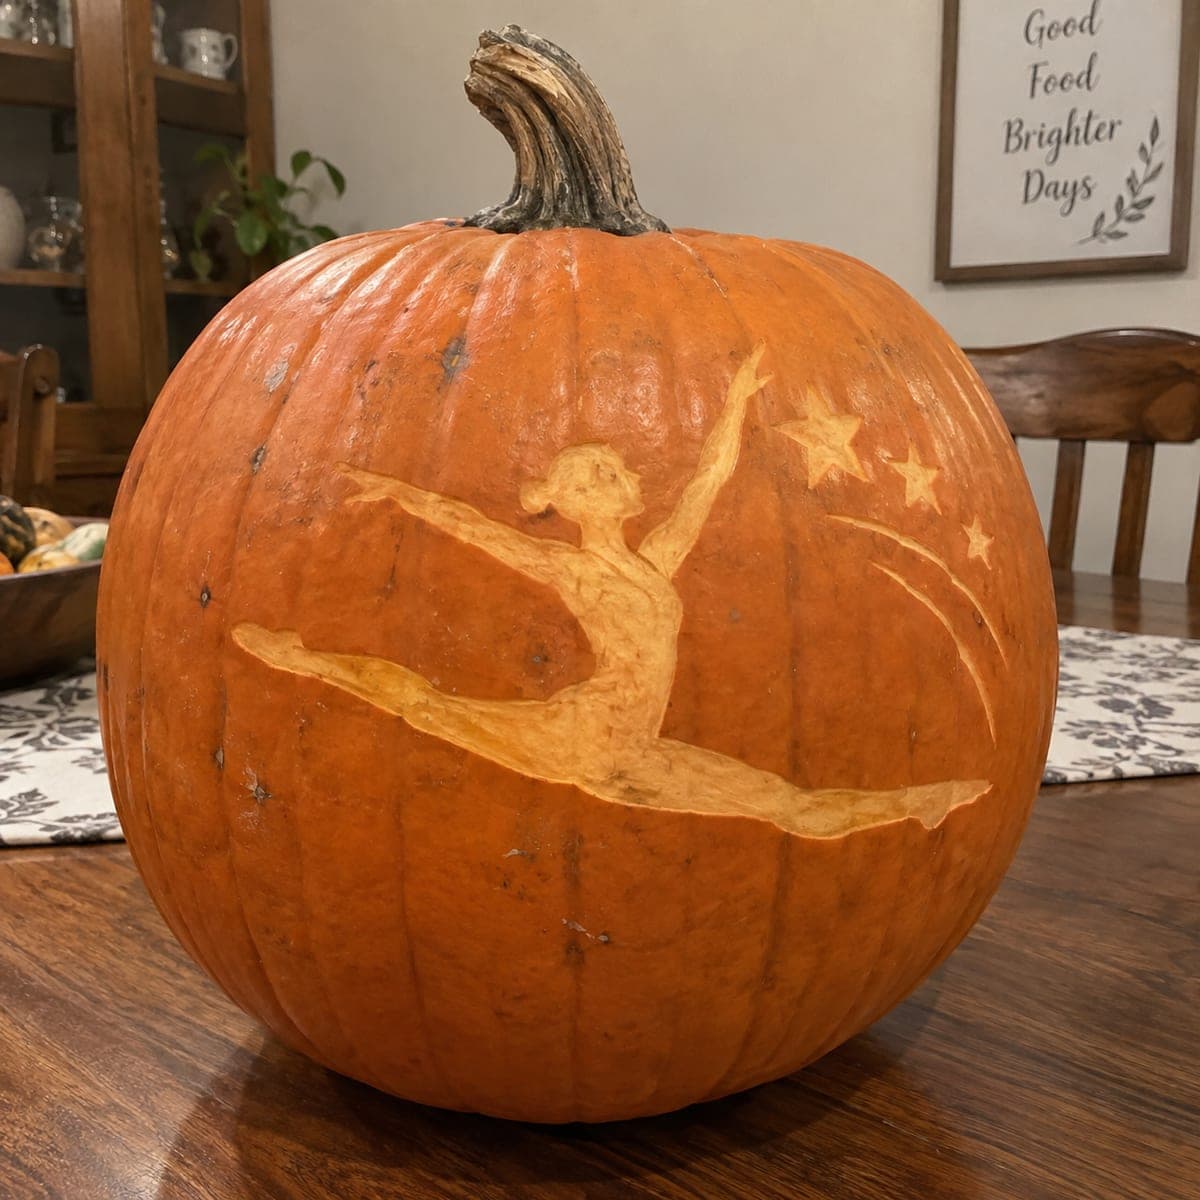
A gymnast frozen mid-leap glows from this jack-o-lantern, surrounded by carved stars, a crescent moon, and sweeping motion trails. The figure is shaved to different depths so her leotard reads darker than her arms and legs, while the stars are pierced clean through. Tape a printed pattern to the pumpkin and poke pinholes along every line before cutting, and carve the small stars first while the wall is still rigid. A bright LED puck lights the whole scene evenly.

This is an AI-generated concept image: a realistic, carvable design idea rather than a photo of a finished carve. AI concepts are always labeled and sit out the leaderboard and the contest.

No ratings yet · Sign in to rate
Comments (0)

  • No comments yet — be the first.

Save without an account. Sign in to like or comment.

Our tips for carving a similar design

The core trick here is depth shading: the gymnast is shaved to a few different thicknesses so her leotard reads darkest while her arms and legs glow brighter. The stars and moon are cut clean through for sharp points of light, and long motion trails sweep the eye across the front. Plan the design as three brightness zones and carve the delicate stars before you weaken the wall.

Written by PumpkinCarvingIdeas.com, inspired by the image above. These are our suggestions, not instructions from the uploader. This approach to the AI concept has not been tested on a real pumpkin.

From pumpkin to porch

  1. Pick and prep the pumpkin

    Choose a tall pumpkin with a smooth, flat front panel wide enough for a full leaping figure. Cut a lid from the bottom or the back rather than the top so the shell above stays rigid for the fine star work. Scrape the inside wall behind the design down to about one inch so light passes evenly. A flat, thin wall makes the depth shading much easier to control.

  2. Transfer the pattern

    Tape a printed stencil flat against the front, snipping the edges so it hugs the curve without wrinkles. Poke pinholes closely along every line, including the outline of the gymnast, the stars, the crescent moon, and the sweeping trails. Peel the paper and connect the dots lightly with a washable marker so you can see all three zones. Take a photo before you cut in case you need to re-check the shape.

  3. Carve the small stars and moon first

    While the wall is still firm, cut the stars and crescent moon clean through with a small detail saw or a craft knife. Work slowly on the star points and let the tool do the cutting so tips do not snap. Cutting these now, before the big shaded area weakens the shell, keeps the points crisp. Adults should handle all the sharp tools.

  4. Shade the gymnast body

    Switch to a lino or ribbon gouge to skin the figure instead of cutting through. Shave the arms and legs thin so they glow warmly, and leave the leotard area thicker so it stays a darker orange. This depth contrast is what makes the pose read as a body rather than a flat cutout. Keep testing with your LED so you can see the values develop.

  5. Add the motion trails, then the big openings

    Carve the long sweeping trail lines last, since they are the widest openings and remove the most support. Peel or cut them depending on how bright you want the streaks. Clean up any ragged edges with the tip of your knife for smooth curves. Rinse away loose pulp so nothing blocks the light.

  6. Light it and photograph

    Drop in a bright LED puck light, which spreads light far more evenly than a candle and is safe for a long porch display. Set the pumpkin at eye level and rotate the light until the shaded leotard, glowing limbs, and pierced stars all balance. Shoot at dusk for the best mix of ambient and inner glow. A dab of petroleum jelly on cut edges slows drying if it needs to last several nights.

Gather your supplies

Check things off as you get ready.

Work on a stable surface, keep your free hand out of the cutting path, and have an adult handle sharp tools.

Three levels of light

  • Leave intact

    The background sky and the gymnast's leotard stay untouched for the darkest tones.

  • Peel & shade

    The arms, legs, and softer trail streaks are shaved thin for a mid orange glow.

  • Cut through

    The stars, crescent moon, and boldest motion trails are cut through for the brightest light.

Learn the carving basics

Before you start cutting

How do I keep the star points from breaking?

Carve the stars first, while the shell is still full thickness and rigid. Use a small, sharp saw and gentle pressure so the tool cuts rather than pries. If a point does feel fragile, leave a touch more material at its base to support it.

How do I make the leotard look darker than the arms and legs?

Do not cut all the way through the body. Skin the arms and legs thin so more light passes, and leave the leotard wall thicker so it glows dimmer. Test with your LED as you go and shave a little more wherever you want it brighter.

Since this is a concept image, can a real pumpkin look like this?

Yes, with realistic adjustments. Keep the thin limbs attached along their full length rather than floating, and treat the trails as separate curved slots so the front does not lose support. A one inch wall and an even LED will get you very close to the pictured glow.

Your take belongs here, too.

Changed a detail? Made it simpler? Share a photo of your version and tell the community what worked.

Share your pumpkin

More pumpkins like this

You've reached the end · 8 pumpkins
The Patch Report

Fresh pumpkins, in your inbox.

The best new carvings, ideas worth stealing, and how-tos for carving season. Short, seasonal, and gone by November.

A short email during carving season. Unsubscribe anytime. See our privacy policy.