AIStarry Moon
This is an AI-generated concept image: a realistic, carvable design idea rather than a photo of a finished carve. AI concepts are always labeled and sit out the leaderboard and the contest.
AIThis is an AI-generated concept image: a realistic, carvable design idea rather than a photo of a finished carve. AI concepts are always labeled and sit out the leaderboard and the contest.
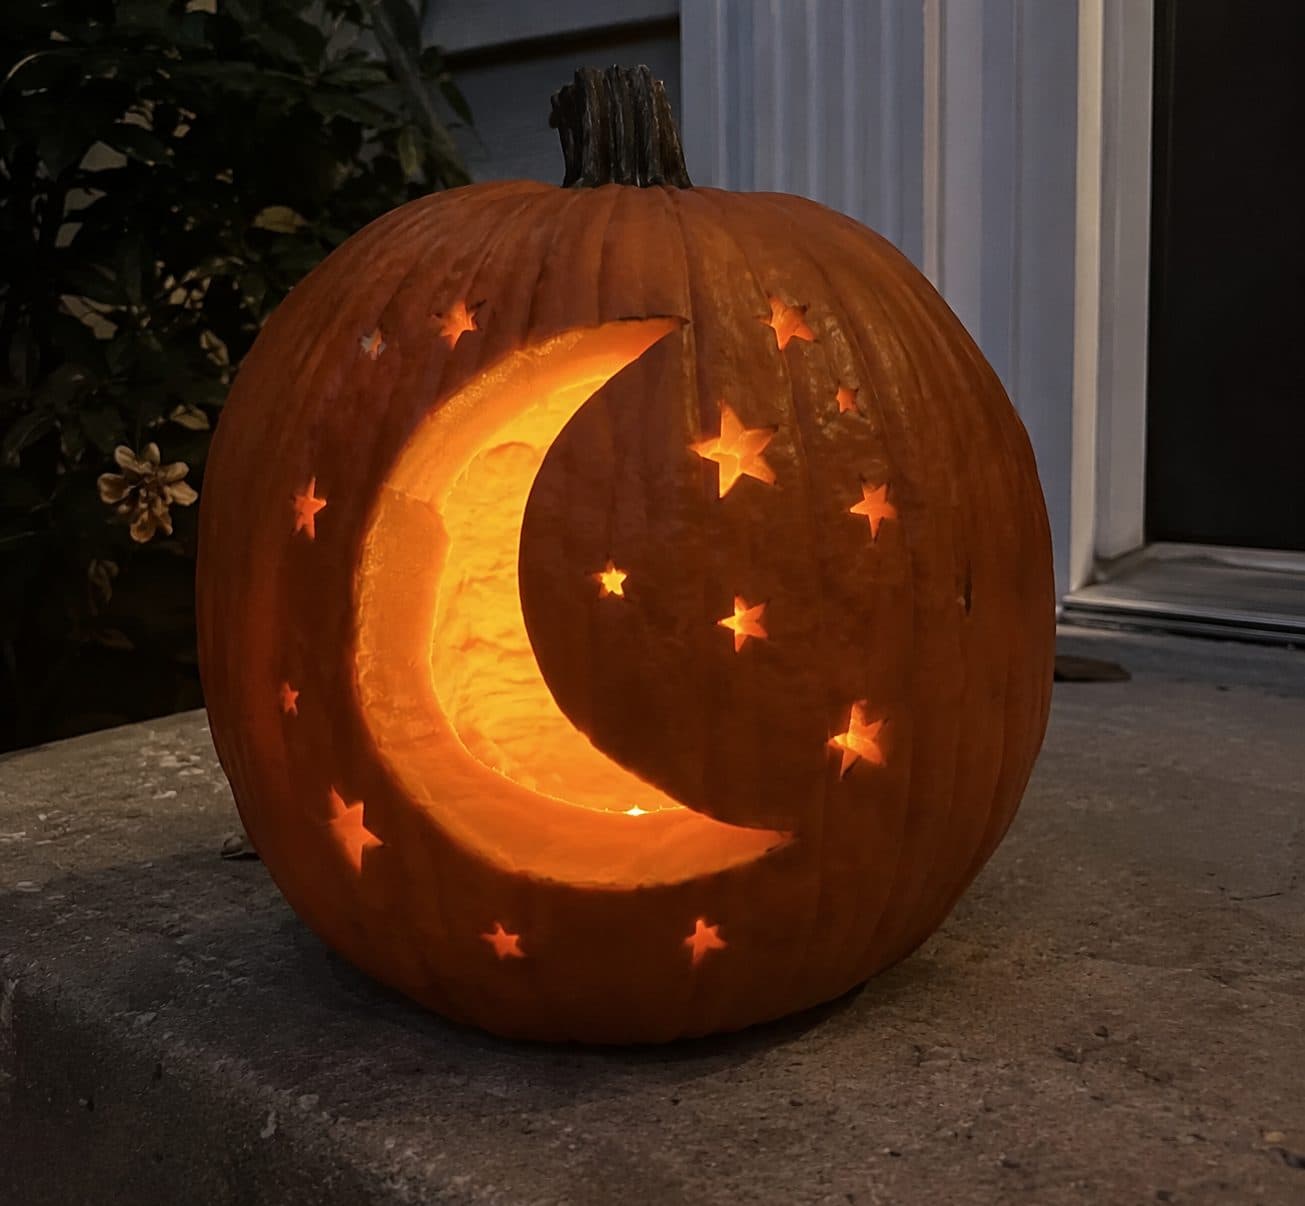
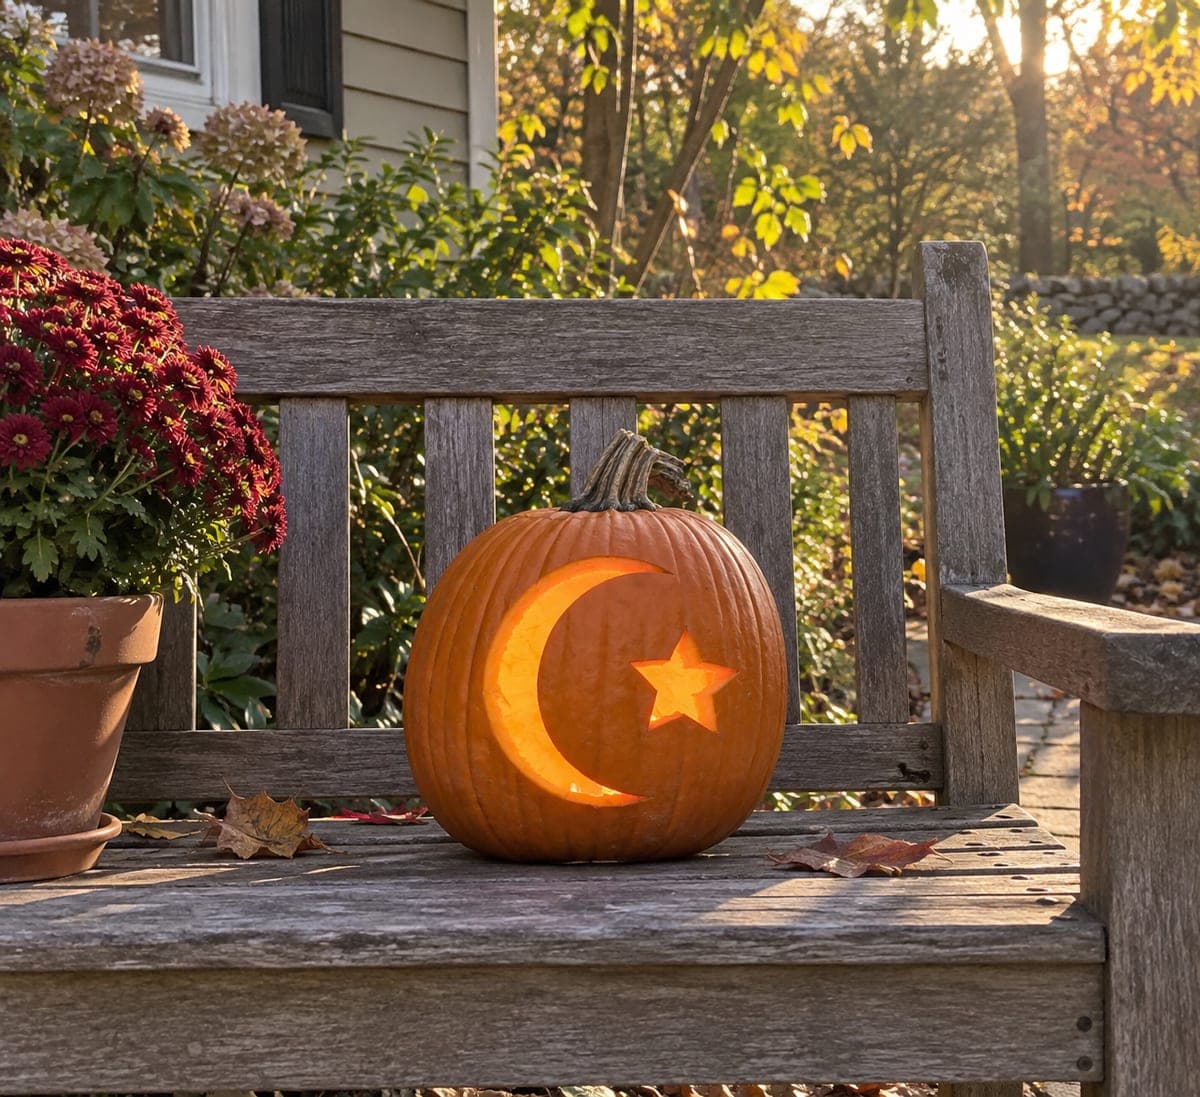
The core trick here is contrast between a peeled crescent moon that glows soft orange and small star cutouts that punch through for bright pinpoints of light. You keep the moon shape shallow so it stays warm and glowing rather than blown open, then dot the surrounding skin with cutout stars. Plan the star placement loosely so it feels like a real scattered night sky.
Written by PumpkinCarvingIdeas.com, inspired by the image above. These are our suggestions, not instructions from the uploader. This approach to the AI concept has not been tested on a real pumpkin.
Pick a large, round, smooth pumpkin so you have room for the moon and stars. Cut a removable hole in the bottom instead of the top so the design face stays clean and the pumpkin sits flat. Scoop out the seeds and pulp, then scrape the inside of the front wall down to about one inch thick. A thinner wall makes peeling and cutting much easier later.
Print or draw a fat crescent moon and mark a loose scatter of small five-point stars around it. Tape the pattern to the front and poke through the outlines with a pin or a tracing tool. Space the stars so a few cluster near the moon and others drift toward the edges. Step back and check the layout before you cut anything.
Use a lino or ribbon tool to skin off just the orange outer layer inside the crescent, leaving the pale flesh exposed but not cut through. Keep the depth even so the moon lights up as a smooth, warm shape. Round the inner curve carefully since that edge defines the crescent. This peeled area gives the moon its gentle mid glow rather than a harsh open cut.
With a small detail saw, cut each star fully through the wall so it shines bright. Start from the center of each star and push out toward the points to avoid cracking. Cut the tiny stars slowly and keep the points slightly stubby so they do not snap off. Adults should handle all the sharp tools here.
Gently push out the star cutouts and clear any clinging bits from inside. Trim any ragged points and even out the peeled moon with light scraping if some spots stay dark. Drop in an LED light and check the balance in a dim room. Deepen the peel on the moon if it looks dull next to the bright stars.
Set the finished pumpkin on a step or porch in full darkness for the best contrast. Use a battery LED, warm white or amber, and skip candles so the thin star points stay safe. Take the photo from slightly below to let the glow fill the frame. Mist the cut edges with water if it will sit out a while to slow drying.
Check things off as you get ready.
Work on a stable surface, keep your free hand out of the cutting path, and have an adult handle sharp tools.
The main body skin around the design stays untouched and dark, framing the night sky.
The crescent moon is skin-peeled so it glows a soft, warm orange.
The small stars are cut all the way through for bright pinpoints of light.
Only remove the orange skin layer and stop at the pale flesh, keeping the wall intact. Aim for an even shallow depth so the light passes through as a soft glow. If part of the moon stays too dark, scrape it a little thinner until it warms up.
They can if you cut them too sharp or too thin. Keep the points slightly stubby and cut from the star center outward toward each point. Working on a thinned wall also reduces cracking pressure.
No real pumpkin exists here, but the design carves cleanly in real life. Choose a large smooth pumpkin, peel the moon for glow, and cut the stars through for brightness. Keep the star points modest in size so they hold up on an actual pumpkin wall.
Changed a detail? Made it simpler? Share a photo of your version and tell the community what worked.
The best new carvings, ideas worth stealing, and how-tos for carving season. Short, seasonal, and gone by November.
Comments (0)