Halloween Pumpkin Carving Contest Β· Starts October 1st Β· $500 in prizes
← Back to ideas
@ai_concepts
Jul 7, 2026
Crescent Moon and Star Carved PumpkinAI
0

Crescent Moon and Star Carved Pumpkin

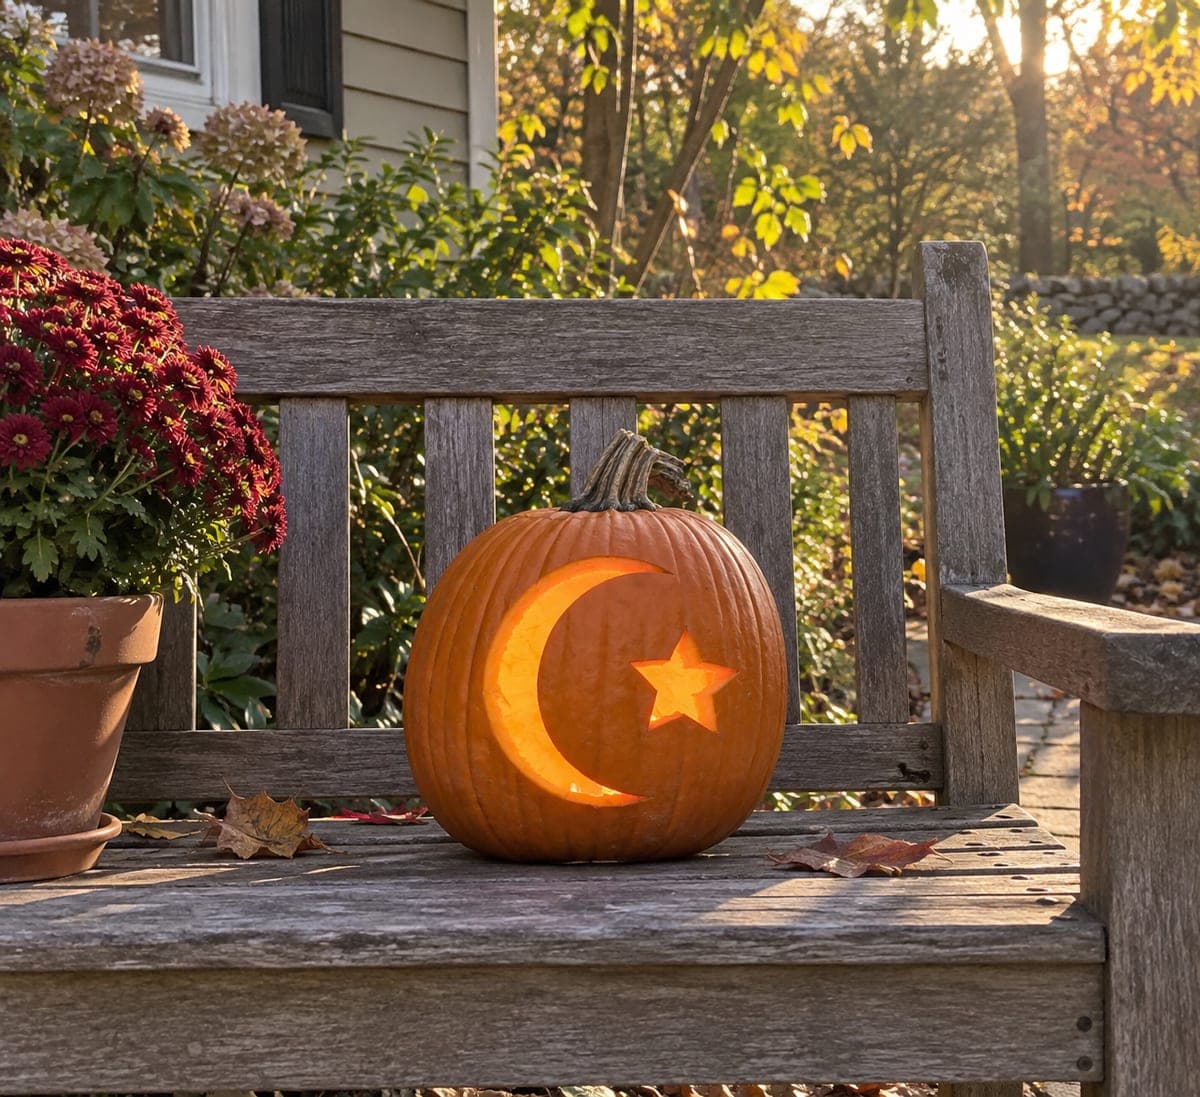
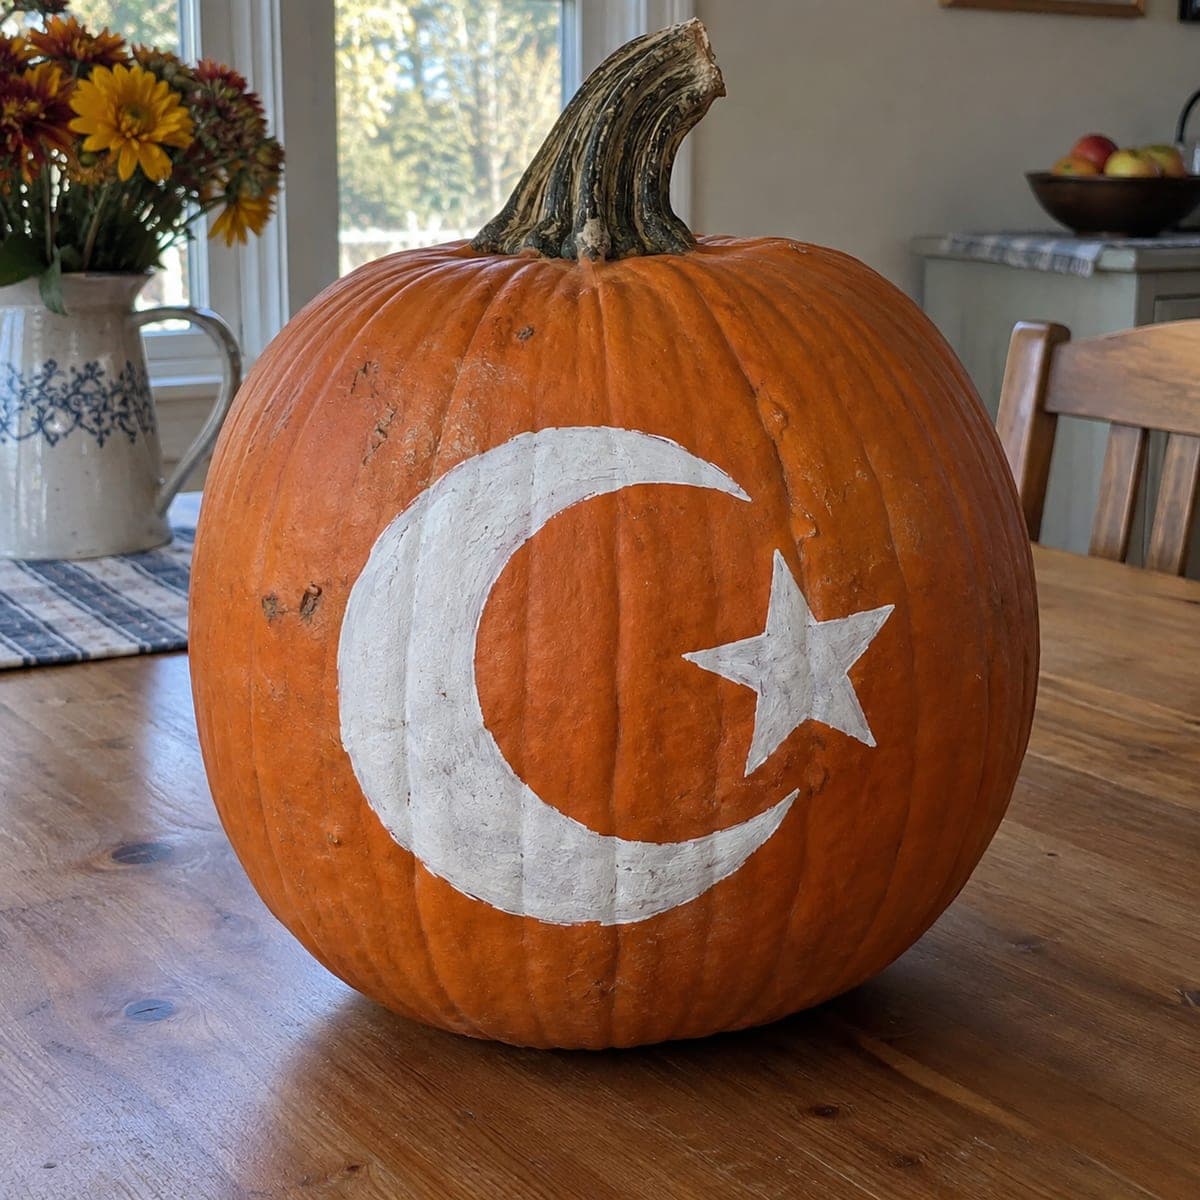
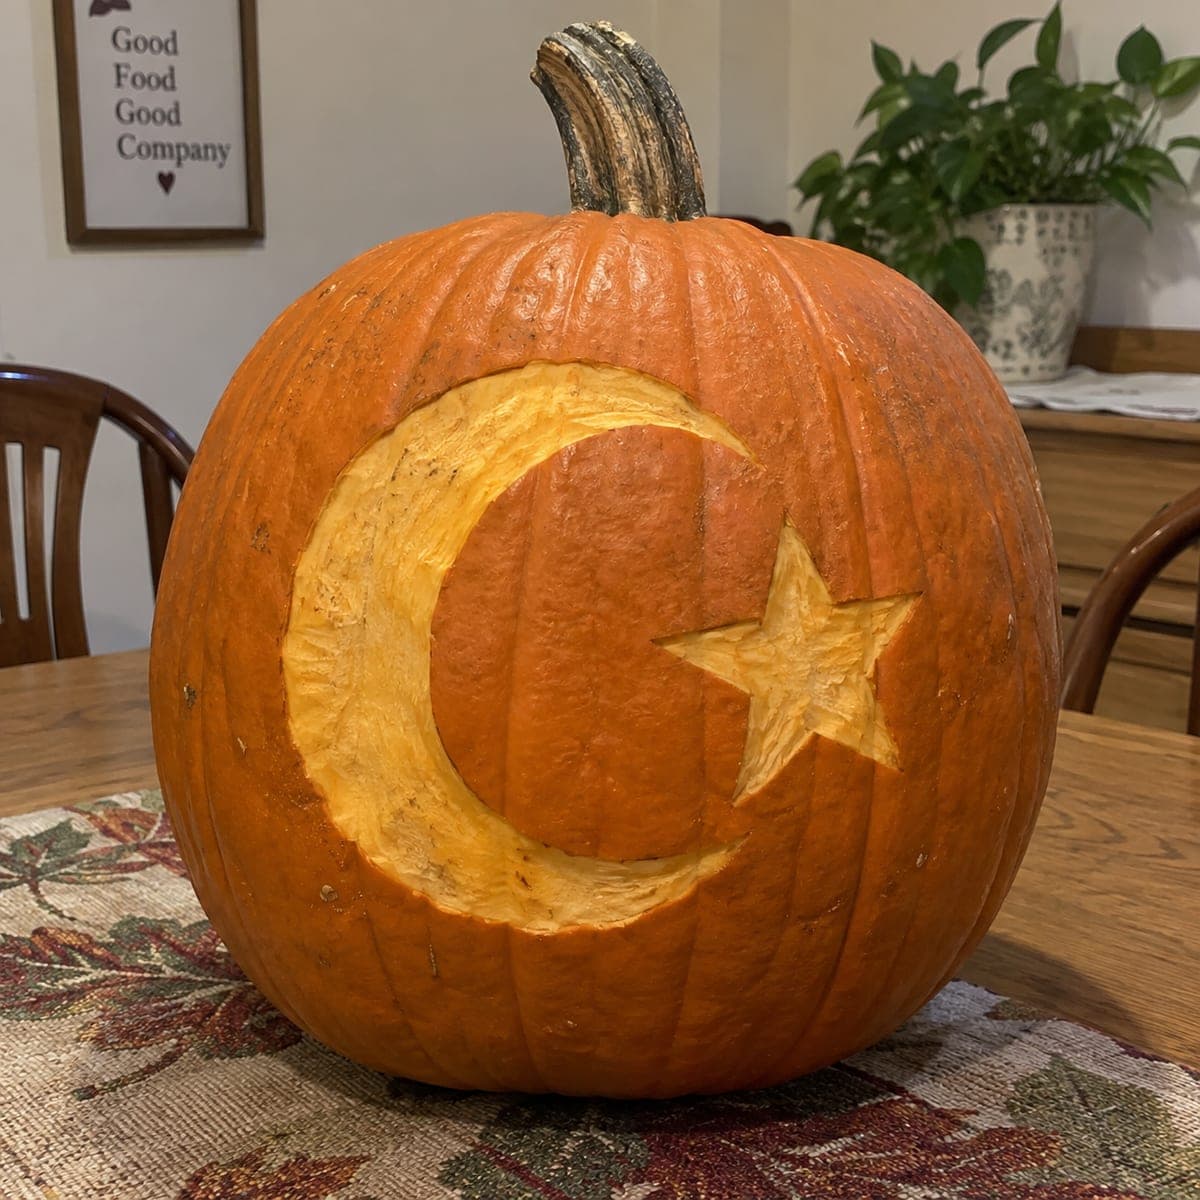
A large crescent moon cradling a five-pointed star is peeled into this pumpkin, the pale exposed flesh reading boldly against the deep orange skin even in daylight. Since only the skin layer is removed, there is no gutting and the design holds up for days on a dining table. Draw the crescent with a flexible ruler or string compass to keep the curves even, score the outlines, then shave the interior with a vegetable peeler or loop tool.

This is an AI-generated concept image: a realistic, carvable design idea rather than a photo of a finished carve. AI concepts are always labeled and sit out the leaderboard and the contest.

No ratings yet Β· Sign in to rate

Comments (0)

  • No comments yet β€” be the first.

Save without an account. Sign in to like or comment.

Our tips for carving a similar design

The whole look rests on one trick: only the skin layer is shaved away, so pale flesh reads bright against the deep orange while the pumpkin stays sealed and lasts for days. Plan a large crescent moon cradling a five pointed star, both peeled rather than cut through. Because nothing is opened up, this is one of the most forgiving designs a first timer can attempt.

Written by PumpkinCarvingIdeas.com, inspired by the image above. These are our suggestions, not instructions from the uploader. This approach to the AI concept has not been tested on a real pumpkin.

From pumpkin to porch

  1. Pick and wipe your pumpkin

    Choose a tall pumpkin with one smooth, fairly flat face and few deep ribs, since flat skin peels more evenly. Set it so the best side faces out and the stem sits naturally. Wipe the surface clean and dry with a paper towel. You do not need to cut a lid or gut this one, which keeps it fresh much longer.

  2. Draw the crescent and star

    Sketch the crescent with a flexible ruler or a string compass so both curves stay even, leaving a tall opening on the right side of the moon. Draw the five pointed star inside that opening, not touching the moon. Step back and check the spacing looks balanced before committing. Go over the final lines with a washable marker.

  3. Score the outlines

    With a small detail saw or a craft knife, trace just along your marker lines to score through the skin only, about an eighth of an inch deep. Do not push all the way through the wall. This scored edge gives you a clean stopping point when you peel. Adults should handle all sharp tools.

  4. Peel the crescent

    Using a vegetable peeler or a loop tool, shave the skin off the inside of the crescent down to the pale flesh. Work in short strokes from the center toward your scored edges so you do not tear past the outline. Keep the depth even, roughly a sixteenth to an eighth of an inch, for a consistent glow. Wipe away shavings as you go to see your progress.

  5. Peel the star

    Shave the star the same way, working carefully into each point so the tips stay crisp. A loop tool or a small spoon helps clean out the inner corners. Leave the skin between the star and the moon fully intact so the two shapes stay separate and sharp. Take your time here, since the points are the detail people notice first.

  6. Light it and photograph

    Since the design is peeled and not cut, it reads boldly in daylight on a table with no light needed. For evening, set a battery LED tealight behind or beside it, or rub a little vegetable oil on the peeled areas to deepen the tone. Never use a real flame. Snap your photo in soft side light to show off the contrast.

Gather your supplies

Check things off as you get ready.

Work on a stable surface, keep your free hand out of the cutting path, and have an adult handle sharp tools.

Three levels of light

  • Leave intact

    The deep orange skin surrounding the moon and star, left fully untouched and dark.

  • Peel & shade

    The crescent moon and the star, shaved to pale flesh for a soft, bright daytime contrast.

  • Cut through

    None needed here, though you could cut fully through just the star for an extra bright accent at night.

Learn the carving basics

Before you start cutting

Do I really not need to gut the pumpkin?

Correct, this design only removes the skin layer, so there is no need to open a lid or scoop the insides. Leaving it sealed helps it stay firm and fresh for several days. If you want night glow, add a small LED beside it rather than inside.

How do I keep the crescent curves even?

Use a flexible ruler bent into an arc or a string compass pinned at a center point to draw both curves of the moon. Sketch lightly first, then step back and check symmetry before marking the final lines. Even curves are what make a simple shape look polished.

How deep should I peel?

Aim for a sixteenth to an eighth of an inch, just enough to expose the pale flesh under the orange skin. Going deeper does not add much brightness in daylight and can weaken the wall. Keep the depth consistent so the whole shape reads evenly.

Your take belongs here, too.

Changed a detail? Made it simpler? Share a photo of your version and tell the community what worked.

Share your pumpkin

More pumpkins like this

You've reached the end Β· 8 pumpkins
The Patch Report

Fresh pumpkins, in your inbox.

The best new carvings, ideas worth stealing, and how-tos for carving season. Short, seasonal, and gone by November.

A short email during carving season. Unsubscribe anytime. See our privacy policy.