Halloween Pumpkin Carving Contest · Starts October 1st · $500 in prizes
← Back to ideas
@ai_concepts
Aug 6, 2026
Crescent Moon and Star Painted PumpkinAI
0

Crescent Moon and Star Painted Pumpkin

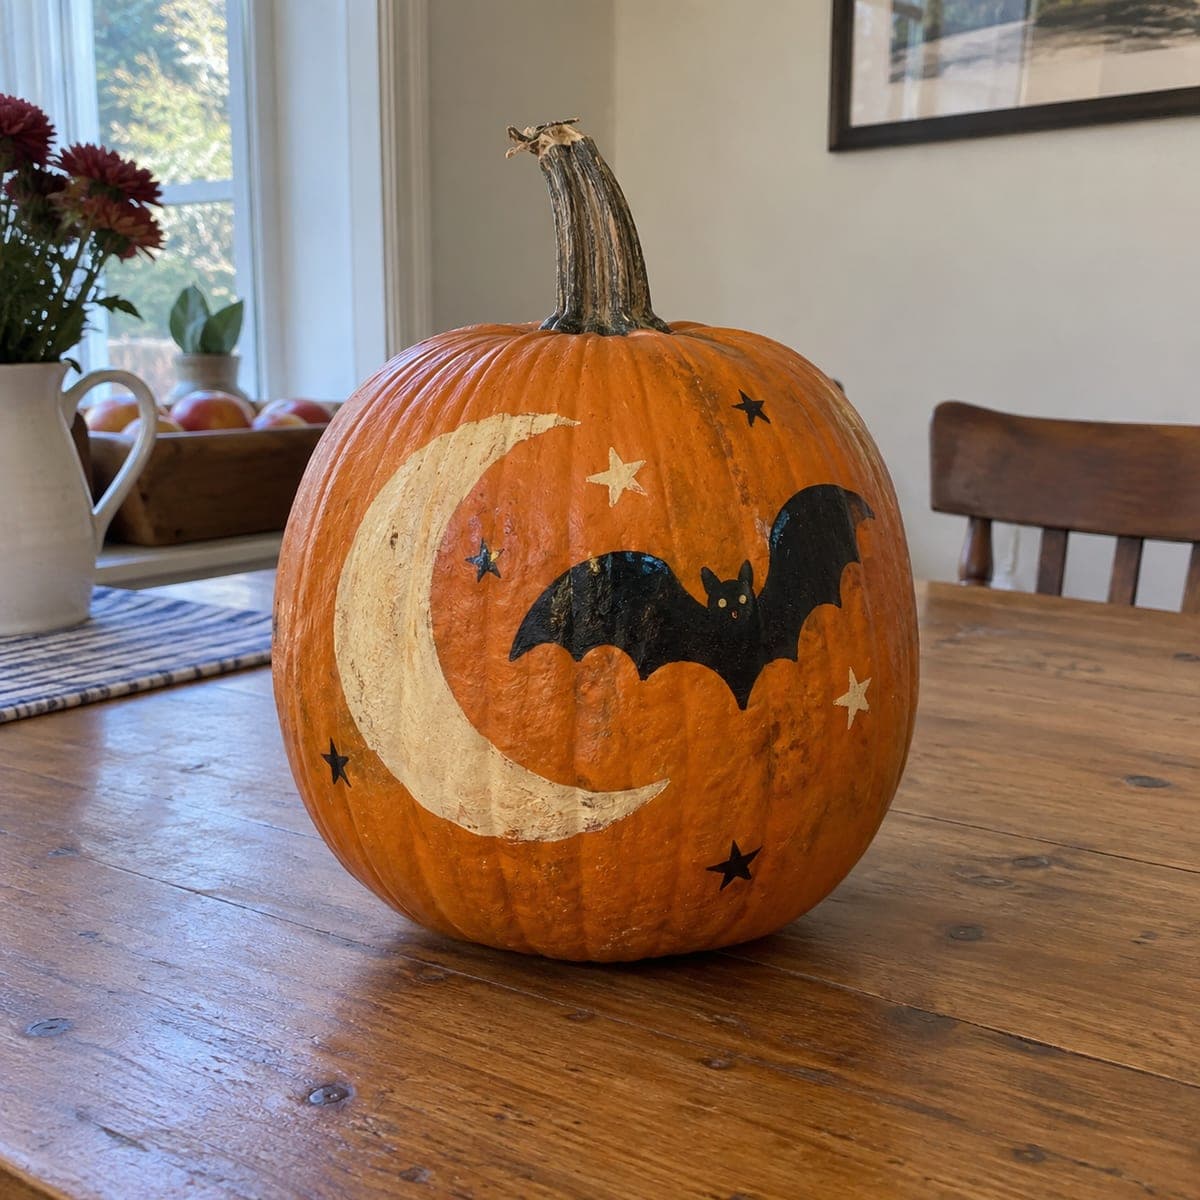
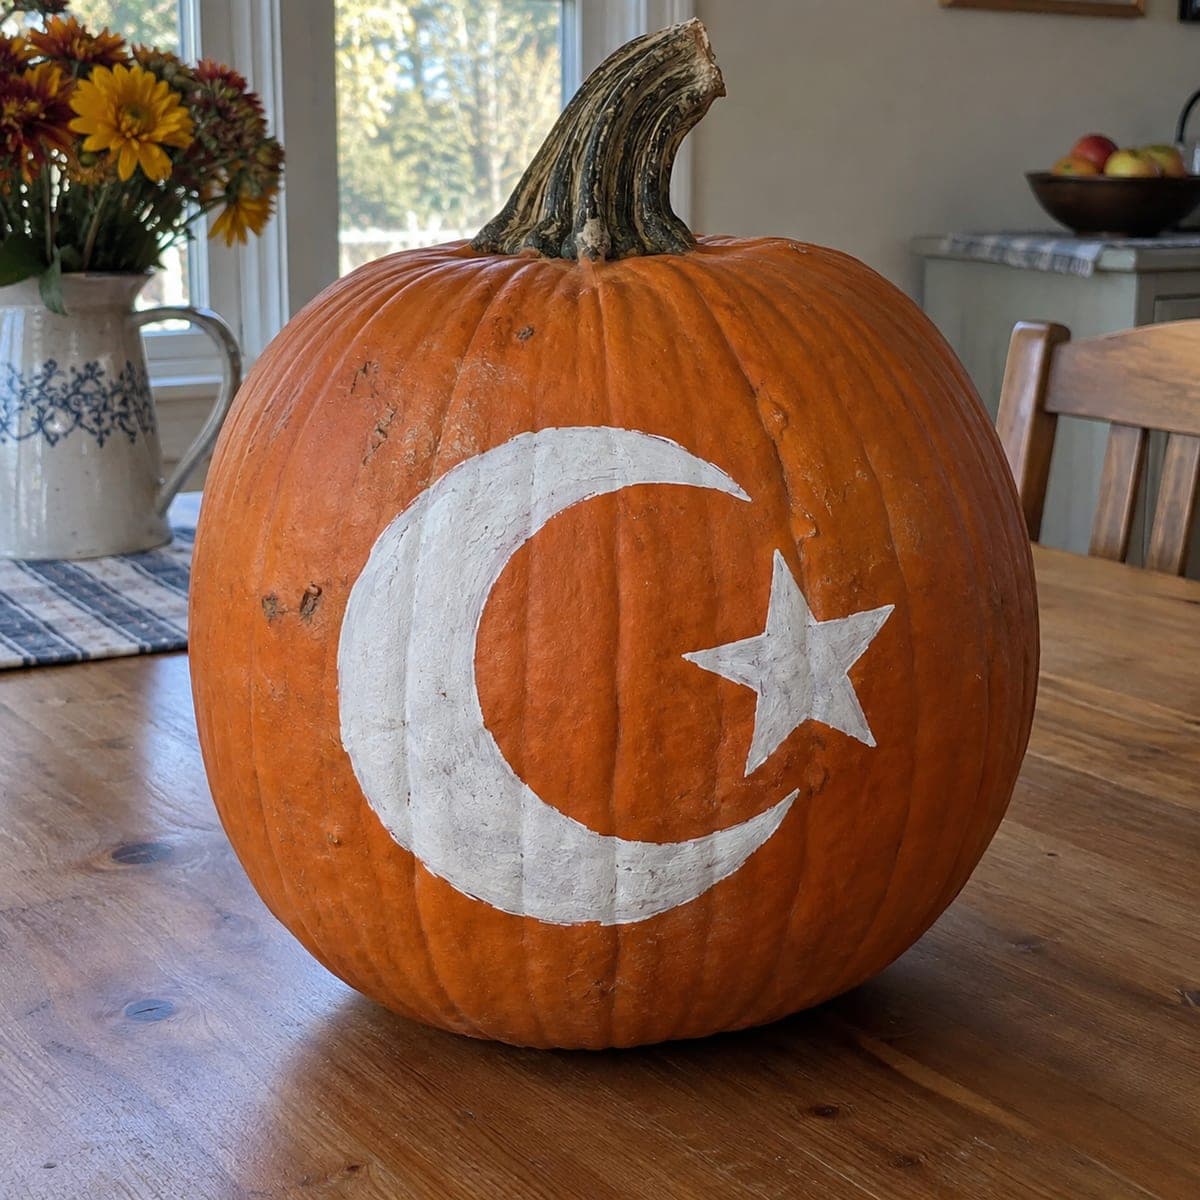
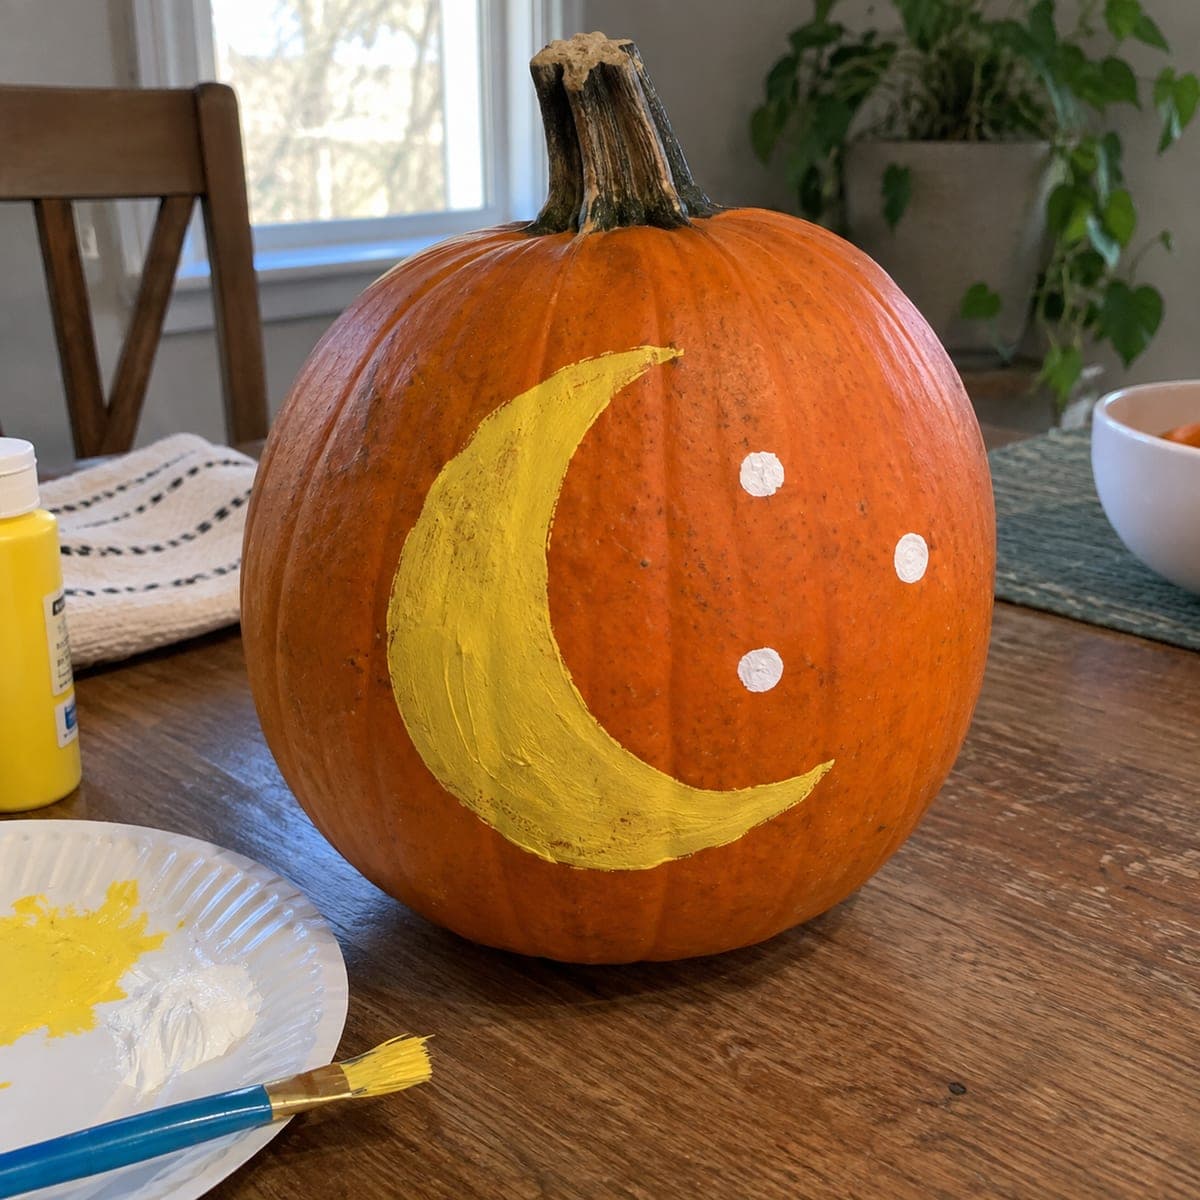
A bold white crescent moon and five-pointed star painted on deep orange make a clean, graphic no-carve pumpkin that reads from across the room. Trace both shapes with a stencil or a steady chalk line, then build up two or three coats of white acrylic so the symbol stays crisp against the rind. Keep the star tucked into the crescent's opening for the strongest composition. Display it on a table where daylight, not candlelight, does the work.

This is an AI-generated concept image: a realistic, carvable design idea rather than a photo of a finished carve. AI concepts are always labeled and sit out the leaderboard and the contest.

No ratings yet · Sign in to rate
Comments (0)

  • No comments yet — be the first.

Save without an account. Sign in to like or comment.

Our tips for carving a similar design

The whole trick here is high contrast: crisp white acrylic laid over deep orange rind so the symbol pops with zero carving. Trace both shapes cleanly, then build two or three thin coats so the edges stay sharp and the paint does not streak. Tuck the star into the open side of the crescent for the tightest, most balanced composition.

Written by PumpkinCarvingIdeas.com, inspired by the image above. These are our suggestions, not instructions from the uploader. This approach to the AI concept has not been tested on a real pumpkin.

From pumpkin to porch

  1. Pick and clean your pumpkin

    Choose a pumpkin with a broad, smooth face and few deep ribs so your shapes sit flat. Wipe the surface with a damp cloth and let it dry completely. Dust and grit will keep paint from sticking, so a clean rind is worth the extra minute. Set it on the table with the best face forward.

  2. Transfer the crescent and star

    Print or cut a crescent moon and a five-pointed star stencil, or draw them lightly in chalk if you have a steady hand. Position the crescent with its opening facing right, then nest the star inside that opening. Tape the stencils down and trace the outline with a pencil or washable marker. Step back and check the spacing before you commit to paint.

  3. Lay the first thin coat

    Fill in both shapes with a thin, even coat of white acrylic using a flat brush. Do not glob it on; a light first coat prevents drips and keeps your traced edges visible. Let it dry fully, usually twenty to thirty minutes. It will look patchy at this stage, which is exactly what you want.

  4. Build up to full white

    Add a second and, if needed, a third coat, letting each dry before the next. Each layer deepens the white so it stands crisp against the orange. Work from the center of each shape outward and slow down at the edges to keep them clean. A small round brush helps you sharpen the star points and the thin tips of the crescent.

  5. Sharpen edges and seal

    Once dry, touch up any fuzzy edges with a fine brush, and dab away stray orange showing through the white. A light coat of clear acrylic sealer helps the paint resist smudges and moisture. Let everything cure before handling. Crisp edges are what make this simple design look intentional.

  6. Style and photograph in daylight

    Display it on a table where daytime light shows off the contrast, since this is a no-carve design and does not need an interior glow. Angle the painted face toward a window or lamp for the cleanest look. If you want a night option, tuck a battery LED puck beside it rather than inside. Snap your photo straight on so the symbol reads sharp and centered.

Gather your supplies

Check things off as you get ready.

Work on a stable surface, keep your free hand out of the cutting path, and have an adult handle sharp tools.

Three levels of light

  • Leave intact

    The deep orange rind around the symbol stays untouched and dark, giving the white shapes their contrast.

  • Peel & shade

    For a glowing variation, you could lightly skin-peel just inside the painted crescent and star for a soft dim shine.

  • Cut through

    If you want true brightness at night, an adult could carefully cut through the star only, keeping the crescent painted so the thin tips stay strong.

Learn the carving basics

Before you start cutting

Do I need to cut into the pumpkin at all?

No, this is a fully no-carve design that relies on paint and contrast. Skipping the knife means no soft spots or collapsing edges, and the pumpkin lasts longer. It is a great choice if you want a clean result without carving skills.

How do I keep the star points and crescent tips sharp?

Trace the shapes carefully first and use a small round brush for the thin areas. Paint slightly inside your line, then clean up the edge with a second pass once the base is dry. Building thin coats rather than one thick one keeps the paint from bleeding past the outline.

Will the paint hold up on the pumpkin skin?

Acrylic adheres well to clean, dry rind, especially with two or three thin coats. A light clear sealer on top helps it resist smudging and humidity. Keep the pumpkin out of rain and direct heat and it should stay crisp for a couple of weeks.

Your take belongs here, too.

Changed a detail? Made it simpler? Share a photo of your version and tell the community what worked.

Share your pumpkin

More pumpkins like this

You've reached the end · 8 pumpkins
The Patch Report

Fresh pumpkins, in your inbox.

The best new carvings, ideas worth stealing, and how-tos for carving season. Short, seasonal, and gone by November.

A short email during carving season. Unsubscribe anytime. See our privacy policy.