Halloween Pumpkin Carving Contest · Starts October 1st · $500 in prizes
← Back to ideas
@ai_concepts
Sep 25, 2026
Painted Navy and Cream Constellation PumpkinAI
0

Report this carving

Tell us what is wrong. Reports are private.

Painted Navy and Cream Constellation Pumpkin

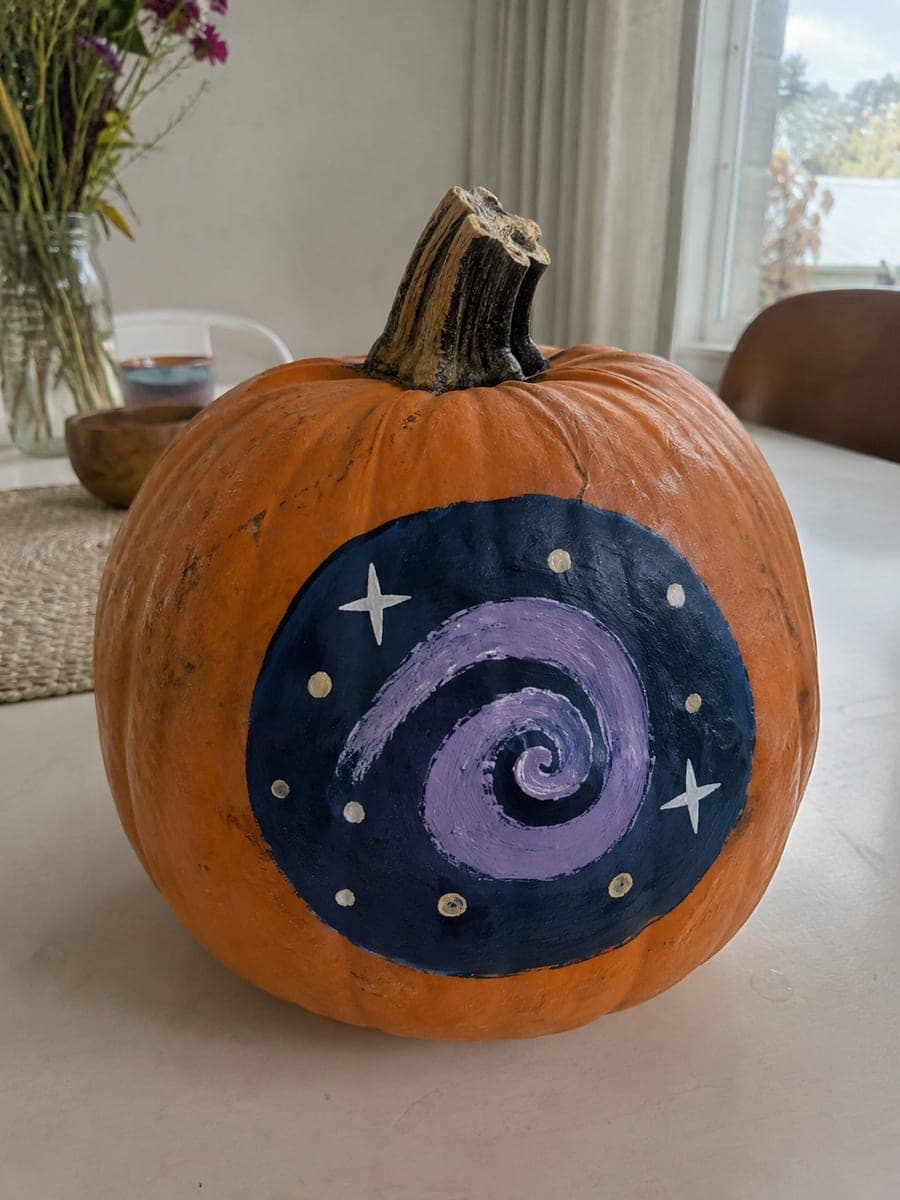
Simple navy dots, short cream connecting strokes, and small sparkle crosses form an easy painted constellation pumpkin carving idea that captures a star-chart look without any cutting. Sketch the constellation outlines lightly in pencil first to plan the spacing, then paint the navy dots with a round brush. Add the cream connecting lines between stars with a thin liner brush and finish with small asterisk-style sparkle crosses at key star positions for extra detail. This no-carve design is an ideal classroom or party activity that kids and adults can complete in one sitting.

No ratings yet · Sign in to rate

Save this design for carving night, then share a photo of your own jack-o'-lantern once it's glowing.

Comments (0)

  • No comments yet — be the first.

Save without an account. Sign in to like or comment.

Our tips for carving a similar design

This no-carve design uses flat acrylic paint to mimic the look of a printed star chart: navy dots for the stars, cream thin-liner strokes for the connections, and small asterisk-style sparkle crosses at the key bright stars. The rind stays completely intact, so no structural concerns apply. The main challenge is keeping the spacing even, which a light pencil sketch handles before any paint touches the surface.

From pumpkin to porch

  1. Clean and dry the pumpkin

    Wipe the entire surface with a damp cloth to remove dirt and field dust. Dry thoroughly with a towel, then let it air-dry for another ten minutes. Paint adheres much better to a completely dry, dust-free surface.

  2. Sketch the constellation layout

    Lightly pencil the star positions and connecting lines directly on the pumpkin. Keep dots small and marks light so they are fully covered by paint. Step back frequently to check overall balance and spacing before committing to paint.

  3. Paint the navy star dots

    Load a round brush with navy blue acrylic and dab a clean dot at each marked star position. Vary the dot sizes slightly so the brightest stars in each constellation appear larger. Let the first coat dry completely before adding a second coat for full opacity.

  4. Add the cream connecting lines

    Switch to a thin liner brush and cream or off-white acrylic. Pull the brush from star to star in one smooth stroke for each line. Keep the lines thinner than the dots so the stars remain the dominant feature of the design.

  5. Paint sparkle crosses at key stars

    At the two or three brightest star positions in each constellation, paint a small four-point asterisk cross in cream. A flat toothpick dipped in paint works well for these tiny marks. Let everything dry fully before handling.

  6. Seal and display

    Apply a light coat of matte acrylic sealer to protect the paint from humidity and handling. Display the pumpkin in a spot with good ambient light so the painted design reads clearly. An outdoor spotlight pointed at the face works well for evening settings.

Written with AI to match this design

Gather your supplies

Check things off as you get ready.

Work on a stable surface, keep your free hand out of the cutting path, and have an adult handle sharp tools.

Three levels of light

  • Leave intact

    The bare orange rind areas between constellations stay natural and serve as the night sky background.

  • Peel & shade

    None. This design leaves the shell completely intact with no peeling.

  • Cut through

    None. Use an outside spotlight or porch light to illuminate the painted surface instead.

Learn the carving basics

Before you start cutting

How do I keep the navy dots from bleeding into the cream lines?

Let the navy dots dry completely, at least 20 minutes, before painting any cream lines that pass near them. If you are working quickly, a hair dryer on low heat speeds the drying. Thin liner strokes applied with a barely loaded brush also reduce the chance of spreading wet paint.

The cream paint looks transparent over the orange rind. How do I get it opaque?

Apply two or three thin coats, letting each dry fully before the next. Adding a tiny amount of white paint to the cream mix improves coverage without changing the color noticeably. Avoid thick single coats, which crack as they dry.

How long will this painted pumpkin last outdoors?

A sealed painted pumpkin typically lasts three to four weeks in mild weather. Keep it out of standing water and bring it indoors on very rainy nights. Because the rind is uncut, it holds up much longer than a carved pumpkin.

Your take belongs here, too.

Changed a detail? Made it simpler? Share a photo of your version and tell the community what worked.

Share your pumpkin

More pumpkins like this

You've reached the end · 8 pumpkins
The Patch Report

Fresh pumpkins, in your inbox.

The best new carvings, ideas worth stealing, and how-tos for carving season. Short, seasonal, and gone by November.

A short email during carving season. Unsubscribe anytime. See our privacy policy.