Halloween Pumpkin Carving Contest · Starts October 1st · $500 in prizes
← Back to ideas
@ai_concepts
Sep 25, 2026
Painted Navy Crescents and Gold Accent PumpkinAI
0

Report this carving

Tell us what is wrong. Reports are private.

Painted Navy Crescents and Gold Accent Pumpkin

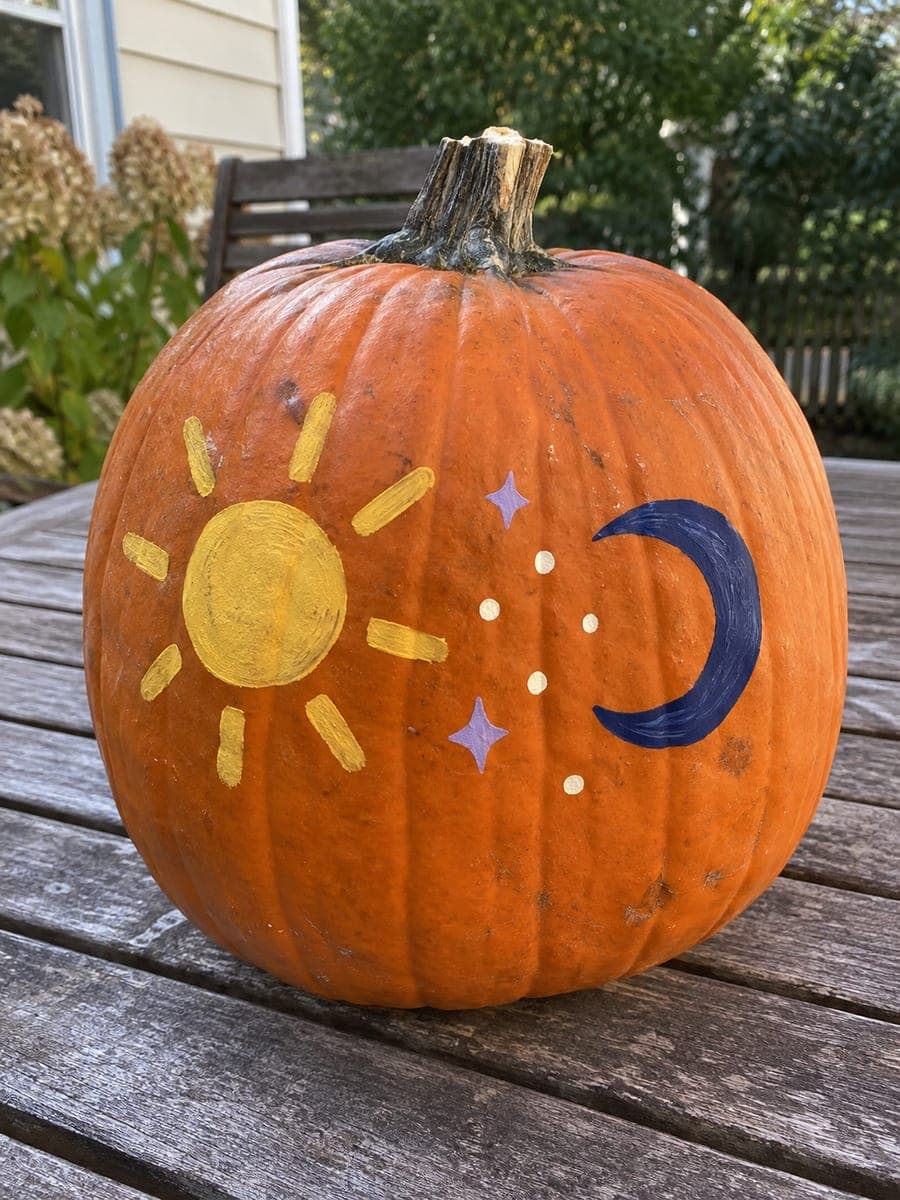
Navy crescents, gold accent strokes, and cream dot clusters painted on an intact orange pumpkin deliver an elegant crescent moon pumpkin carving idea without any cutting. Start with the largest crescent shapes using a fine-tipped brush loaded with navy acrylic, then add the gold accents once the navy is fully dry. Finish with cream dots applied with a round toothpick for consistent sizing. A light varnish coat protects the design through wet autumn weather.

No ratings yet · Sign in to rate

Comments (0)

  • No comments yet — be the first.

Save without an account. Sign in to like or comment.

Our tips for carving a similar design

Navy crescent shapes form the bold foundation of this palette, with gold accent strokes adding warmth and cream dot clusters providing fine-scale detail. Each color layer must dry completely before the next is applied; rushing the drying time is the main cause of muddy edges on multi-color painted pumpkin designs. A light varnish coat at the end protects the finished piece through autumn weather.

From pumpkin to porch

  1. Clean and dry the pumpkin

    Wipe the entire pumpkin surface with a damp cloth and let it air dry for at least twenty minutes. Acrylic paint adheres poorly to waxy or damp rind, so patience here pays off later. Choose a pumpkin with a smooth, rounded face for the cleanest brushwork.

  2. Sketch the crescent positions

    Lightly mark each crescent position in pencil. Vary the sizes slightly for a natural asymmetric arrangement, with the largest crescent most prominent. Lines will disappear under paint, so keep them just dark enough to see while working.

  3. Paint the navy crescents

    Load a fine-tipped brush with navy acrylic and outline each crescent, then fill inward toward the center. Build two coats for full opacity on the orange rind. Pull the bristle tips along outer curve edges for clean arcs. Let the navy dry completely, at least twenty minutes per coat.

  4. Add gold accent strokes

    Once the navy is fully dry, switch to a fine liner loaded with gold acrylic. Add short accent strokes along the outer curve edges and a few radiating lines from each crescent. Keep strokes confident and minimal; overworking this layer makes the design look cluttered.

  5. Apply cream dot clusters

    Dip the blunt end of a toothpick into cream or off-white acrylic and press it straight onto the rind for uniform dots. Group dots in loose clusters near each crescent rather than scattering them at random. Replace the toothpick tip when it flattens to maintain consistent dot size.

  6. Seal and display

    When all layers are completely dry, apply two light coats of outdoor matte varnish spray from about a foot away. This protects against humidity and light rain. Display in a spot with good ambient lighting, such as under a porch fixture, since this design reads by external light rather than internal glow.

Written with AI to match this design

Gather your supplies

Check things off as you get ready.

Work on a stable surface, keep your free hand out of the cutting path, and have an adult handle sharp tools.

Three levels of light

  • Leave intact

    All bare orange rind around and between the painted shapes remains intact and visible.

  • Peel & shade

    None; the shell is completely intact.

  • Cut through

    None; position under a porch lamp or outdoor spotlight to illuminate the painted design.

Learn the carving basics

Before you start cutting

How do I keep gold paint from bleeding into the still-wet navy?

Wait until the navy crescent is completely dry to the touch, which typically takes twenty to thirty minutes for a thin coat of acrylic. If you are in a hurry, use a heat gun on a low setting held six inches away for about thirty seconds to speed drying.

Can I use metallic gold craft paint instead of acrylic?

Metallic craft paint works well for this design and tends to have good coverage on dark colors. Ensure it is acrylic-based and seal it with the same matte varnish. Avoid oil-based metallic paints, which take much longer to dry and do not adhere well to pumpkin rind.

The navy paint looks purple once it dries. How do I fix it?

Some navy acrylics shift slightly toward purple over orange. Try a different navy brand, or mix a tiny amount of black into your navy before painting to neutralize the purple shift. Test on the back of the pumpkin before applying to the front.

Your take belongs here, too.

Changed a detail? Made it simpler? Share a photo of your version and tell the community what worked.

Share your pumpkin

More pumpkins like this

You've reached the end · 8 pumpkins
The Patch Report

Fresh pumpkins, in your inbox.

The best new carvings, ideas worth stealing, and how-tos for carving season. Short, seasonal, and gone by November.

A short email during carving season. Unsubscribe anytime. See our privacy policy.