Halloween Pumpkin Carving Contest Β· Starts October 1st Β· $500 in prizes
← Back to ideas
@ai_concepts
Aug 16, 2026
Bat and Crescent Moon Minimalist Jack-O-LanternAI
0

Bat and Crescent Moon Minimalist Jack-O-Lantern

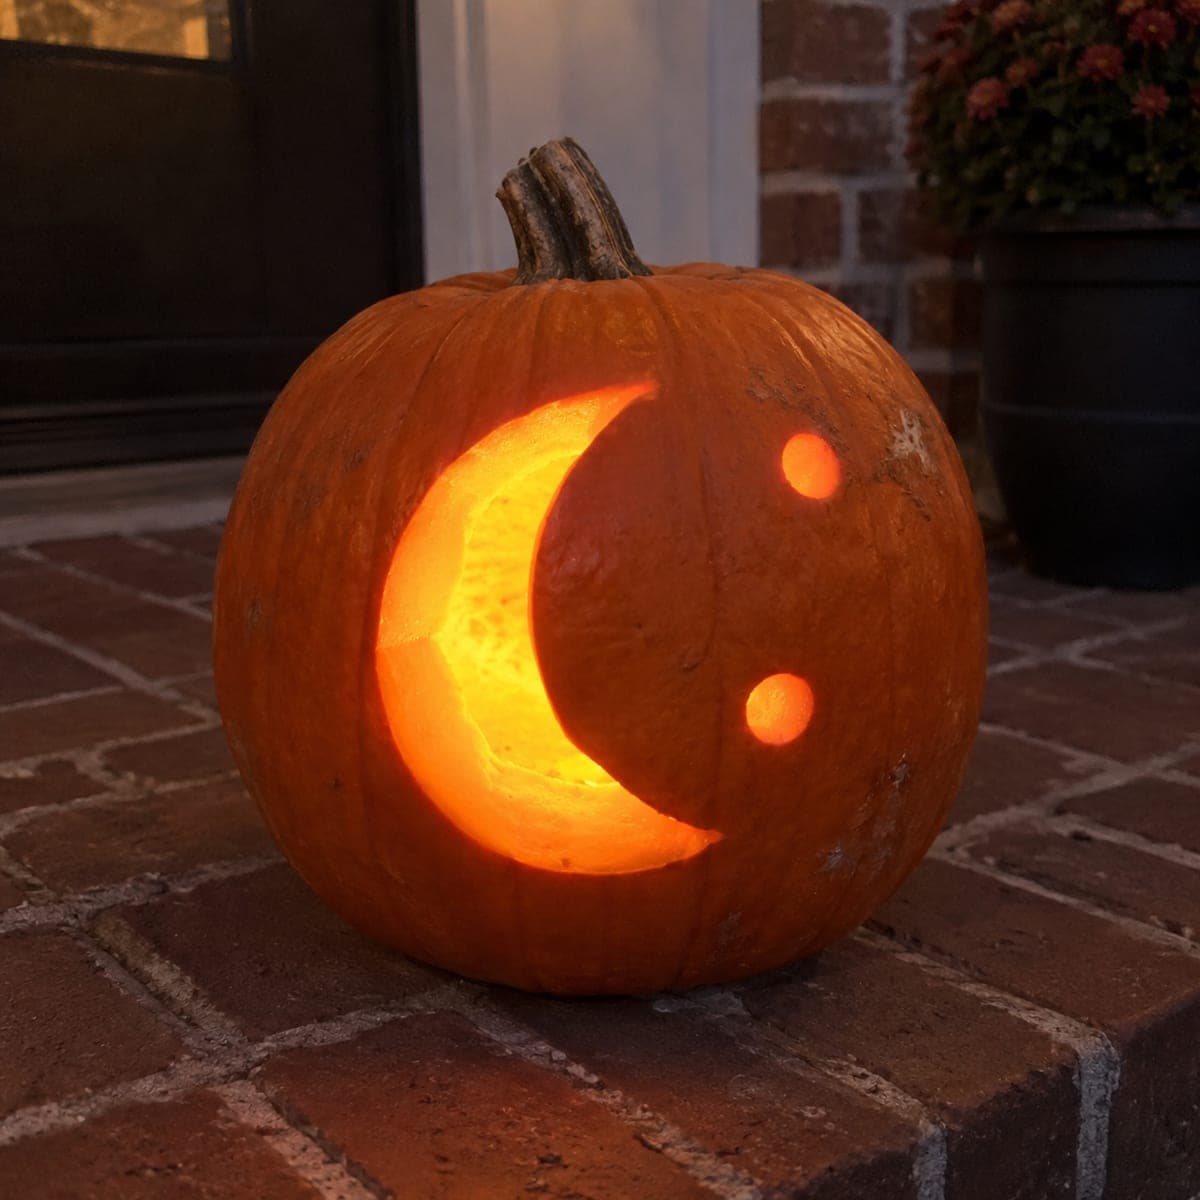
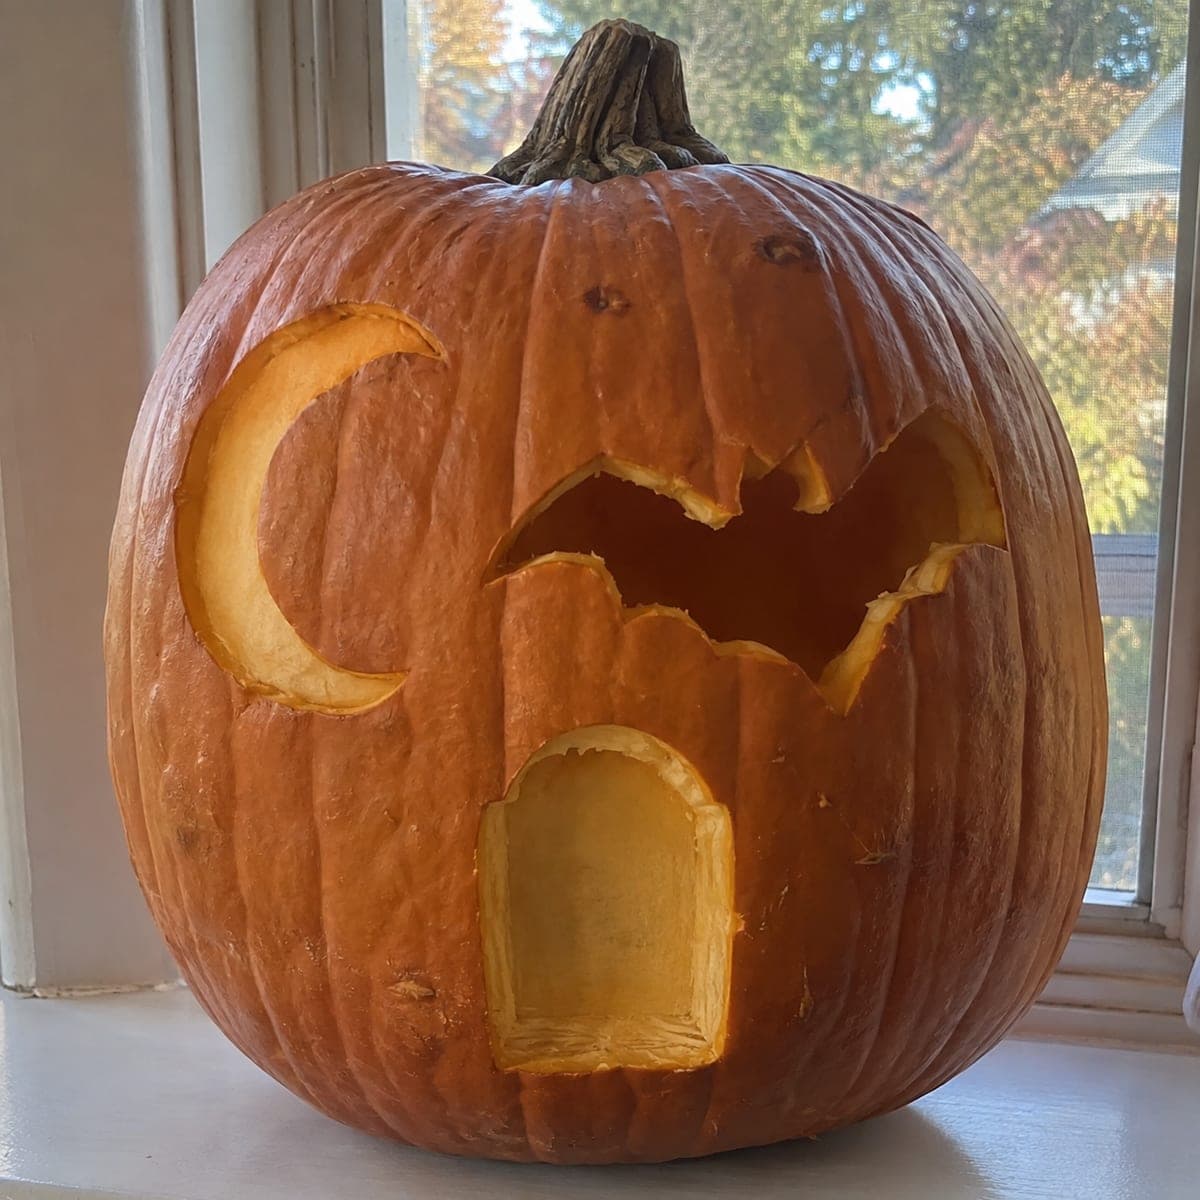
Three bold shapes, a crescent moon, a flying bat, and a rectangular window, are cut all the way through the pumpkin wall in a deliberately raw, unpolished style that reads as charmingly handmade. The large open cutouts let a lot of light spill out, creating a bright glow visible from a distance. This is one of the most beginner-friendly pumpkin carving ideas available: sketch the three shapes freehand with a marker and cut with a basic steak knife, no template needed. Placing a flameless LED inside prevents the wide openings from getting scorched by a real candle flame.

This is an AI-generated concept image: a realistic, carvable design idea rather than a photo of a finished carve. AI concepts are always labeled and sit out the leaderboard and the contest.
No ratings yet Β· Sign in to rate

Comments (0)

  • No comments yet β€” be the first.

Save without an account. Sign in to like or comment.

Our tips for carving a similar design

The whole design leans on three bold shapes cut clean through the pumpkin wall: a crescent moon, a flying bat, and a rectangular window. Because there are no fine details to preserve, you can sketch freehand and let the openings do the work, and the deliberately raw edges keep it looking friendly and handmade. Keep the shapes well spaced so the wall stays sturdy between them.

Written by PumpkinCarvingIdeas.com, inspired by the image above. These are our suggestions, not instructions from the uploader. This approach to the AI concept has not been tested on a real pumpkin.

From pumpkin to porch

  1. Pick a pumpkin and open the lid

    Choose a round pumpkin with one fairly flat, clean face for your three shapes. Have an adult cut a lid around the stem at an angle so it rests back in place without falling in. Scoop out the seeds and pulp, then thin the carving wall on the inside to about an inch so your knife passes through easily. A thinner wall makes the cutouts cleaner and lets more light escape.

  2. Sketch the three shapes freehand

    Use a washable marker to draw a crescent moon on the left, a bat in the upper center, and a rounded rectangular window near the bottom. Keep good spacing between them so the pumpkin skin between shapes stays wide and strong. Draw the bat as one solid silhouette with simple scalloped wings rather than thin separated parts. If a line looks off, wipe it away with a damp paper towel and try again.

  3. Cut the smaller shapes first

    Start with the crescent moon and the bat, since the surrounding wall is still fully intact and supportive. Have an adult use a small serrated knife or pumpkin saw, sawing gently and letting the blade do the work instead of forcing it. Cut on the marker line and push each piece out from the inside once you have gone all the way around. Do not worry about perfectly smooth edges, the slightly rough cuts are part of the charm.

  4. Cut the large window last

    Save the rectangular window for last because it is the biggest opening and removes the most support. Round the top corners slightly so the shape holds together and looks intentional. Take your time on the long straight sides and ease the panel out carefully. Cutting this one last keeps the pumpkin firm while you handle the trickier shapes above.

  5. Clean up and test the glow

    Trim any stray strings from the inside edges and scrape the cut walls smooth with a spoon. Drop in a battery LED light and set the lid back on to check the effect. If any shape looks dim, thin the wall a little more around that opening from the inside. Adjust the light position until all three shapes glow evenly.

  6. Stage it and take the photo

    Set the finished pumpkin on a windowsill or step where the openings face your viewers. Shoot in low light so the crescent, bat, and window read as bright shapes against the dark skin. A window with soft daylight behind it, as in the reference, makes a nice framed backdrop. Snap a few angles to catch the warm spill of light.

Gather your supplies

Check things off as you get ready.

Work on a stable surface, keep your free hand out of the cutting path, and have an adult handle sharp tools.

Three levels of light

  • Leave intact

    The wide areas of untouched orange skin between the three shapes stay dark and frame the glow.

  • Peel & shade

    Optional shallow skin-peeling around a cutout edge can add a soft dim halo if you want extra depth.

  • Cut through

    The crescent moon, bat, and rectangular window are cut fully through for the brightest light.

Learn the carving basics

Before you start cutting

Do I really not need a template?

No template is needed for this look. The three shapes are bold and forgiving, so a freehand marker sketch works fine. If you want tidier outlines, print simple silhouettes and trace around them before cutting.

Will the big window opening weaken the pumpkin?

It removes a fair amount of wall, which is why you cut it last while the rest of the face is still intact. Keep generous space between all three shapes and round the window corners so the skin does not split. A firm, fresh pumpkin holds these openings well.

Why an LED instead of a candle with such large cutouts?

The wide openings let a lot of air and heat move, and a flame can scorch the top edges or the lid. A battery LED gives a steady bright glow with no heat or fire risk. It also lets you leave the display running longer and unattended.

Your take belongs here, too.

Changed a detail? Made it simpler? Share a photo of your version and tell the community what worked.

Share your pumpkin

More pumpkins like this

You've reached the end Β· 8 pumpkins
The Patch Report

Fresh pumpkins, in your inbox.

The best new carvings, ideas worth stealing, and how-tos for carving season. Short, seasonal, and gone by November.

A short email during carving season. Unsubscribe anytime. See our privacy policy.