Halloween Pumpkin Carving Contest · Starts October 1st · $500 in prizes
← Back to ideas
@ai_concepts
Sep 2, 2026
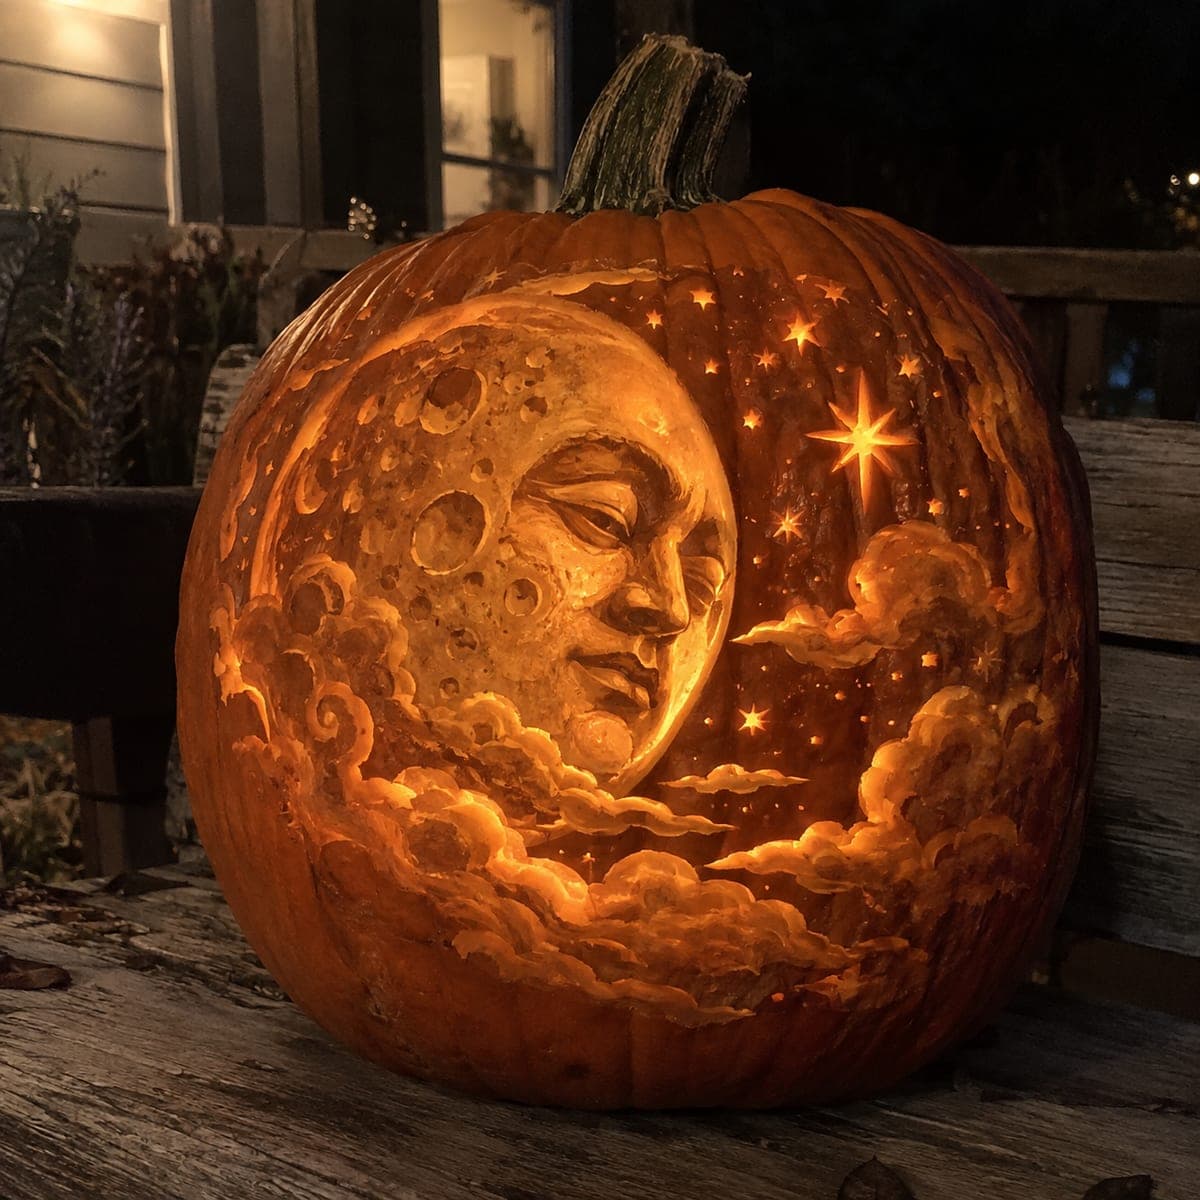
Man in the Moon Carved Pumpkin With CloudsAI
0

Man in the Moon Carved Pumpkin With Clouds

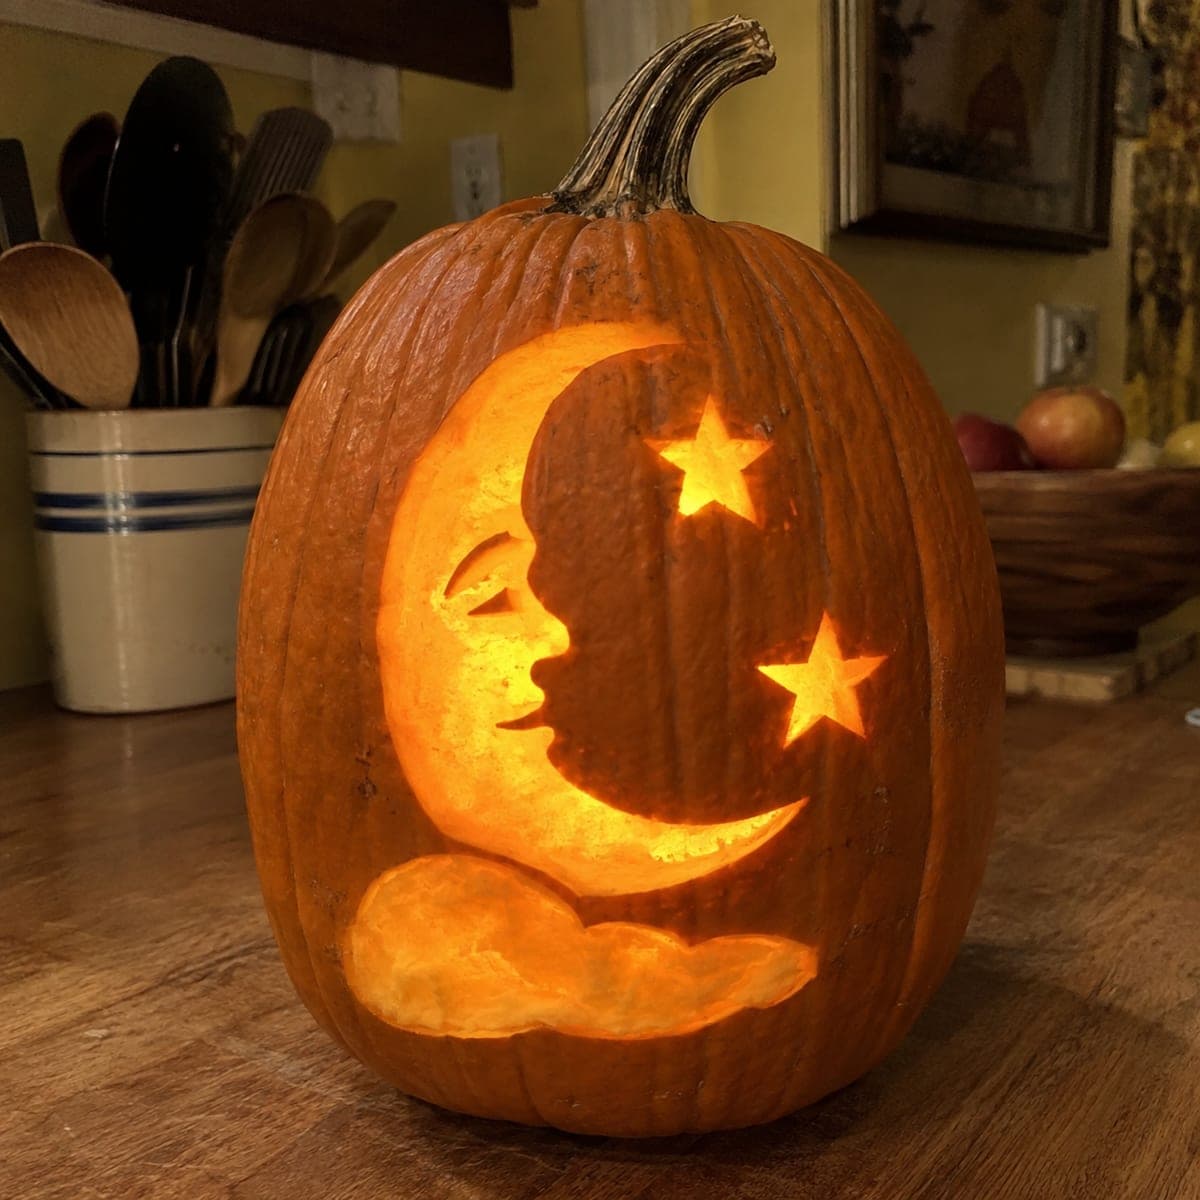
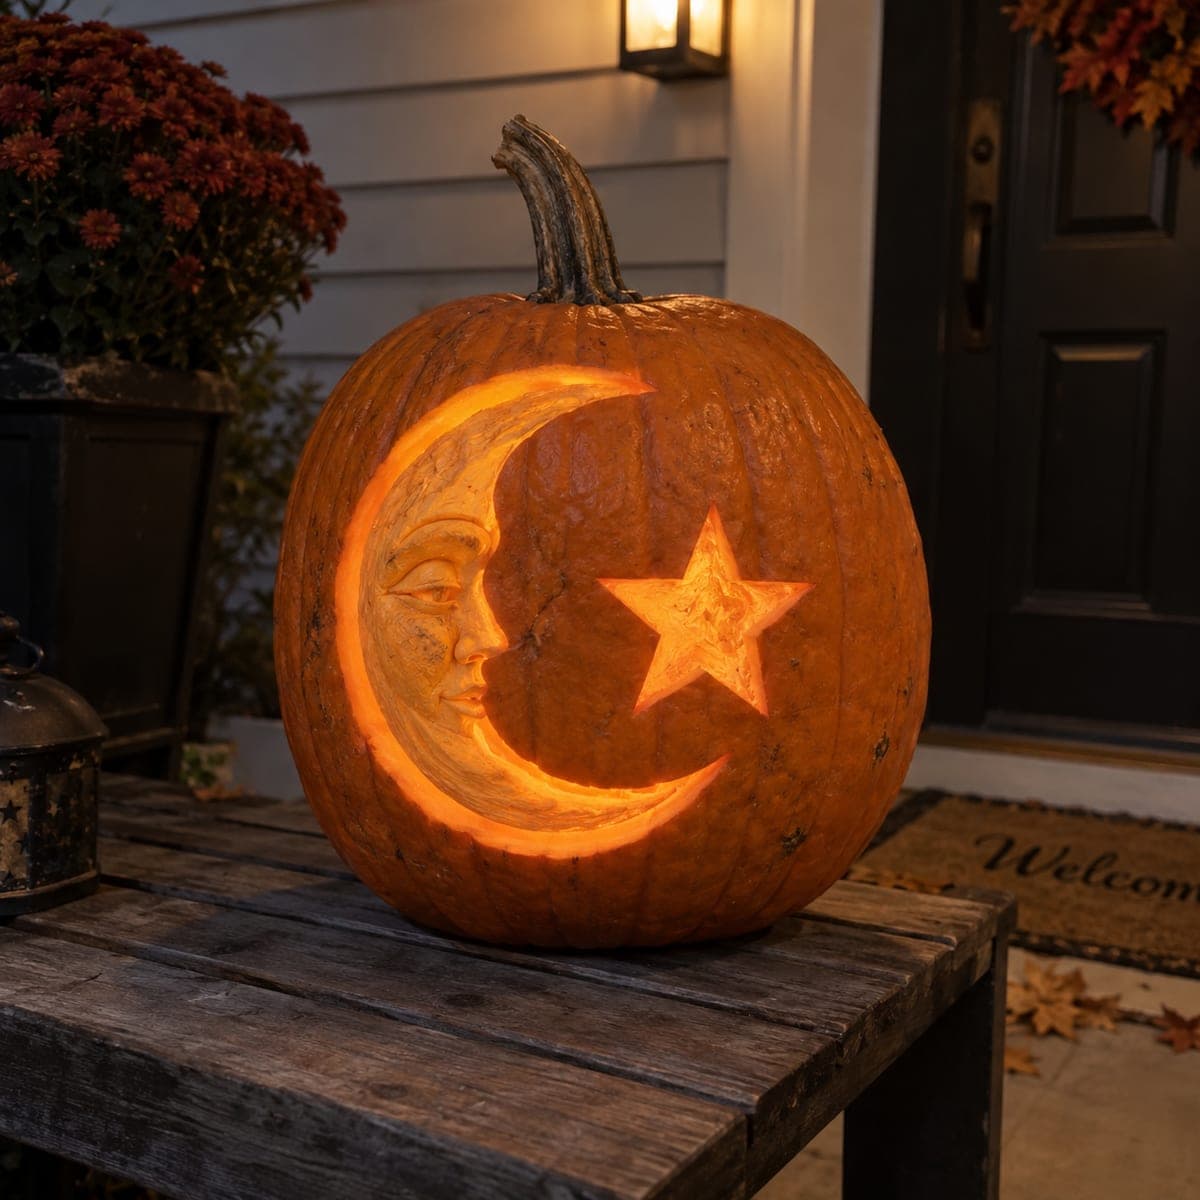
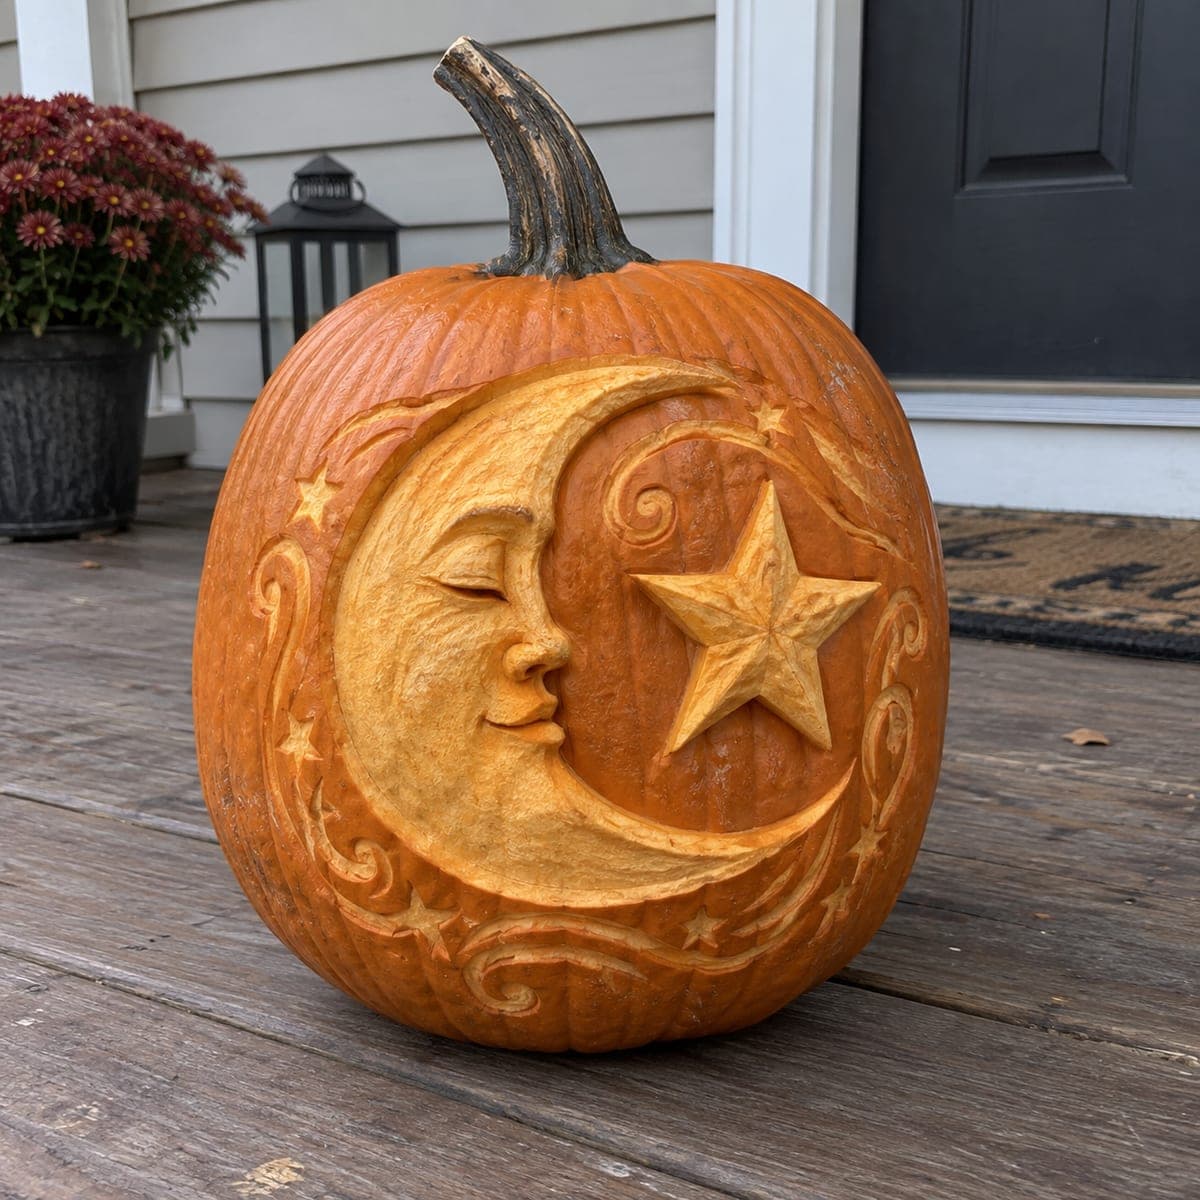
A serene crescent moon face sleeps among billowing clouds and pinprick stars, every surface of this pumpkin etched at shifting depths for a storybook glow. The cratered moon texture comes from stippling with a round gouge, while the stars are tiny full punctures that read brightest. Plan the face profile on paper first, since the nose and closed eye carry the whole design, and light it with a warm LED.

This is an AI-generated concept image: a realistic, carvable design idea rather than a photo of a finished carve. AI concepts are always labeled and sit out the leaderboard and the contest.

No ratings yet · Sign in to rate
Comments (0)

  • No comments yet — be the first.

Save without an account. Sign in to like or comment.

Our tips for carving a similar design

The whole trick here is depth control: the moon and clouds are shaded at shifting depths so they glow at different brightness, while pinprick stars punch all the way through for the sharpest sparkle. Think of it as a relief carving rather than a cutout, where you shave away layers of skin and flesh instead of removing large pieces. Plan the moon face on paper first, because the nose ridge and closed eye carry the entire design.

Written by PumpkinCarvingIdeas.com, inspired by the image above. These are our suggestions, not instructions from the uploader. This approach to the AI concept has not been tested on a real pumpkin.

From pumpkin to porch

  1. Transfer a planned design

    Sketch or print the moon face, clouds, and star field, then tape the pattern to a smooth-skinned pumpkin. Poke the outlines with a transfer tool or pin so you have a dotted map to follow. Take extra care around the profile, since the nose and closed eye set the mood. Step back and check the layout reads well before any blade touches the shell.

  2. Open a back access hole

    Cut a wide door in the back rather than the top so the front stays uninterrupted. Have an adult do the cutting with a sturdy carving saw. Scrape the inside wall behind the moon face down to about one inch thick so light passes through evenly for the shaded areas. A thinner wall makes stippling and shading glow much better.

  3. Shade the moon and its craters

    Using a lino gouge or ribbon tool, peel just the outer skin off the moon disc so it glows a soft dim orange. Stipple small round dents with a U-gouge to build the cratered texture, going a little deeper for craters you want brighter. Carve the face features as gentle relief, leaving the nose and brow raised and shaving the recesses around the closed eye and smile. Work slowly and keep test-lighting from behind.

  4. Build the clouds in layers

    Peel the skin off the billowing clouds and round their edges so they read as soft, rolling shapes. Vary the depth so front clouds glow brighter than the ones tucked behind them. Leave thin ridges of untouched skin between cloud puffs to keep the layered, storybook look. These raised lines act as natural bridges and hold the design together.

  5. Punch the stars last

    Once all the shading is done, drill or poke the tiny stars as full punctures through the wall so they shine as bright points. For the larger sparkle star, cut a small four-point shape all the way through. Save these openings for last so the shell stays strong while you do the delicate shading. Keep punctures small and spaced out so no area weakens.

  6. Light it and photograph

    Set a warm white LED inside, ideally one on the brighter setting since shaded designs eat a lot of light. Rotate the pumpkin until the moon face catches the glow you want. Shoot in near darkness so the depth layers separate. Mist the cut surfaces with water and refrigerate between showings to keep the shading crisp.

Gather your supplies

Check things off as you get ready.

Work on a stable surface, keep your free hand out of the cutting path, and have an adult handle sharp tools.

Three levels of light

  • Leave intact

    Untouched skin on the dark night sky and the thin ridges dividing the clouds

  • Peel & shade

    Skin peeled off the moon disc, the face, and the cloud puffs for a mid orange glow

  • Cut through

    Tiny star punctures and the large sparkle star cut fully through for the brightest points

Learn the carving basics

Before you start cutting

How do I keep the moon face from looking flat?

Carve it as relief, not outline. Leave the nose, brow, and cheek raised while shaving down the eye socket and the crease of the smile. Test-light from behind often, since shadow depth is what gives the face its sleepy expression.

Why punch the stars at the very end?

Full punctures weaken the shell, so doing them last keeps the pumpkin strong while you handle it for all the delicate shading. It also lets you place stars in the gaps once the clouds and moon are final. Keep each one small and well spaced.

This looks like a lot of shading. Can I simplify?

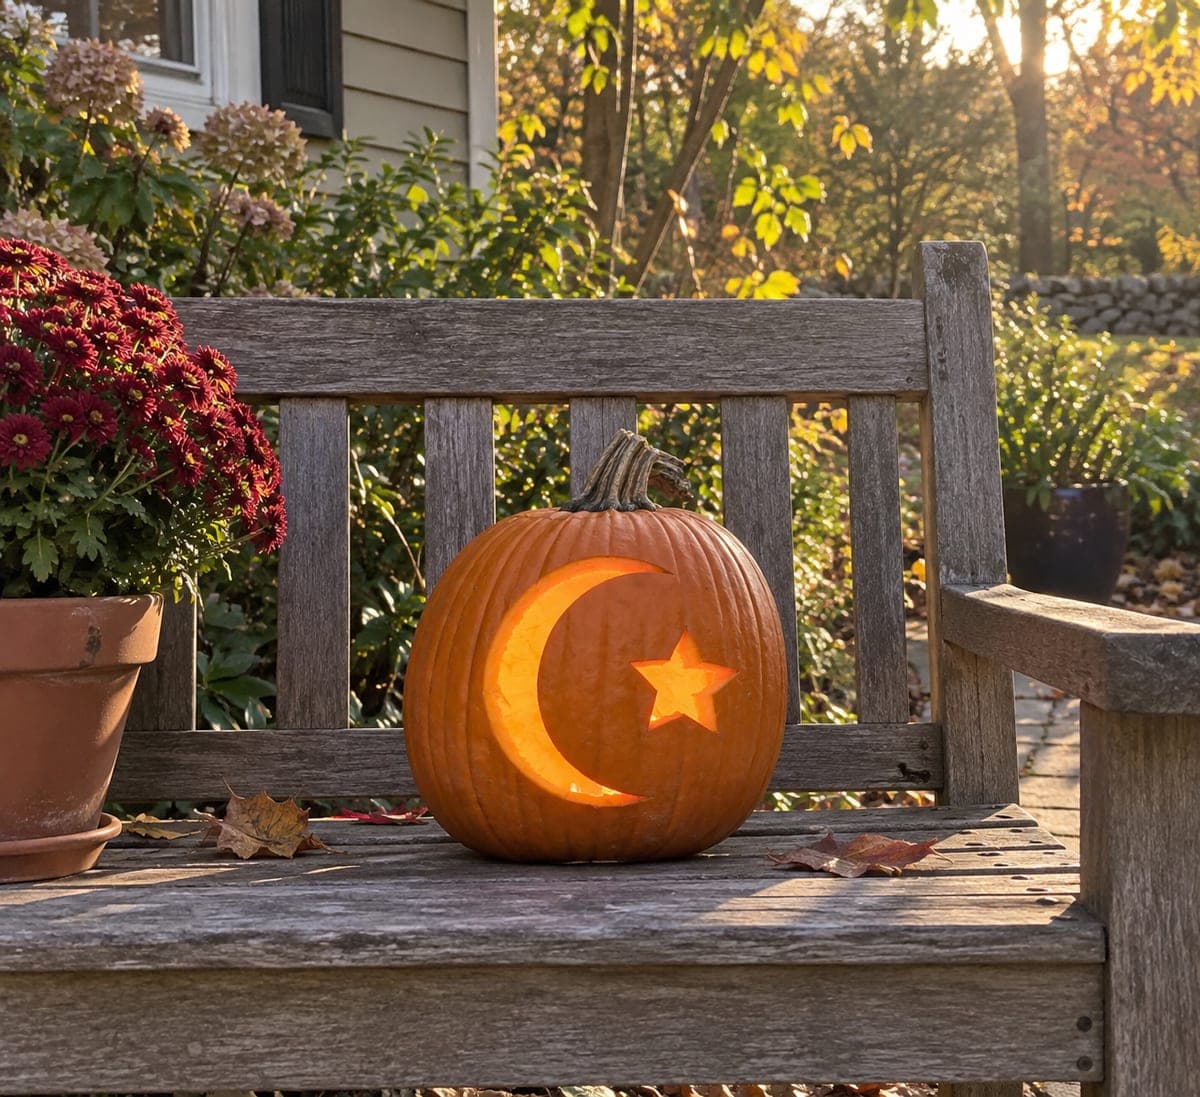
Yes. Keep the crescent moon and a few clouds as full cutouts and skip the fine craters, or shade only the moon and leave the sky plain skin. You still get the celestial feel with far less relief work. Start with a simpler moon stencil to build confidence.

Your take belongs here, too.

Changed a detail? Made it simpler? Share a photo of your version and tell the community what worked.

Share your pumpkin

More pumpkins like this

You've reached the end · 8 pumpkins
The Patch Report

Fresh pumpkins, in your inbox.

The best new carvings, ideas worth stealing, and how-tos for carving season. Short, seasonal, and gone by November.

A short email during carving season. Unsubscribe anytime. See our privacy policy.