Halloween Pumpkin Carving Contest · Starts October 1st · $500 in prizes
← Back to ideas
@ai_concepts
Jul 26, 2026
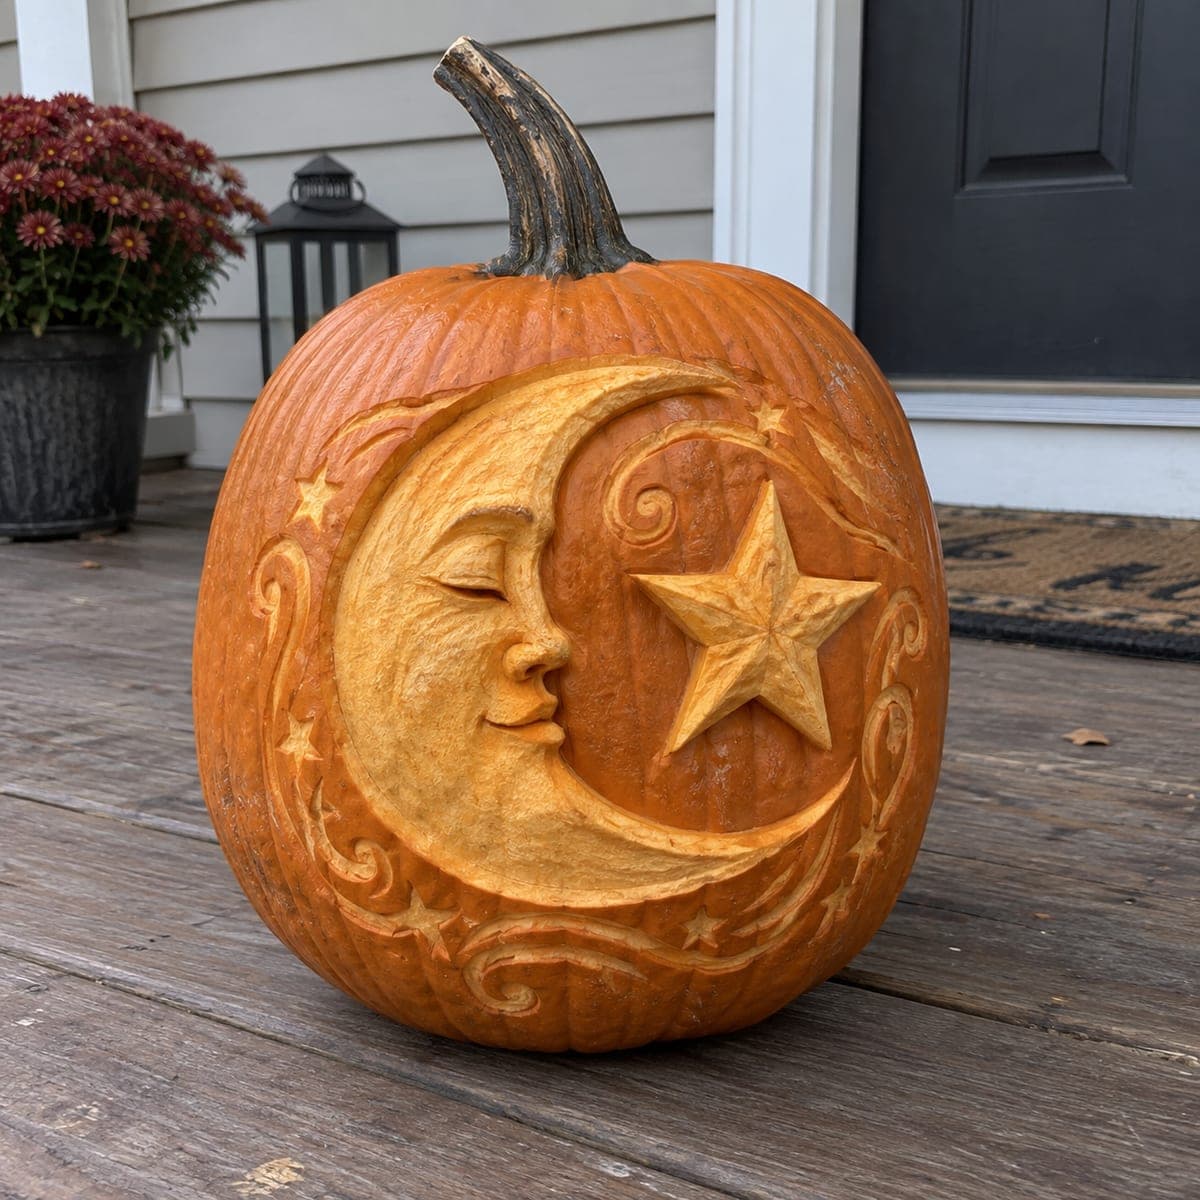
Celestial Crescent Moon Face Shaded PumpkinAI
0

Celestial Crescent Moon Face Shaded Pumpkin

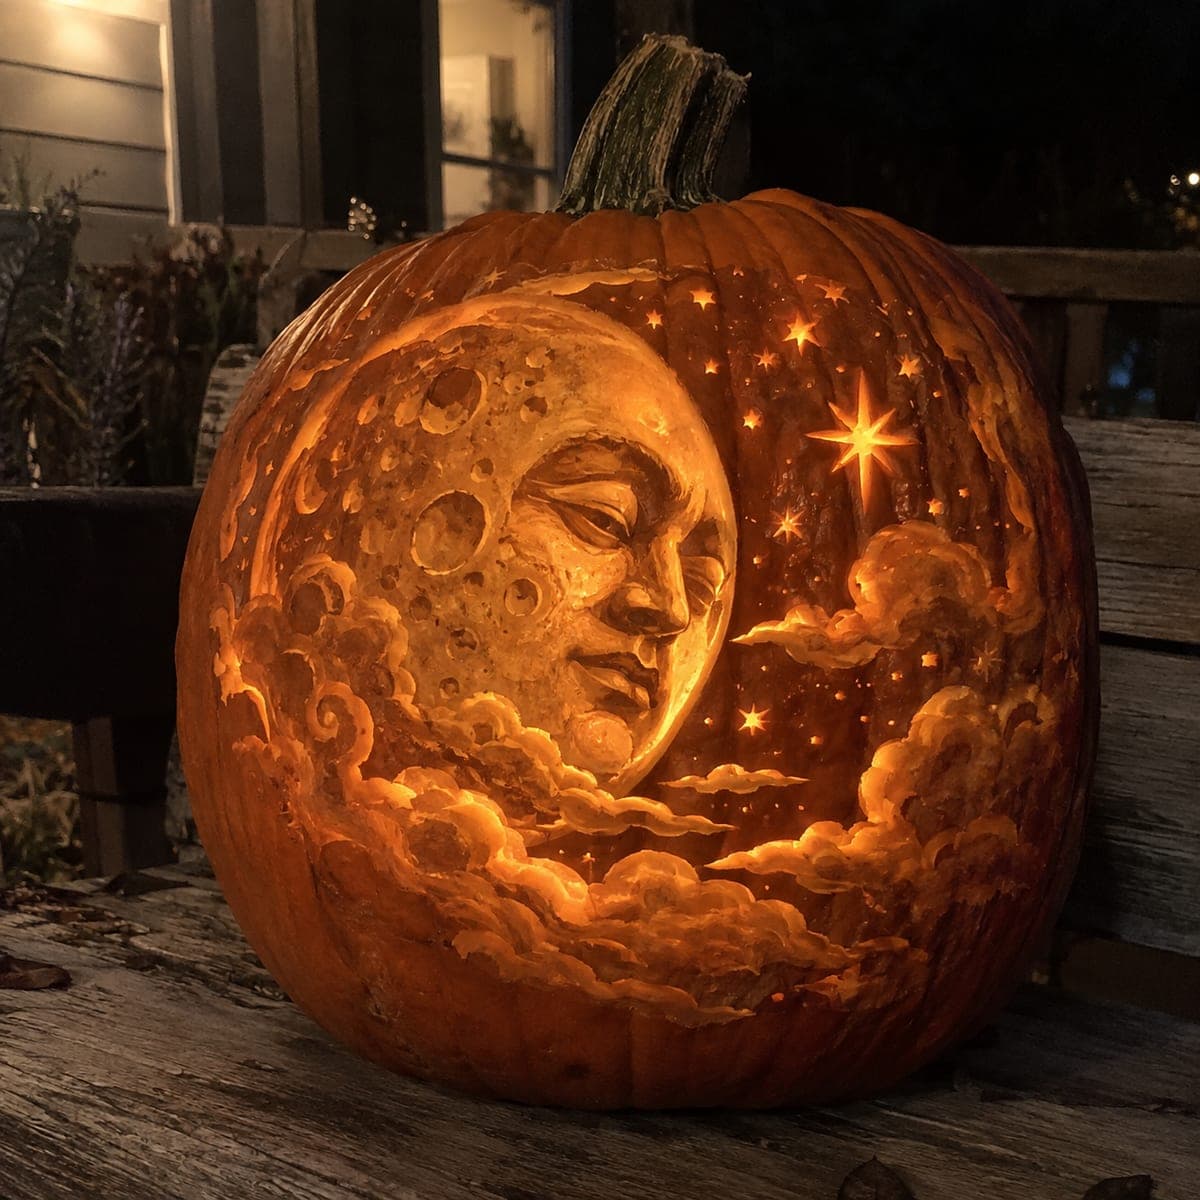
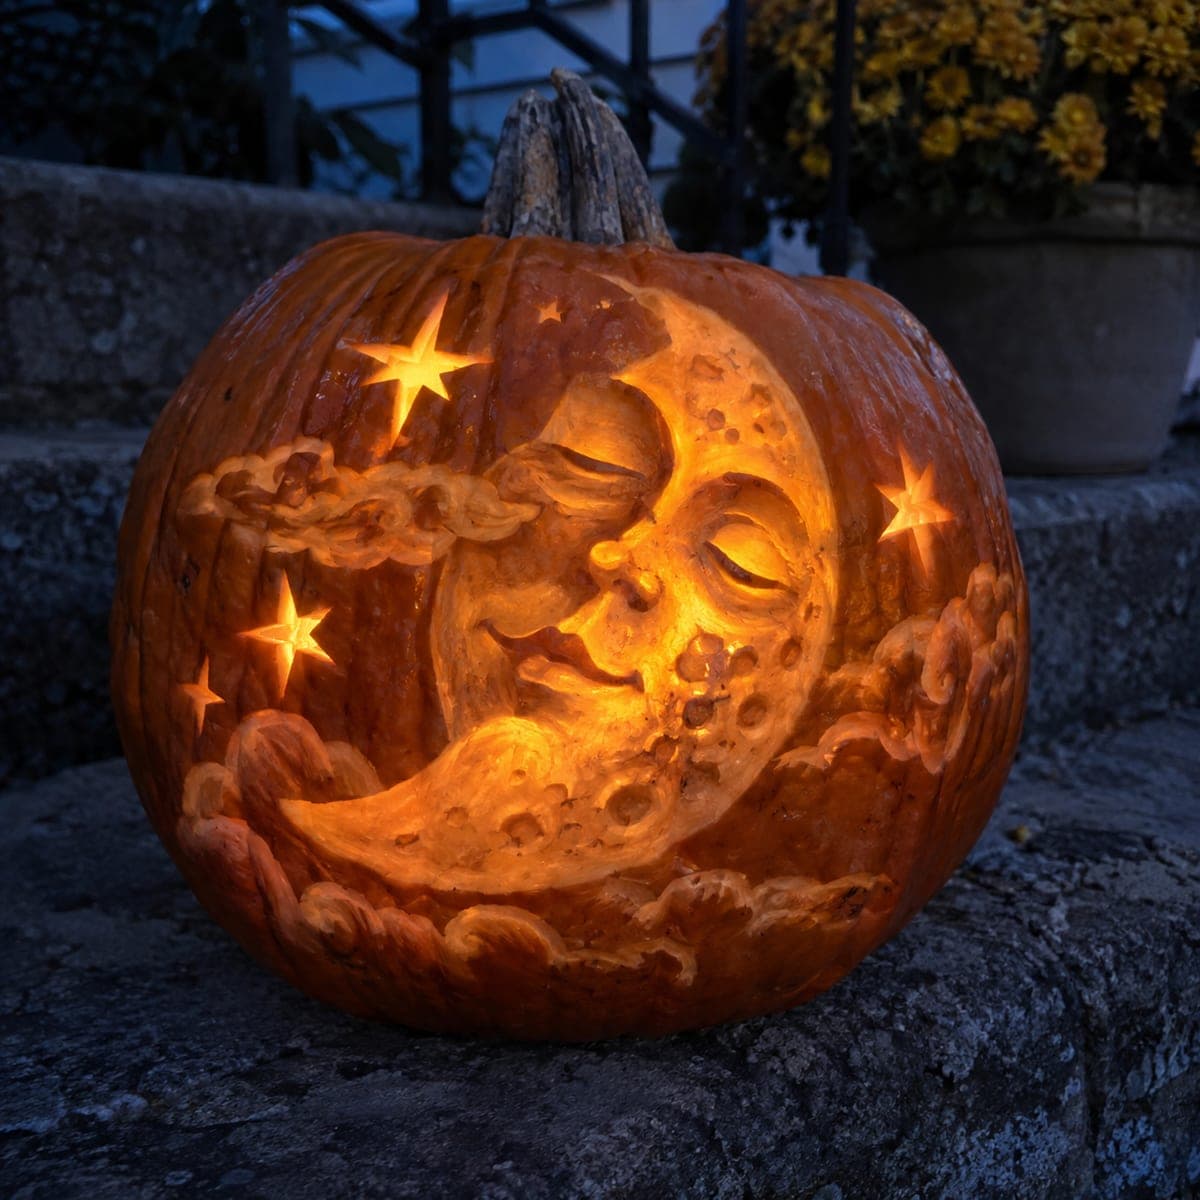
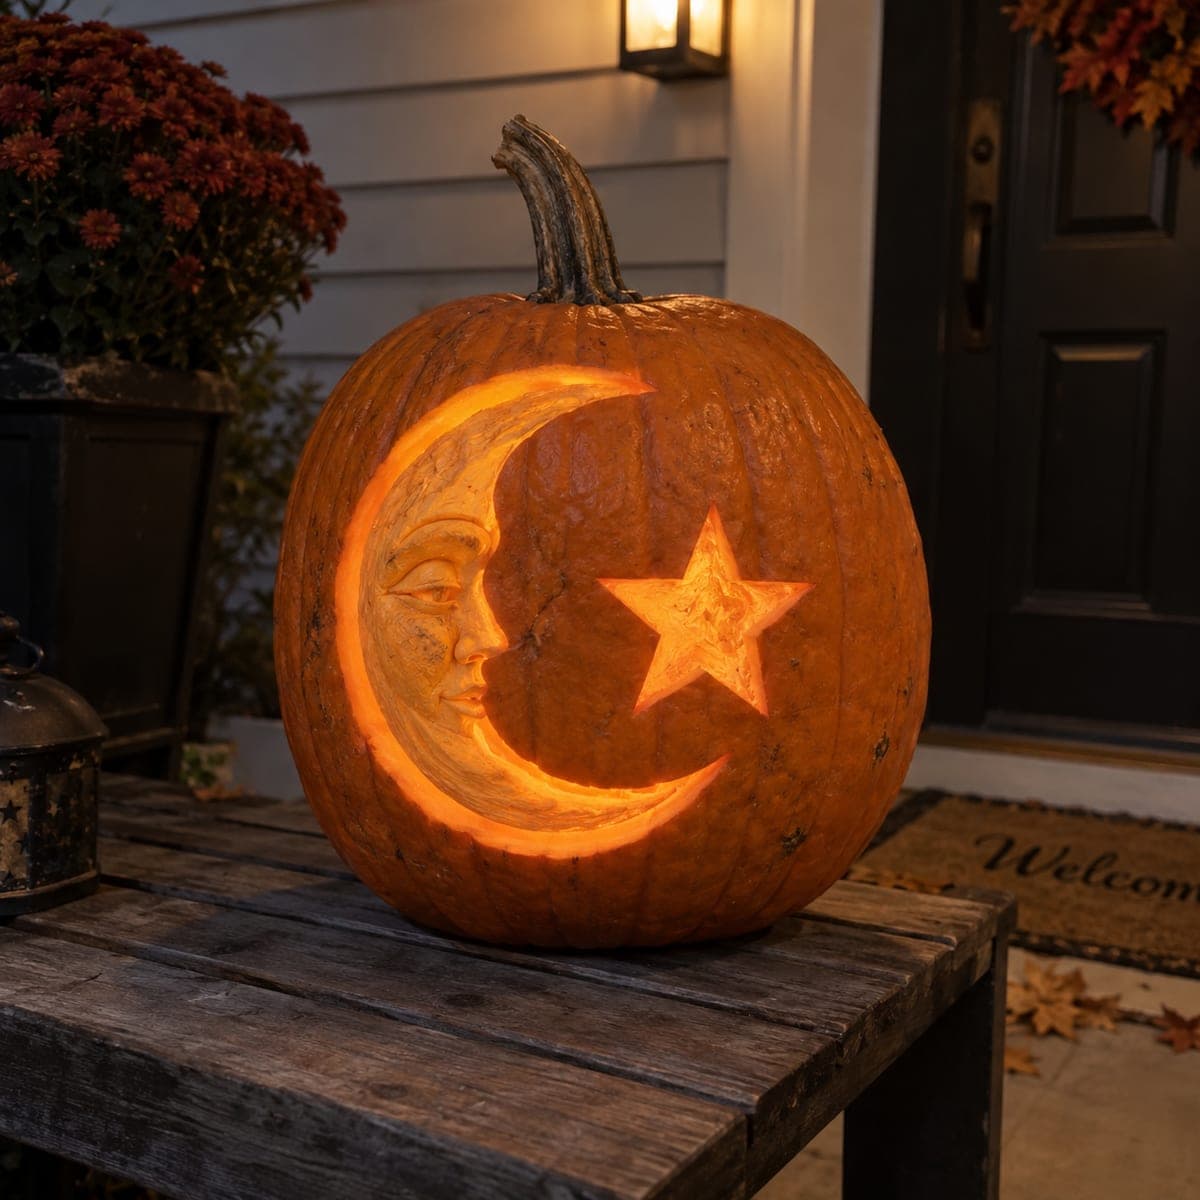
A serene crescent moon with a sculpted human face, surrounded by a large star and swirling celestial scrollwork, is carved in deep relief shading on a tall pumpkin, every surface at a different carved depth creating a richly three-dimensional result. The technique removes no material all the way through the wall, so the design holds its shape and the candle glow diffuses softly through the thinned skin rather than beaming through cutouts. Carve the moon face features first as the anchor, then work the outer scrolls and stars as progressively shallower detail. This celestial pumpkin carving idea is a natural fit for a witch-themed or mystical porch display.

This is an AI-generated concept image: a realistic, carvable design idea rather than a photo of a finished carve. AI concepts are always labeled and sit out the leaderboard and the contest.

No ratings yet · Sign in to rate

Comments (0)

  • No comments yet — be the first.

Save without an account. Sign in to like or comment.

Our tips for carving a similar design

This is an AI-generated concept, so no real pumpkin exists, but you could recreate a similar look entirely with relief shading rather than cut-through openings. The core trick is carving every surface to a different depth, deepest at the moon's face, shallower out through the scrolls, so a soft glow diffuses through thinned skin instead of beaming through holes. Plan to establish the moon face first as your anchor, then step outward into progressively shallower stars and swirls.

Written by PumpkinCarvingIdeas.com, inspired by the image above. These are our suggestions, not instructions from the uploader. This approach to the AI concept has not been tested on a real pumpkin.

From pumpkin to porch

  1. Prep the pumpkin and transfer the design

    Pick a tall pumpkin with a smooth, wide front panel and wipe it clean and dry. Instead of cutting a top lid, plan a small door in the back so you never breach the front wall. Tape your moon, star, and scrollwork pattern to the front and poke or trace the outlines onto the skin. Have an adult handle all the sharp tools and work on a stable, well-lit surface.

  2. Outline and scrape the whole design to skin

    With a fine detail knife, score along every traced line to a shallow, even depth. Then use a ribbon or loop tool to gently scrape away only the orange outer skin across all the shaded areas, exposing the lighter flesh beneath. This dim mid-tone layer is your base glow. Keep the untouched skin around the design fully intact so it reads as dark background.

  3. Carve the moon face as your deepest anchor

    Work the crescent moon's face first since it sets the depth for everything else. Use a small loop tool to sculpt the brow, closed eye, nose, and lips in gentle rounded relief, cutting the nose ridge and cheek highest and the eye sockets and under-lip deepest. Blend each transition smoothly so no hard steps show. Go slow here, since this is the feature the eye lands on first.

  4. Shade the large star at medium depth

    Carve the five-pointed star so it sits raised above its background but shallower than the moon face. Scoop the flesh around each point back a little to make the star pop, and add a soft ridge down the center of each arm for a faceted look. Keep the star's surface a touch brighter than the surrounding field by thinning it slightly more. Leave a thin bridge of raised flesh wherever a scroll meets the star so nothing feels detached.

  5. Work the scrolls and small stars shallowest

    Move outward to the swirling scrollwork and the little accent stars, carving these at the shallowest depth of all. Use just the tip of your detail knife to trace narrow channels so the swirls stand out as faint raised lines. Keep these delicate and continuous, and avoid digging so deep that the thin skin tears. This outer ring should fade gently into the dark untouched background.

  6. Light it and take your photo

    Slip a battery LED puck or string inside through the back door and never use an open flame with a shaded pumpkin. Adjust the light until the thinned areas glow warm and the moon face reads three-dimensional. Rub a little petroleum jelly on the carved surfaces to slow drying and keep the shading crisp. Shoot your photo at dusk on the porch for the softest contrast.

Gather your supplies

Check things off as you get ready.

Work on a stable surface, keep your free hand out of the cutting path, and have an adult handle sharp tools.

Three levels of light

  • Leave intact

    The orange field surrounding the whole design stays untouched and dark, framing the moon and stars.

  • Peel & shade

    The scrollwork, small accent stars, and the broad areas around the moon get skin-peeled for a soft mid glow.

  • Cut through

    Nothing is cut all the way through on this design; the deepest thinned areas of the moon face and star read as the brightest without any openings.

Learn the carving basics

Before you start cutting

Since it is all shading, will any light really show through?

Yes, but softly. Where you thin the wall down to the pale flesh, an interior LED diffuses a gentle orange glow rather than a sharp beam. The moon face and star will look brightest because those areas are carved thinnest, while the untouched skin stays dark.

How do I keep the moon face from looking flat?

Vary the depth deliberately across the features. Cut the eye socket and the area under the lip deepest, keep the nose ridge and cheek highest, and blend every transition so there are no abrupt steps. Working the face first gives you a depth reference for everything else.

Where should I put the light hole if I am not cutting a lid?

Carve a small round or square door in the back of the pumpkin, opposite the design. This keeps the front wall solid so the relief holds its shape and the shading stays even. Feed a battery LED through that opening and skip candles entirely.

Your take belongs here, too.

Changed a detail? Made it simpler? Share a photo of your version and tell the community what worked.

Share your pumpkin

More pumpkins like this

You've reached the end · 8 pumpkins
The Patch Report

Fresh pumpkins, in your inbox.

The best new carvings, ideas worth stealing, and how-tos for carving season. Short, seasonal, and gone by November.

A short email during carving season. Unsubscribe anytime. See our privacy policy.