Halloween Pumpkin Carving Contest · Starts October 1st · $500 in prizes
← Back to ideas
@ai_concepts
Aug 20, 2026
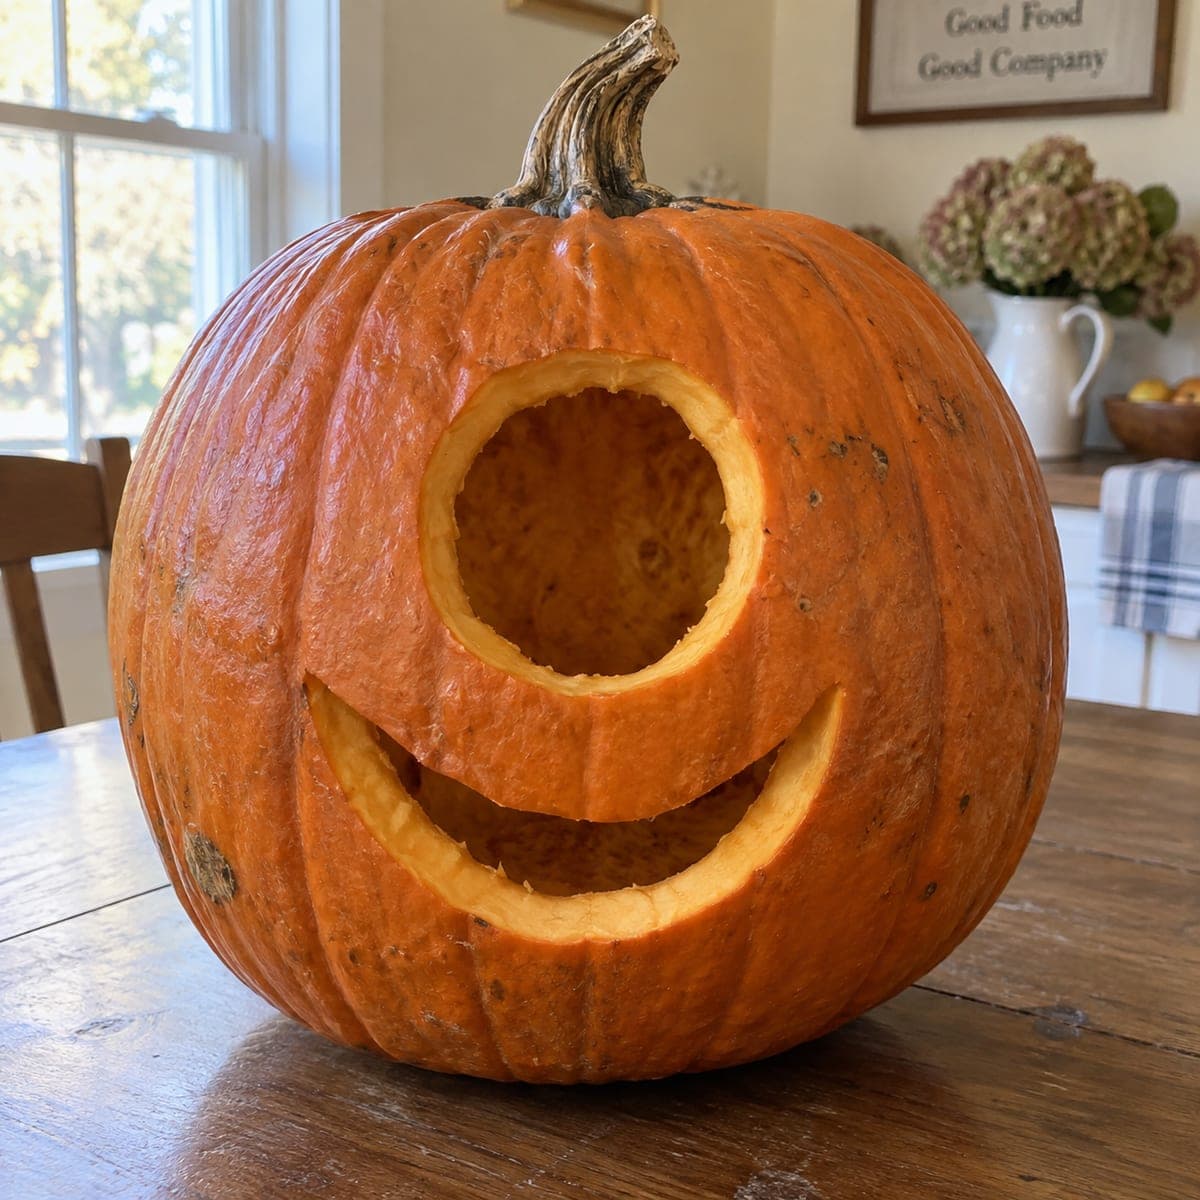
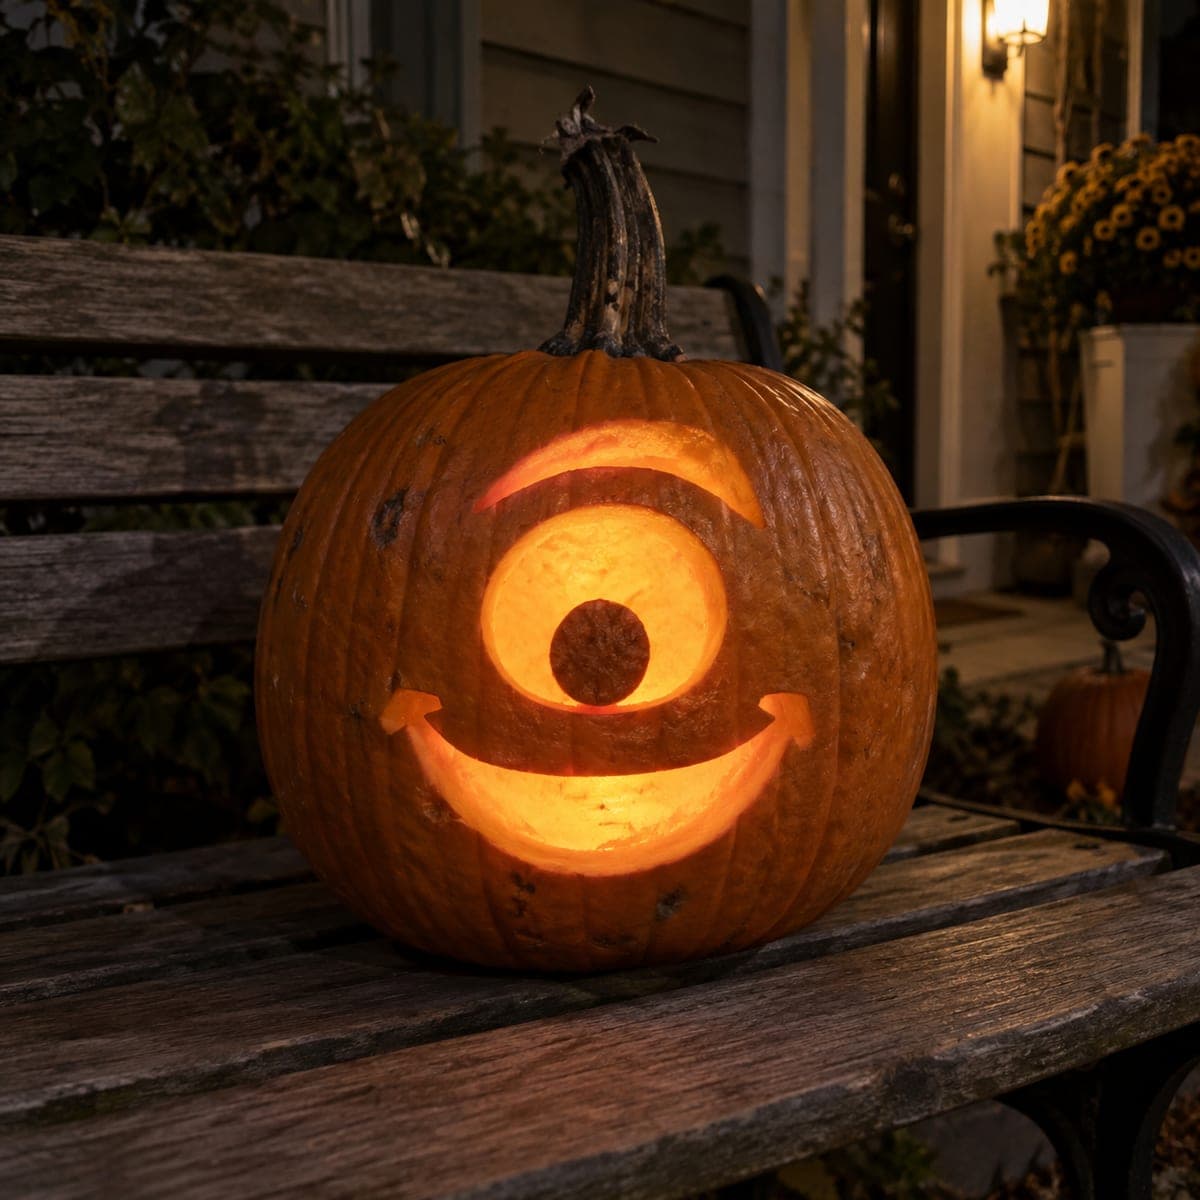
One-Eyed Cyclops Smile Jack-O-LanternAI
0

One-Eyed Cyclops Smile Jack-O-Lantern

One giant round eye and a huge crescent grin turn this pumpkin into a goofy cyclops, proof that two cuts can carry a whole design. Scribe the circle with a cup or bowl as a template, then saw the smile in a single sweeping arc. Angle your knife slightly outward so both windows glow wide when lit. It is the fastest jack-o-lantern on the block and little kids find it hilarious rather than scary.

This is an AI-generated concept image: a realistic, carvable design idea rather than a photo of a finished carve. AI concepts are always labeled and sit out the leaderboard and the contest.

No ratings yet · Sign in to rate
Comments (0)

  • No comments yet — be the first.

Save without an account. Sign in to like or comment.

Our tips for carving a similar design

The whole design leans on just two openings, one big round eye and a wide crescent smile, so clean edges matter more than detail. The trick is scribing the circle with a cup or bowl as a template, then sawing the grin in one smooth arc. Angle both cuts slightly outward so the walls funnel light and the windows glow as wide as possible.

Written by PumpkinCarvingIdeas.com, inspired by the image above. These are our suggestions, not instructions from the uploader. This approach to the AI concept has not been tested on a real pumpkin.

From pumpkin to porch

  1. Open and clean the pumpkin

    Have an adult cut a lid around the stem or, better for wall strength, a hatch in the back. Scoop out the seeds and pulp, then scrape the front wall where the face goes until it is about one inch thick. A thinner wall is easier to cut and lets more light through. Pat the inside dry so your template lines do not smear.

  2. Mark the eye and smile

    Center a cup or small bowl on the upper face and trace around it for the round eye. Below and slightly to one side, draw a broad crescent for the grin, keeping both shapes well inside the pumpkin's flatter front so the curve does not distort them. Step back and check the spacing before you commit. Redraw with a dry-erase marker if you want to nudge anything.

  3. Cut the eye first

    Start with the smaller, tidier circle so you get a feel for the wall thickness. Use a small serrated carving saw and take slow, short strokes, letting the blade do the work rather than forcing it. Angle the blade slightly outward, away from the center, so the opening flares wider on the inside. Push the plug out gently from behind.

  4. Saw the crescent grin

    Cut the smile as your last and largest opening so the face keeps its strength while you work. Follow your arc in one sweeping, patient pass, then come back for the second curve to free the crescent. Keep the same slight outward angle you used on the eye for a matching glow. Support the piece with your free hand as it releases so it does not tear the lower edge.

  5. Clean up the edges

    Run your saw or a paring tool lightly around both openings to smooth any ragged spots. If you want the classic peeled-glow look, scrape a thin ring of skin just outside each cut to soften the transition. Wipe away marker lines with a damp cloth. Rub a little petroleum jelly on the raw edges to slow drying.

  6. Light it and photograph

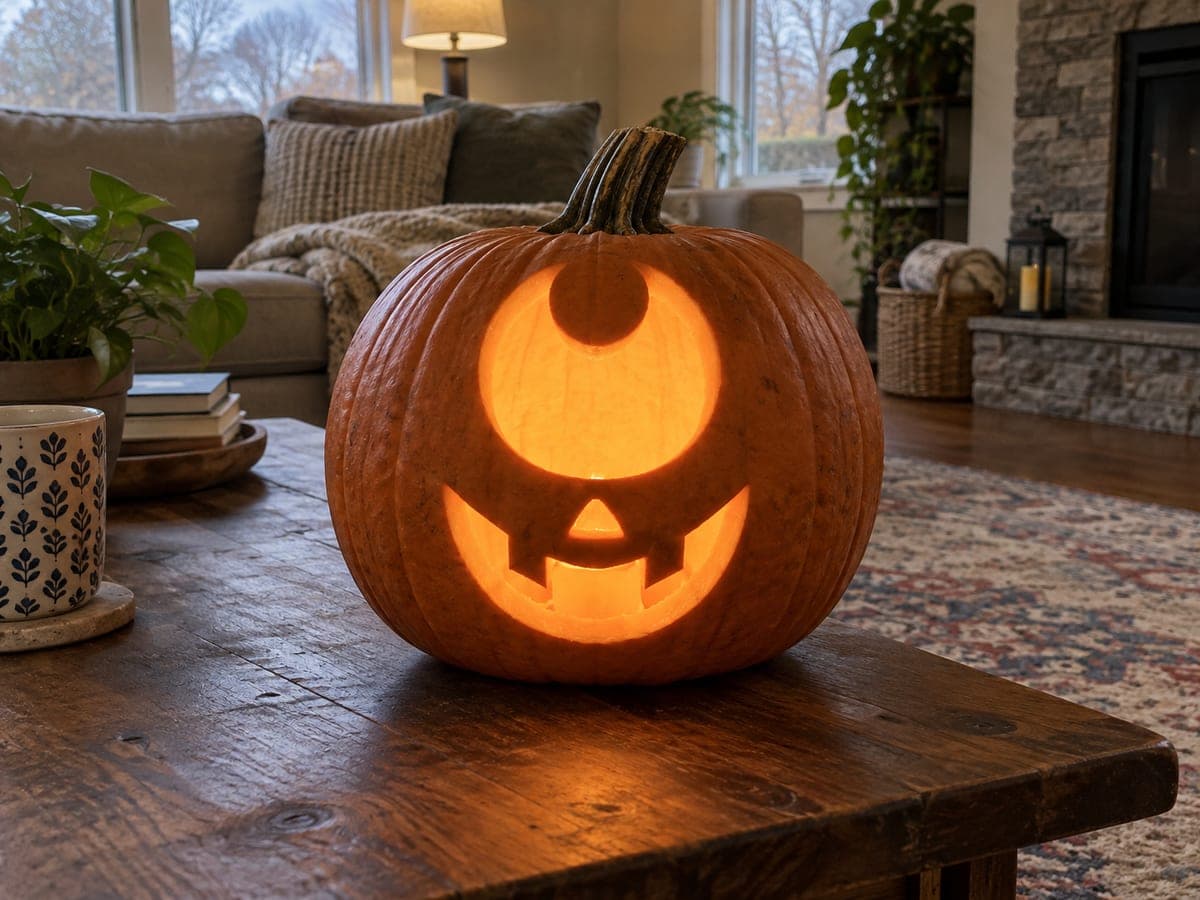
    Drop a battery LED or two inside and set them so the light spreads across both openings evenly. Never use a real candle, since the flame can scorch the thin front wall. Shoot your photo in a dim room at dusk with the LEDs on to catch that warm cyclops grin. A dab of extra light near the smile makes the arc pop.

Gather your supplies

Check things off as you get ready.

Work on a stable surface, keep your free hand out of the cutting path, and have an adult handle sharp tools.

Three levels of light

  • Leave intact

    The entire outer skin of the pumpkin stays untouched and dark, framing the two glowing windows.

  • Peel & shade

    A thin scraped ring just around the eye and smile gives a soft orange halo where the skin is shaved but not cut through.

  • Cut through

    The full round eye and the crescent grin are cut all the way through for the brightest light.

Learn the carving basics

Before you start cutting

How do I keep the big round eye from looking lopsided?

Use a cup or bowl as a stencil and trace the full circle before cutting anything. Position it on the flattest part of the front so the curve of the pumpkin does not stretch the shape. Take short, even saw strokes to follow the line rather than rushing.

Will two large openings weaken the pumpkin?

On a design this simple the wall stays plenty strong as long as you leave a comfortable band of skin between the eye and the smile. Cut the smaller eye first and save the big crescent grin for last so the face holds its shape while you work. Avoid making the openings so tall they meet in the middle.

Why angle the knife outward on the cuts?

Angling the blade slightly away from center makes each opening flare wider on the inside than on the surface. That funnel shape catches more of the LED glow and makes both windows read bright and full when lit. Keep the angle gentle and consistent on both the eye and the smile.

Your take belongs here, too.

Changed a detail? Made it simpler? Share a photo of your version and tell the community what worked.

Share your pumpkin

More pumpkins like this

You've reached the end · 8 pumpkins
The Patch Report

Fresh pumpkins, in your inbox.

The best new carvings, ideas worth stealing, and how-tos for carving season. Short, seasonal, and gone by November.

A short email during carving season. Unsubscribe anytime. See our privacy policy.