Halloween Pumpkin Carving Contest · Starts October 1st · $500 in prizes
← Back to ideas
@ai_concepts
Jul 6, 2026
Simple Smiley Face Pumpkin for BeginnersAI
0

Simple Smiley Face Pumpkin for Beginners

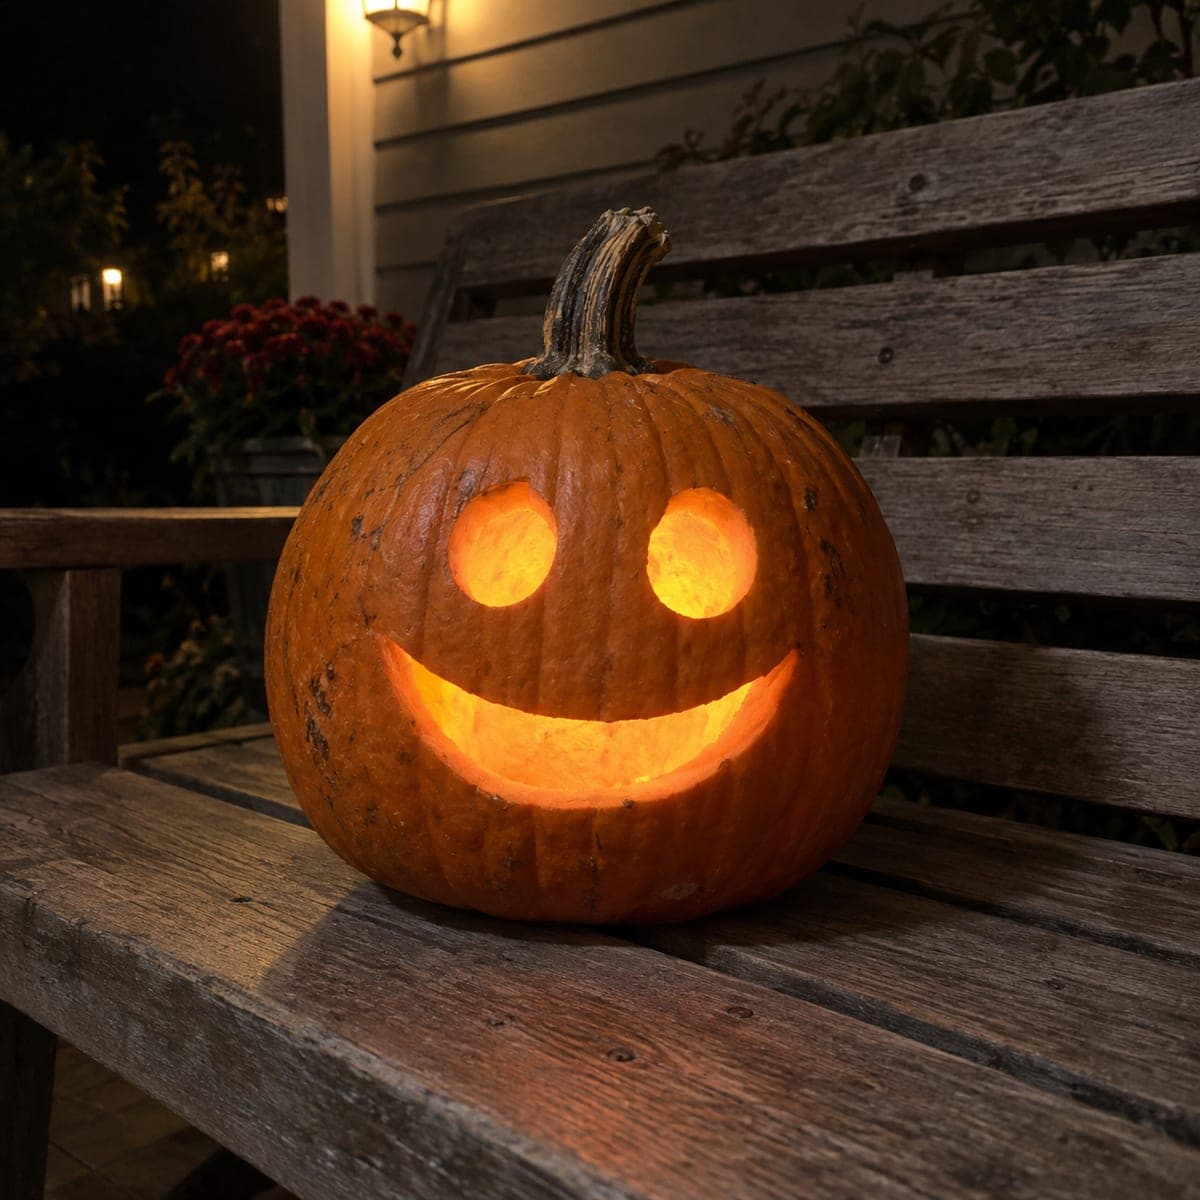
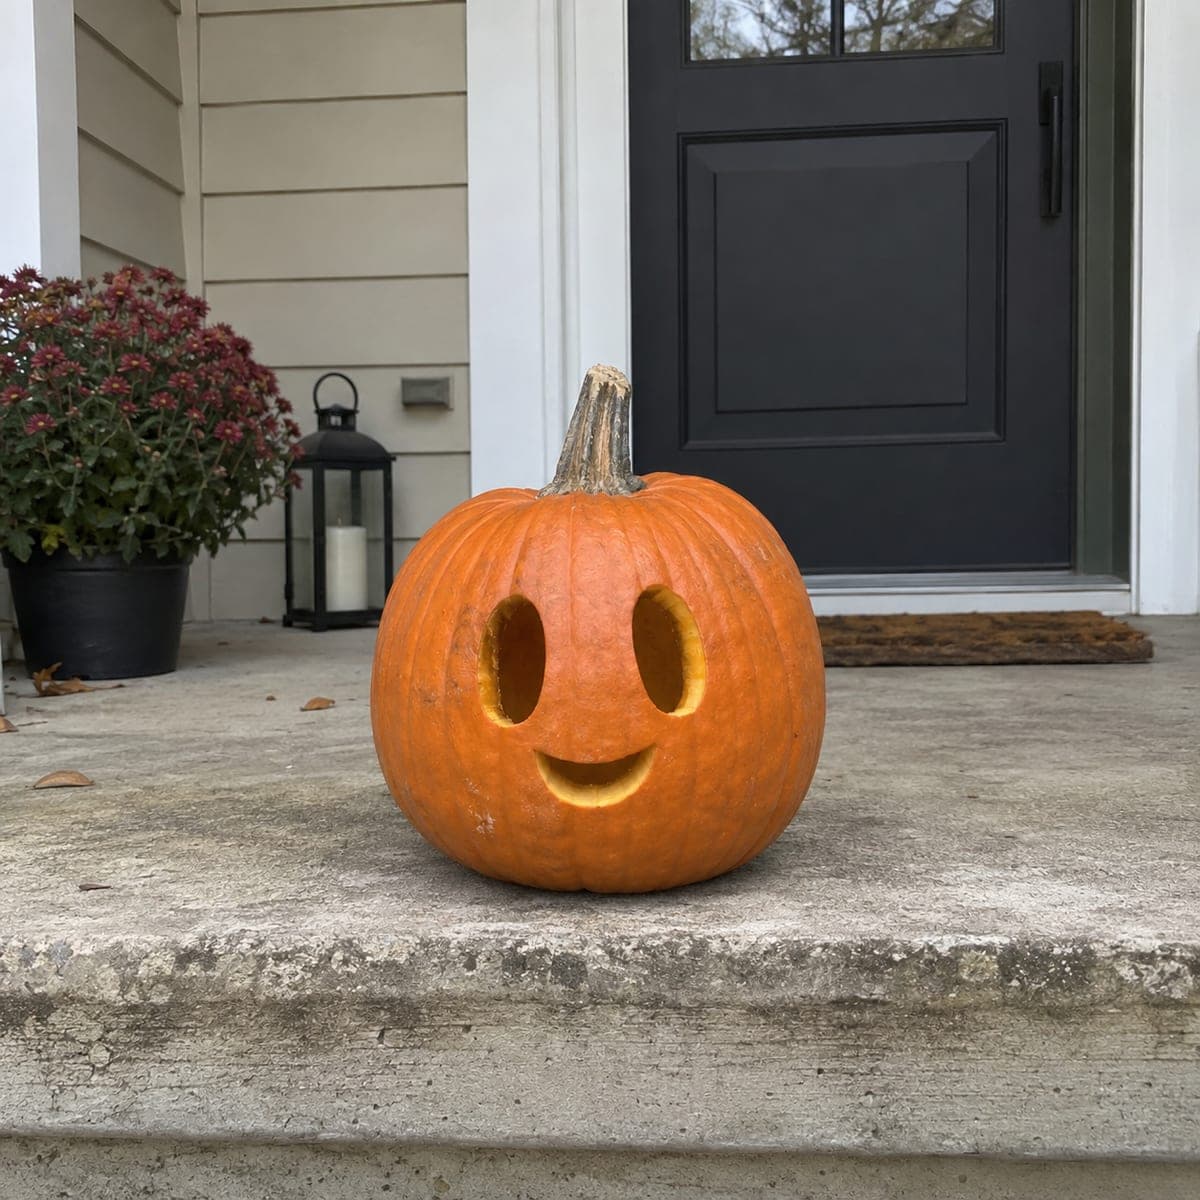
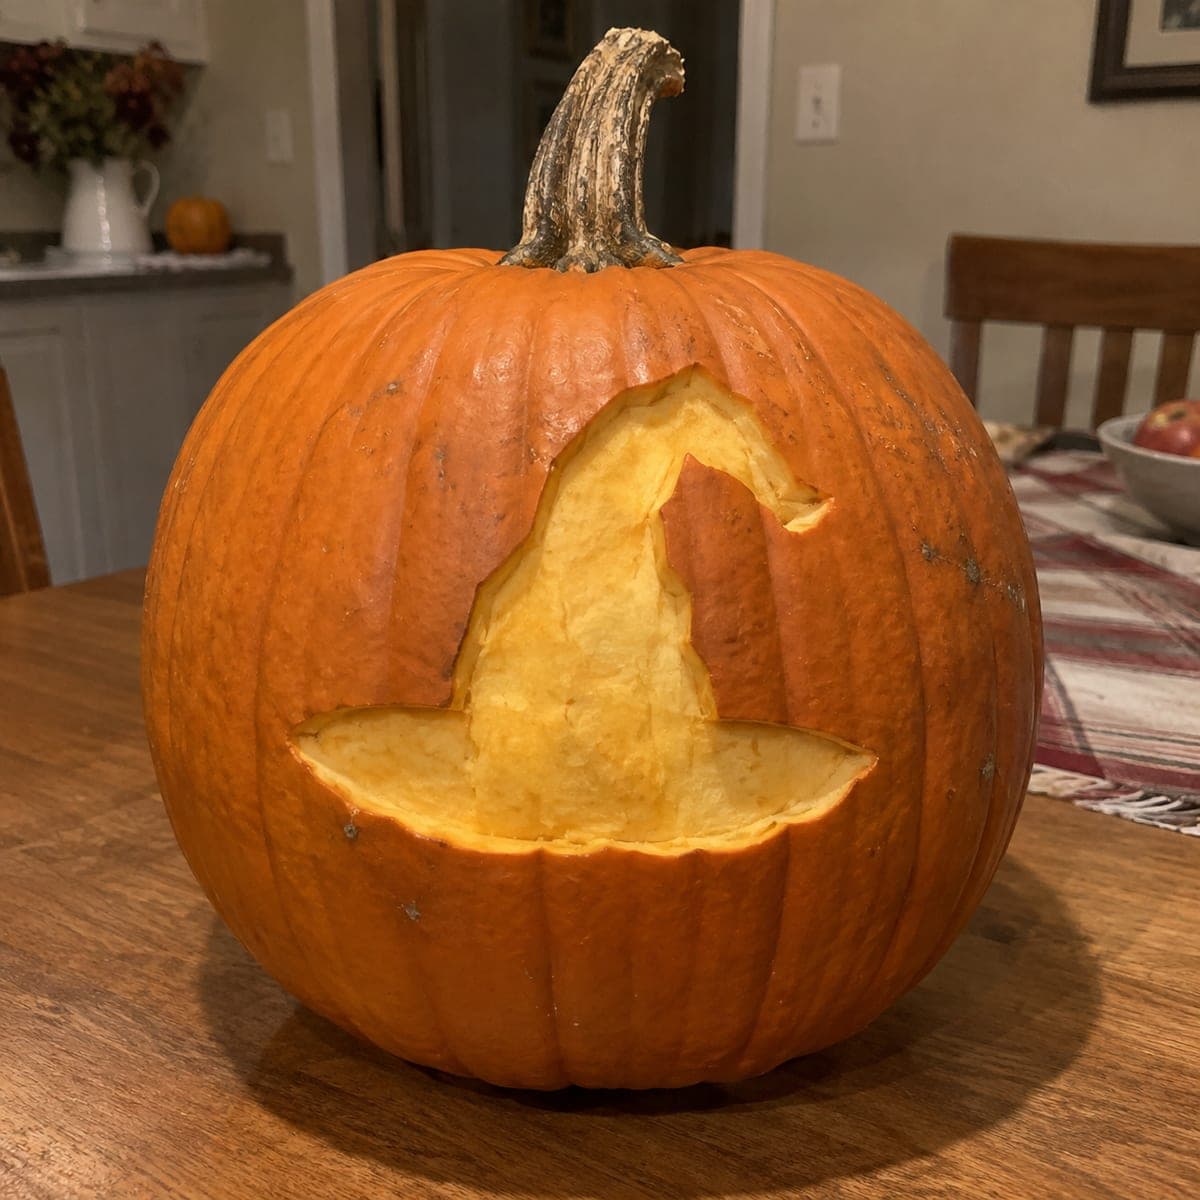
Two oval eyes and a happy curved smile, and that is the whole design, carved into a small round pumpkin on the front step. This is the ideal first pumpkin carving for a young kid with adult help: three cuts, no inner details, done in twenty minutes. Angle the knife slightly inward as you cut so the pieces pop out cleanly, and it looks cheerful lit or unlit.

This is an AI-generated concept image: a realistic, carvable design idea rather than a photo of a finished carve. AI concepts are always labeled and sit out the leaderboard and the contest.

No ratings yet · Sign in to rate
Comments (0)

  • No comments yet — be the first.

Save without an account. Sign in to like or comment.

Our tips for carving a similar design

The whole trick here is simplicity: two oval eyes and one curved smile, with no interior shading or fine detail to worry about. You carve each shape as a clean cutout so the light pours straight through, and angling the blade slightly inward helps the plugs pop free without crumbling. It reads as friendly whether the light is on or off, which makes it forgiving for a first carve.

Written by PumpkinCarvingIdeas.com, inspired by the image above. These are our suggestions, not instructions from the uploader. This approach to the AI concept has not been tested on a real pumpkin.

From pumpkin to porch

  1. Pick a small round pumpkin and cut the lid

    Choose a pumpkin that sits flat and has a smooth front face for the design. An adult should cut the lid around the stem at a slight inward angle so it rests back in place without falling through. Keep the opening wide enough to fit a hand and scoop tool. A round shape like the one shown gives the happy face plenty of room.

  2. Scoop and thin the front wall

    Scrape out the seeds and pulp with a sturdy spoon or scoop tool. Thin the inside of the front wall to about one inch so cutouts release easily and the pumpkin glows better. A thinner wall also lets a young helper push out the shapes with less force. Save some pulp for compost if you like.

  3. Mark the two eyes and the smile

    Draw two matching ovals for the eyes and one curved line for the mouth, keeping them centered on the smoothest part of the front. Space the eyes a little apart and set the smile below and between them. Step back and check the spacing before cutting, since a symmetrical layout makes the face look cheerful. A washable marker or a poked dot outline both work well.

  4. Carve the eyes first

    An adult should carve the two ovals with a small serrated pumpkin saw, angling the blade slightly inward toward the center. Cutting the smaller shapes first keeps the pumpkin sturdy while you work. Gently push each oval plug outward so it pops free cleanly. Trim any ragged edges for a neat, rounded look.

  5. Cut the smile last

    Save the curved mouth for last since it is the widest opening and cutting it early can weaken the face. Follow your line with steady, shallow strokes and keep the inward angle. Ease the crescent piece out slowly so the corners stay crisp. Clean up the edges and you are basically done.

  6. Light it and set it out

    Drop a battery LED tea light or puck light inside and place the lid back on. Skip real candles, since they are a fire risk and can scorch the thin wall. Set the finished pumpkin on a flat step and snap a photo, both lit at dusk and unlit in daylight. This design looks friendly either way.

Gather your supplies

Check things off as you get ready.

Work on a stable surface, keep your free hand out of the cutting path, and have an adult handle sharp tools.

Three levels of light

  • Leave intact

    The entire orange skin of the face and body stays untouched and dark

  • Peel & shade

    Optional: lightly peel just inside the eye and mouth edges for a soft ring of glow

  • Cut through

    The two oval eyes and the curved smile are cut fully through for the brightest light

Learn the carving basics

Before you start cutting

How do I keep the eyes even so the face looks happy?

Draw both ovals before cutting and step back to check they match in size and height. A quick trick is to fold a paper template in half so both eyes come out the same. Marking first means you can erase and adjust before any blade touches the pumpkin.

Why cut the smile last instead of first?

The mouth is the largest opening, and cutting it early removes support that keeps the front wall firm. Carving the smaller eyes first lets the pumpkin hold its shape while you work. Saving the big cut for last gives you the cleanest edges.

Can a young child help with this design?

Yes, this is a great first project for a kid with adult supervision. Let the child scoop the pulp, draw the shapes, and push out the loosened plugs while an adult handles all the sawing. Keeping the design to three simple cutouts means less waiting and more fun for a small helper.

Your take belongs here, too.

Changed a detail? Made it simpler? Share a photo of your version and tell the community what worked.

Share your pumpkin

More pumpkins like this

You've reached the end · 8 pumpkins
The Patch Report

Fresh pumpkins, in your inbox.

The best new carvings, ideas worth stealing, and how-tos for carving season. Short, seasonal, and gone by November.

A short email during carving season. Unsubscribe anytime. See our privacy policy.