Halloween Pumpkin Carving Contest Β· Starts October 1st Β· $500 in prizes
← Back to ideas
@ai_concepts
Aug 24, 2026
Simple Happy Jack-O-Lantern Classic Face PumpkinAI
0

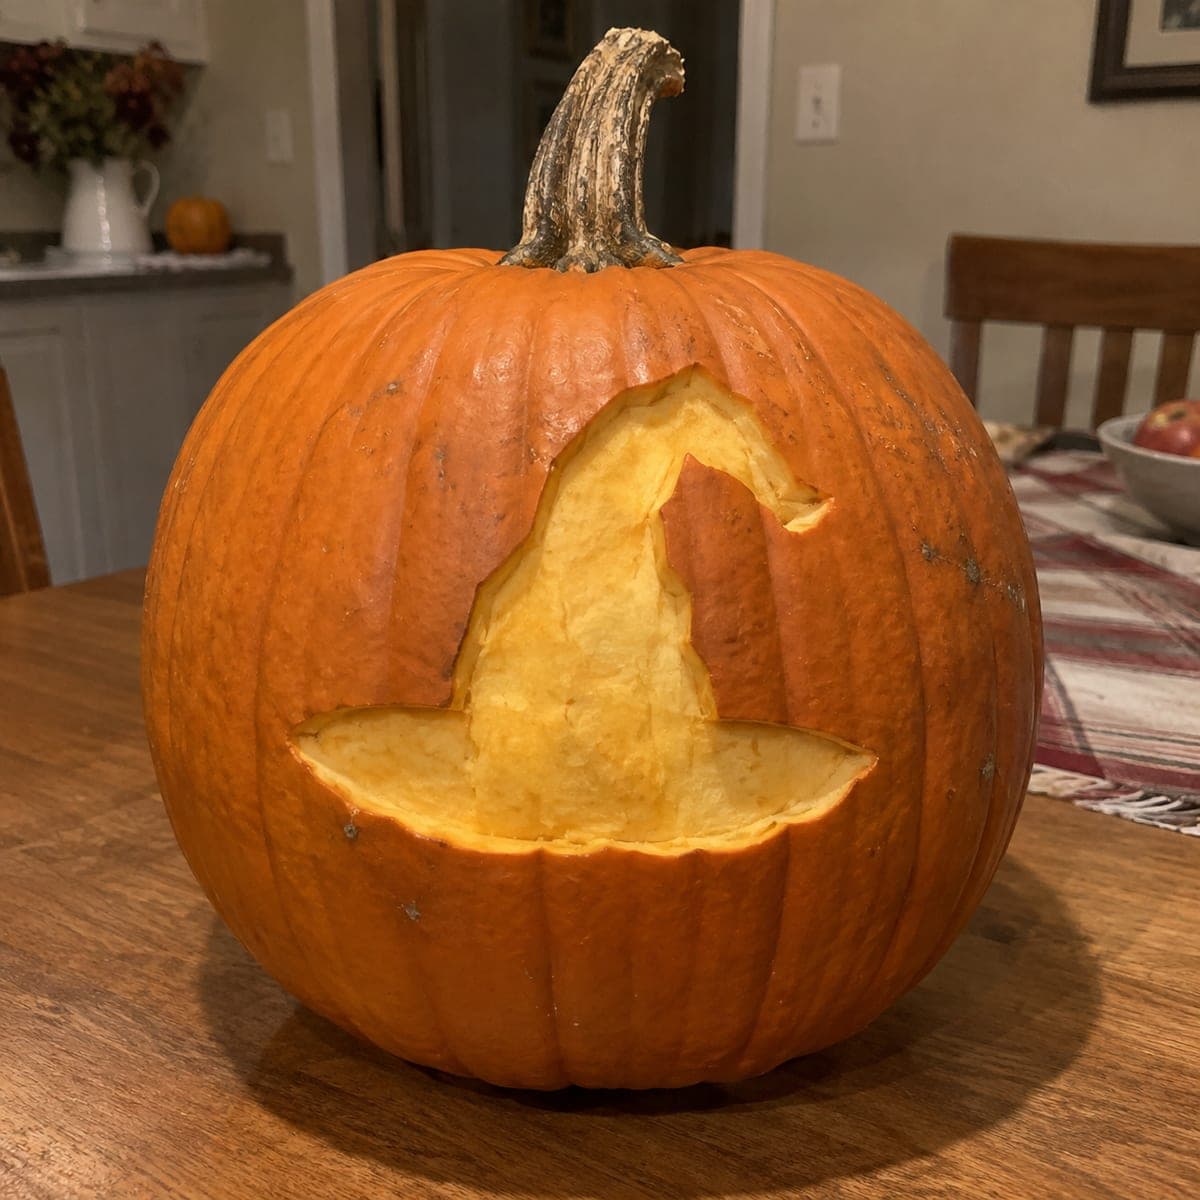
Simple Happy Jack-O-Lantern Classic Face Pumpkin

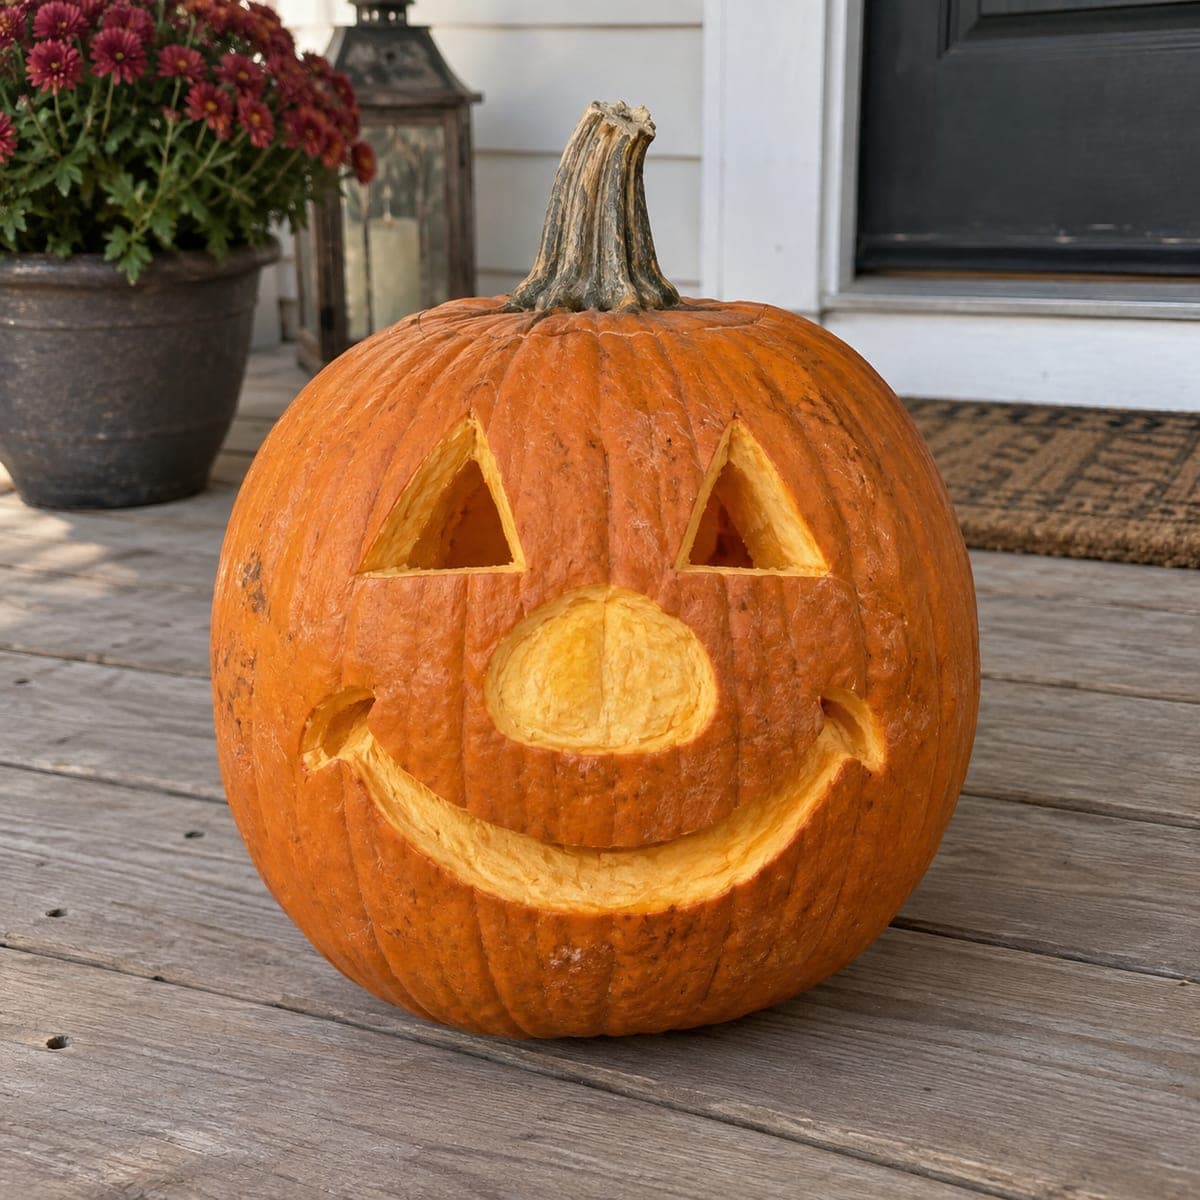
Triangle eyes, a round bump nose, and a wide curving smile give this daytime pumpkin a friendly, approachable classic jack-o-lantern look that works as well indoors as outdoors. The straightforward cutout design takes less than thirty minutes with a basic carving kit, making it the go-to first pumpkin carving idea for beginners or young children carving with supervision. Scoop the inside clean so the walls are even and the nose protrudes naturally. Photographed in natural light on a wood deck, this cheerful pumpkin shows how traditional designs remain timelessly appealing.

This is an AI-generated concept image: a realistic, carvable design idea rather than a photo of a finished carve. AI concepts are always labeled and sit out the leaderboard and the contest.

No ratings yet Β· Sign in to rate

Comments (0)

  • No comments yet β€” be the first.

Save without an account. Sign in to like or comment.

Our tips for carving a similar design

The charm of this design is the mix of two treatments: clean cutouts for the triangle eyes and wide smile, plus a shallow peeled nose that stays as a raised bump and glows softly instead of shining through. Plan the face large and centered so the light has room to spread. Keep the walls an even thickness and cut the big smile last so nothing tears.

Written by PumpkinCarvingIdeas.com, inspired by the image above. These are our suggestions, not instructions from the uploader. This approach to the AI concept has not been tested on a real pumpkin.

From pumpkin to porch

  1. Draw the face first

    Wipe the pumpkin dry and sketch the design with a washable marker before any cutting. Place two matching triangle eyes above center, a rounded oval for the nose bump between and below them, and a long curving smile across the lower third. Step back and check the spacing from a few feet away, since faces read differently up close. Redraw any line until it looks balanced, because marker wipes off easily but cuts do not.

  2. Open and clean the pumpkin

    Have an adult cut a lid at an angle around the stem so the top rests back in place without falling through. Scoop out the seeds and pulp, then scrape the front inner wall until it is about one inch thick. Thinner walls carve more easily and let more light pass, so take your time on the side that holds the face. Save the seeds to roast if you like.

  3. Cut the triangle eyes

    Start with the eyes since they are small and forgiving. Use a small serrated carving saw and push it straight in, then follow each drawn edge with slow, steady strokes. Pop each triangle out gently by pushing from the inside. Clean up any ragged edges with the tip of the saw for crisp points.

  4. Peel the nose bump

    Instead of cutting the nose all the way through, shave off only the outer skin inside the oval to create a glowing raised bump. Score the outline about a quarter inch deep with a paring tool, then peel the orange skin away to expose the lighter flesh underneath. Leave a rounded dome so it catches light and looks like it protrudes. This peeled area will glow dim orange rather than shine bright, which gives the face its dimension.

  5. Cut the smile last

    The wide smile is the largest opening, so save it for the end when the pumpkin is still sturdy. Cut along the top line of the mouth first, then the bottom curve, working in short sections. Remove the piece gently and trim the inside edges so the curve is smooth. Cutting this big shape last keeps the face from sagging or cracking while you work.

  6. Light it and photograph

    Drop in a battery LED light or a short string of LEDs rather than a candle, which is safer and will not scorch the flesh. Set the pumpkin on a porch or table and test the glow in a dark room. The eyes and mouth will shine bright while the peeled nose stays a warm dim orange. Snap your photo in the evening, and rub a little petroleum jelly on the cut edges to slow drying if you want it to last.

Gather your supplies

Check things off as you get ready.

Work on a stable surface, keep your free hand out of the cutting path, and have an adult handle sharp tools.

Three levels of light

  • Leave intact

    The outer face and ribbed skin stay untouched and dark, framing the glow.

  • Peel & shade

    The oval nose is skin-peeled so it reads as a soft, dim orange bump.

  • Cut through

    The two triangle eyes and the wide smile are cut fully through for the brightest light.

Learn the carving basics

Before you start cutting

How do I get the nose to look raised instead of just a hole?

Only remove the outer orange skin inside the oval, not the full wall. Leave a rounded dome of pale flesh so it catches light and appears to push forward. Keeping it uncut also means the nose glows a gentle dim orange while the eyes and mouth shine bright, which is what gives the face its friendly depth.

What order should I cut the openings in?

Start with the small triangle eyes, then peel the nose, and save the wide smile for last. The smile is the biggest opening and weakens the front wall, so carving it at the end keeps the pumpkin sturdy while you work. Cutting big shapes early often leads to sagging or cracked edges.

Can a young child do this design?

Yes, with supervision this is one of the easiest faces to try. An adult should handle the lid and any deep saw cuts, while a child can scoop the inside, draw the face, and peel the nose with a safe tool. Keep the shapes simple and large so there is plenty of room for error.

Your take belongs here, too.

Changed a detail? Made it simpler? Share a photo of your version and tell the community what worked.

Share your pumpkin

More pumpkins like this

You've reached the end Β· 8 pumpkins
The Patch Report

Fresh pumpkins, in your inbox.

The best new carvings, ideas worth stealing, and how-tos for carving season. Short, seasonal, and gone by November.

A short email during carving season. Unsubscribe anytime. See our privacy policy.