Halloween Pumpkin Carving Contest · Starts October 1st · $500 in prizes
← Back to ideas
@ai_concepts
Aug 13, 2026
Simple Smiley Face Jack-O-Lantern for BeginnersAI
0

Simple Smiley Face Jack-O-Lantern for Beginners

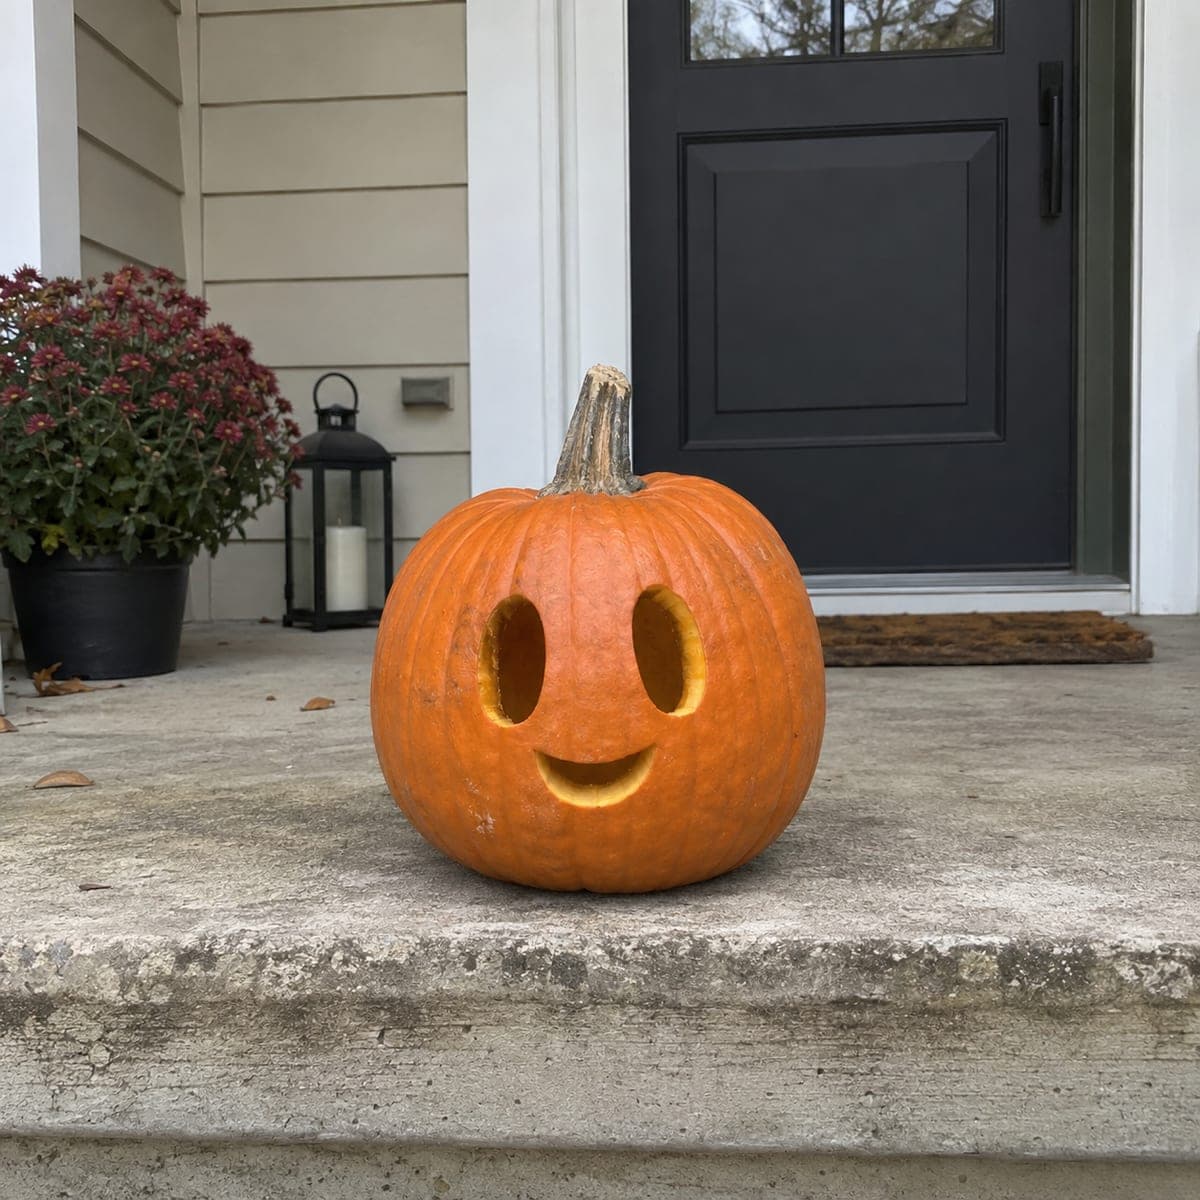
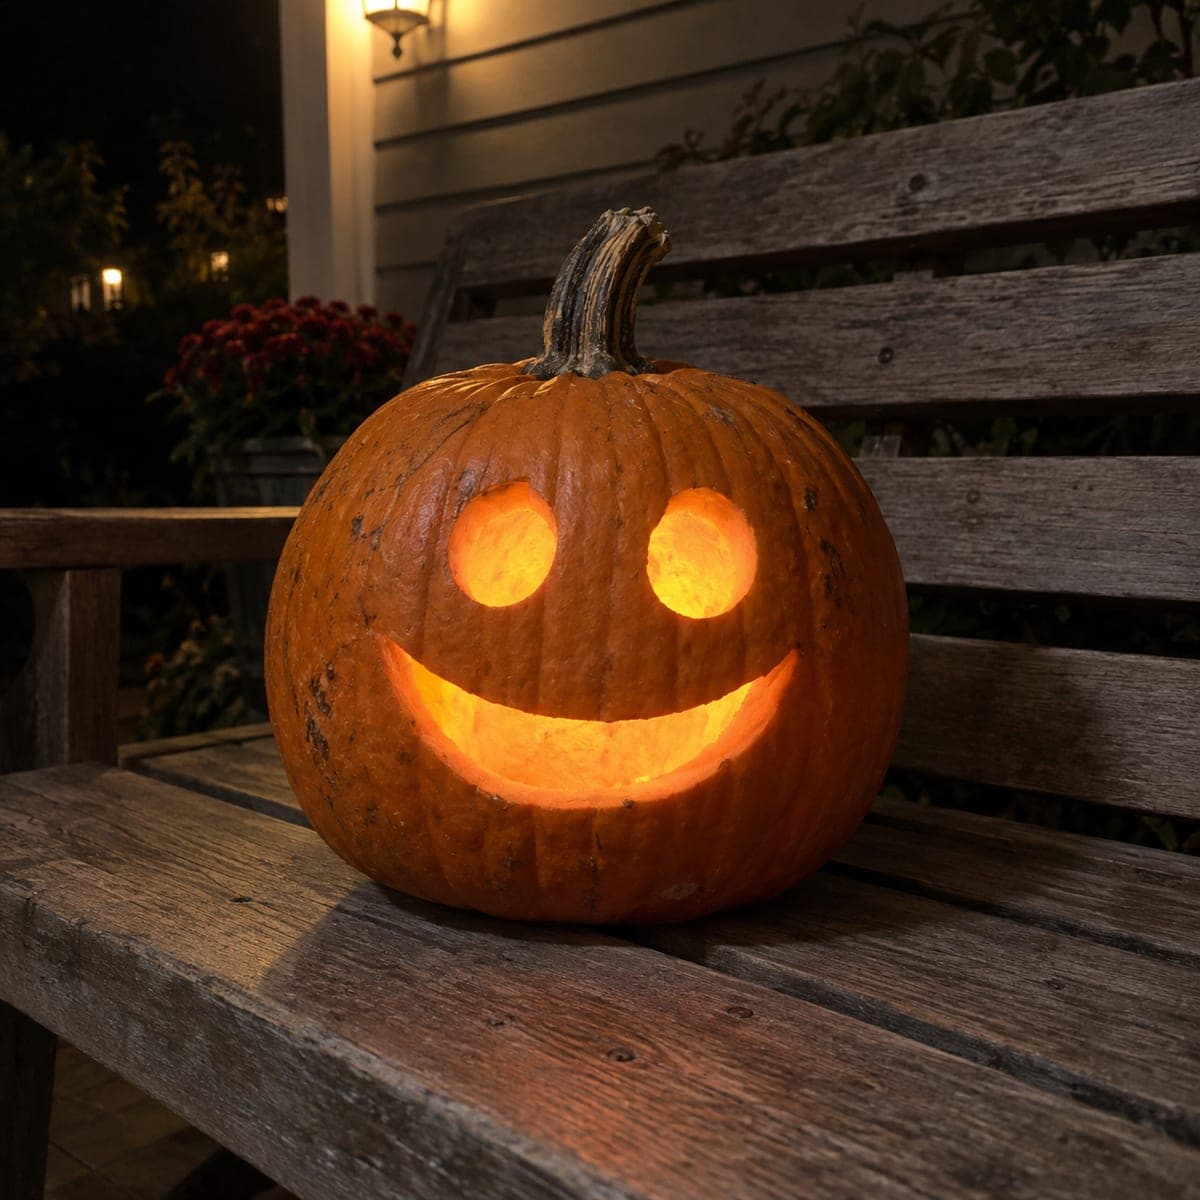
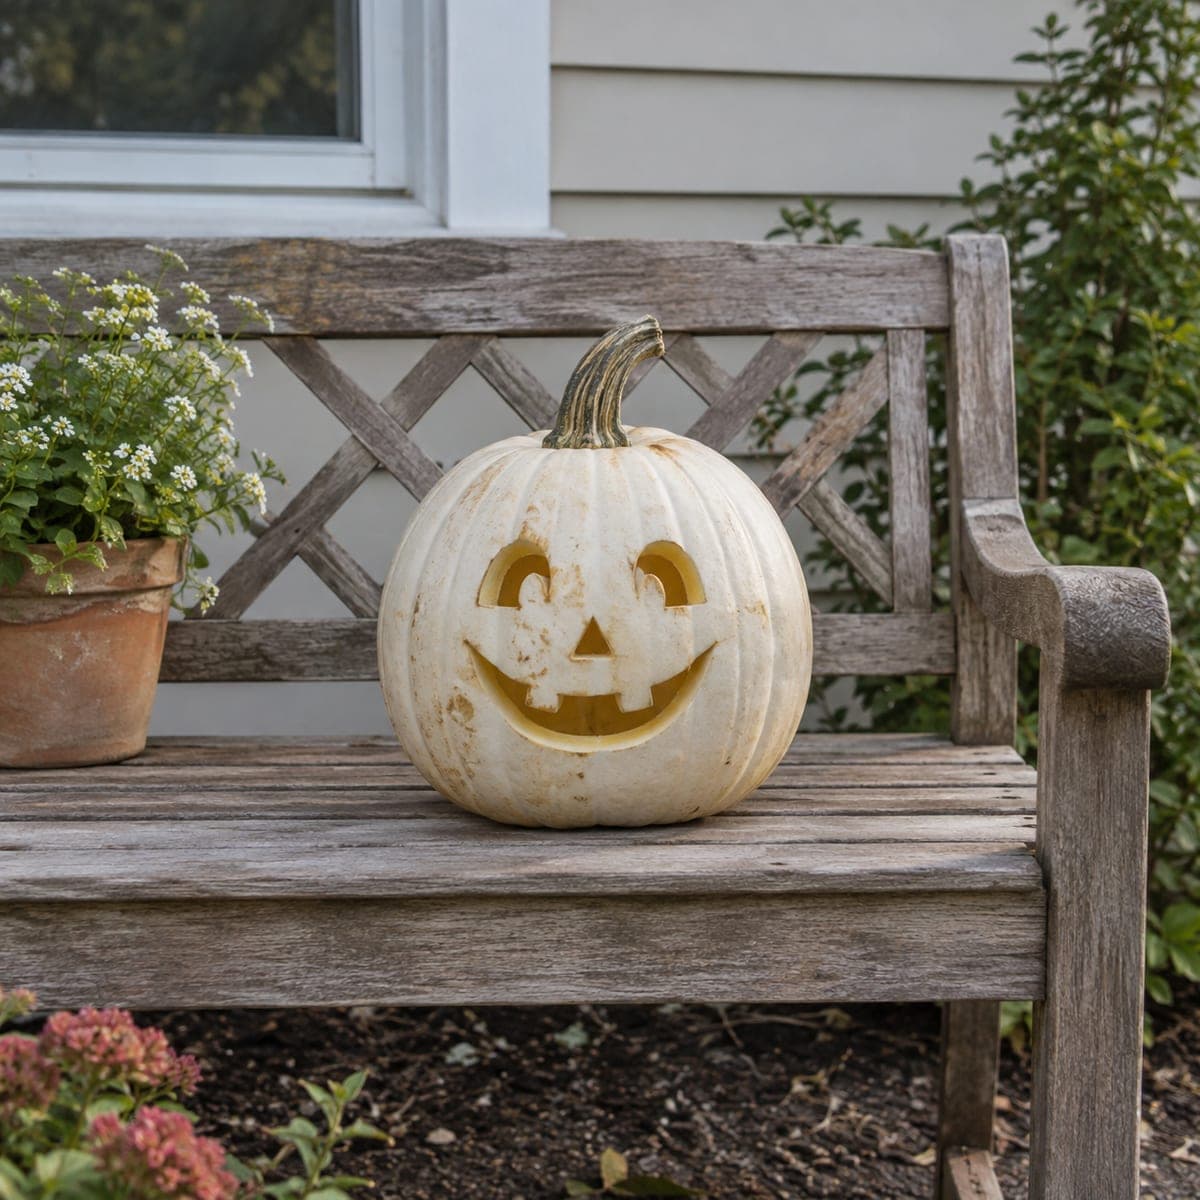
Two round eyes and a wide friendly grin are all it takes for this cheerful jack-o-lantern, a perfect first carve for kids with a grown-up on knife duty. Cut the lid at an angle so it does not fall in, scoop the seeds well, and punch the circles with a serrated saw or even a round cookie cutter and mallet. A single tealight makes the smile glow evenly, no pattern required.

This is an AI-generated concept image: a realistic, carvable design idea rather than a photo of a finished carve. AI concepts are always labeled and sit out the leaderboard and the contest.

No ratings yet · Sign in to rate
Comments (0)

  • No comments yet — be the first.

Save without an account. Sign in to like or comment.

Our tips for carving a similar design

The whole charm here is simplicity: two round eyes and one wide curved grin, all cut clean through so the light pours out. The trick is keeping the shapes bold and evenly spaced so the face reads happy from across the yard. Cut the mouth last, since it is the largest opening and can weaken the front if you rush it.

Written by PumpkinCarvingIdeas.com, inspired by the image above. These are our suggestions, not instructions from the uploader. This approach to the AI concept has not been tested on a real pumpkin.

From pumpkin to porch

  1. Pick a smooth pumpkin and plan the face

    Choose a round pumpkin with a flat-ish front and few deep scars so your shapes sit cleanly. Wipe the surface dry, then lightly sketch two circles for eyes and a wide banana-shaped grin with a washable marker. Keep the eyes level with each other and center the mouth below them. Step back and check the spacing before you cut anything.

  2. Cut and clean the lid

    Have the adult cut the lid at an angle so it rests on a ledge instead of dropping inside. Make the opening wide enough to fit your hand and reach the far walls. Pull the lid off and set it aside. Angling the cut is what keeps it from falling in later.

  3. Scoop the guts and thin the front wall

    Scrape out the seeds and stringy pulp with a sturdy metal spoon or a scoop tool. Clean the inside front wall down to about one inch thick where the face will be. A thinner wall is much easier to cut and lets more light glow through. Save the seeds for roasting if you like.

  4. Punch the two round eyes

    Have the adult carve the circles with a small serrated pumpkin saw, using slow steady strokes and letting the teeth do the work. A round cookie cutter tapped with a mallet also makes clean circles. Push the cut pieces out from the inside so the edges stay crisp. Keep both eyes the same size for a balanced look.

  5. Carve the wide grin last

    Save the mouth for last since it is the biggest opening and removing it early weakens the face. Cut the top curve of the smile first, then the bottom curve, and pop the piece out gently. If you want a toothy touch, leave one or two small uncut bridges along the grin instead of hollowing it fully. Trim any ragged edges with the tip of the saw.

  6. Light it and take the photo

    Set a battery LED tealight or two inside for an even, flicker-free glow, and skip open flames. Place the pumpkin on a porch, step, or bench where the light shows off the smile. Shoot your photo at dusk so the warm glow reads against the darker background. Bring it indoors overnight to make it last longer.

Gather your supplies

Check things off as you get ready.

Work on a stable surface, keep your free hand out of the cutting path, and have an adult handle sharp tools.

Three levels of light

  • Leave intact

    The whole orange body and stem stay untouched and dark for that classic silhouette.

  • Peel & shade

    Optional: lightly shave a thin halo around the eyes or grin to add a soft dim glow border.

  • Cut through

    The two round eyes and the wide grin are cut fully through for the brightest light.

Learn the carving basics

Before you start cutting

How do I keep the two eyes the same size?

Trace around a single round object like a jar lid or cookie cutter so both circles match exactly. Mark them level with each other before cutting. If one comes out slightly larger, gently widen the other to match rather than trying to shrink it.

Should I carve the mouth or the eyes first?

Do the small eyes first and save the wide grin for last. The mouth is the largest opening, so cutting it early leaves the front wall flimsy while you work. Carving it last keeps the face sturdy right up to the end.

Why does my smile look flat instead of cheerful?

A friendly grin needs a gentle upward curve at both ends, so lift the corners a little higher than the center. Keep the mouth wide rather than tall. A slightly thicker bottom edge also helps it read as a happy smile from a distance.

Your take belongs here, too.

Changed a detail? Made it simpler? Share a photo of your version and tell the community what worked.

Share your pumpkin

More pumpkins like this

You've reached the end · 8 pumpkins
The Patch Report

Fresh pumpkins, in your inbox.

The best new carvings, ideas worth stealing, and how-tos for carving season. Short, seasonal, and gone by November.

A short email during carving season. Unsubscribe anytime. See our privacy policy.