Halloween Pumpkin Carving Contest · Starts October 1st · $500 in prizes
← Back to ideas
@ai_concepts
Sep 25, 2026
Moon and Stars Lantern Pumpkin for Beginner CarversAI
0

Report this carving

Tell us what is wrong. Reports are private.

Moon and Stars Lantern Pumpkin for Beginner Carvers

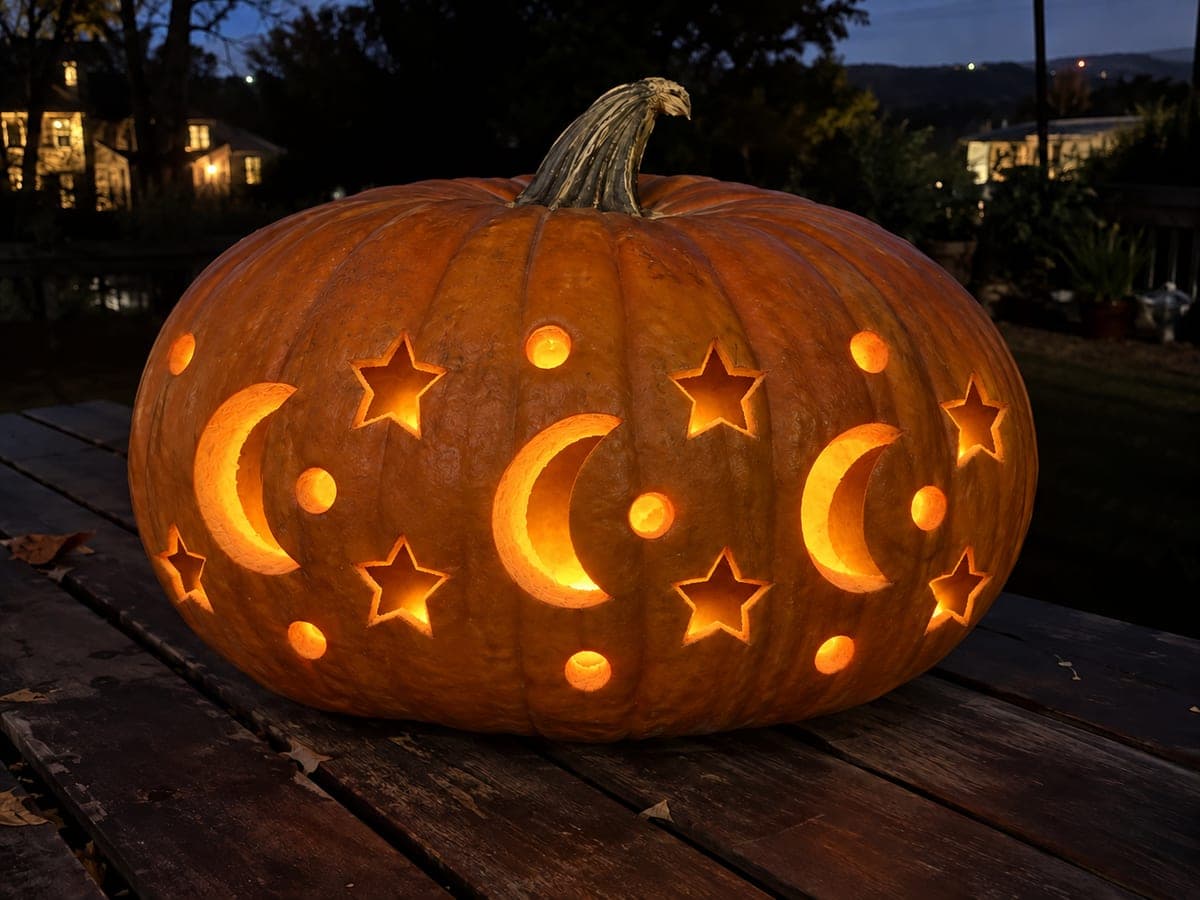
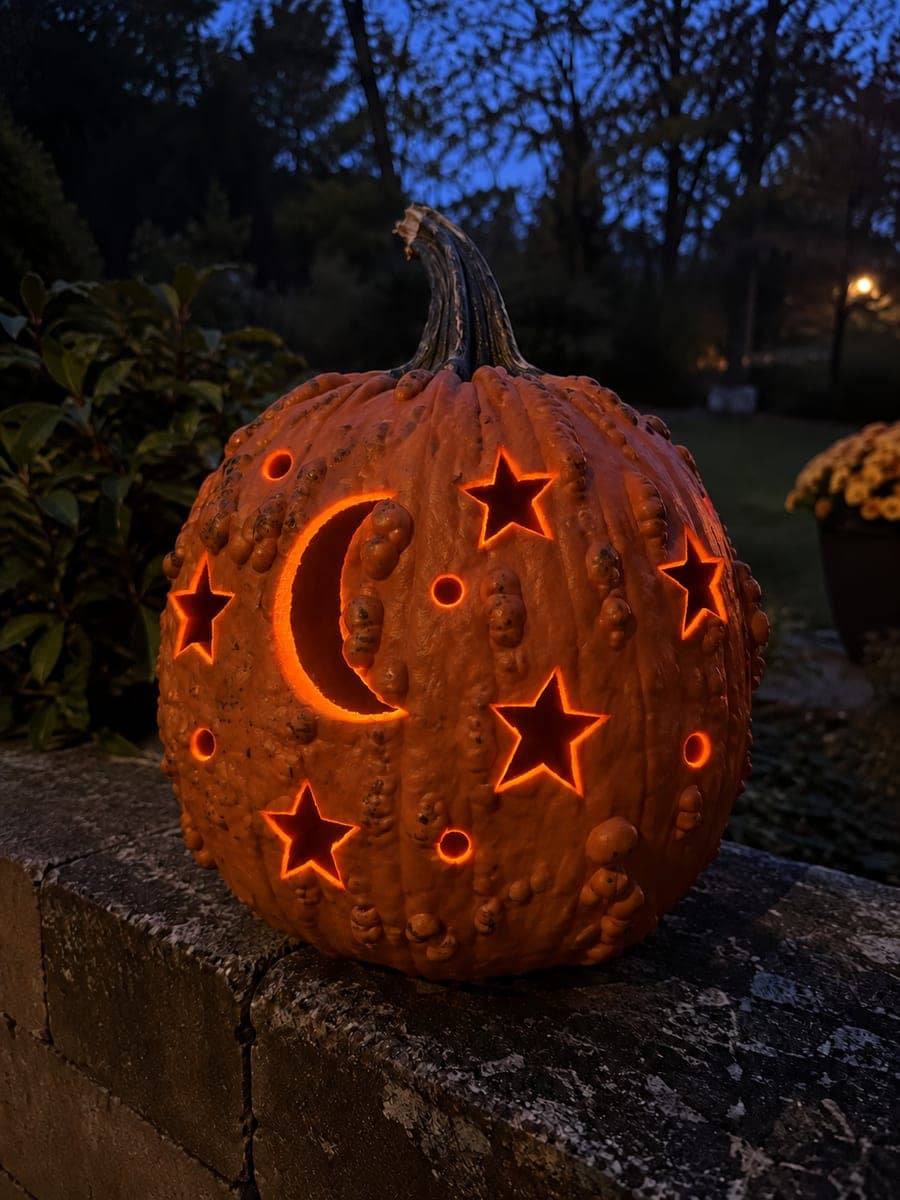
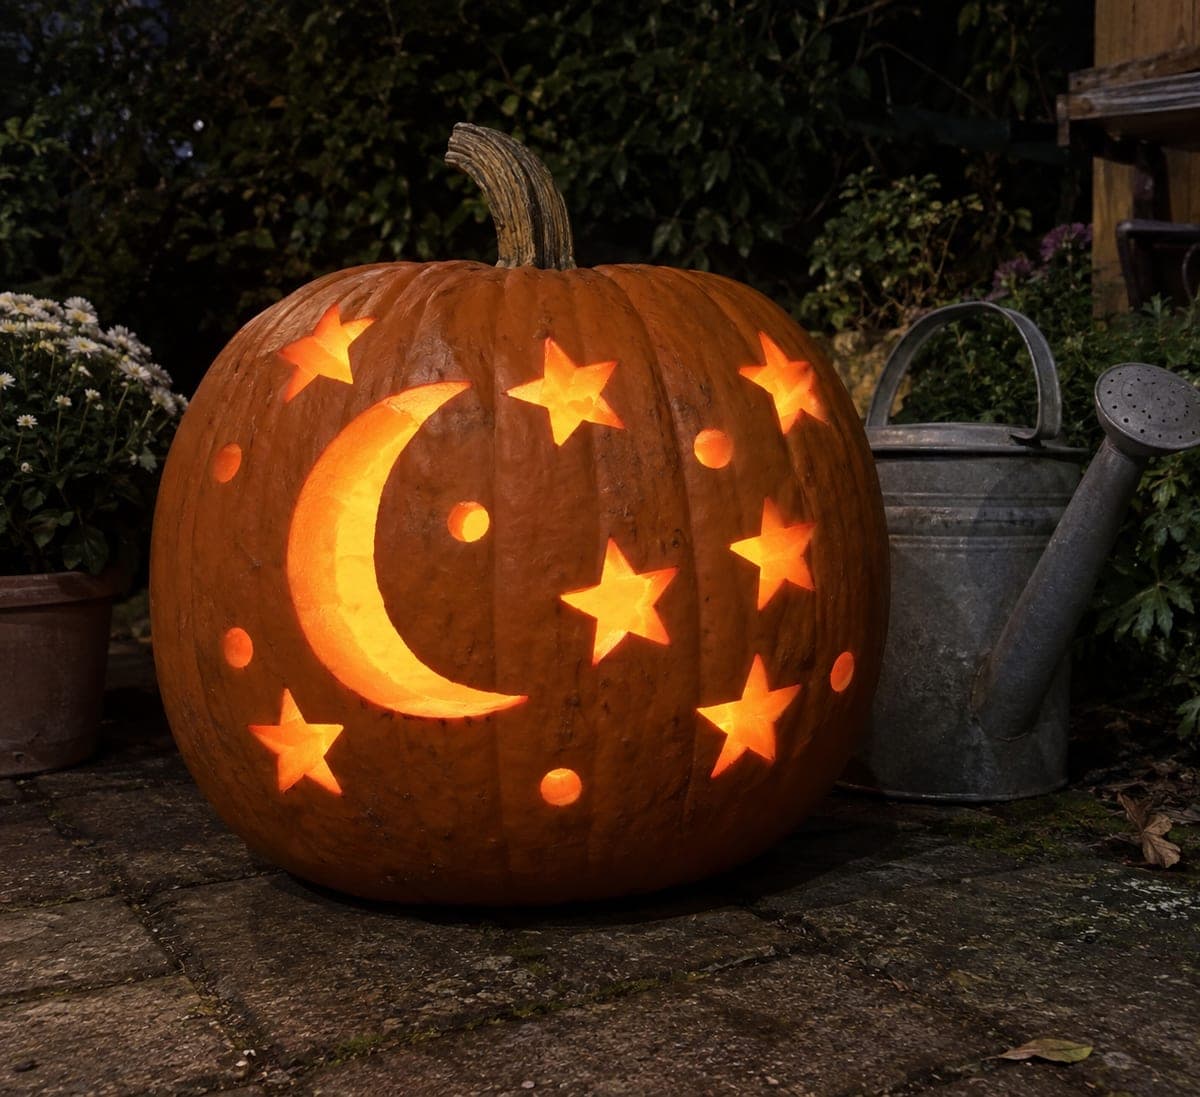
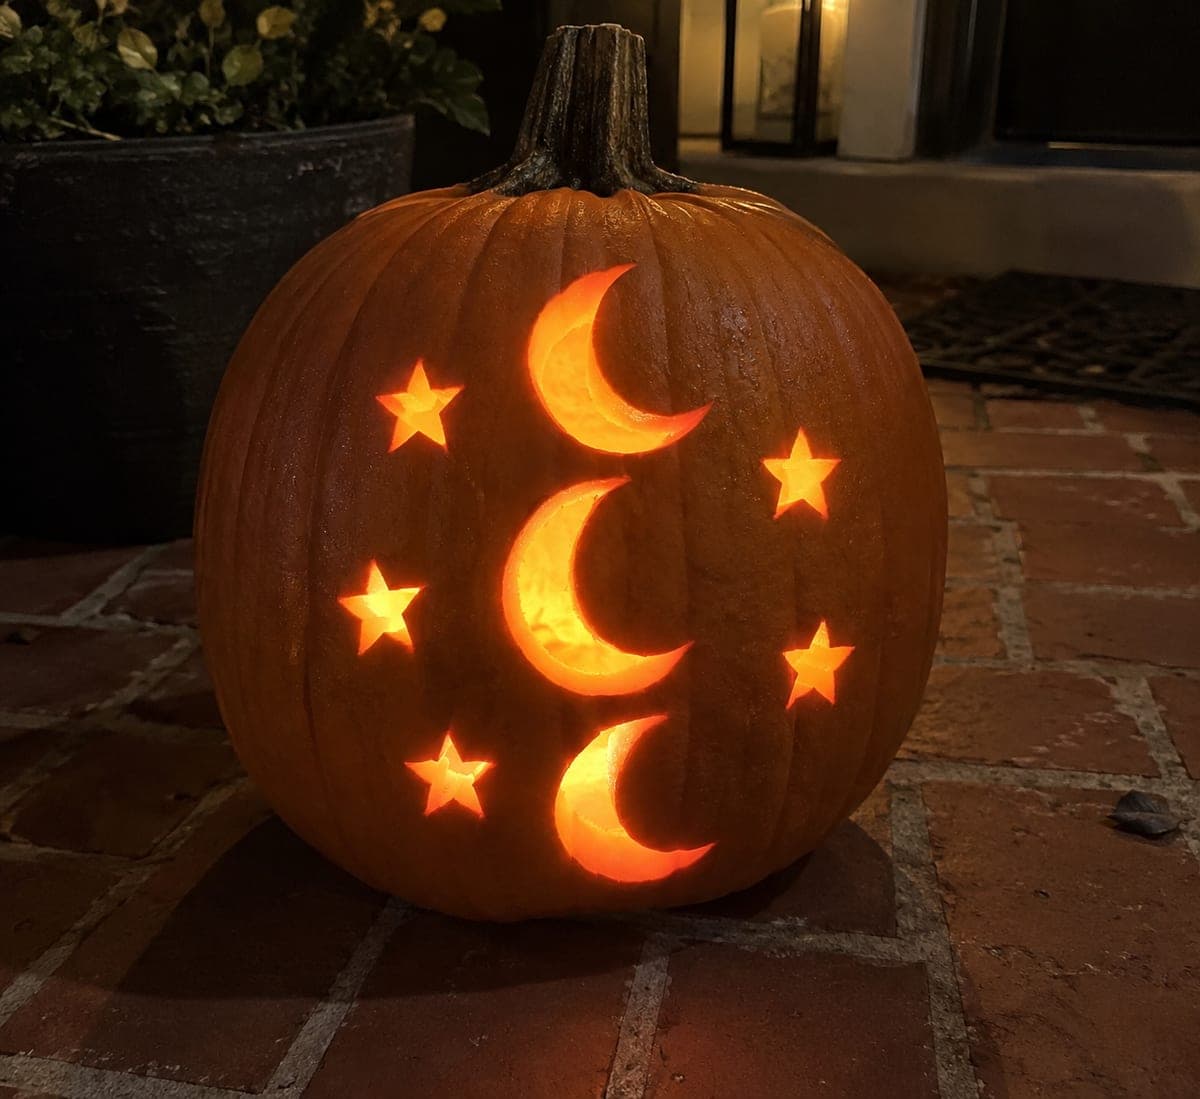
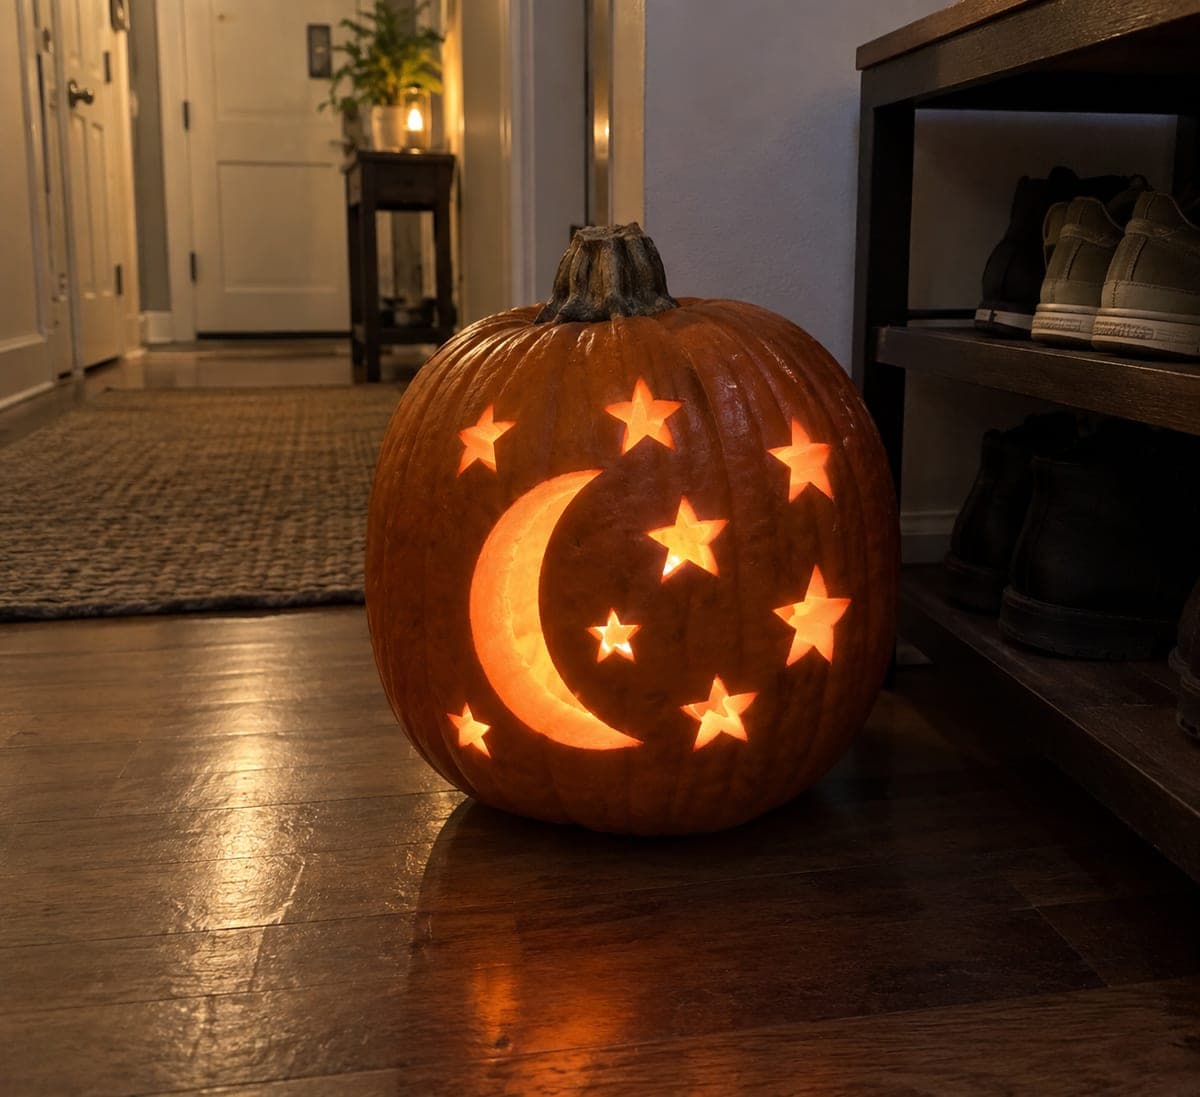
One crescent moon opening and seven five-pointed star holes create a celestial lantern in this intermediate pumpkin carving idea for beginners, with every shape cut as a clean empty aperture. Trace the crescent and each star onto the surface before cutting so spacing is even across the face, then cut the crescent first as the largest and most structurally impactful shape. Cut the stars in size order from largest to smallest, keeping at least 10mm of rind between the crescent and the nearest star. A battery LED inside produces a steady, clean glow through each sharp star point.

No ratings yet · Sign in to rate
Comments (0)

  • No comments yet — be the first.

Save without an account. Sign in to like or comment.

Our tips for carving a similar design

One crescent-shaped opening and seven clean five-pointed star holes work together to create a lantern that reads as a night sky scene rather than a face. Cutting the crescent first as the most structurally significant shape sets the stage, then the stars are cut in size order from largest to smallest with at least 10 mm of rind maintained between each star and the crescent. A battery LED inside produces a steady, clean glow through each sharp star point.

From pumpkin to porch

  1. Hollow the pumpkin

    Cut the lid from the base and scoop until the wall is a consistent inch thick. With eight separate openings spread across the face, a uniform wall ensures the saw behaves the same way on every cut and keeps the overall structure stable throughout the session.

  2. Transfer and space the design

    Tape the template in place and trace the crescent and all seven star outlines with a stylus. Remove the paper and check that there is at least 10 mm of rind between the crescent and the nearest star, and at least 8 mm between each pair of stars. Adjust any marker lines before cutting if the spacing looks too tight.

  3. Cut the crescent

    Start with the crescent opening since it is the largest and most structurally impactful shape. Cut the outer curve first, then the inner curve, working in smooth arcs. The crescent inner curve is tight and may require short strokes and blade repositioning at the narrow horns of the crescent. Support the offcut all the way to release.

  4. Cut the stars from largest to smallest

    A five-pointed star is cut as ten straight-line segments meeting at alternating outer and inner points. Make a pilot hole at one inner point, insert the saw, and cut each segment in sequence: to the outer point, back to the next inner point, and so on around the star. Work through all seven stars in size order, largest first.

  5. Clean the star points

    Star points are the most common place for ragged edges to appear. Use a thin paring knife to trim each point to a sharp, clean V. A sharp star point lets the interior light escape in a well-defined beam rather than a blurry blob.

  6. Light and display

    Insert a battery LED lantern and view the pumpkin in low light. Each star should project a distinct radial glow, and the crescent should glow with a smooth, even curve. This lantern design looks especially good as a windowsill display or a centerpiece on a dark wooden surface.

Written with AI to match this design

Gather your supplies

Check things off as you get ready.

Work on a stable surface, keep your free hand out of the cutting path, and have an adult handle sharp tools.

Three levels of light

  • Leave intact

    All rind surrounding the crescent and star openings remains solid and dark

  • Peel & shade

    None, only full cutouts are used

  • Cut through

    The crescent moon opening and all seven five-pointed star holes are cut completely through for full interior glow

Learn the carving basics

Before you start cutting

How do I cut the tight inner curve of the crescent without the saw slipping?

Use a fine-tooth detail saw for the inner curve and make short pull strokes, pivoting the blade slightly after each one to follow the arc. If the curve is tighter than the saw's turning radius allows, cut a series of short straight chords that approximate the curve, then use a paring knife to smooth the slight facets into a clean arc.

My star points are not all the same sharpness. Does that matter?

Minor variation in star point sharpness is normal for a hand-cut design and often looks charming rather than flawed. If one point is significantly more blunt than the others, pare it slightly with a craft knife. The glow from a blunter point will spread more than a sharp one, but it will not ruin the overall celestial effect.

Can I arrange the stars asymmetrically rather than in a set pattern?

Absolutely. A scattered, organic arrangement of the seven stars looks more like an actual night sky than a perfectly symmetrical grid. The only constraint is maintaining at least 8 mm of rind between every pair of stars and between each star and the crescent. Within that constraint, place the stars wherever looks most natural and pleasing.

Your take belongs here, too.

Changed a detail? Made it simpler? Share a photo of your version and tell the community what worked.

Share your pumpkin

More pumpkins like this

You've reached the end · 8 pumpkins
The Patch Report

Fresh pumpkins, in your inbox.

The best new carvings, ideas worth stealing, and how-tos for carving season. Short, seasonal, and gone by November.

A short email during carving season. Unsubscribe anytime. See our privacy policy.