Halloween Pumpkin Carving Contest · Starts October 1st · $500 in prizes
← Back to ideas
@ai_concepts
Sep 25, 2026
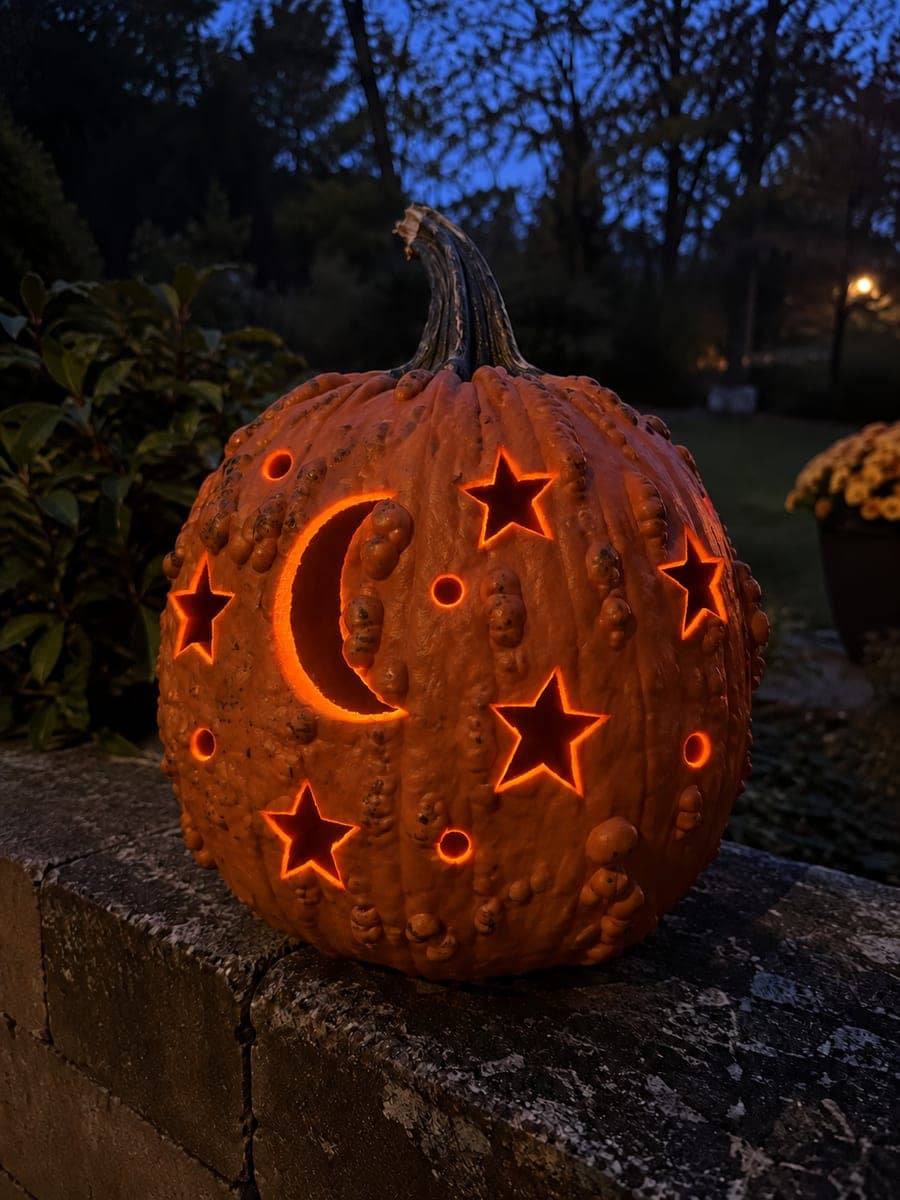
Crescent Moon and Star Bumpy Pumpkin CarvingAI
0

Report this carving

Tell us what is wrong. Reports are private.

Crescent Moon and Star Bumpy Pumpkin Carving

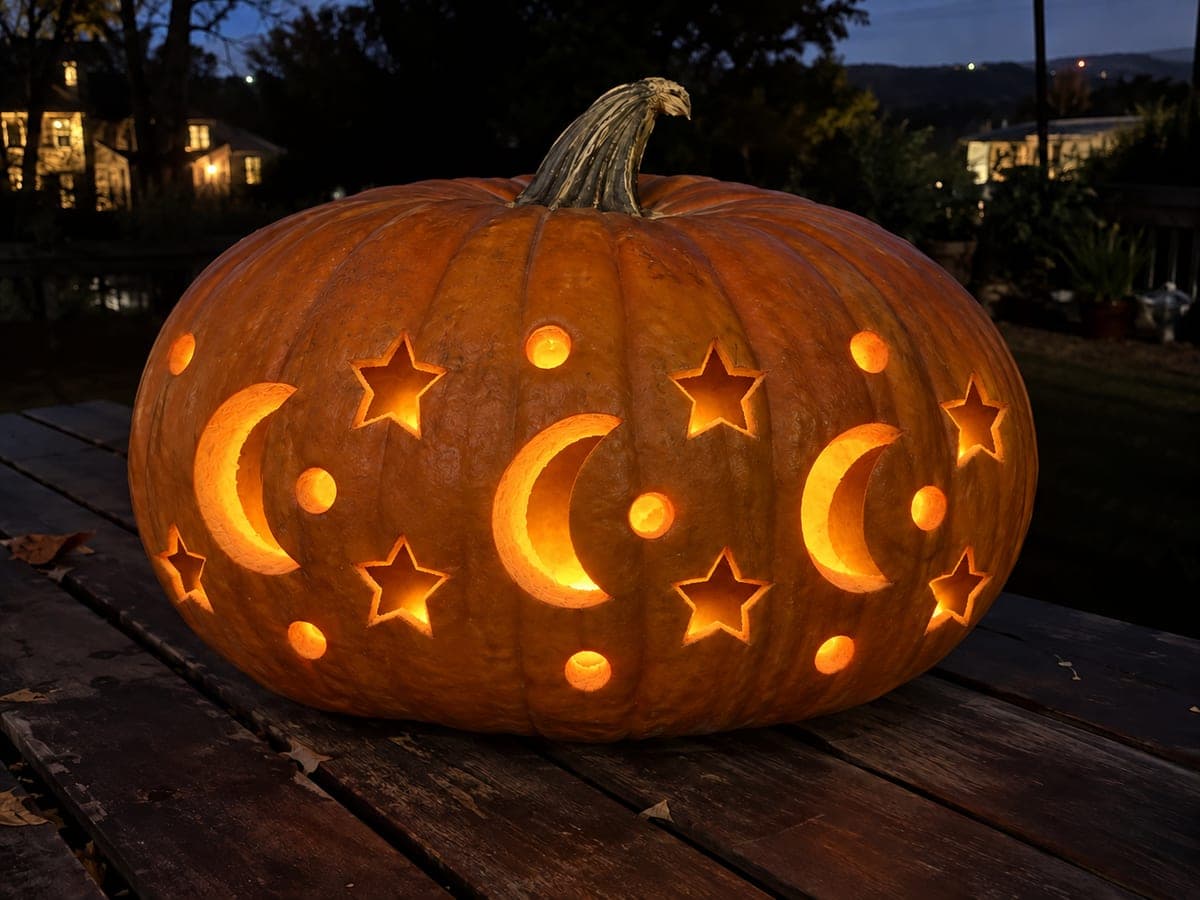
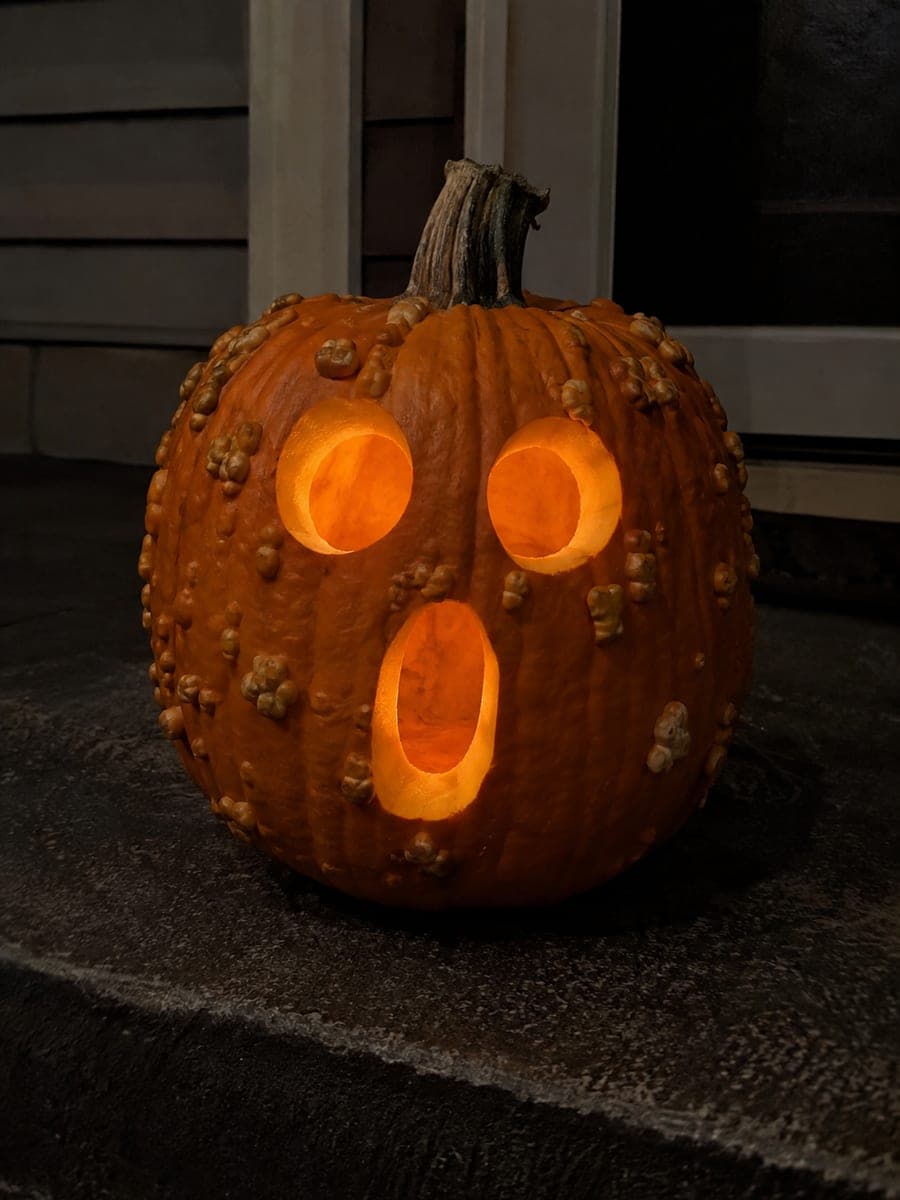
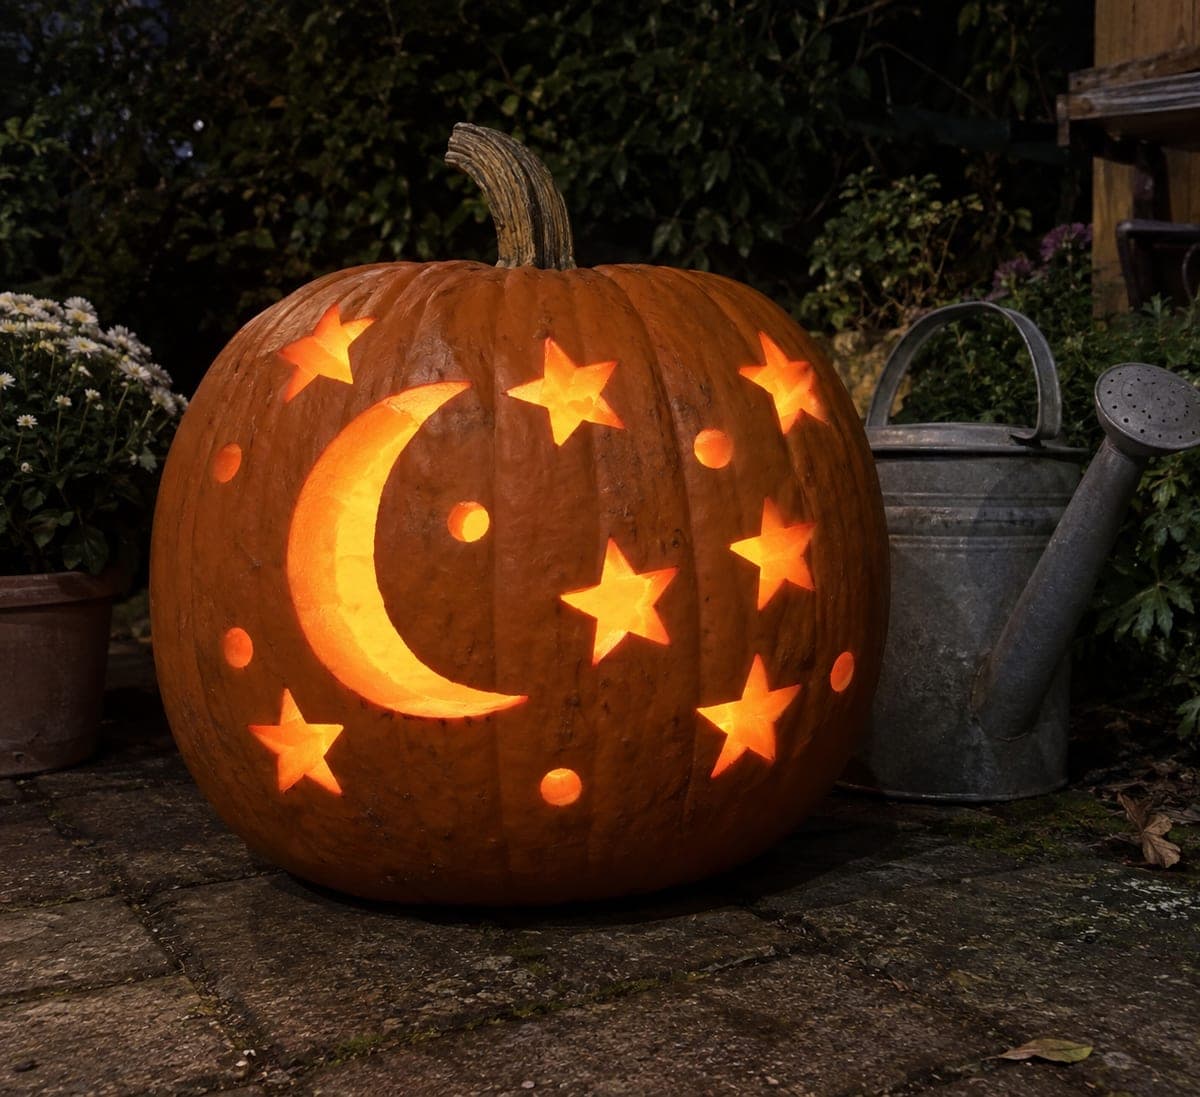
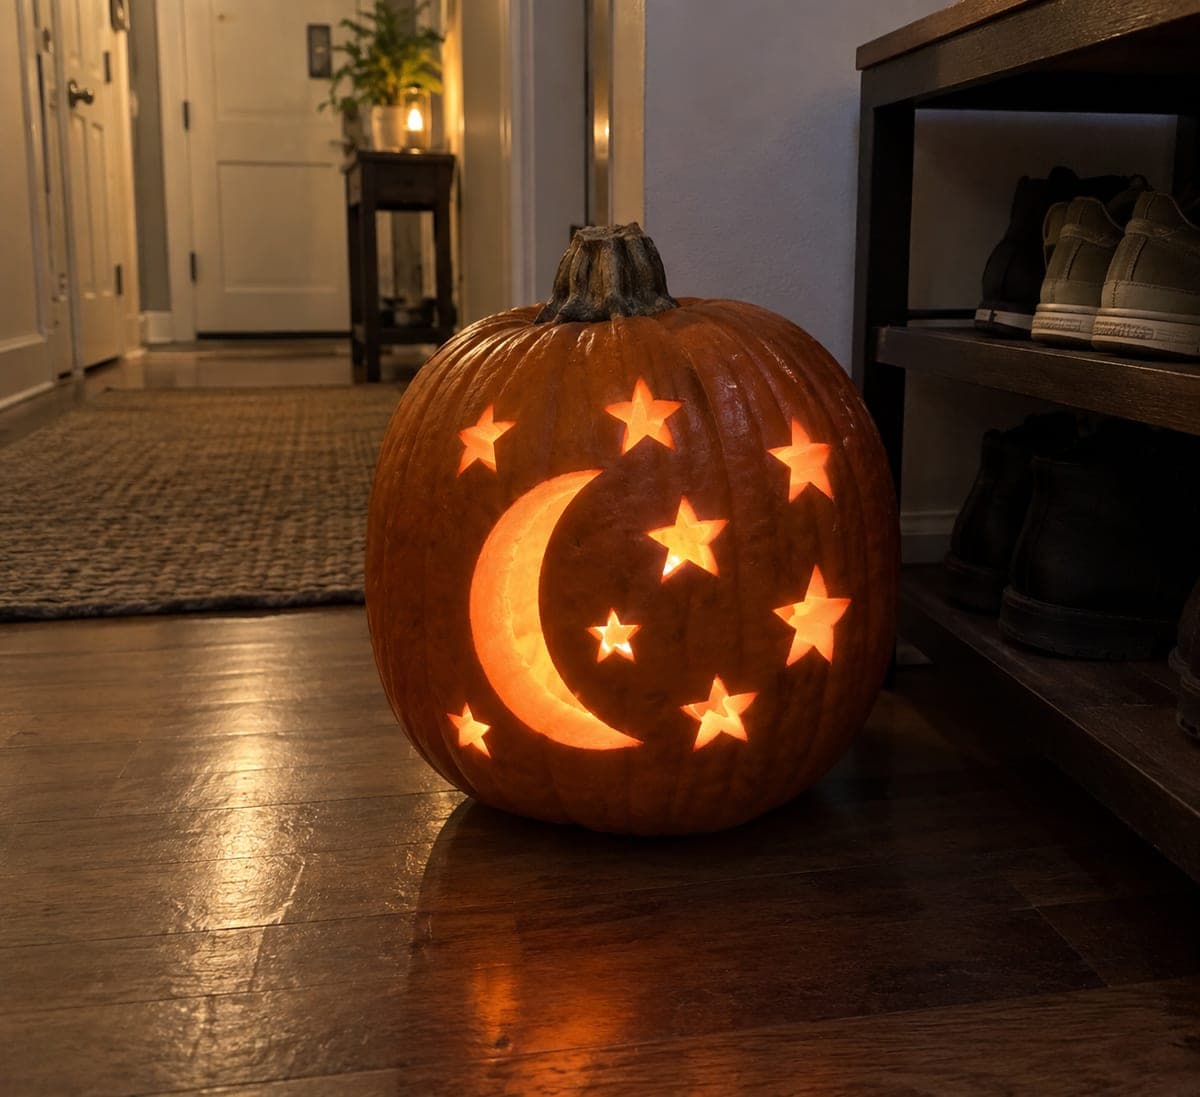
A crescent moon cutout, five empty star apertures, and six drilled dot holes are arranged across the face of a bumpy orange pumpkin, each shape placed in the wider gaps between natural protrusions. Cut the crescent last, after you have drilled the round dots and sawed the stars, so the most structurally significant shape is handled on a still-rigid shell. At blue hour the mix of curved and pointed light openings gives the pumpkin a celestial garden lantern look.

No ratings yet · Sign in to rate

Comments (0)

  • No comments yet — be the first.

Save without an account. Sign in to like or comment.

Our tips for carving a similar design

The sequence matters on this design: drill the dot holes and cut the stars first while the shell is rigid, then cut the crescent last because it is the largest and structurally most significant opening. Positioning every shape in the wider smooth gaps between bumps keeps the cuts clean and maintains structural integrity on an irregular shell.

From pumpkin to porch

  1. Examine the surface and hollow

    Identify the smooth gaps between bumps large enough for each planned shape. Hollow through the top to a 2 cm wall. Dry the outer surface before marking.

  2. Mark all shapes in smooth gaps

    Draw the crescent moon, five star positions, and six dot hole positions using a dry-erase marker, placing every shape in a smooth gap with at least 2.5 cm of rind between neighbors. Mark the crescent last to ensure the remaining shapes fit without crowding.

  3. Drill the six dot holes

    Use a small spade bit to drill all six dot holes first. Drilling while the shell is fully intact ensures consistent circles and avoids straining weakened rind later.

  4. Cut the five star apertures

    Use a narrow jab saw to cut each star outline in smooth rind patches. Pop each star fragment inward immediately to confirm all points are free. Clean any irregular points with a paring knife.

  5. Cut the crescent moon

    Cut the outer crescent arc first, then the inner arc. Keep at least 2 cm of rind all around the crescent perimeter. Use slow, deliberate saw strokes because the crescent's length means you cannot complete it in one short movement. The fragment should release cleanly with a gentle inward push.

  6. Display at blue hour on the garden wall

    Insert an LED tea light, replace the lid, and place the pumpkin on a low garden wall at blue hour. The mix of curved and pointed light openings on the bumpy orange shell creates a celestial lantern effect that reads from several meters away.

Written with AI to match this design

Gather your supplies

Check things off as you get ready.

Work on a stable surface, keep your free hand out of the cutting path, and have an adult handle sharp tools.

Three levels of light

  • Leave intact

    All bumps, the wide rind bands between shapes, and the top and base sections stay dark.

  • Peel & shade

    None on this design.

  • Cut through

    The crescent moon opening, all five star apertures, and all six drilled dot holes glow fully.

Learn the carving basics

Before you start cutting

Why cut the crescent last?

A crescent is a long continuous cut that removes a significant section of rind, weakening the shell more than any star or drilled hole. Leaving it until the other shapes are complete means you work with a rigid shell for the smaller, more delicate cuts and only risk the structural change from the crescent at the very end.

Can I use a full circle moon instead of a crescent to make the design easier?

Yes. A full circle drilled with a large hole saw is simpler to cut cleanly on bumpy rind than a crescent, and it still reads as a moon at night. It changes the design aesthetic from a crescent silhouette to a glowing orb, which is an equally valid choice.

The bumps around my crescent cut make the rind edge look uneven. Is that normal?

Yes, and it is part of the charm on a bumpy pumpkin. If a large bump immediately beside the crescent edge bothers you visually, use a paring knife to slightly widen the nearest end of the crescent arc so it flows naturally past the bump rather than stopping awkwardly beside it.

Your take belongs here, too.

Changed a detail? Made it simpler? Share a photo of your version and tell the community what worked.

Share your pumpkin

More pumpkins like this

You've reached the end · 8 pumpkins
The Patch Report

Fresh pumpkins, in your inbox.

The best new carvings, ideas worth stealing, and how-tos for carving season. Short, seasonal, and gone by November.

A short email during carving season. Unsubscribe anytime. See our privacy policy.