Halloween Pumpkin Carving Contest · Starts October 1st · $500 in prizes
← Back to ideas
@ai_concepts
Sep 25, 2026
Star and Dot Cutout Warty Pumpkin DesignAI
0

Report this carving

Tell us what is wrong. Reports are private.

Star and Dot Cutout Warty Pumpkin Design

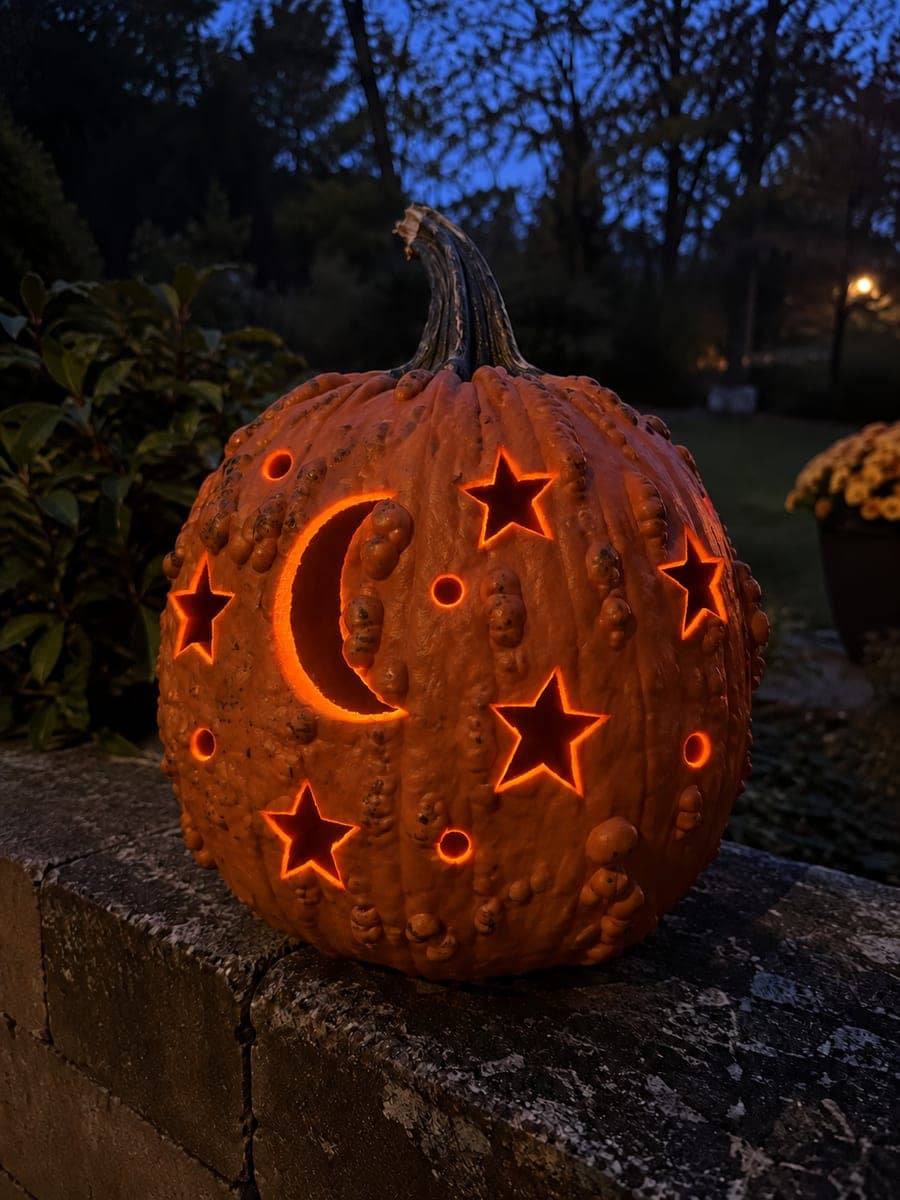
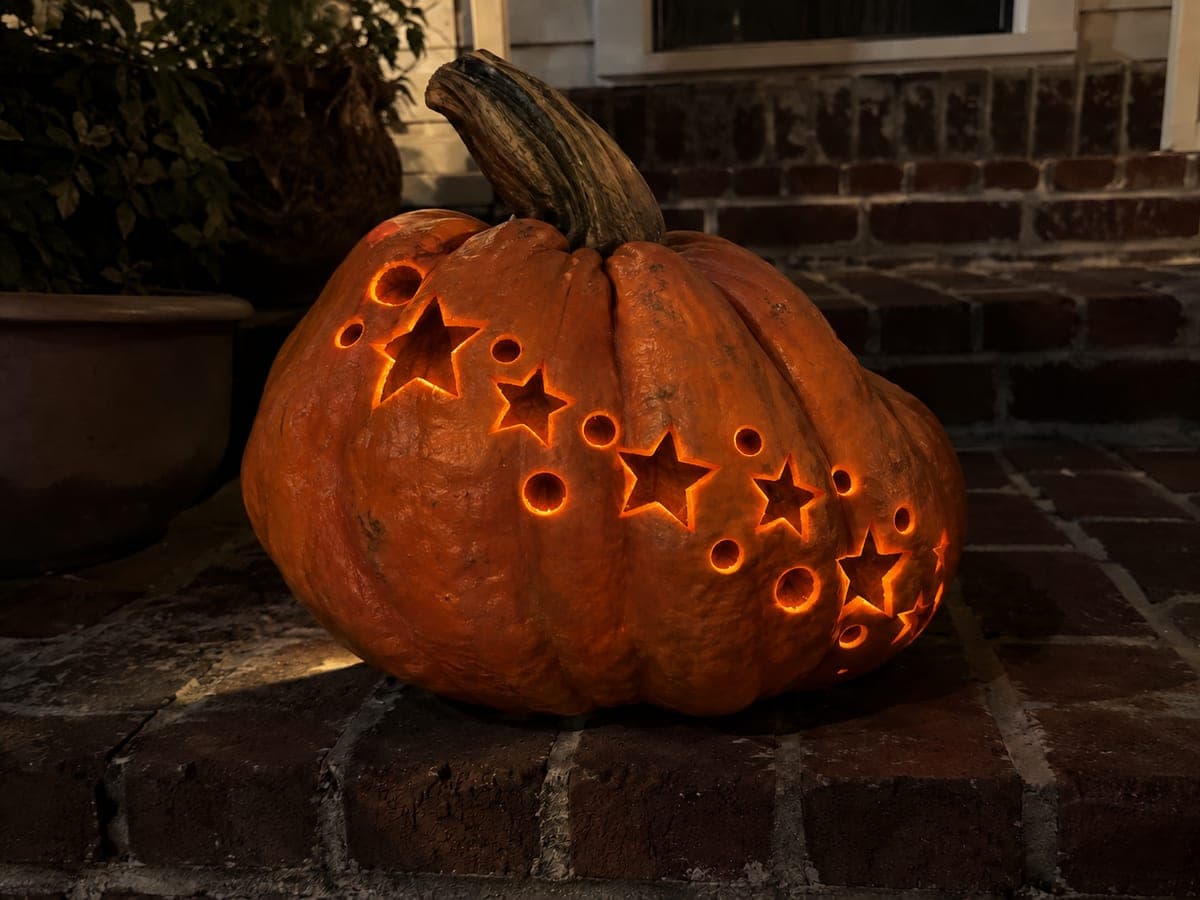
Six glowing star apertures and twelve round holes scattered across a bumpy pumpkin create a constellation lantern effect, with every cut placed deliberately in the smoother gaps between the surface warts. Use a drill bit for the round holes first, then cut the stars with a narrow jab saw, keeping wide rind bridges between each shape to maintain structural integrity. Light it on a wooden bench at night to send pinpoint starbursts of light in every direction.

No ratings yet · Sign in to rate

Comments (0)

  • No comments yet — be the first.

Save without an account. Sign in to like or comment.

Our tips for carving a similar design

The bumpy surface means every cut must be pre-planned to land in a smooth gap. Drilling the round holes first while the shell is fully rigid makes subsequent star cuts more stable, because the drill does not flex the rind the way a saw does. Wide rind bridges between all shapes are mandatory on irregular rind that may have uneven thickness.

From pumpkin to porch

  1. Map smooth areas and hollow

    Study the pumpkin surface and mark the smoothest available patches large enough for a star. There should be at least six such patches for the stars and plenty of smaller smooth spots for the round holes. Hollow through the top to a 2 cm wall.

  2. Mark all shapes before cutting

    Using a dry-erase marker, draw all six star positions and all twelve round hole positions. Step back and confirm the pattern looks balanced and that every shape has at least 3 cm of rind between it and its neighbors.

  3. Drill all twelve round holes first

    Use a spade bit sized for the desired dot diameter and drill each hole perpendicularly. Working while the rind is intact ensures consistent, clean circles.

  4. Cut the star apertures in smooth gaps

    Use a narrow jab saw to cut each star outline. Pierce inside the outline and cut to each point individually. Pop the fragment inward immediately after completing each star to confirm all five points are free before continuing.

  5. Clean all openings

    Use a paring knife to remove any fibrous tags at star points and any rough edges around holes. On bumpy rind, a little roughness is unavoidable and adds character.

  6. Display on a wooden bench at night

    Insert an LED lantern for steady bright light, replace the lid, and set on the wooden bench. The stars scatter pinpoint light in all directions and the dot holes add ambient glow that highlights every bump on the surface.

Written with AI to match this design

Gather your supplies

Check things off as you get ready.

Work on a stable surface, keep your free hand out of the cutting path, and have an adult handle sharp tools.

Three levels of light

  • Leave intact

    All wart bumps and broad rind bridges between every shape stay dark and cast textured shadows.

  • Peel & shade

    None on this design.

  • Cut through

    All six star apertures and all twelve round holes are cut through for full light.

Learn the carving basics

Before you start cutting

How do I ensure the star points fall in smooth rind and not on a wart?

Draw the star center first in a smooth patch, then check each of the five point directions for warts before committing the full star outline. Rotate the star a few degrees if any point would land on a bump. A small rotation is invisible in the final result.

Should I use a large or small spade bit for the round holes?

A bit 1.5 to 2 cm in diameter creates a hole large enough to glow visibly but small enough to keep the surrounding rind intact. Larger holes weaken the rind more and are harder to position cleanly between warts.

My star fragments are not popping out cleanly. What might be wrong?

Warty rind sometimes has fibrous interior connections that hold fragments even after the outline is cut. Run the blade tip carefully along each edge once more from the inside, and push the fragment with a skewer rather than your finger to avoid forcing a crack.

Your take belongs here, too.

Changed a detail? Made it simpler? Share a photo of your version and tell the community what worked.

Share your pumpkin

More pumpkins like this

You've reached the end · 8 pumpkins
The Patch Report

Fresh pumpkins, in your inbox.

The best new carvings, ideas worth stealing, and how-tos for carving season. Short, seasonal, and gone by November.

A short email during carving season. Unsubscribe anytime. See our privacy policy.