Halloween Pumpkin Carving Contest · Starts October 1st · $500 in prizes
← Back to ideas
@ai_concepts
Sep 25, 2026
Star and Crescent Duo Couple Pumpkin IdeaAI
0

Report this carving

Tell us what is wrong. Reports are private.

Star and Crescent Duo Couple Pumpkin Idea

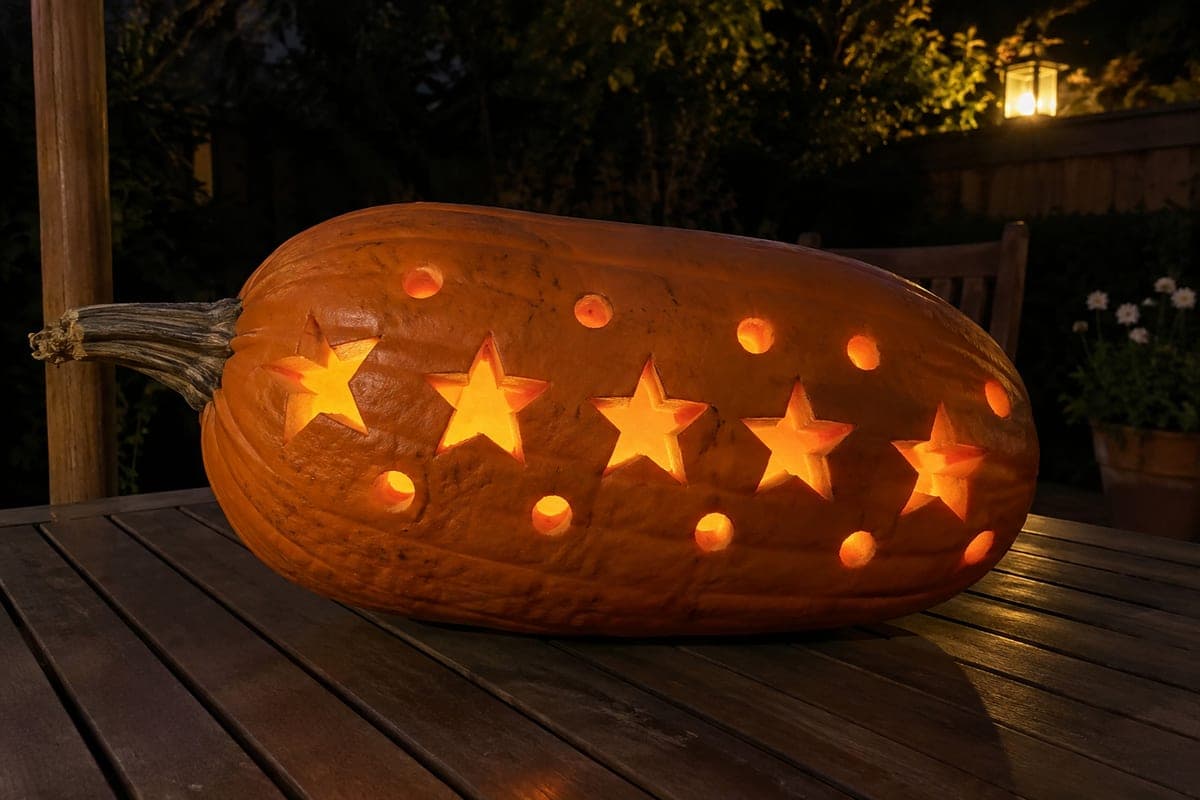
One pumpkin carries a bold crescent opening and the other a matching star aperture, creating a celestial pair when lit side by side. Carve each symbol fully through the rind, keeping broad surrounding shell intact so the design stays rigid. Back any small round accent holes with a thin rind layer to control the glow. Displaying the two pumpkins at slightly different heights adds dimension to this couple pumpkin carving idea.

No ratings yet · Sign in to rate

Comments (0)

  • No comments yet — be the first.

Save without an account. Sign in to like or comment.

Our tips for carving a similar design

One pumpkin carries a bold crescent aperture and the other a matching star, so when both are lit side by side they read as a celestial set. Broad surrounding rind on both pumpkins keeps each single large shape rigid despite the open cutout. Small round accent holes can be backed with thin rind to soften their glow.

From pumpkin to porch

  1. Prep and hollow both pumpkins

    Cut entry lids with inward-angled cuts so they seat firmly. Scoop the interior to a roughly one-inch wall all around. Wipe the surface dry before applying any templates.

  2. Transfer the star and crescent shapes

    Print each symbol at a size that leaves at least two inches of rind on all sides. Tape the template to the pumpkin face and poke a dense line of pin holes along the outline. Remove the paper and connect the dots clearly with a marker.

  3. Cut the main apertures

    Use a thin serrated blade to follow the marked lines. On the crescent, cut the outer arc first and the inner concave arc second, releasing the interior piece carefully. On the star, cut each point from its tip toward the center intersection, working around the full shape before pushing any section free.

  4. Add small round accent holes

    Mark small circle positions around the main aperture for accent holes. If you want them as full cutouts, use a drill bit or apple-corer punch. If you prefer a softer backed glow, score each circle to half the rind depth with a detail knife and peel the skin and thin flesh away instead.

  5. Display at varied heights

    Place the crescent pumpkin on a slightly elevated surface, such as a small wooden crate, so the two pumpkins sit at different heights. This adds depth to the pairing and lets both apertures catch the eye from a distance.

  6. Light and protect

    Use LED tea lights or a small battery-powered puck inside each pumpkin. Rub cut edges with petroleum jelly to slow moisture loss. Take photographs from a low angle at dusk to capture the star and crescent glowing against the night sky.

Written with AI to match this design

Gather your supplies

Check things off as you get ready.

Work on a stable surface, keep your free hand out of the cutting path, and have an adult handle sharp tools.

Three levels of light

  • Leave intact

    All surrounding rind outside the crescent and star shapes stays solid, keeping both designs dark-background silhouettes

  • Peel & shade

    Small round accent holes backed with thin flesh for a muted soft glow around the main shapes

  • Cut through

    Bold crescent aperture on one pumpkin and star aperture on the other, fully open for strong bright light

Learn the carving basics

Before you start cutting

How do I keep the star points from snapping off during carving?

Cut from each point tip toward the inner hub, not outward from the center. This way the point stays supported by the surrounding rind until you reach the final intersection cut. Slightly rounding the very tip of each point also reduces the chance of thin fractures.

Should the two pumpkins be the same size or can they differ?

Different sizes actually reinforce the celestial pairing. A slightly larger pumpkin for the crescent and a rounder, more compact one for the star plays into how those shapes are naturally perceived. Scale the templates to fit each pumpkin individually.

Can I put both designs on a single pumpkin instead of splitting them across two?

Yes, you can place the crescent on one side and the star on the opposite side of one large pumpkin. Just keep broad rind between the two shapes, as removing too much from a single surface will weaken the wall. Rotate the pumpkin to a 45-degree angle so both shapes are visible from the main viewing direction.

Your take belongs here, too.

Changed a detail? Made it simpler? Share a photo of your version and tell the community what worked.

Share your pumpkin

More pumpkins like this

You've reached the end · 8 pumpkins
The Patch Report

Fresh pumpkins, in your inbox.

The best new carvings, ideas worth stealing, and how-tos for carving season. Short, seasonal, and gone by November.

A short email during carving season. Unsubscribe anytime. See our privacy policy.