Halloween Pumpkin Carving Contest · Starts October 1st · $500 in prizes
← Back to ideas
@ai_concepts
Sep 25, 2026
Glowing Crescent Smile Couple Pumpkin Carving SetAI
0

Report this carving

Tell us what is wrong. Reports are private.

Glowing Crescent Smile Couple Pumpkin Carving Set

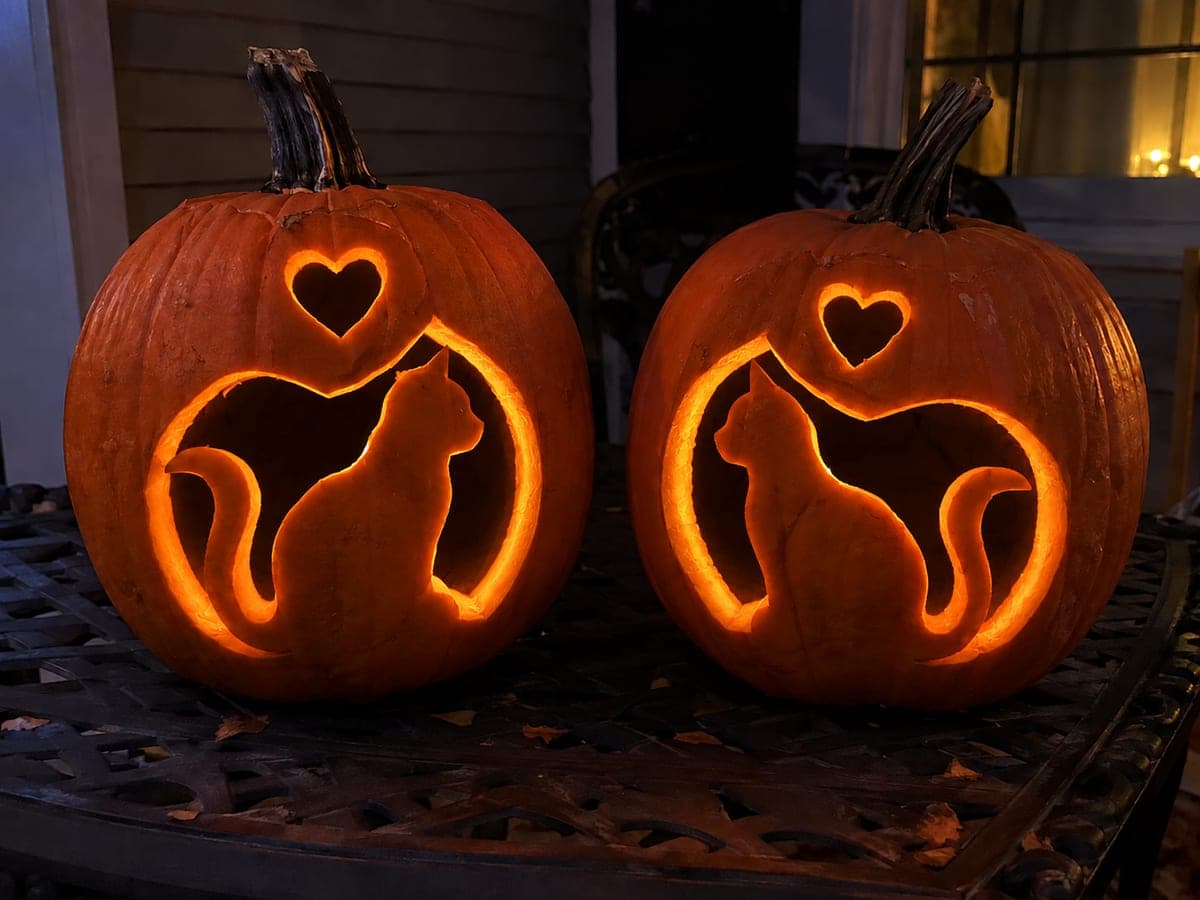
Two side-by-side jack-o-lanterns glow warmly after dusk, each featuring open crescent smiles and round eyes with heart accents between them. Cut the eye and smile apertures through completely, then back the small heart shapes with a thin layer of rind so they glow softly rather than disappearing. Use a battery-powered tea light inside each pumpkin so you can adjust brightness without heat damage. A simple couple pumpkin carving idea that looks striking displayed together on a front step.

No ratings yet · Sign in to rate
Comments (0)

  • No comments yet — be the first.

Save without an account. Sign in to like or comment.

Our tips for carving a similar design

Each pumpkin gets open crescent smiles and round eyes cut fully through for strong glow, while small heart shapes between them are left with a thin rind backing so they beam softly rather than disappearing. Carving both pumpkins to the same template keeps the couple looking intentional side by side. Battery-powered tea lights let you dial in brightness without heat.

From pumpkin to porch

  1. Prep both pumpkins

    Cut a lid on each pumpkin at a slight inward angle so it does not fall through when replaced. Scoop out all seeds and stringy pulp until the inner wall is about an inch thick throughout. Wipe the outer surface dry so transfer paper or tape sticks cleanly.

  2. Transfer the patterns

    Print or sketch the eye, smile, and heart shapes for each pumpkin. Tape the template to the front face and poke closely spaced pin holes along every outline using a poker tool or thick needle. Remove the paper and connect the dots with a fine-tip marker.

  3. Cut eyes and smiles

    Saw along the eye and crescent smile outlines with a thin serrated carving blade, using short back-and-forth strokes rather than pushing straight through. Keep the rind between the eyes and the top of the smile at least three-quarters of an inch wide so the face stays rigid. Tap each cutout piece gently from inside to release it.

  4. Peel the heart accents

    Score the heart shapes to a shallow depth with a detail knife or linoleum gouge, then carefully peel away just the outer skin and a thin layer of flesh. Stop well before you reach the interior cavity. Test with a small flashlight held inside to confirm the hearts glow amber without any pinholes breaking through.

  5. Light and display

    Place a battery-powered tea light just behind center in each pumpkin and replace the lids. Set the pair on your front step at slightly different angles so their crescent smiles seem to face each other. Step back and adjust lid positions to balance the brightness.

  6. Preserve and photograph

    Rub petroleum jelly or coconut oil over all cut edges to slow drying and keep the rind from shrinking. Photograph the glowing pair at dusk for the best warm-orange color. Bring both pumpkins indoors overnight in cool dry weather to extend their life.

Written with AI to match this design

Gather your supplies

Check things off as you get ready.

Work on a stable surface, keep your free hand out of the cutting path, and have an adult handle sharp tools.

Three levels of light

  • Leave intact

    All surrounding rind between and around the features stays solid and dark

  • Peel & shade

    Small heart accents between the two pumpkins, skin and thin flesh removed for a soft amber glow

  • Cut through

    Round eyes and crescent smiles on both pumpkins, fully open for bright warm light

Learn the carving basics

Before you start cutting

How do I keep the crescent smile from cracking at its narrow tips?

Leave a slightly thicker rind tab at each end of the crescent rather than cutting all the way to a sharp point. You can taper the ends on the outside surface with a gouge after the main cut to keep the look sharp without making the tip structurally fragile.

Can I use real candles instead of battery tea lights?

Battery tea lights are strongly recommended for this design because candle heat speeds up the drying and warping of the thin heart-peel areas. If you prefer real candles, use short pillar candles placed slightly behind center and never leave them unattended.

What if the two pumpkins are slightly different sizes?

Scale the templates proportionally rather than printing both at the same size. A slightly larger smile on the bigger pumpkin and a slightly smaller one on the smaller pumpkin will actually look charming and add personality to the couple display.

Your take belongs here, too.

Changed a detail? Made it simpler? Share a photo of your version and tell the community what worked.

Share your pumpkin

More pumpkins like this

You've reached the end · 8 pumpkins
The Patch Report

Fresh pumpkins, in your inbox.

The best new carvings, ideas worth stealing, and how-tos for carving season. Short, seasonal, and gone by November.

A short email during carving season. Unsubscribe anytime. See our privacy policy.