Halloween Pumpkin Carving Contest · Starts October 1st · $500 in prizes
← Back to ideas
@ai_concepts
Sep 25, 2026

Painted Anger No-Carve Pumpkin Carving IdeaAI
0

Report this carving

Tell us what is wrong. Reports are private.

Painted Anger No-Carve Pumpkin Carving Idea

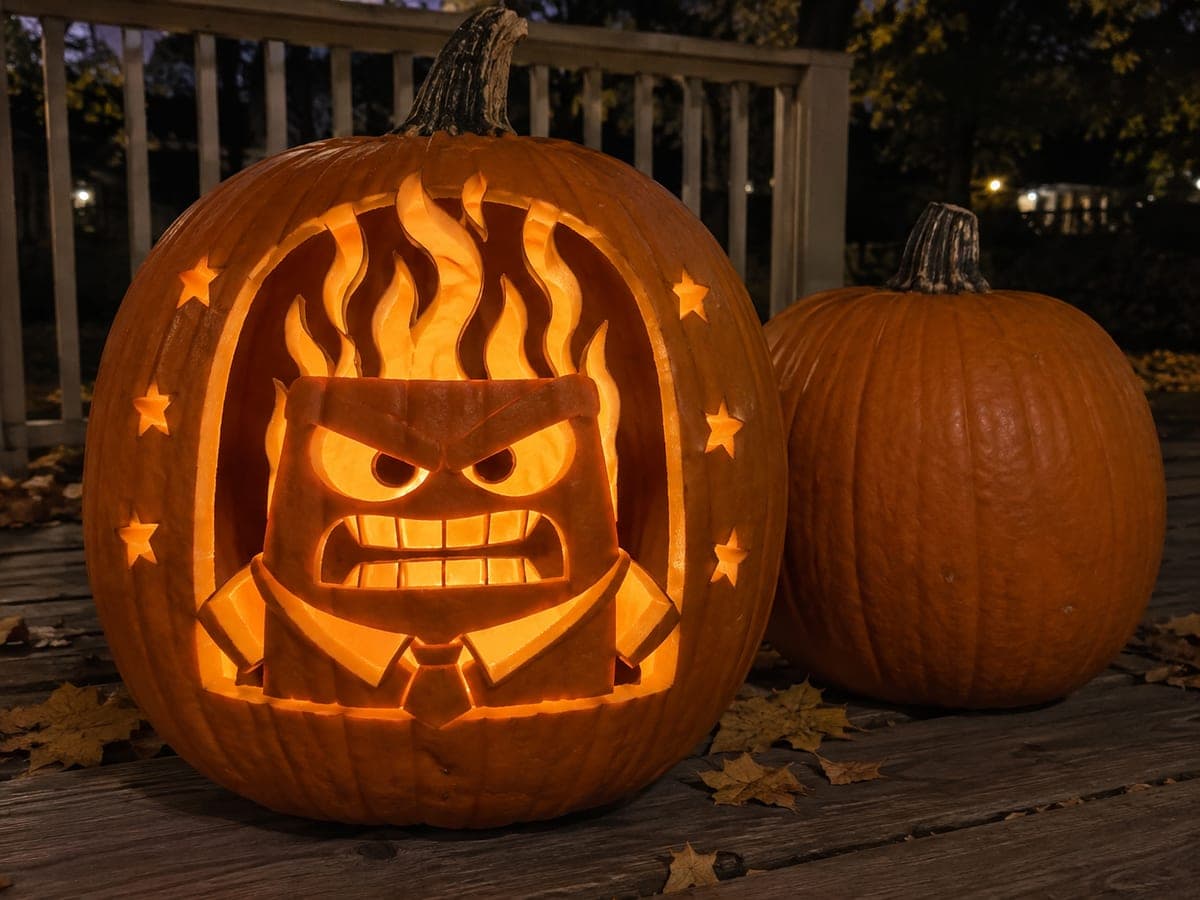
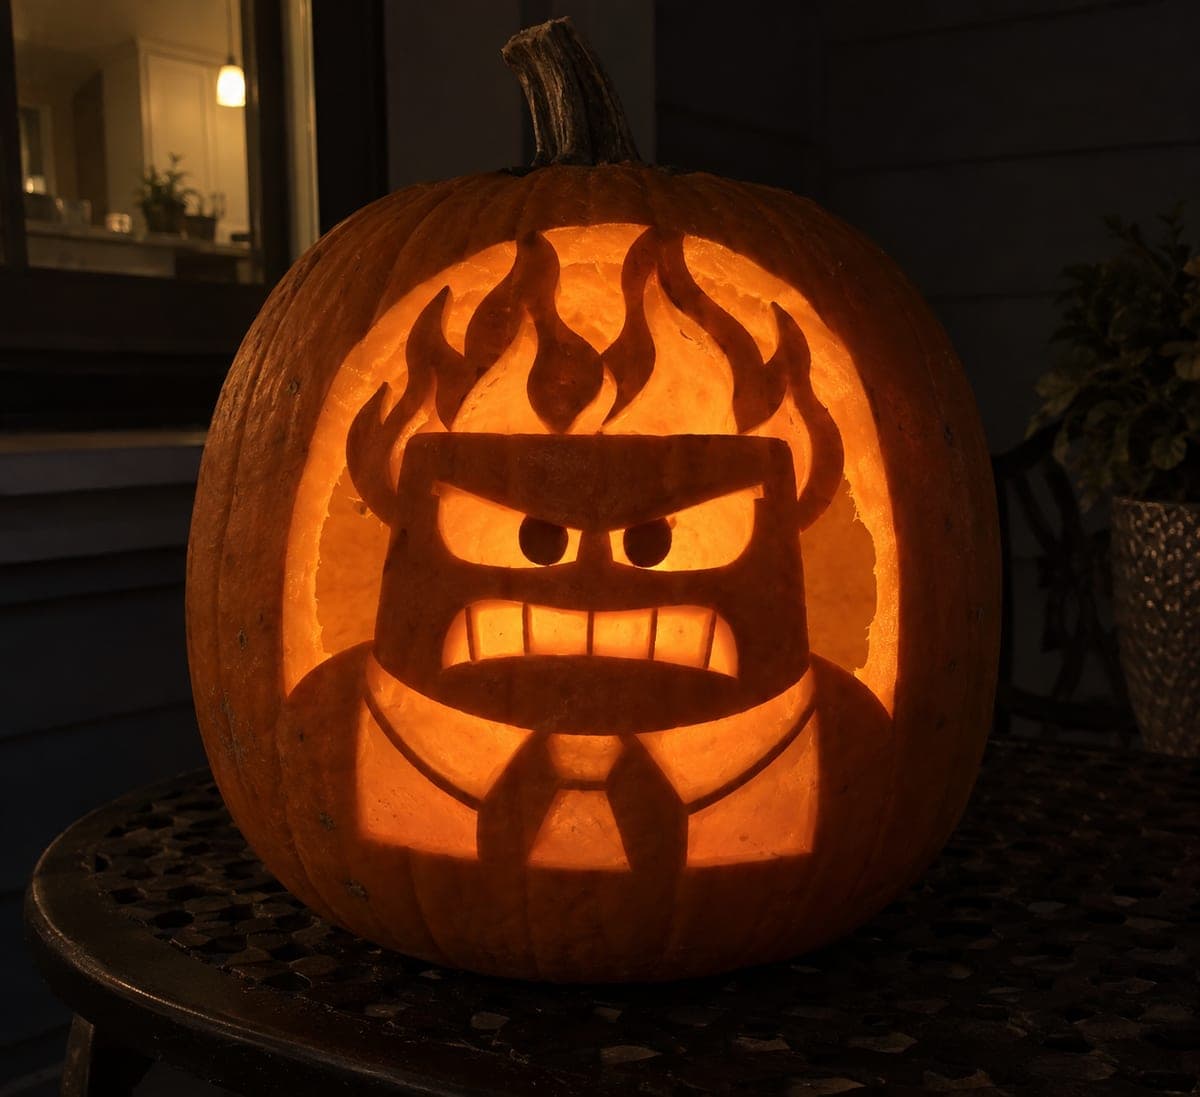
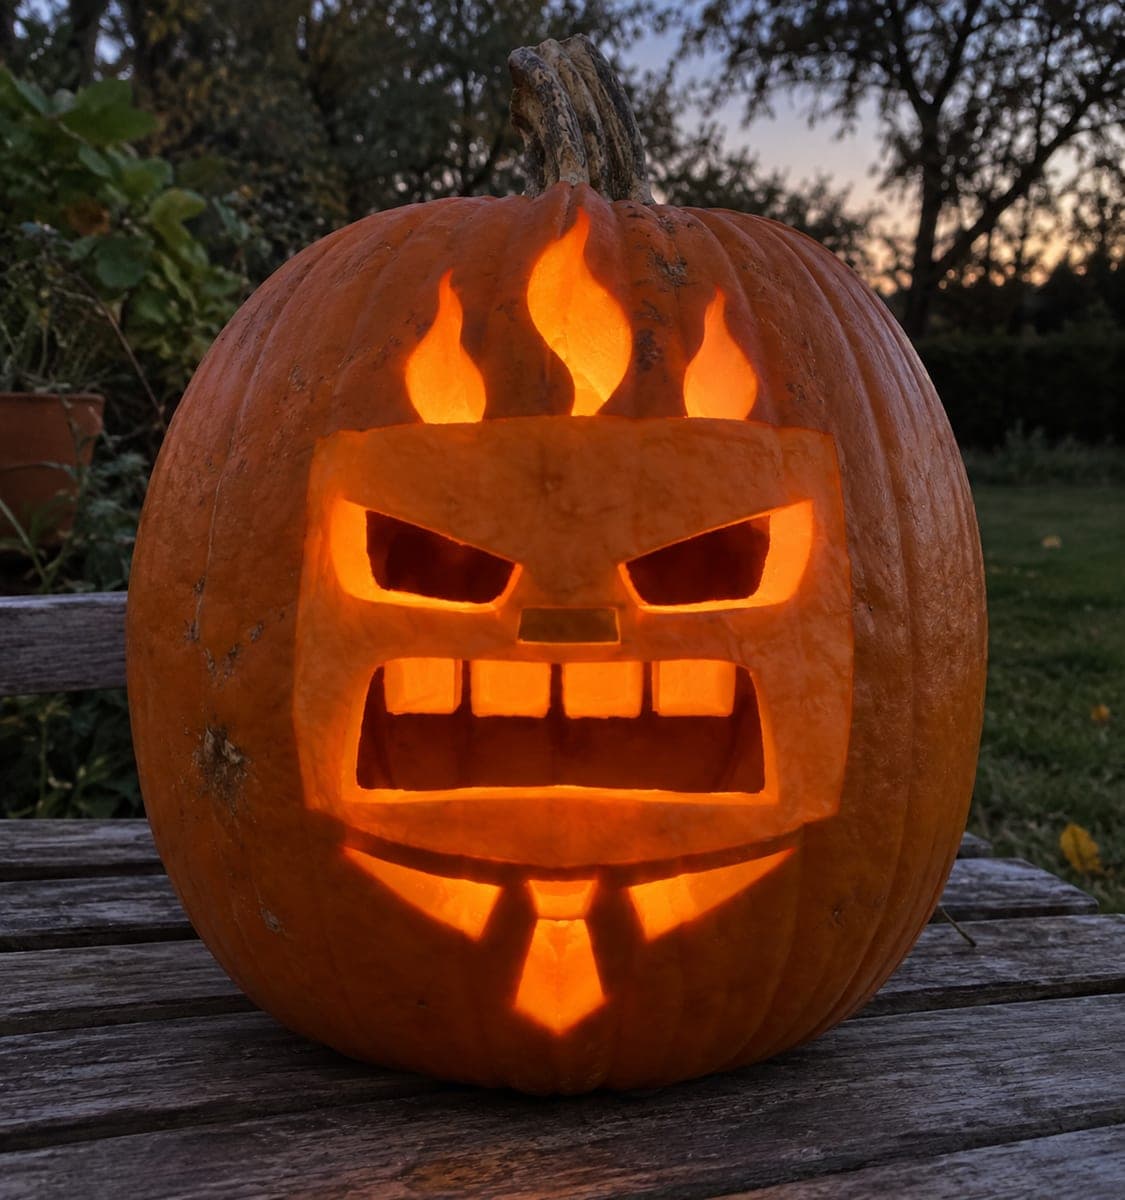
This no-carve Anger pumpkin idea paints the Inside Out character's signature brick-red face, boxy head, and flame crown in flat acrylic directly on intact rind. Use a wide flat brush to block in the rectangular face shape, then a fine liner for the furrowed brow and shirt collar. Letting the orange undertone of the pumpkin rind show through the red paint adds warmth to the finished design.

No ratings yet · Sign in to rate

Comments (0)

  • No comments yet — be the first.

Save without an account. Sign in to like or comment.

Our tips for carving a similar design

Flat acrylic in brick red, orange-flame, and black goes directly onto intact rind to build the character's signature rectangular face and crown fire. A wide flat brush blocks in the boxy head shape, a fine liner handles the furrowed brow and shirt collar, and a deliberate choice to let the orange pumpkin undertone show through the red paint adds natural warmth that suits the character perfectly.

From pumpkin to porch

  1. Clean the surface

    Wipe the pumpkin with a damp cloth and follow with rubbing alcohol on any waxy patches. Let the surface dry fully. Unlike lighter colors, brick red acrylic can cover the natural rind fairly well without a white base, though a base coat is recommended if your pumpkin is pale.

  2. Sketch the boxy head shape

    Use a chalk pencil to outline the rectangular face area, the flame crown silhouette above it, and the shirt collar below. Keep the face roughly square to match the character's boxy proportions. The flame crown shape should taper to three or four distinct points.

  3. Block in the brick red face

    Fill the rectangular face area with a wide flat brush using brick red acrylic. Let the orange pumpkin undertone show through slightly by using a semi-transparent coat rather than a fully opaque one. This layered effect makes the rind look like it is glowing with internal heat.

  4. Paint the flame crown

    Add the flame shapes above the face using a medium brush loaded with orange and yellow acrylic. Work from the base of each flame upward, lightening the color toward the tip by adding yellow to the brush. Keep the strokes directional and pointing upward.

  5. Add the furrowed brow, collar, and details

    Switch to a fine liner brush for the deeply furrowed V-shaped brow line, the narrow angry eyes, the clenched rectangular mouth, and the shirt collar below the face. Black paint for these elements creates strong contrast against the red. A small white highlight dot in each eye gives the face life.

  6. Seal and display

    Once all paint is fully dry, apply one coat of matte or satin sealer. Display the pumpkin facing an exterior light source. The warm ambient light brings out the layered red-orange rind effect that makes this design look especially striking at dusk.

Written with AI to match this design

Gather your supplies

Check things off as you get ready.

Work on a stable surface, keep your free hand out of the cutting path, and have an adult handle sharp tools.

Three levels of light

  • Leave intact

    All rind surfaces stay intact; the back and sides show natural orange rind

  • Peel & shade

    None, the shell is never pierced or peeled

  • Cut through

    None, use an external spotlight or porch light to illuminate the painted design

Learn the carving basics

Before you start cutting

How do I achieve the slightly transparent red over the orange rind look?

Thin your brick red paint with a small amount of water, about one part water to three parts paint, and apply one coat without a white base underneath. The orange rind shows through the diluted red as a warm underlayer. Once dry, you can deepen specific areas with a second undiluted coat while leaving others semi-transparent.

The flame shapes are hard to paint smoothly because of the rind's surface texture. Any advice?

Use a slightly damp brush rather than a fully loaded one to glide over surface texture bumps. Painting in the direction of the natural rind ridges reduces drag. For crisp flame tips, define them with a fine liner after the base flame color is dry rather than trying to taper the flame with a large brush.

Will the brick red paint look too dark after the sealer dries?

Sealers rarely darken brick red noticeably. Matte sealer tends to be the most color-neutral option. Test the sealer on a painted paper sample first to confirm the finish before applying it to the finished pumpkin. Gloss sealer can deepen and saturate colors slightly, which in this case looks fine.

Your take belongs here, too.

Changed a detail? Made it simpler? Share a photo of your version and tell the community what worked.

Share your pumpkin

More pumpkins like this

You've reached the end · 8 pumpkins
The Patch Report

Fresh pumpkins, in your inbox.

The best new carvings, ideas worth stealing, and how-tos for carving season. Short, seasonal, and gone by November.

A short email during carving season. Unsubscribe anytime. See our privacy policy.