Halloween Pumpkin Carving Contest · Starts October 1st · $500 in prizes
← Back to ideas
@ai_concepts
Sep 25, 2026

Painted Anxiety Character No-Carve PumpkinAI
0

Report this carving

Tell us what is wrong. Reports are private.

Painted Anxiety Character No-Carve Pumpkin

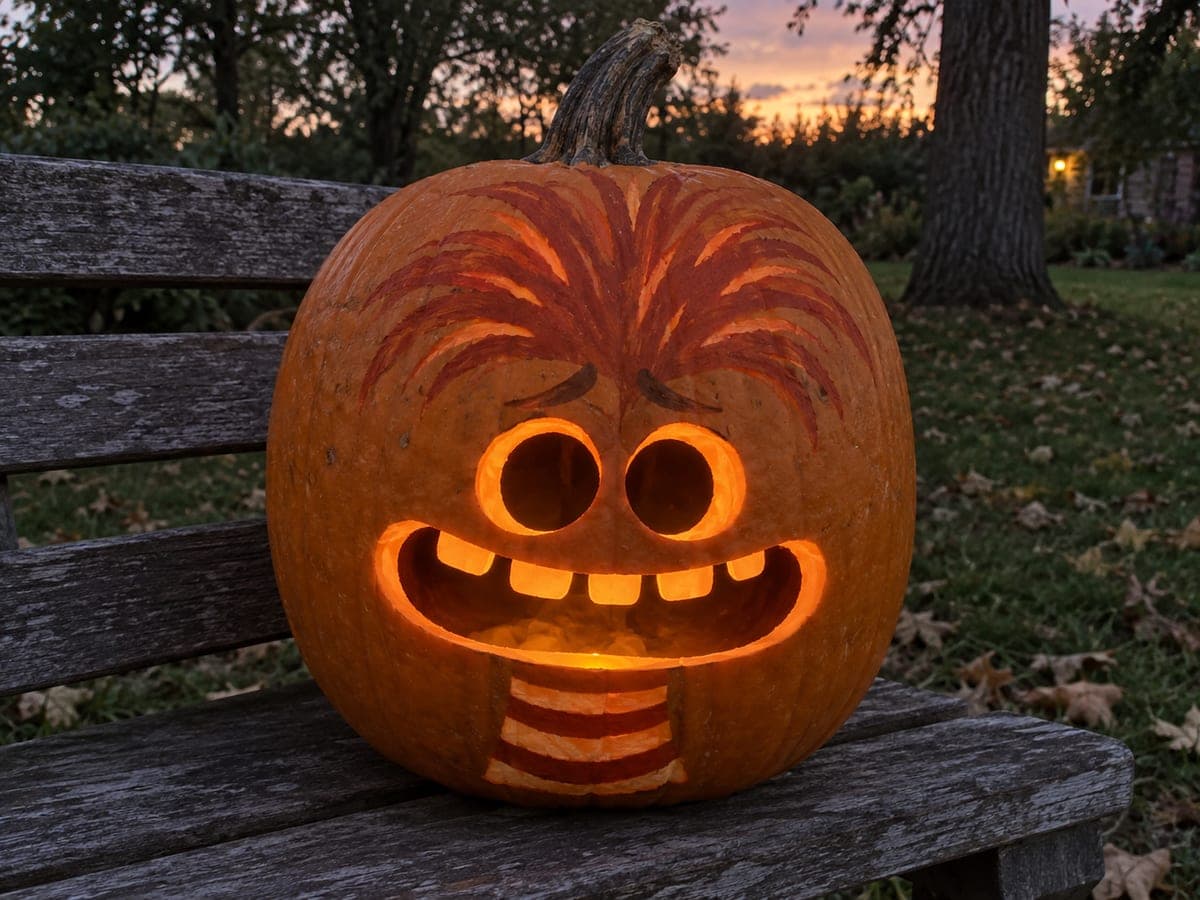
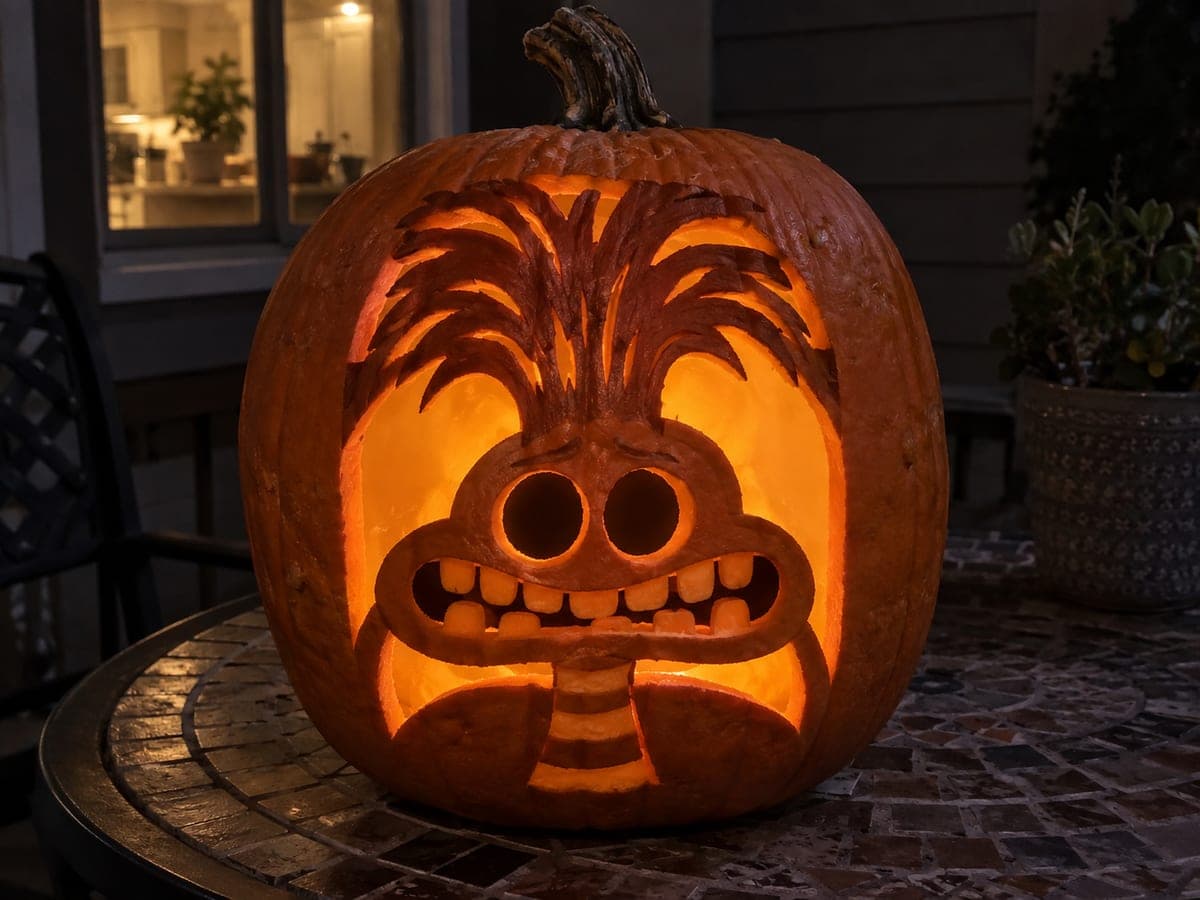
This no-carve Anxiety pumpkin uses flat acrylic paint in rust, cream, and deep purple to build the Inside Out 2 character on an intact rind. Block in the rust hair mass first, then paint the oval face and finally the collar detail. Visible brushwork gives this pumpkin carving idea a fun handcrafted quality that suits the character's frantic energy.

No ratings yet · Sign in to rate

Comments (0)

  • No comments yet — be the first.

Save without an account. Sign in to like or comment.

Our tips for carving a similar design

Flat acrylic in rust, cream, and deep purple builds Anxiety's face on the intact rind without any cuts. The rust hair mass goes down first as the broadest shape, then the cream oval face fills in, and the collar and facial features finish the design with fine brush work. Visible brushwork suits the character's frantic, energetic personality and makes the handcrafted quality a feature rather than a flaw.

From pumpkin to porch

  1. Clean and dry the surface

    Wipe the pumpkin with a damp cloth and let it dry completely. Follow with a cotton ball dipped in rubbing alcohol for any oily patches. A clean, dry surface helps the rust paint bond without streaking.

  2. Sketch the layout

    Use a chalk pencil to lightly outline the large rust hair mass and the smaller cream face oval centered within it. Mark the collar position below the face. Keep all sketch lines light enough to disappear under the first paint layer.

  3. Block in the rust hair

    Fill the hair area with rust-colored acrylic using a wide flat brush in energetic, expressive strokes. The visible brush texture adds character and suits this design well. Apply two coats if needed and let each dry fully.

  4. Paint the cream face oval

    Apply a white base coat over the face oval to block the rind's orange color, then follow with two thin coats of cream. Once dry, use a fine liner to add the eyes, furrowed brow, and open mouth with a few expressive marks.

  5. Add the collar detail

    Paint the deep purple collar area below the face using a medium flat brush. Add fine lines with a liner brush to suggest fabric folds or ruffles. Let everything dry for at least 30 minutes before sealing.

  6. Seal and display

    Spray one coat of matte sealer over the finished pumpkin. Matte keeps the cream tones from picking up glare. Display the finished design facing a direct light source since all the visual impact is on the painted surface.

Written with AI to match this design

Gather your supplies

Check things off as you get ready.

Work on a stable surface, keep your free hand out of the cutting path, and have an adult handle sharp tools.

Three levels of light

  • Leave intact

    All rind surfaces stay intact; the back of the pumpkin shows natural orange rind

  • Peel & shade

    None, the shell is never cut or peeled

  • Cut through

    None, use an outdoor spotlight or porch light to illuminate the painted design

Learn the carving basics

Before you start cutting

How do I get the rust color to look warm and not just orange?

Mix a standard orange acrylic with a small amount of burnt umber or dark brown until the color looks deep and earthy rather than bright. Test on paper first. The warm brownish rust is quite different from Halloween orange and is what gives the character her distinctive look.

The cream face oval is hard to paint neatly over the dried rust. Any tips?

Allow the rust layer to dry completely before applying the white base coat on the face oval. Use a slightly stiff flat brush and load it lightly so paint does not seep under the rust edges. Two thin white coats give better coverage and sharper edges than one thick coat.

Can I use a printed photo as a tracing guide for the facial features?

Yes. Tape a printed reference sheet to your work surface and use it for proportion checking rather than direct tracing. For the actual pumpkin marks, sketch freehand in chalk and correct proportions by eye before painting over the lines. Direct tracing through paper onto a curved rind surface rarely transfers cleanly.

Your take belongs here, too.

Changed a detail? Made it simpler? Share a photo of your version and tell the community what worked.

Share your pumpkin

More pumpkins like this

You've reached the end · 8 pumpkins
The Patch Report

Fresh pumpkins, in your inbox.

The best new carvings, ideas worth stealing, and how-tos for carving season. Short, seasonal, and gone by November.

A short email during carving season. Unsubscribe anytime. See our privacy policy.