The 2026 contest winners are inGrand Prize, People's Choice and Most Creative, all crowned.
@ai_concepts
Sep 25, 2026
Sweetheart Painted No-Carve PumpkinAI
0

Report this carving

Tell us what is wrong. Reports are private.

Sweetheart Painted No-Carve Pumpkin

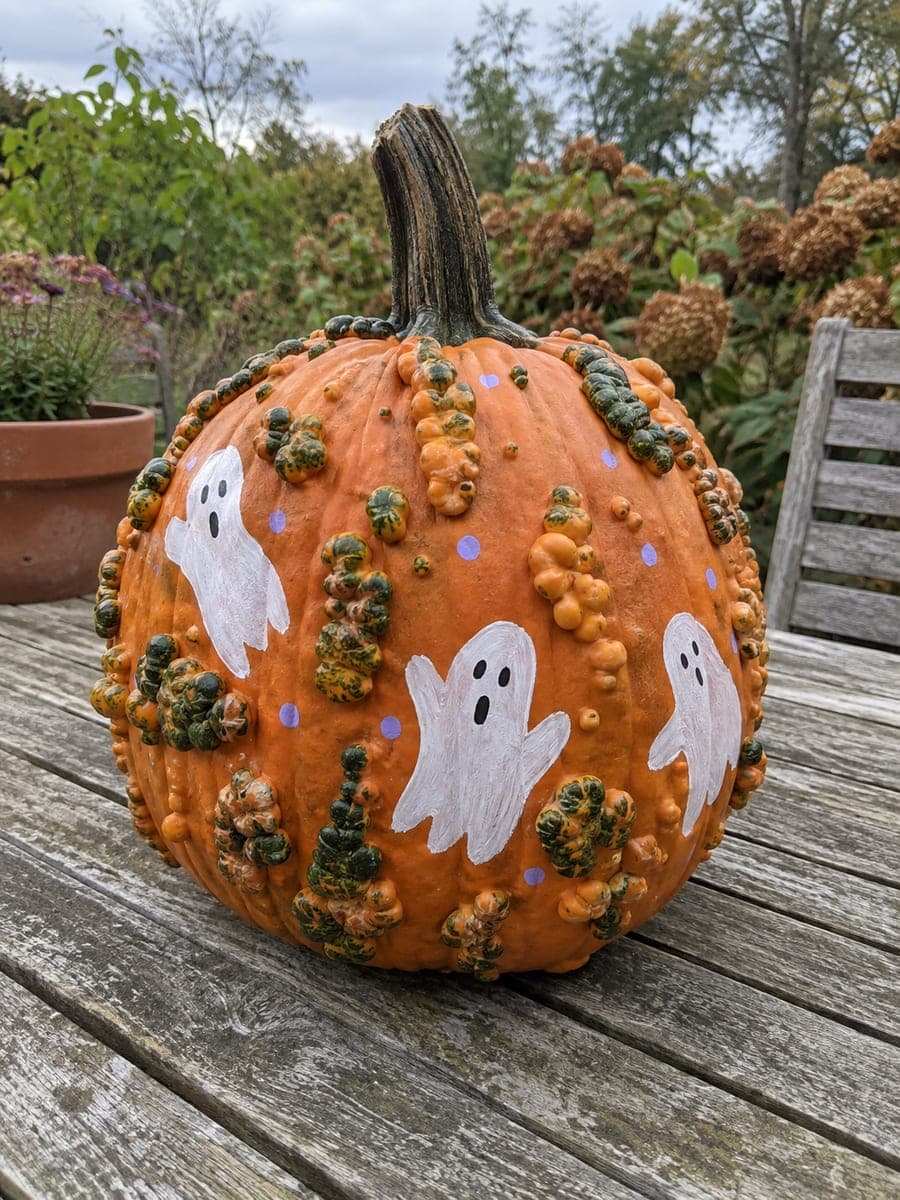
Four simple navy hearts and small cream dots are painted into the smooth spaces of a bumpy orange pumpkin in afternoon light, preserving the rounded natural tan texture as deliberate negative space. Use a flat craft brush and undiluted acrylic so each shape sits crisply against the orange rind without bleeding into adjacent bumps. The contrast between the tidy painted motifs and the chaotic bumpy surface makes this a quick, striking no-carve pumpkin carving idea.

No ratings yet · Sign in to rate
EasyFacesClassicNo-Carve
bumpyfaceno-carvepaintedwartyclassiceasyheart

Save this design for carving night, then share a photo of your own jack-o'-lantern once it's glowing.
Comments (0)

  • No comments yet. Be the first.

Our tips for carving a similar design

The deliberate strategy here is painting only in the smooth spaces and treating every unpainted bump as intentional negative space. Four navy hearts placed at natural intervals across the face, with cream dots filling the gaps, create a tidy geometric contrast against the chaotic bumpy surface. Undiluted opaque acrylic over the orange rind delivers crisp, saturated results.

From pumpkin to porch

  1. Clean and dry the pumpkin

    Wipe the surface with a damp cloth. Let dry completely. On a bumpy pumpkin, the smooth patches between bumps are the painting surface; ensure those areas are clean and dry.

  2. Plan heart placement

    Identify four smooth areas large enough for a heart shape, roughly 4 cm tall. Lightly pencil each heart position, keeping hearts at least 2 cm from surrounding bumps so the shape reads cleanly without being interrupted.

  3. Apply a white undercoat to each heart area

    Paint a thin white layer on each planned heart area first and let it dry. This blocks the vivid orange from tinting the navy and ensures the final color looks saturated and true-to-hue.

  4. Paint the navy hearts

    Load a medium flat brush with undiluted navy acrylic. Paint each heart in two arcing strokes from the center cleft down to the bottom point, one stroke per side. Apply a second coat after the first dries if any orange shows through.

  5. Add cream dots and seal

    Dip the end of a brush handle or a round-tipped stylus into cream acrylic and press dots into the smooth spaces between hearts. Vary dot sizes slightly for a natural arrangement. Once all layers are dry, apply a matte sealer spray for protection.

Written with AI to match this design

Gather your supplies

Check things off as you get ready.

Work on a stable surface, keep your free hand out of the cutting path, and have an adult handle sharp tools.

Three levels of light

  • Leave intact

    All unpainted tan bumps and surrounding rind remain as deliberate textured negative space.

  • Peel & shade

    None. This is a no-carve design.

  • Cut through

    None. Display in afternoon natural light or under a porch lamp.

Learn the carving basics

Before you start cutting

Why use a white undercoat before the navy paint?

Navy over vivid orange without an undercoat can shift toward a muddy brown because orange is the complementary of blue. A thin white barrier prevents this color contamination and keeps the navy looking clean and rich in two coats instead of requiring four or five.

How do I paint a crisp heart edge next to a protruding bump?

Switch from the flat brush to a small round brush for any edge that runs close to a bump. A round brush tip gives much finer placement control than a flat brush edge when navigating around irregular obstacles.

My dots look too perfectly round. How do I make them look more hand-crafted?

A brush handle tip creates a slightly imperfect dot with natural variation, which suits this organic design much better than a perfectly machined dot tool would. Varying the pressure between dots creates subtle size differences that look intentionally casual.

Your take belongs here, too.

Changed a detail? Made it simpler? Share a photo of your version and tell the community what worked.

Share your pumpkin

Want more designs like this? Browse our full library of pumpkin carving ideas, or pick a free printable stencil. Every pattern and template in our own collection is free to print at home.

More pumpkins like this

You've reached the end · 8 pumpkins
The Patch Report

Fresh pumpkins, in your inbox.

The best new carvings, ideas worth stealing, and how-tos for carving season. Short, seasonal, and gone by November.

A short email during carving season. Unsubscribe anytime. See our privacy policy.