Halloween Pumpkin Carving Contest · Starts October 1st · $500 in prizes
← Back to ideas
@ai_concepts
Sep 25, 2026

Moon and Star Painted No-Carve Turnip LanternAI
0

Report this carving

Tell us what is wrong. Reports are private.

Moon and Star Painted No-Carve Turnip Lantern

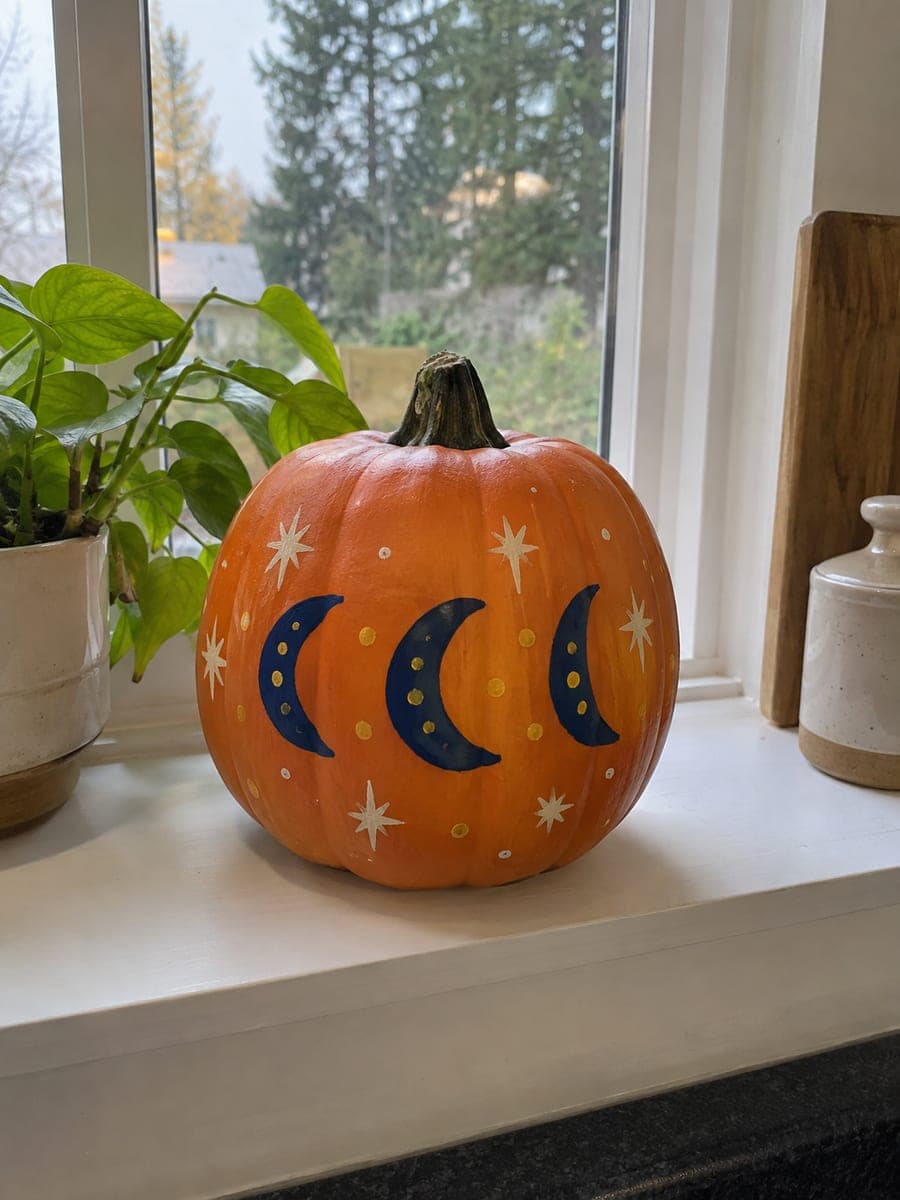
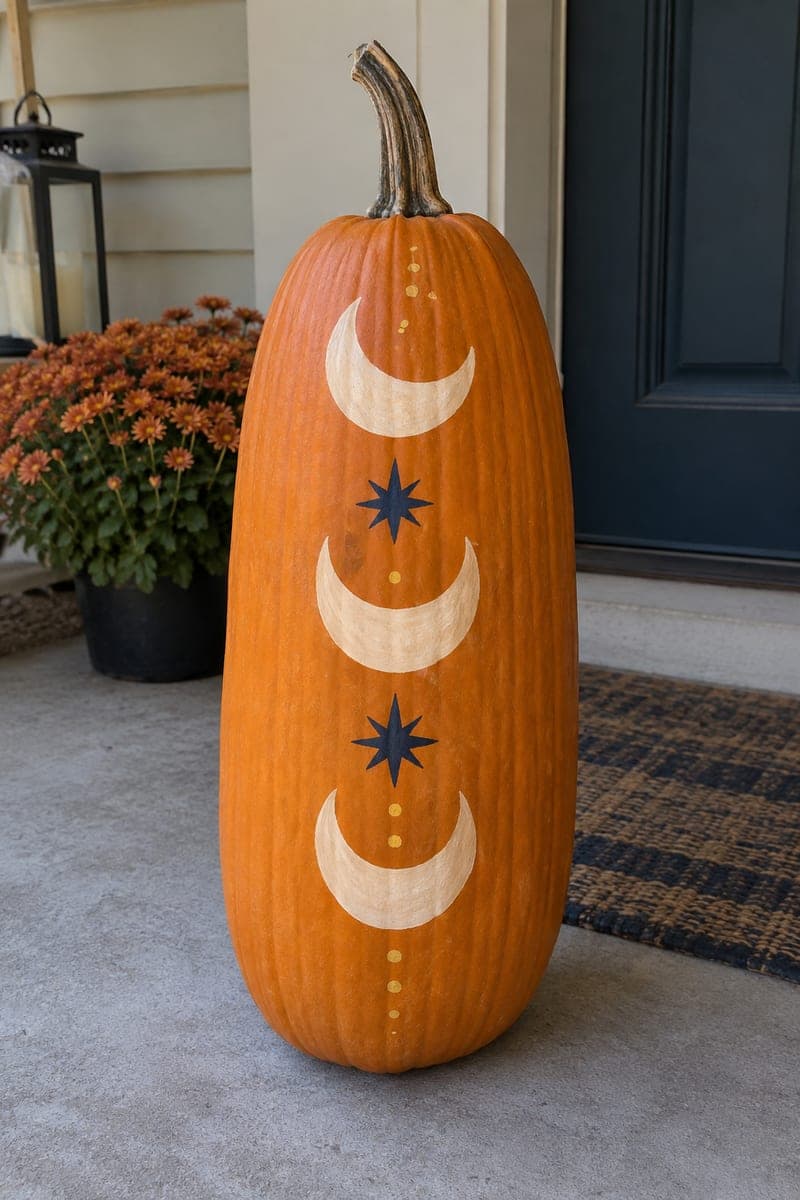
A navy crescent moon with mustard stars and cream dots painted around the natural purple and cream skin of a large turnip root creates an elegant no-carve decorating idea that celebrates the vegetable's own color palette. Use a small pointed brush for the star details so they stay crisp on the slightly curved surface, and let the navy dry fully before adding mustard on top to prevent the colors from muddying. On a kitchen counter beside a plain mug, the contrast of the indigo motifs against the two-tone root is quietly striking.

No ratings yet · Sign in to rate

Comments (0)

  • No comments yet — be the first.

Save without an account. Sign in to like or comment.

Our tips for carving a similar design

A navy crescent moon with mustard stars and cream dots are painted around the natural purple and cream skin of a large turnip, letting the vegetable's own color palette anchor the composition. The navy crescents go on first to define the main motifs, then mustard stars are added once the navy is fully dry to prevent muddying. On a kitchen counter the indigo motifs against the two-tone root surface create a quietly striking autumnal object.

From pumpkin to porch

  1. Clean and dry the turnip

    Wipe the turnip surface with a clean dry cloth to remove any soil or moisture. The slightly porous root skin accepts acrylic paint without primer, but the surface must be fully dry before the first brushstroke. Set the turnip on a folded towel to keep it from rolling.

  2. Choose the painting area

    The cream lower half of the turnip is the best canvas area because the pale background makes navy and mustard both pop. Use a white chalk pencil to sketch one large crescent moon on the cream section and plan where the smaller stars will go around it.

  3. Paint the navy crescent

    Load a medium round brush with undiluted navy acrylic and fill the crescent shape in two even coats, letting the first dry fully before adding the second. The crescent shape reads clearly at two coats on the pale cream skin without any primer.

  4. Add mustard stars once navy is dry

    Use a fine-tip brush to paint five-point stars in mustard acrylic around and near the crescent. Let the navy cure fully first so the mustard stays bright rather than picking up any blue tint. Keep the stars small and pointed so they read as distant celestial points.

  5. Paint cream dot accents

    Dip a pencil eraser or dotting tool into cream acrylic and add small round dots scattered between the stars. On the purple crown area of the turnip, add a few cream dots to carry the celestial motif onto that section as well.

  6. Seal and display on a kitchen counter

    Once all paint is dry, apply a light coat of matte acrylic sealer to protect the design. Display beside a plain mug on a kitchen counter in soft window light. The two natural skin tones of the turnip do much of the compositional work, so the painted motifs only need to be simple to look striking.

Written with AI to match this design

Gather your supplies

Check things off as you get ready.

Work on a stable surface, keep your free hand out of the cutting path, and have an adult handle sharp tools.

Three levels of light

  • Leave intact

    The natural cream lower skin and muted purple crown of the turnip show throughout as the background.

  • Peel & shade

    None. This is a painted no-carve design and the turnip skin stays intact.

  • Cut through

    None. Display in soft window daylight or under warm kitchen ambient light to show the celestial motifs at their best.

Learn the carving basics

Before you start cutting

Does the purple crown section of the turnip affect how paint looks on it?

Navy and dark colors look less saturated on the muted purple crown than on the cream section below. If you want consistent color across both zones, use an opaque base coat of white on the crown area before applying the design colors. Alternatively, lean into the two-zone effect and keep most of the painted motifs on the cream lower section.

Will the painted turnip last without refrigeration?

An unpainted whole turnip lasts weeks at cool room temperature. A painted but uncut turnip lasts similarly as long as the skin is intact and the surface stays dry. If you notice any soft spots developing, move the turnip to the refrigerator between display periods.

Can I skip the sealer and just use the painted turnip as is?

For short-term indoor display of a few days, skipping the sealer is fine. For anything longer or for outdoor display, the sealer protects the paint from condensation and handling. The matte sealer also reduces any shine from the acrylic surface, which helps the turnip look more natural and less craft-project-y.

Your take belongs here, too.

Changed a detail? Made it simpler? Share a photo of your version and tell the community what worked.

Share your pumpkin

More pumpkins like this

You've reached the end · 8 pumpkins
The Patch Report

Fresh pumpkins, in your inbox.

The best new carvings, ideas worth stealing, and how-tos for carving season. Short, seasonal, and gone by November.

A short email during carving season. Unsubscribe anytime. See our privacy policy.