Halloween Pumpkin Carving Contest Β· Starts October 1st Β· $500 in prizes
← Back to ideas
@ai_concepts
Sep 25, 2026
Leaf and Berry Wreath Bumpy Pumpkin LanternAI
0

Report this carving

Tell us what is wrong. Reports are private.

Leaf and Berry Wreath Bumpy Pumpkin Lantern

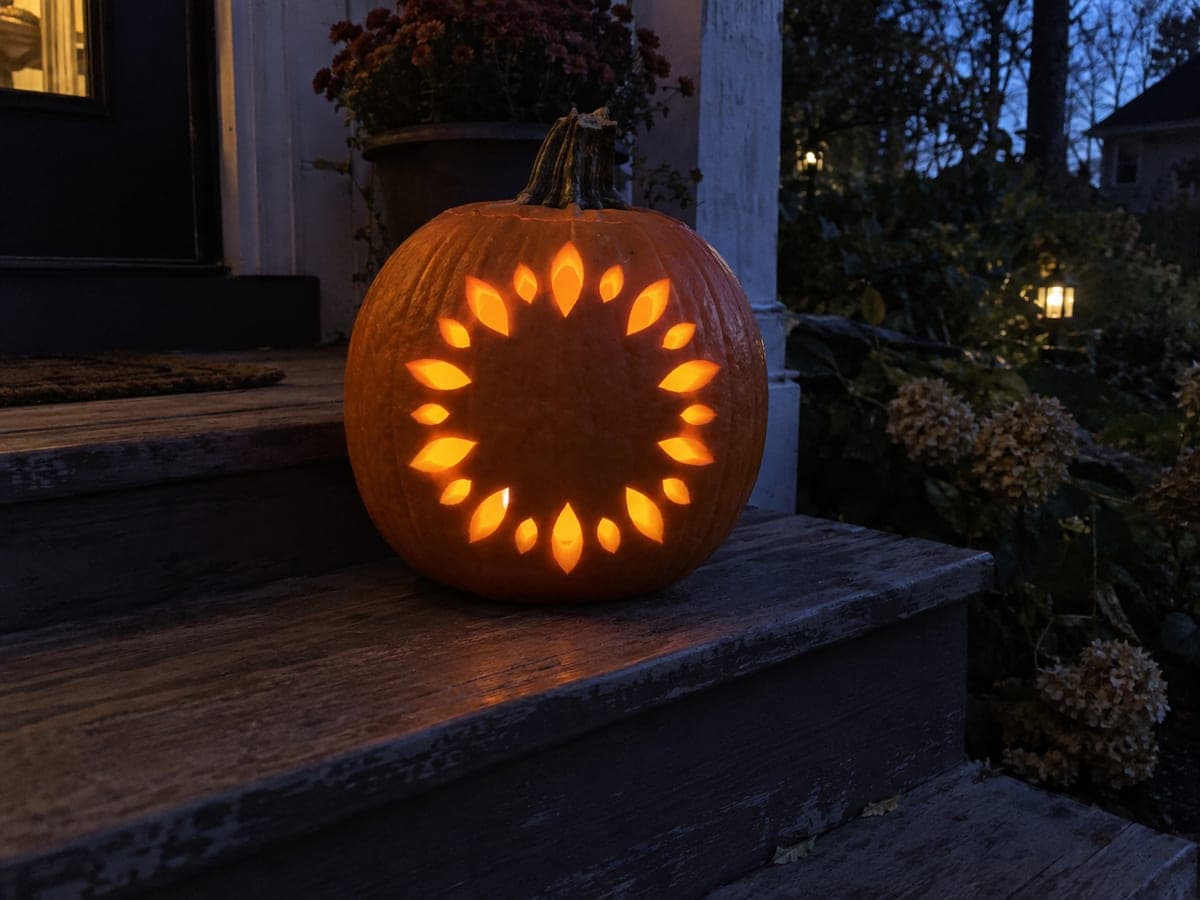
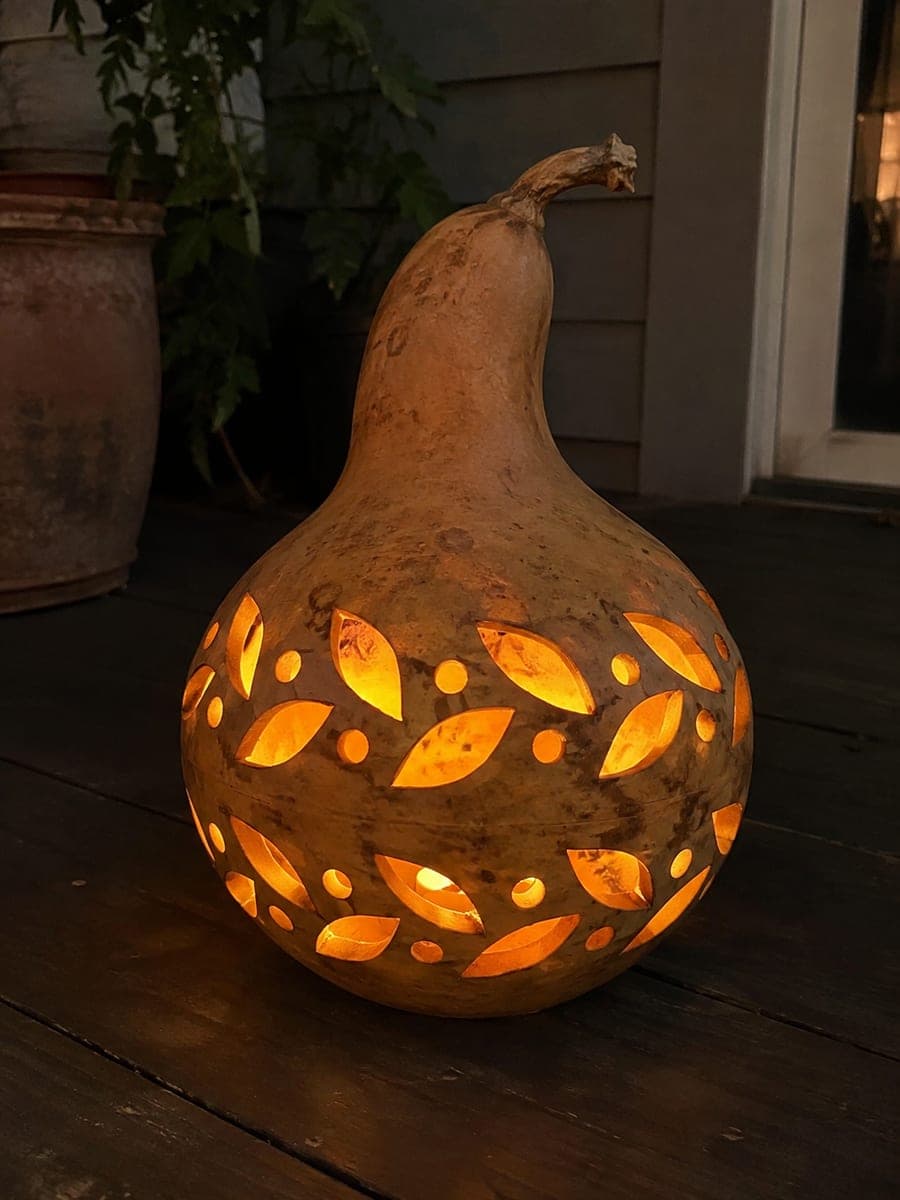
A ring of leaf-shaped cutouts alternating with round berry holes encircles a solid center on a bumpy pumpkin, the whole pattern held together by wide rind bridges that preserve its structural integrity. Mark the center point first, then space the leaf and berry shapes evenly around it before any cutting begins, checking that each cut sits in a smoother section of shell. On a patio table at night the leafy ring glows like a botanical wreath.

No ratings yet Β· Sign in to rate

Comments (0)

  • No comments yet β€” be the first.

Save without an account. Sign in to like or comment.

Our tips for carving a similar design

A wreath pattern on a bumpy pumpkin requires finding a face side where the surface is smooth enough for a ring of fine shapes. Starting from a marked center point and spacing all leaf and berry positions before cutting any of them is the discipline that keeps the ring proportional. Wide rind bridges between every shape are mandatory because a wreath ring without them collapses.

From pumpkin to porch

  1. Find the smoothest face and hollow

    Choose the face panel with the most consistently smooth rind around a central area. Hollow through the top to a 2 cm wall, thinning evenly so structural support is consistent around the ring.

  2. Mark the center and ring radius

    Mark the center of the face with a small dot. Use a flexible measuring tape to draw a faint circle at your desired ring radius around the center. This circle is your guide for centering every leaf and berry shape.

  3. Space all shapes around the ring

    Alternate leaf and berry positions around the ring, marking each one with a dry-erase outline before cutting any. Ensure every shape falls in a smooth rind patch and that there is at least 5 mm of rind between each adjacent shape and the ring edges. Step back to check symmetry.

  4. Drill the berry holes

    Use a small spade bit to drill all the round berry holes first while the rind is intact. Pop each plug from the inside.

  5. Cut the leaf shapes

    Use a narrow jab saw to cut each leaf aperture in smooth gaps between bumps. Cut the curved sides from the base to the tip and pop the piece inward. Maintain wide rind bridges between each leaf and its neighboring berries.

  6. Light on the patio table

    Insert an LED lantern for consistent brightness, replace the lid, and place on the patio table at night. The leafy ring glows like a botanical wreath, and the bumpy surrounding rind adds organic texture to the display.

Written with AI to match this design

Gather your supplies

Check things off as you get ready.

Work on a stable surface, keep your free hand out of the cutting path, and have an adult handle sharp tools.

Three levels of light

  • Leave intact

    The solid center rind, all rind bridges between shapes, and the surrounding bumpy exterior stay dark.

  • Peel & shade

    None on this design.

  • Cut through

    Every leaf aperture and every round berry hole in the ring glow fully.

Learn the carving basics

Before you start cutting

How do I keep the wreath ring from looking lopsided on a bumpy surface?

Draw the guide circle with a compass made from a thumbtack, a piece of string, and a marker rather than freehand. This gives a geometrically accurate ring regardless of how the bumps distort your visual perception of the surface.

What size should the leaf apertures be relative to the berries?

Leaves roughly twice the length of the berry diameter create a satisfying visual rhythm. If your ring radius is 8 cm, leaves about 4 cm long and berries about 1.5 cm in diameter work well with comfortable rind bridges between them.

Can I add more shapes like small stars inside the ring?

Only if the solid center area is large and smooth enough to accommodate them. Adding shapes inside the ring reduces the center rind and can compromise the structural integrity of the whole wreath. Test the design on paper first before committing to extra interior cuts.

Your take belongs here, too.

Changed a detail? Made it simpler? Share a photo of your version and tell the community what worked.

Share your pumpkin

More pumpkins like this

You've reached the end Β· 8 pumpkins
The Patch Report

Fresh pumpkins, in your inbox.

The best new carvings, ideas worth stealing, and how-tos for carving season. Short, seasonal, and gone by November.

A short email during carving season. Unsubscribe anytime. See our privacy policy.