Halloween Pumpkin Carving Contest · Starts October 1st · $500 in prizes
← Back to ideas
@ai_concepts
Sep 25, 2026
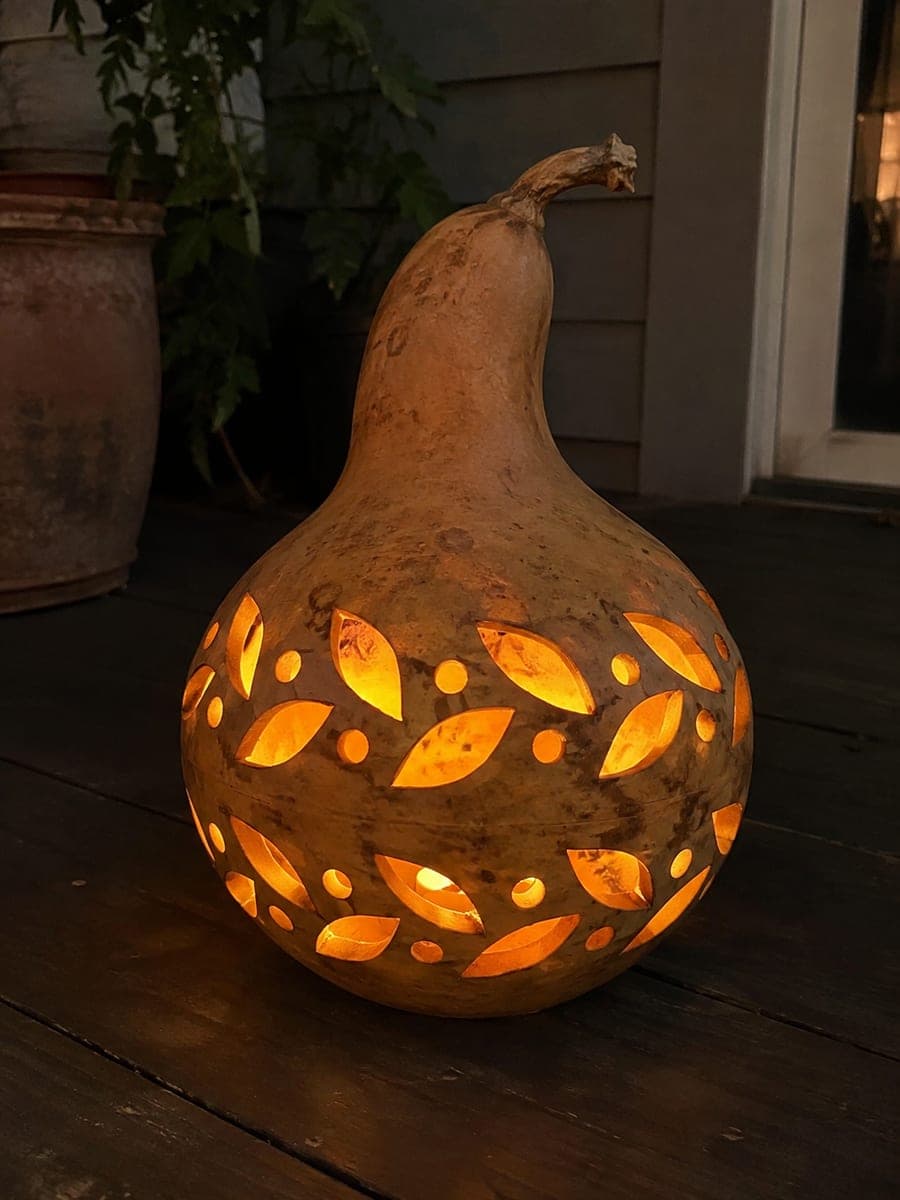
Leaf and Berry Row Gourd Carving on Dark PorchAI
0

Report this carving

Tell us what is wrong. Reports are private.

Leaf and Berry Row Gourd Carving on Dark Porch

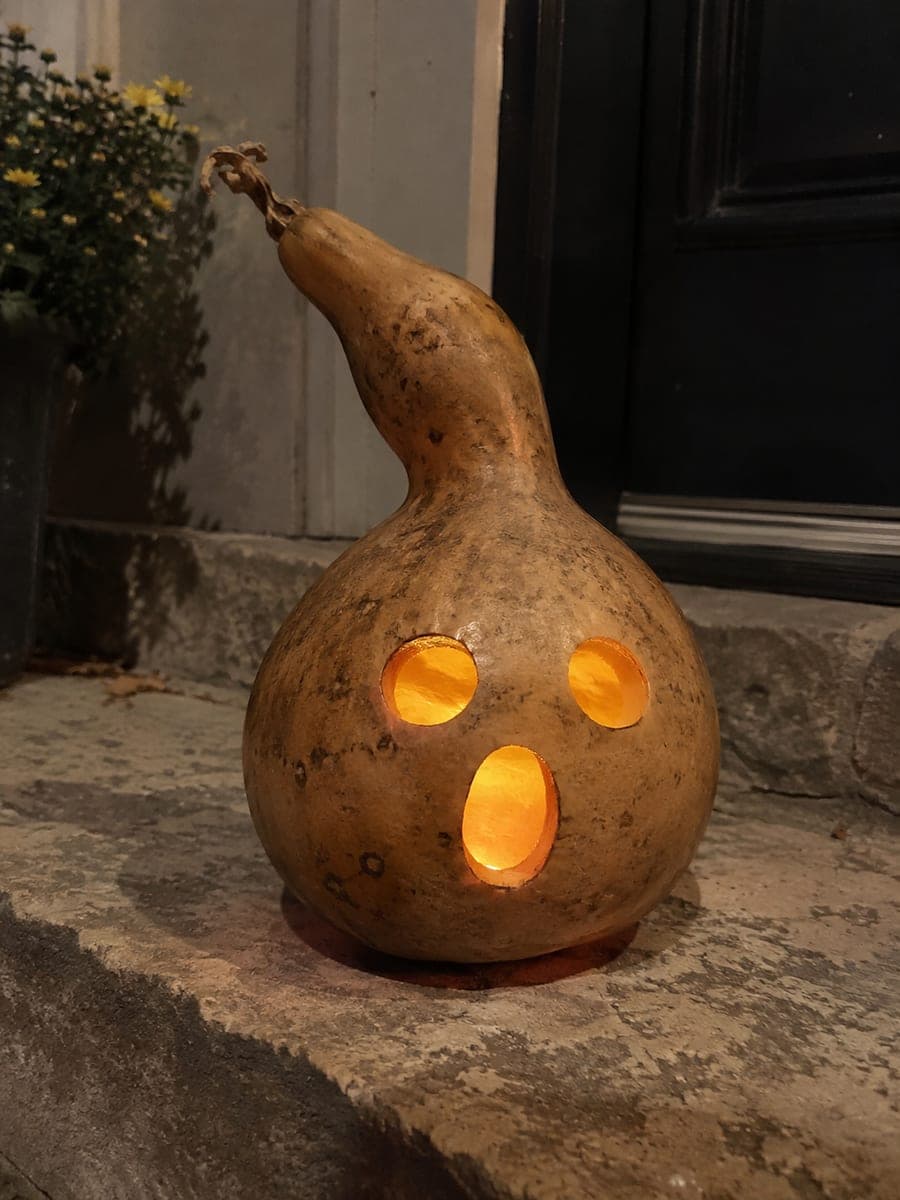
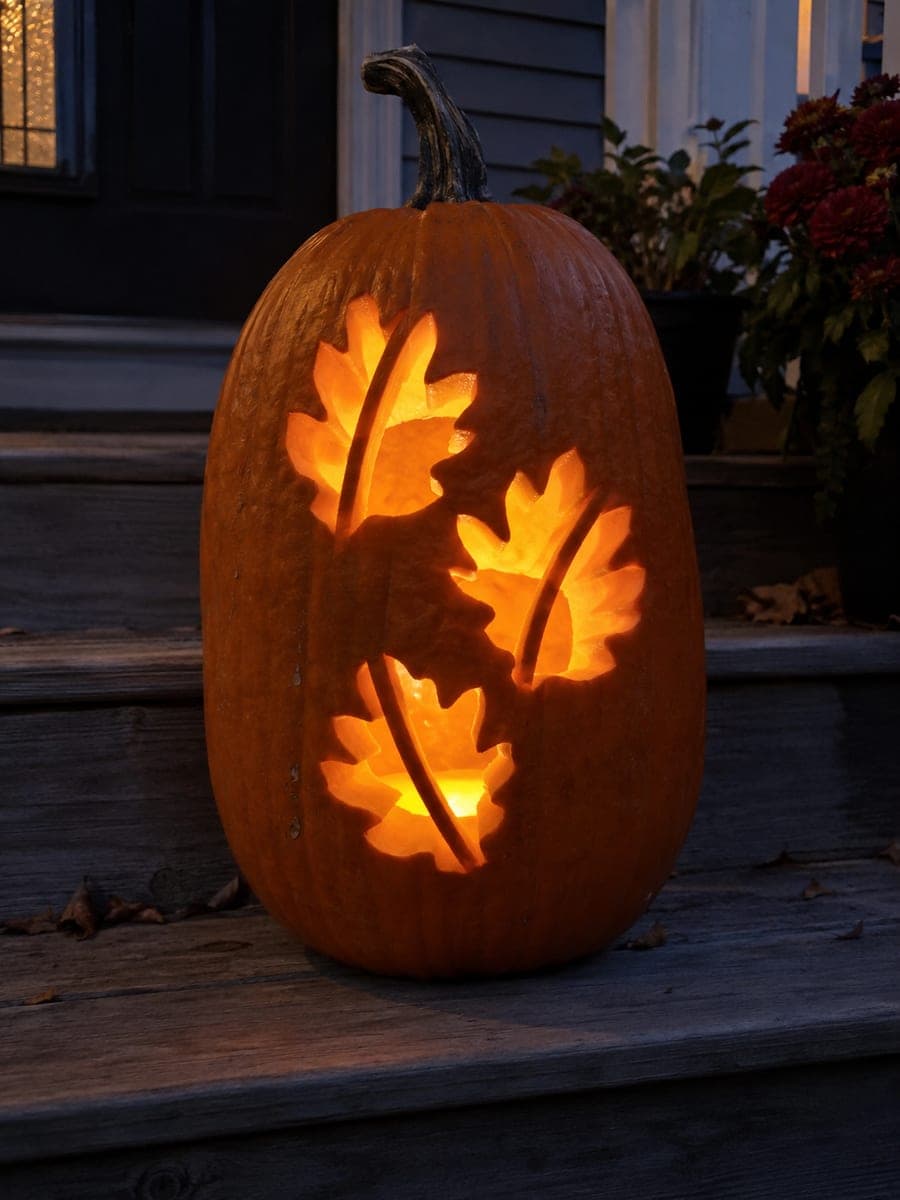
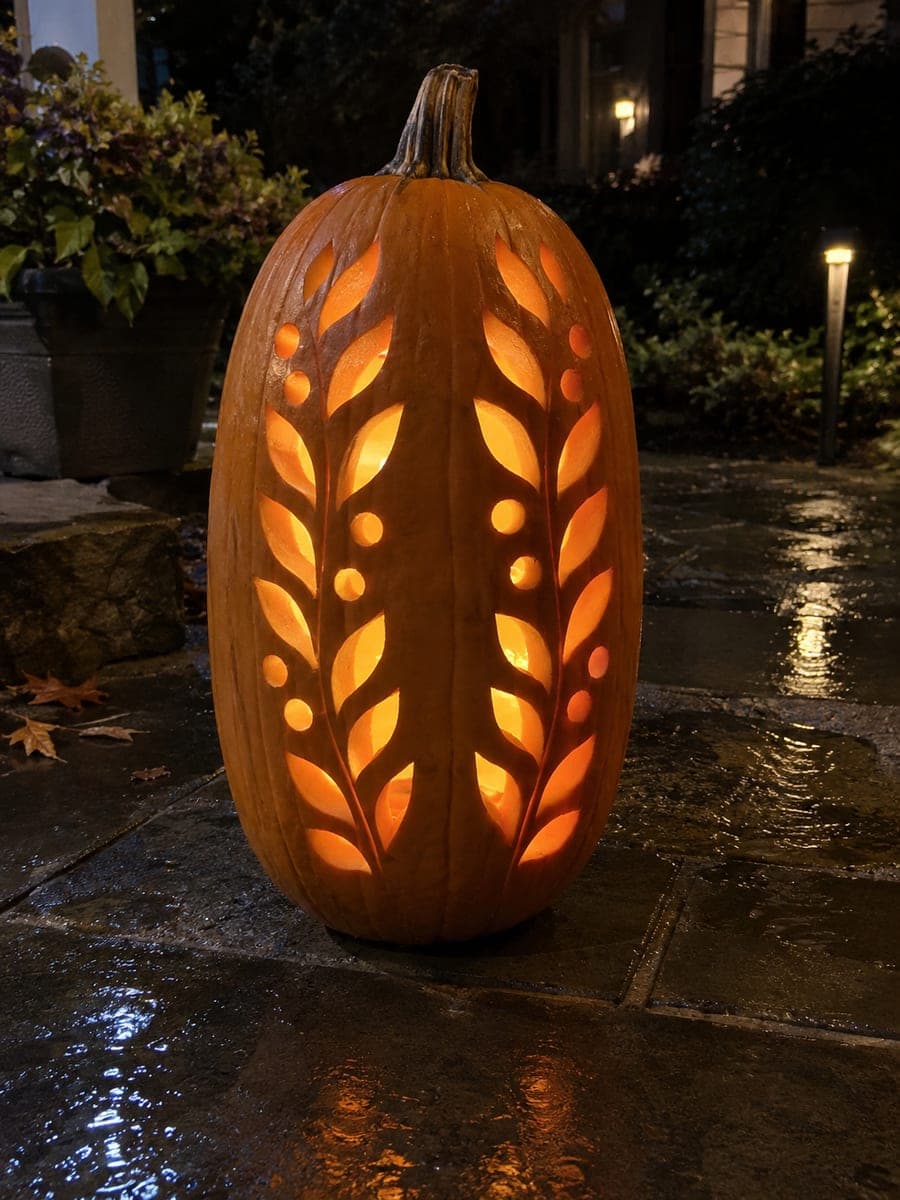
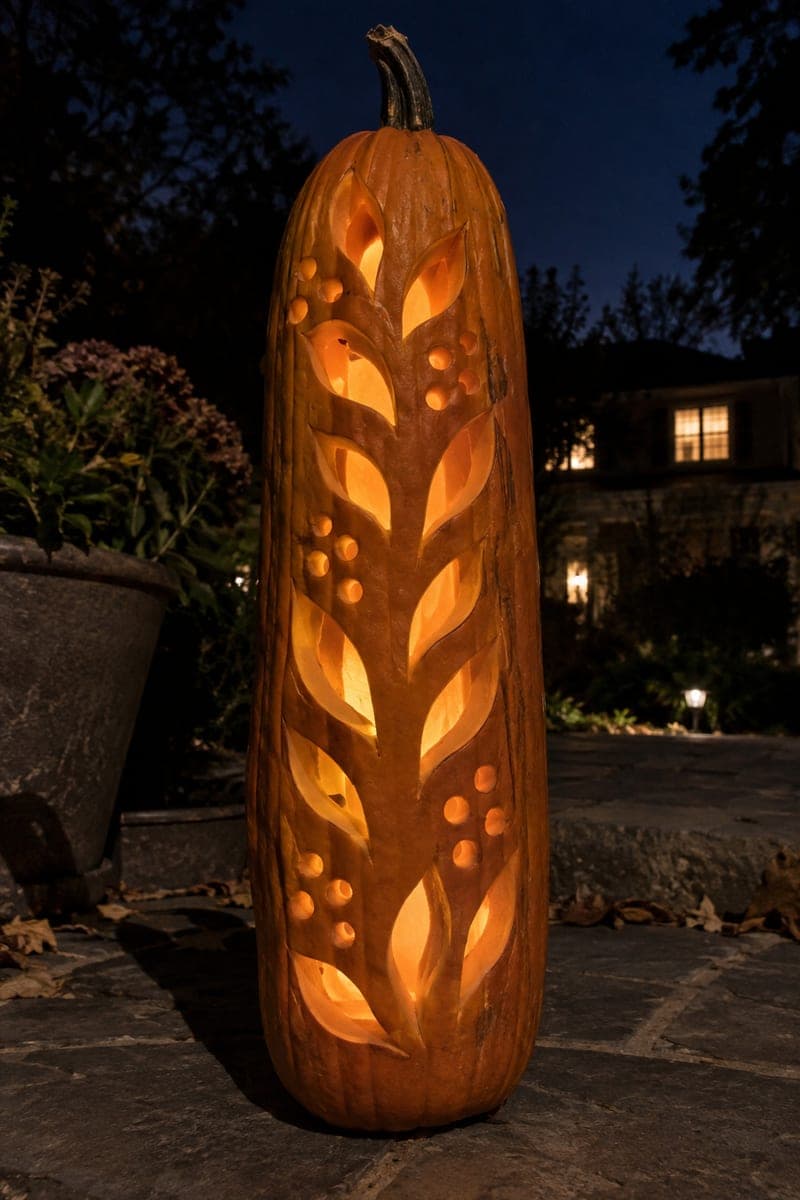
Two offset rows of leaf-shaped openings wrapped around the lower bulb of a dried bottle gourd alternate with round berry holes, leaving the solid neck fully intact above for structural support. Work on the lower bulb rows from the bottom up so each completed row below supports the shell as you cut the next row higher. On a dark porch floor at a low camera angle, the glowing leaf-and-berry pattern wraps around the gourd like a natural harvest garland.

No ratings yet · Sign in to rate

Comments (0)

  • No comments yet — be the first.

Save without an account. Sign in to like or comment.

Our tips for carving a similar design

Two offset rows of leaf-shaped openings and round berry holes wrap around the lower bulb of a dried bottle gourd, with the solid neck fully intact above for structural support. The technique is to work from the bottom row upward so each completed row braces the shell as you cut the next row higher. Viewed at a low angle on a dark porch floor, the glowing leaf-and-berry pattern wraps the gourd like a natural harvest garland.

From pumpkin to porch

  1. Plan the two-row layout

    Draw two horizontal guide lines around the lower bulb to define the top and bottom of each row. Stagger the leaf positions in the upper row so they sit between the leaves in the lower row, creating the offset pattern. Mark round berry hole positions between each leaf shape in both rows.

  2. Pre-drill along all outlines

    Drill four to five pilot holes around each leaf outline and one central hole inside each berry circle. These holes give the narrow saw an entry point and keep the blade tracking along the intended line on the hard curved shell.

  3. Cut the lower row first

    Begin with the leaves and berries in the bottom row. Work all the way around the bulb at the lower level before moving up. Completing the lower row first means the bottom shell still braces your hand when you begin the upper row cuts.

  4. Cut the upper row

    Move to the upper row once the lower row is complete. The offset stagger means the upper leaves should not be directly above any lower opening. Keep at least half an inch of shell between each upper leaf and the nearest lower leaf to maintain the bridge integrity.

  5. Cut the berry holes in both rows

    Return to all the berry circles in both rows and cut them out after the leaf shapes are done. Consistent small round holes look most effective if all are cut with the same circular template. Clear any shell debris from the interior after each row.

  6. Display on a dark porch floor

    Set a warm battery LED inside and place the gourd on a dark porch floor with the leaf pattern facing toward your main viewing angle. Photograph from a low angle to capture the way the glowing leaf rows wrap around the gourd's curved form.

Written with AI to match this design

Gather your supplies

Check things off as you get ready.

Work on a stable surface, keep your free hand out of the cutting path, and have an adult handle sharp tools.

Three levels of light

  • Leave intact

    The solid neck, the bridges between leaves and berries within each row, the bridges between the two rows, and the bottom cap stay dark tan.

  • Peel & shade

    None. A dried gourd does not have a peelable skin.

  • Cut through

    All leaf-shaped openings and all round berry holes in both rows are cut through for warm amber harvest glow.

Learn the carving basics

Before you start cutting

How do I make the offset between the two rows look intentional rather than random?

Mark the center point of each upper leaf directly above the bridge between two lower leaves. Using a flexible tape measure, measure equal spacing between shapes in each row and confirm the offset is consistent all the way around before drilling. A well-planned layout at this stage is what separates a polished result from a haphazard one.

Can I use an acorn squash or butternut squash instead of a bottle gourd?

Fresh squash can be hollowed and carved similarly to a pumpkin, but the flesh decays within a week even in cool conditions. A dried bottle gourd lasts indefinitely. If you prefer squash, treat the design as a temporary single-season display and refrigerate the piece between uses to slow decay.

How do I keep the two rows at consistent heights all the way around the curved bulb?

Wrap a strip of masking tape around the bulb at the height of the lower edge of each row before drawing the guide lines. Masking tape follows the curve naturally and gives you a straight baseline to work from. Remove the tape after drawing the lines before you begin drilling.

Your take belongs here, too.

Changed a detail? Made it simpler? Share a photo of your version and tell the community what worked.

Share your pumpkin

More pumpkins like this

You've reached the end · 8 pumpkins
The Patch Report

Fresh pumpkins, in your inbox.

The best new carvings, ideas worth stealing, and how-tos for carving season. Short, seasonal, and gone by November.

A short email during carving season. Unsubscribe anytime. See our privacy policy.