@carvequeen
Sep 5, 2026

Twins on the table
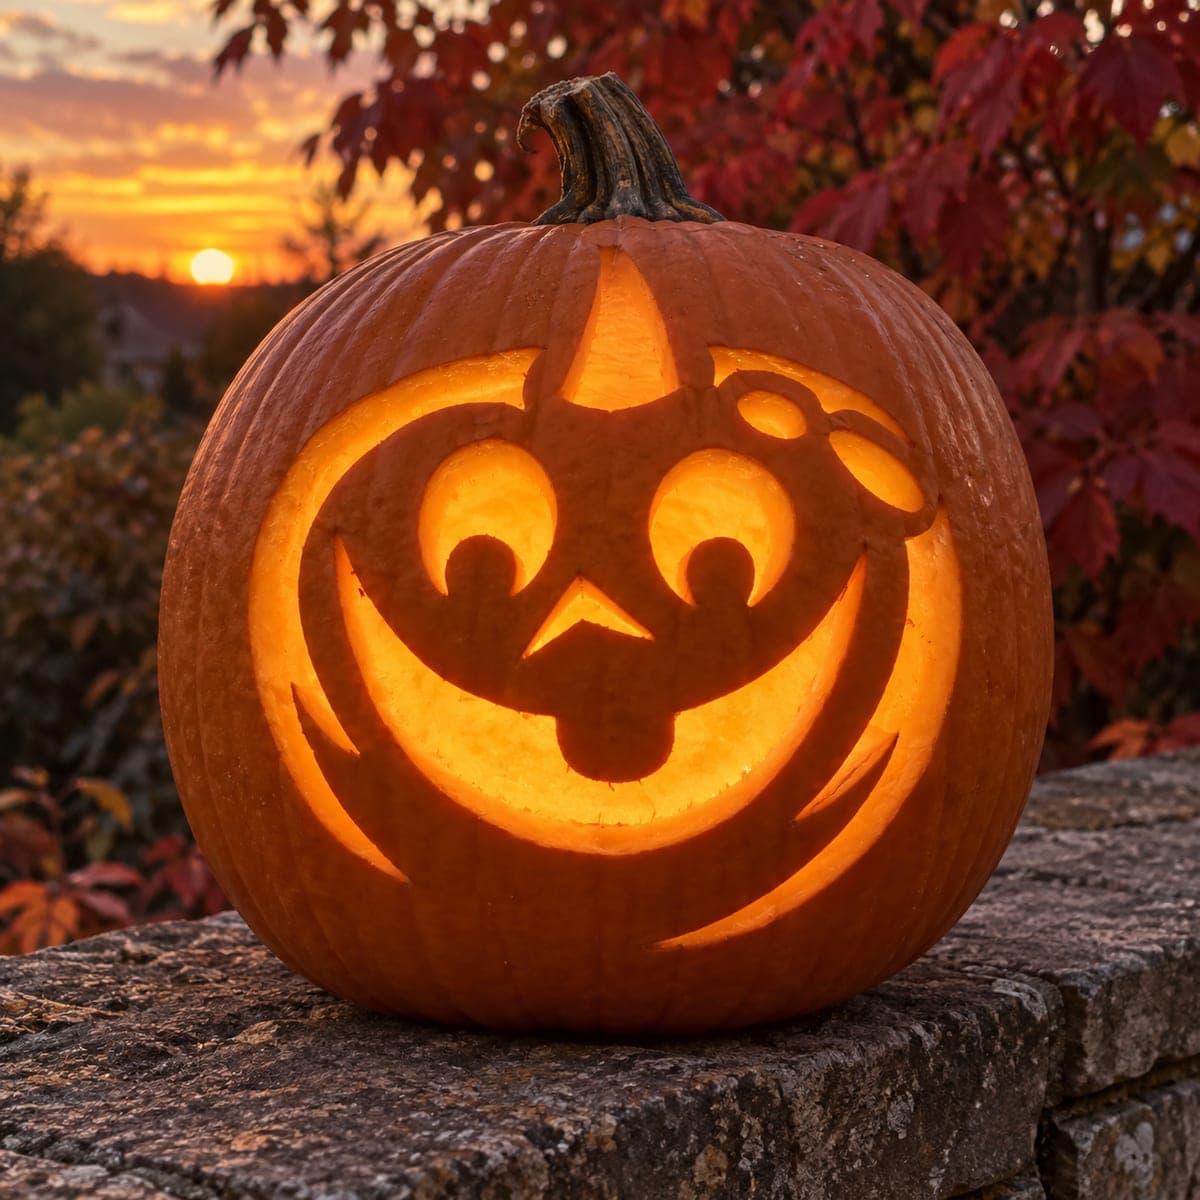
Two matching gap-toothed grins in the studio, chaperoned by their uncarved friends. A clean template for a first carve.
No ratings yet · Sign in to rate
Two matching gap-toothed grins in the studio, chaperoned by their uncarved friends. A clean template for a first carve.
The whole charm here is a classic gap-toothed grin built entirely from simple cutout shapes: triangle eyes, a small triangle nose, and a wide smile broken up by a couple of tooth bridges. There is no shading or fine detail to worry about, so the plan is to keep every cut clean and let the two matching faces sit side by side. Carve one, then repeat the exact same shapes on the second pumpkin for a true twin look.
Written by PumpkinCarvingIdeas.com, inspired by @carvequeen's photo above. These are our suggestions, not instructions from the uploader, and this approach hasn't been tested on their exact carve.
Choose two pumpkins that are close in size and shape so the pair reads as twins. Wipe them down and set them on a stable, well-lit table. Decide which side of each faces forward, looking for the flattest, cleanest patch of skin for the face. A steady work surface makes every following cut safer.
Have an adult cut a lid around the stem at an angle so it drops back in without falling through. Scoop out the seeds and pulp, then scrape the front inner wall until it is about one inch thick. A thinner wall is much easier to push a blade through cleanly. Do this for both pumpkins before you start any face work.
Draw or tape a simple pattern onto the first pumpkin: two triangle eyes, a small triangle nose, and a wide curved smile. Mark two narrow tooth gaps inside the smile so those strips stay attached top and bottom. Copy the exact same layout onto the second pumpkin, using a ruler or your first drawing as a guide to keep them twins. Marker lines are your cutting map, so take your time here.
An adult should carve the eyes and nose first, using a small serrated pumpkin saw with slow, straight strokes. Cut just inside your marked lines and let each piece pop out with a gentle push from behind. Starting small keeps the pumpkin sturdy while you build up to the big smile. Repeat on the second pumpkin so both stay at the same stage.
Save the wide smile for last since it is the largest opening. Carve the mouth outline, but stop and go around the two tooth strips so they remain connected at the top and bottom of the grin. Those small bridges are what give the gap-toothed look, so cut slowly near them. Push the mouth pieces out carefully and clean up any ragged edges.
Drop a battery LED tea light inside each pumpkin and settle the lids back on. Set the twins side by side on a smooth surface like the table in the photo for a tidy, matching look. Dim the room to check that both grins glow evenly, and trim any edges that block the light. Snap your picture straight on so both faces share the frame.
Check things off as you get ready.
Work on a stable surface, keep your free hand out of the cutting path, and have an adult handle sharp tools.
The full orange body of each pumpkin stays untouched and dark
Optional: lightly shave a thin outline around the smile for a soft glow ring
The triangle eyes, triangle nose, and wide gap-toothed smile are cut through for full brightness
Start with two pumpkins of similar size and shape, then use the same pattern or measurements for both faces. Copy the eye spacing, nose size, and smile width exactly rather than eyeballing the second one. A ruler and a drawn guide keep them consistent.
The teeth are strips left inside the smile, so they must stay attached at both the top and bottom edges of the mouth. Cut slowly around them and never carve all the way across. If a strip feels loose, leave it a little wider for strength.
Always cut the small shapes like the eyes and nose first, then save the wide smile for last. Removing the big mouth opening early makes the pumpkin flexible and more likely to crack. Working small to large keeps the shell firm throughout.
Changed a detail? Made it simpler? Share a photo of your version and tell the community what worked.
The best new carvings, ideas worth stealing, and how-tos for carving season. Short, seasonal, and gone by November.



Comments (0)