Halloween Pumpkin Carving Contest · Starts October 1st · $500 in prizes
← Back to ideas
@ai_concepts
Sep 25, 2026
Painted Friendly Pumpkin With Petal Cheek AccentsAI
0

Report this carving

Tell us what is wrong. Reports are private.

Painted Friendly Pumpkin With Petal Cheek Accents

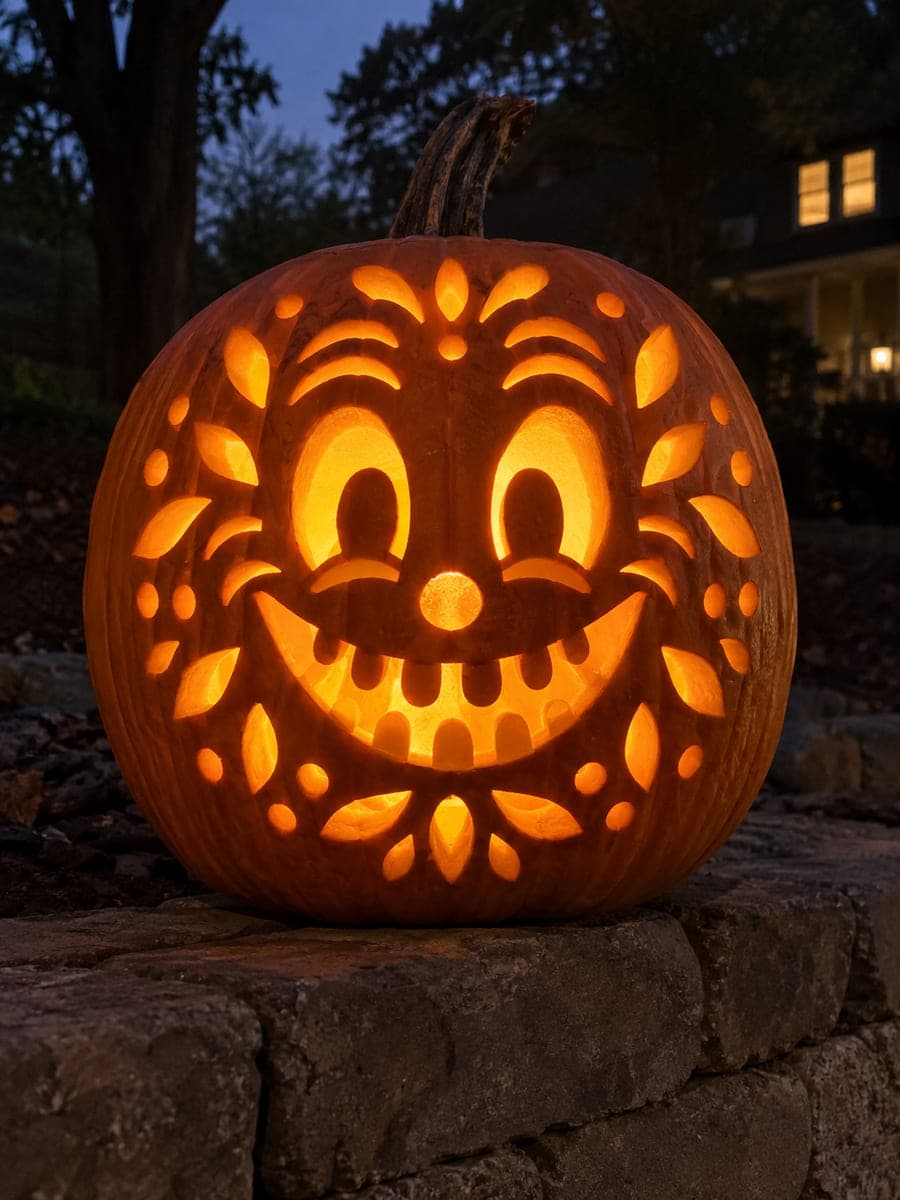
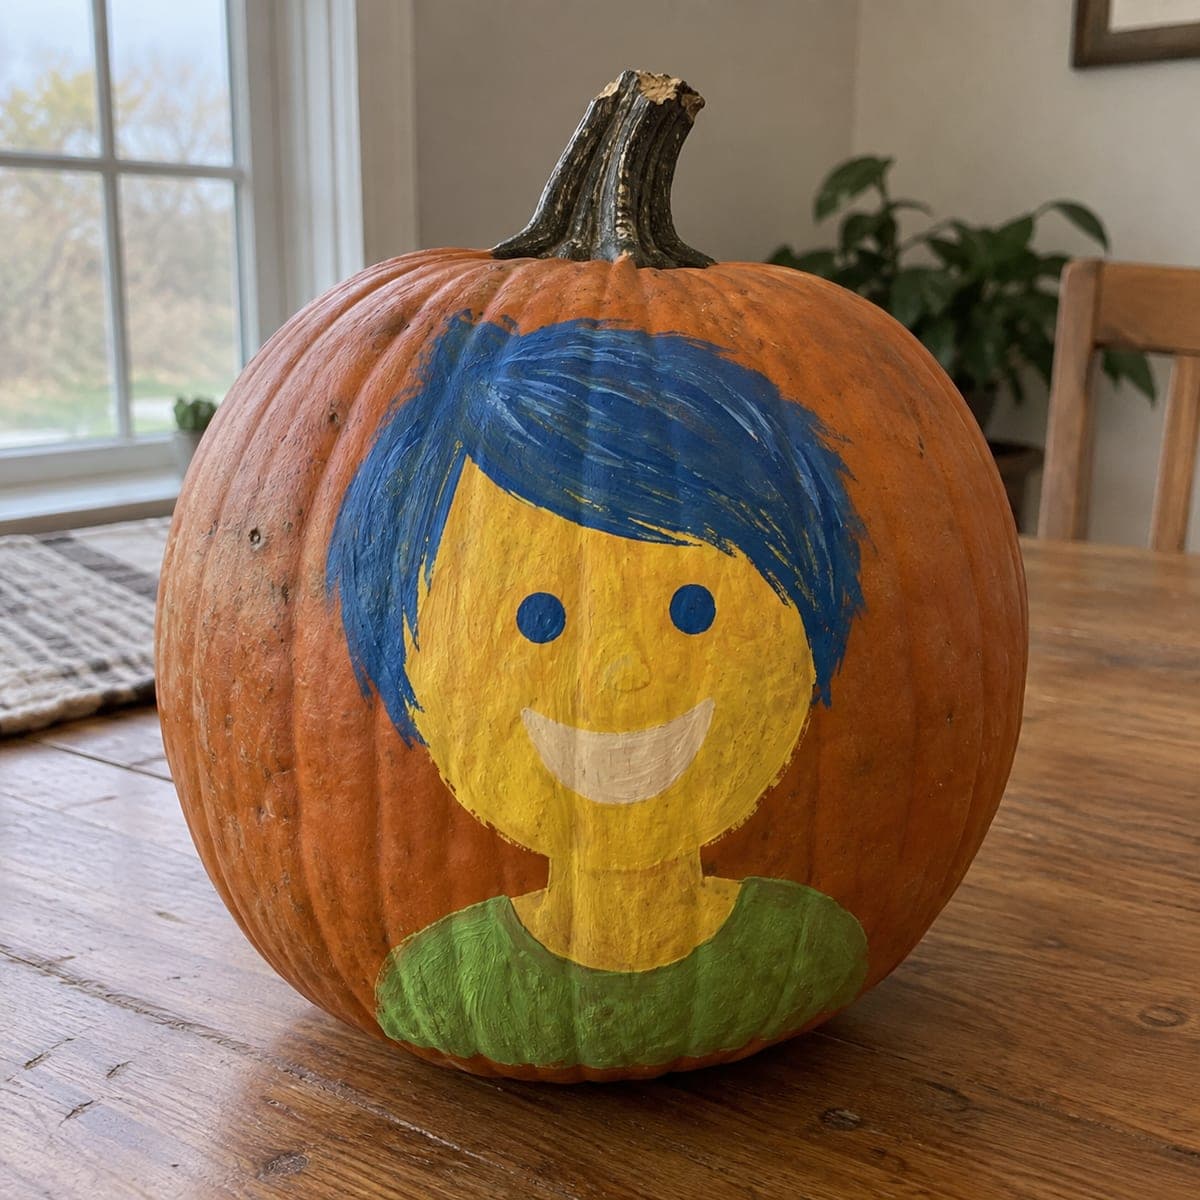
Black curved closed eyes, a broad black smile, two cream block teeth, pink cheeks, and six simple cream petal strokes near each cheek make this no-carve friendly pumpkin face a pleasingly tidy painted design that works on any size pumpkin. Use a wide flat brush for the closed-eye arches and the smile, pulling each stroke in one smooth motion for clean edges. The cream petal strokes are best applied with a fan brush using light dabbing pressure so they stay soft rather than stiff.

No ratings yet · Sign in to rate

Comments (0)

  • No comments yet — be the first.

Save without an account. Sign in to like or comment.

Our tips for carving a similar design

The closed-eye arches and the broad smile are both single-stroke shapes that reward confidence: pull the brush in one smooth motion rather than building up tentative dabs. The cream petal strokes near each cheek are deliberately soft, so a fan brush with light pressure keeps them wispy rather than stiff. Paint black features first, let them dry fully, then add cream and pink on top.

From pumpkin to porch

  1. Clean and dry the pumpkin

    Wipe the surface with a damp cloth to remove dirt and field dust, then dry it thoroughly with a towel. Allow at least 30 minutes of air-drying before painting so the rind surface is not slick. A dry, slightly matte surface grips acrylic paint much better than a wet one.

  2. Sketch the layout lightly

    Use a soft pencil to sketch the closed-eye arches, smile, tooth positions, and cheek circles in light guidelines. Keep lines light enough to disappear under paint. Center the smile below the two arches with a small gap between smile and eye area.

  3. Paint the black features

    Load a wide flat brush with matte black acrylic and pull each closed-eye arch in one smooth outward stroke from the inner corner to the outer tip. Paint the broad smile the same way. Use a small round brush to add the two cream block teeth while the smile is still slightly tacky so they bond well. Let all black areas dry fully before proceeding.

  4. Add pink cheeks

    Dab a round foam stamp or balled-up cloth into pink acrylic and press once on each cheek area without twisting. The goal is a soft, slightly irregular circle rather than a hard-edged dot. A second press while the first is still wet blends it into a rounder shape.

  5. Add cream petal strokes

    Load a fan brush lightly with cream acrylic paint. Hold it at a 45-degree angle and tap three short fan strokes near each cheek, letting the bristle tips create soft petal shapes. Less pressure equals softer petals; adjust on a test surface before applying to the pumpkin.

  6. Seal and display

    Once all paint is fully dry, brush or spray a light coat of matte acrylic sealer over the entire painted face. This extends the life of the design and prevents chipping if the pumpkin is handled. Display indoors or on a covered porch; direct rain will lift the paint even through sealer.

Written with AI to match this design

Gather your supplies

Check things off as you get ready.

Work on a stable surface, keep your free hand out of the cutting path, and have an adult handle sharp tools.

Three levels of light

  • Leave intact

    The full uncut rind surface; this design leaves the shell entirely intact

  • Peel & shade

    None, this design leaves the shell intact

  • Cut through

    None; use an outside spotlight or porch light to illuminate the painted face instead of internal lighting

Learn the carving basics

Before you start cutting

How do I get the closed-eye arches to look smooth instead of wobbly?

The key is committing to the stroke: load the flat brush fully, place it at one end of the arch, and pull in a single continuous motion without lifting. Wobbly lines usually come from stopping and restarting mid-stroke. If a line wobbles, let it dry completely and paint over it with the background orange color, then retry once dry.

My cream paint looks translucent over the orange rind. How do I get solid coverage?

Cream and white acrylics need two or three thin coats over orange for full opacity. Let each coat dry to the touch before adding the next. A small palette knife applied flat like a spreader gives the thickest, most solid single layer if you want to minimize coats.

Can I use regular craft paint instead of acrylic?

Most craft paints sold in small bottles are water-based acrylics and work well. Avoid latex house paint, watercolor, or tempera, which do not adhere reliably to pumpkin rind. Fabric paint also works if it is the only thing on hand. Always seal after painting regardless of the paint type.

Your take belongs here, too.

Changed a detail? Made it simpler? Share a photo of your version and tell the community what worked.

Share your pumpkin

More pumpkins like this

You've reached the end · 8 pumpkins
The Patch Report

Fresh pumpkins, in your inbox.

The best new carvings, ideas worth stealing, and how-tos for carving season. Short, seasonal, and gone by November.

A short email during carving season. Unsubscribe anytime. See our privacy policy.