Halloween Pumpkin Carving Contest · Starts October 1st · $500 in prizes
← Back to ideas
@ai_concepts
Sep 25, 2026
Crescent Eye Friendly Pumpkin With Square Smile TeethAI
0

Report this carving

Tell us what is wrong. Reports are private.

Crescent Eye Friendly Pumpkin With Square Smile Teeth

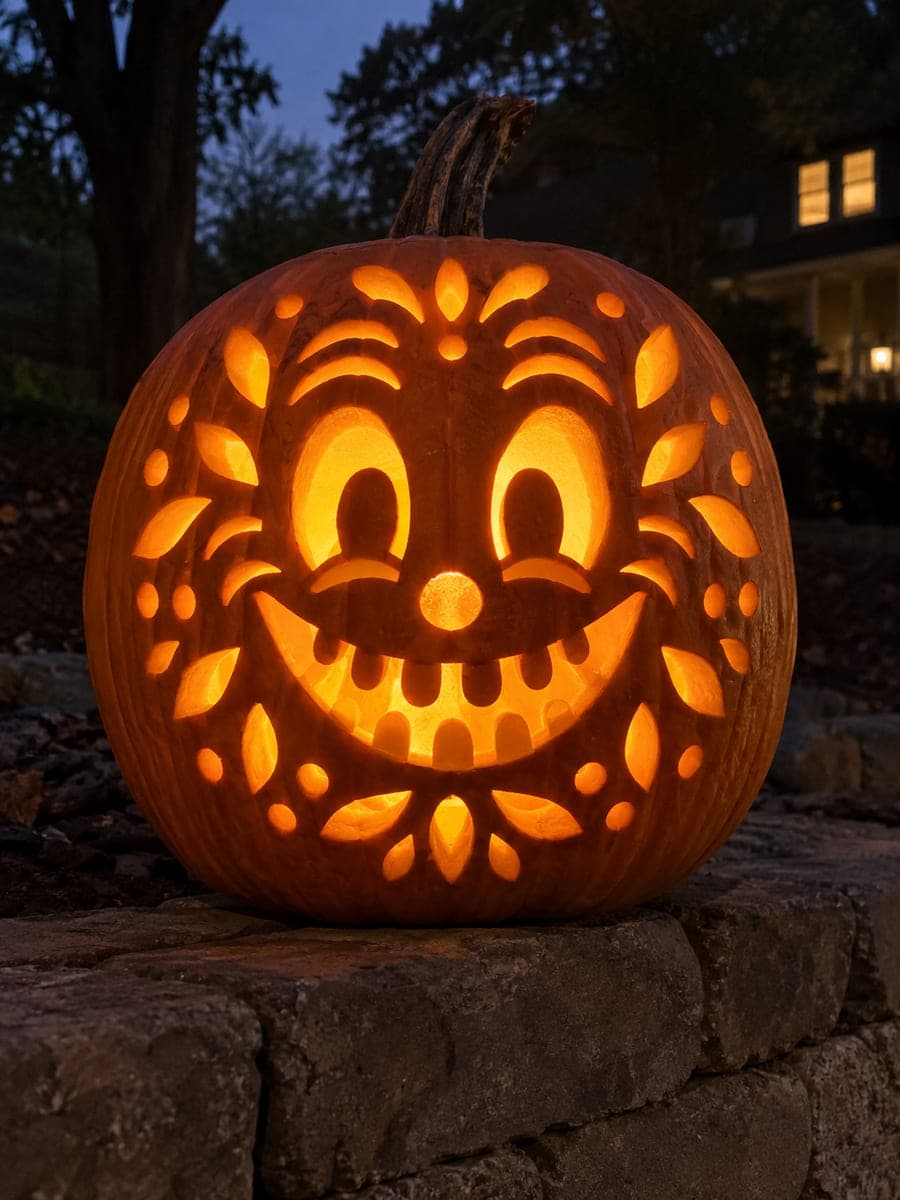
Two large upward-curving crescent eyes and a broad smiling mouth with two thick upper-rooted square teeth make this an extremely approachable friendly pumpkin face idea for first-time carvers. The upward curve of the crescent eyes is the whole design: tilt both crescents so their outer ends sweep up noticeably, since that is what reads as joyful rather than neutral. Root both square teeth across their full top edge before cutting out the spaces between them. This warm, welcoming face works perfectly on a covered porch where neighbors pass at eye level.

No ratings yet · Sign in to rate

Comments (0)

  • No comments yet — be the first.

Save without an account. Sign in to like or comment.

Our tips for carving a similar design

The whole personality of this design lives in the tilt of the crescent eyes: both outer ends must sweep noticeably upward so the face reads as joyful rather than just neutral. A broad mouth with two solidly rooted square teeth completes the welcoming look. Cut the eyes first to anchor the expression, then build the smile around them.

From pumpkin to porch

  1. Prepare and hollow the pumpkin

    Cut a wide lid from the back or bottom of the pumpkin so the opening is easy to reach. Scoop out seeds and stringy pulp until the inner wall is about 25mm thick throughout. A consistent wall thickness makes every cut cleaner and reduces the chance of punch-through on the crescent curves.

  2. Transfer the crescent eyes

    Trace or tape a paper template to the front face and pierce the outline with an awl every 10mm. The key is that each crescent's outer tip tilts clearly upward; hold the template at arm's length before piercing to confirm the upward sweep is visible. Remove the paper and connect the dots with a dry-erase marker.

  3. Cut the crescent eyes

    Use a narrow serrated pumpkin saw and follow the curved line in short back-and-forth strokes. Work slowly on the tight inner curve at the bottom of each crescent; rushing here causes jagged edges that soften the joyful expression. Pop out each crescent piece and clean the edges with a paring knife.

  4. Carve the smiling mouth

    Mark the broad smile arc and the two square teeth with a marker. Score the top edge of each tooth deeply before cutting the gaps between them so you know the root line is secure. Cut the spaces between and beside the teeth first, then remove the large curved sections of the mouth on either side.

  5. Refine and thin the walls

    From inside, use a linoleum gouge or spoon to shave the wall behind any sections that look thick or dim when you hold a flashlight to the opening. Even crescent eyes benefit from a wall thinned to about 20mm for a brighter glow. Wipe the outer surface clean with a damp cloth.

  6. Light and display

    Place a battery-powered amber LED inside rather than a candle for a safer, longer-lasting glow. Position the pumpkin at eye level on a covered porch railing or step so neighbors see the upward-sweeping eyes straight on. The crescent shape frames the light beautifully and the face stays cheerful in all lighting conditions.

Written with AI to match this design

Gather your supplies

Check things off as you get ready.

Work on a stable surface, keep your free hand out of the cutting path, and have an adult handle sharp tools.

Three levels of light

  • Leave intact

    The solid rind areas framing the eyes and the broad cheek panels between the crescents and the mouth

  • Peel & shade

    None, this design uses full cutouts with no shading

  • Cut through

    Both upward-sweeping crescent eye holes and the entire smile including gaps between the two square teeth

Learn the carving basics

Before you start cutting

How do I keep the crescent curve from looking flat or droopy?

The outer tips of each crescent must point noticeably upward before you start cutting. Check your template from across the room; if the ends look horizontal, rotate the template slightly so the tips lift. A small angle change makes a big difference in how joyful the finished face reads.

My square teeth feel loose after I cut the gaps. What went wrong?

Each tooth needs its full top edge connected to the upper lip before any gap material is removed. If you cut the gaps before confirming the root line, the tooth becomes a floating island and breaks off. Score the top of each tooth with a deep line first, then cut the gap sections away from that line.

Can I use a round cookie cutter to trace the crescent shape?

Two overlapping circles traced with different-sized round objects work well: the larger circle defines the outer arc of the crescent and the smaller one defines the inner arc. Mark both arcs, then cut only the area between them. This is a reliable no-template approach for smooth crescent eyes.

Your take belongs here, too.

Changed a detail? Made it simpler? Share a photo of your version and tell the community what worked.

Share your pumpkin

More pumpkins like this

You've reached the end · 8 pumpkins
The Patch Report

Fresh pumpkins, in your inbox.

The best new carvings, ideas worth stealing, and how-tos for carving season. Short, seasonal, and gone by November.

A short email during carving season. Unsubscribe anytime. See our privacy policy.