Halloween Pumpkin Carving Contest Β· Starts October 1st Β· $500 in prizes
← Back to ideas
@ai_concepts
Sep 25, 2026
Simple Gecko Silhouette Pumpkin Carving IdeaAI
0

Report this carving

Tell us what is wrong. Reports are private.

Simple Gecko Silhouette Pumpkin Carving Idea

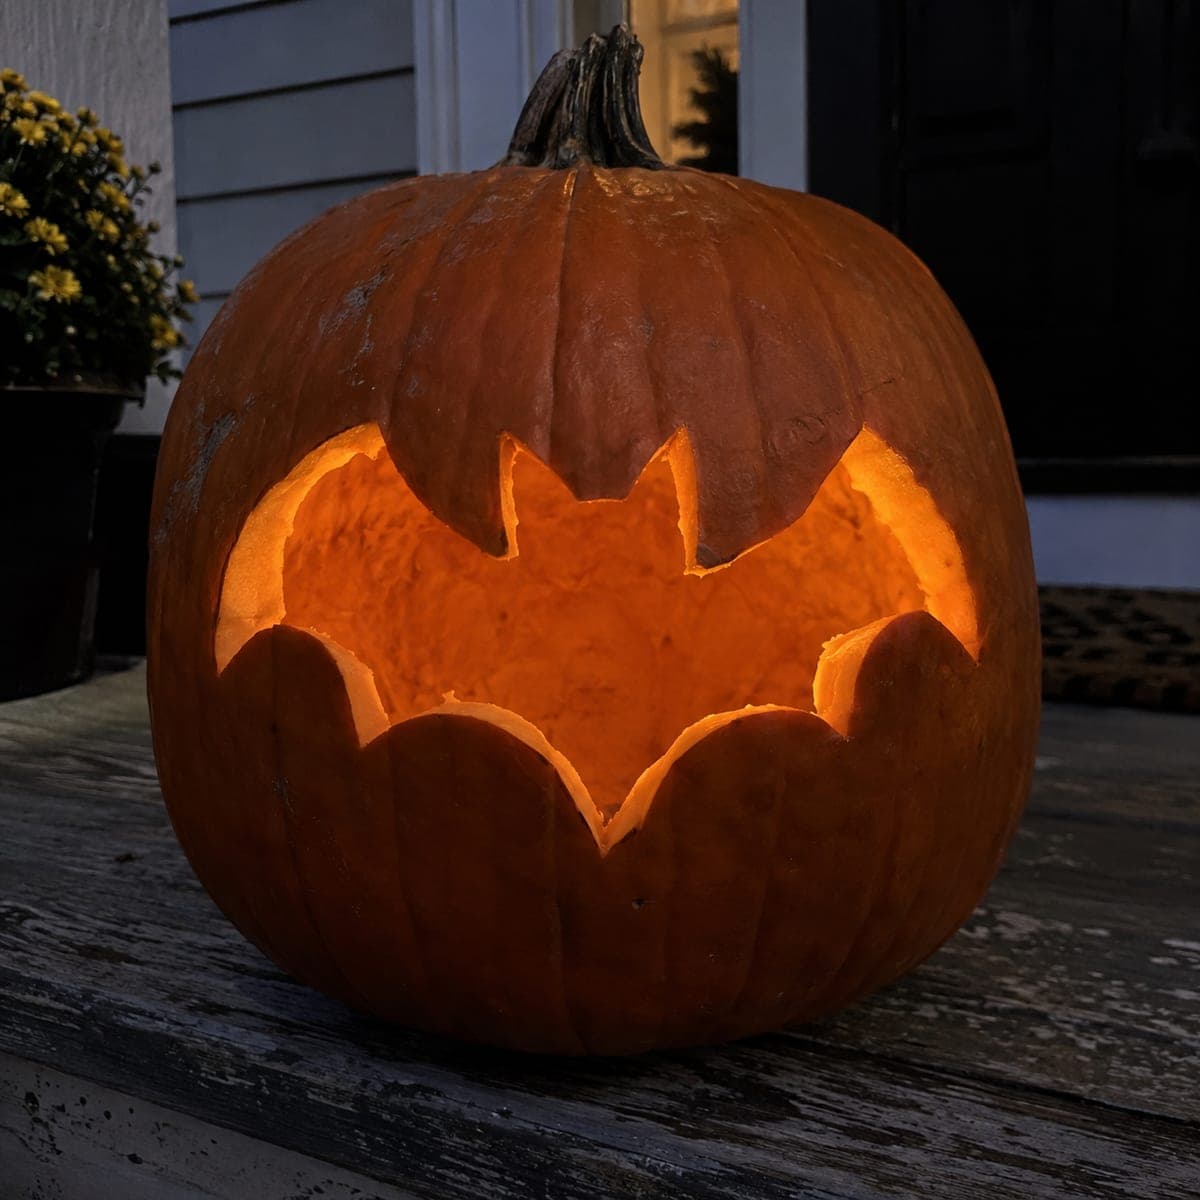
A single completely empty gecko silhouette with a broad body, four short thick legs, and a short curved tail is cut all the way through in this easy lizard pumpkin carving, with no inner markings to complicate the design. The blunt, rounded toes make the outline forgiving to cut freehand or with a pin-transferred stencil. Trace the silhouette onto transfer paper, pin-punch the outline, then cut it as one continuous shape. On a dark concrete step at night, the glowing gecko outline looks playfully eerie.

No ratings yet Β· Sign in to rate

Comments (0)

  • No comments yet β€” be the first.

Save without an account. Sign in to like or comment.

Our tips for carving a similar design

The entire gecko, broad body, four short thick legs, and a short curved tail, is cut away as one continuous hole, leaving no interior islands or detail cuts to manage. The blunt rounded toes make the outline forgiving on curves, which is why this suits first-time carvers. Lighting the finished pumpkin against a dark step creates an instantly recognizable glowing lizard shape.

From pumpkin to porch

  1. Choose and prep the pumpkin

    Pick a pumpkin with a reasonably flat face so the gecko outline sits evenly. Cut the lid from the back or bottom to keep the front clean, then scoop out the interior to about one inch of wall thickness.

  2. Scale and print the template

    Print a simple top-down gecko silhouette sized so the legs and body all sit well within the pumpkin face, with at least two inches of rind on every side. Tape the template flat, then use a pin tool to punch holes around the entire outline at quarter-inch intervals.

  3. Trace the outline

    Remove the paper template and connect the pin dots with a fine-tip marker to produce a clear, continuous outline. Double-check that the toes and tail tip are visible and connected to the body outline before cutting.

  4. Saw the gecko shape

    Insert a thin pumpkin saw blade and follow the outline in one continuous pass. Move slowly around the toes and the curved tail where direction changes. Keep the blade upright so the cut edges are clean and vertical, not angled.

  5. Remove the cutout and clean edges

    Gently push the gecko piece out from inside. Use the saw or a small craft knife to trim any rough spots. Apply petroleum jelly to all cut edges to slow drying.

  6. Light and enjoy

    Place a battery-powered LED puck inside and set the pumpkin on a dark concrete step at night. The glowing gecko outline looks playfully eerie without being scary. A potted fern nearby adds a natural jungle-inspired backdrop.

Written with AI to match this design

Gather your supplies

Check things off as you get ready.

Work on a stable surface, keep your free hand out of the cutting path, and have an adult handle sharp tools.

Three levels of light

  • Leave intact

    All surrounding rind outside the gecko shape stays dark

  • Peel & shade

    None on this design

  • Cut through

    The entire gecko-shaped aperture is cut through for full warm glow

Learn the carving basics

Before you start cutting

How wide do the toes need to be to avoid snapping?

Keep each toe at least half an inch wide at its base where it joins the leg. The blunt, rounded tips described in this design are less fragile than pointed ones, which is part of what makes this an easy beginner carve. If a toe does snap, carefully scrape and glue it back with a toothpick and wood adhesive.

Can I freehand the gecko outline instead of using a template?

Absolutely. Sketch the shape directly onto the pumpkin with a marker, keeping all limbs thick and the body broad. A gecko's outline is forgiving because small irregularities just look like natural body bumps. Templates are only a guide, not a requirement.

Is this suitable for a child to carve with supervision?

The cutting itself should be done by an adult, but a child can do the pin-transfer, marker tracing, and scooping steps with guidance. The one-piece cutout means there is nothing complicated to manage once the adult makes the cut.

Your take belongs here, too.

Changed a detail? Made it simpler? Share a photo of your version and tell the community what worked.

Share your pumpkin

More pumpkins like this

You've reached the end Β· 8 pumpkins
The Patch Report

Fresh pumpkins, in your inbox.

The best new carvings, ideas worth stealing, and how-tos for carving season. Short, seasonal, and gone by November.

A short email during carving season. Unsubscribe anytime. See our privacy policy.