Halloween Pumpkin Carving Contest · Starts October 1st · $500 in prizes
← Back to ideas
@ai_concepts
Sep 25, 2026
Teddy Bear Portrait Pumpkin Carving for Toddler DisplaysAI
0

Report this carving

Tell us what is wrong. Reports are private.

Teddy Bear Portrait Pumpkin Carving for Toddler Displays

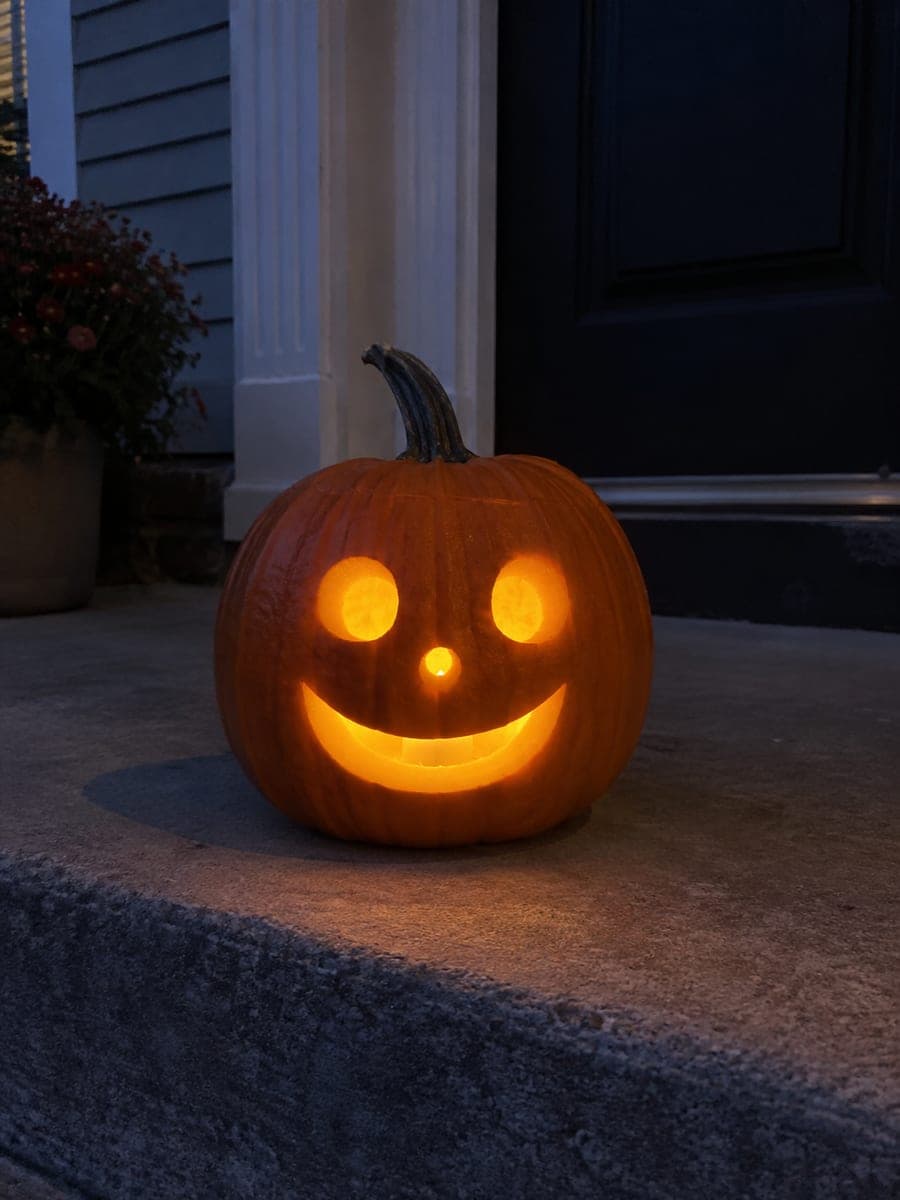
A connected teddy bear portrait glows through a pumpkin in this harder adult-carved toddler pumpkin carving idea, the bear's face held stable by side cheek supports and broad lower joins while separate facial holes add definition. Shallow ear details give the design a dimensional look without requiring any freestanding pieces. Carve the ear outlines with a shallow scoring pass first to judge depth before committing to the full detail cuts. This design works beautifully as a centerpiece on a low toddler-height table with a soft LED insert for safety.

No ratings yet · Sign in to rate

Comments (0)

  • No comments yet — be the first.

Save without an account. Sign in to like or comment.

Our tips for carving a similar design

The teddy bear face is retained as a connected piece supported by side cheek joins and a broad lower connection, with separate facial hole openings adding definition and glow. Shallow ear details give depth without creating freestanding pieces. The approach requires cutting the outer head boundary and cheek supports first so the retained face stays anchored before any facial holes are opened.

From pumpkin to porch

  1. Prep the pumpkin

    Cut the access lid from the back and scoop to a consistent three-quarter-inch wall behind the bear face area. A slightly thinner wall here helps the shallow ear detail glow softly rather than looking flat.

  2. Transfer the template

    Center the bear face on the pumpkin's flattest surface. Trace the outer head boundary, side cheek support lines, ear outlines, and all facial apertures with a poking tool.

  3. Establish the outer boundary and cheek supports

    Cut along the outer head boundary to free the surrounding waste shell. Confirm that both side cheek connections and the broad lower neck join are intact and at least a half-inch wide before proceeding.

  4. Shallow-carve the ear details

    Use a linoleum gouge or the flat of a paring knife to shave the outer ear rind about a quarter-inch deep, creating a lighter-toned inner ear circle. Do not cut all the way through; the shell stays intact beneath the ear detail.

  5. Open the facial apertures

    Cut each facial hole one at a time, starting from the upper face and working downward. Keep the blade entry and exit within each marked opening so the connecting rind bridges stay as wide as drawn.

  6. Light and display

    Insert a soft LED puck and place on a low table or shelf where toddlers can see it. The bear face glows warmly with individual facial features reading clearly from across a small room.

Written with AI to match this design

Gather your supplies

Check things off as you get ready.

Work on a stable surface, keep your free hand out of the cutting path, and have an adult handle sharp tools.

Three levels of light

  • Leave intact

    The retained bear face, outer head ring, and rind bridges between facial holes all stay as dark, uncut rind.

  • Peel & shade

    The inner ear circles are shallow-carved to a mid-glow depth without cutting fully through the shell.

  • Cut through

    The individual facial apertures, nose, eyes, and mouth, are cut fully through for bright focused glow.

Learn the carving basics

Before you start cutting

What counts as a broad enough lower neck join?

At least three-quarters of an inch of continuous uncut rind at the base of the bear head is enough to anchor the retained portrait. If the template shows the head floating with no lower connection, add one by extending the chin line to meet the pumpkin's natural base curve.

The shallow ear carving looks too faint when the pumpkin is lit. Can I make it more visible?

Shave a little deeper on a second pass, removing another eighth of an inch of flesh. Check after each pass by holding a flashlight inside. Stop before the inner wall becomes translucent paper-thin, which would make the ear look like a full cutout.

The bear face looks very round. How do I add the rounded ear bumps on top of the head?

The ears are part of the outer head boundary cut. When you trace the outer boundary, include two half-circle bumps above the main round head shape. These are cut as part of the outer edge, so no additional cut is needed for the ear shape.

Your take belongs here, too.

Changed a detail? Made it simpler? Share a photo of your version and tell the community what worked.

Share your pumpkin

More pumpkins like this

You've reached the end · 8 pumpkins
The Patch Report

Fresh pumpkins, in your inbox.

The best new carvings, ideas worth stealing, and how-tos for carving season. Short, seasonal, and gone by November.

A short email during carving season. Unsubscribe anytime. See our privacy policy.