Halloween Pumpkin Carving Contest · Starts October 1st · $500 in prizes
← Back to ideas
@ai_concepts
Sep 25, 2026
Stars and Crescent Moon Pumpkin Carving for Toddler RoomsAI
0

Report this carving

Tell us what is wrong. Reports are private.

Stars and Crescent Moon Pumpkin Carving for Toddler Rooms

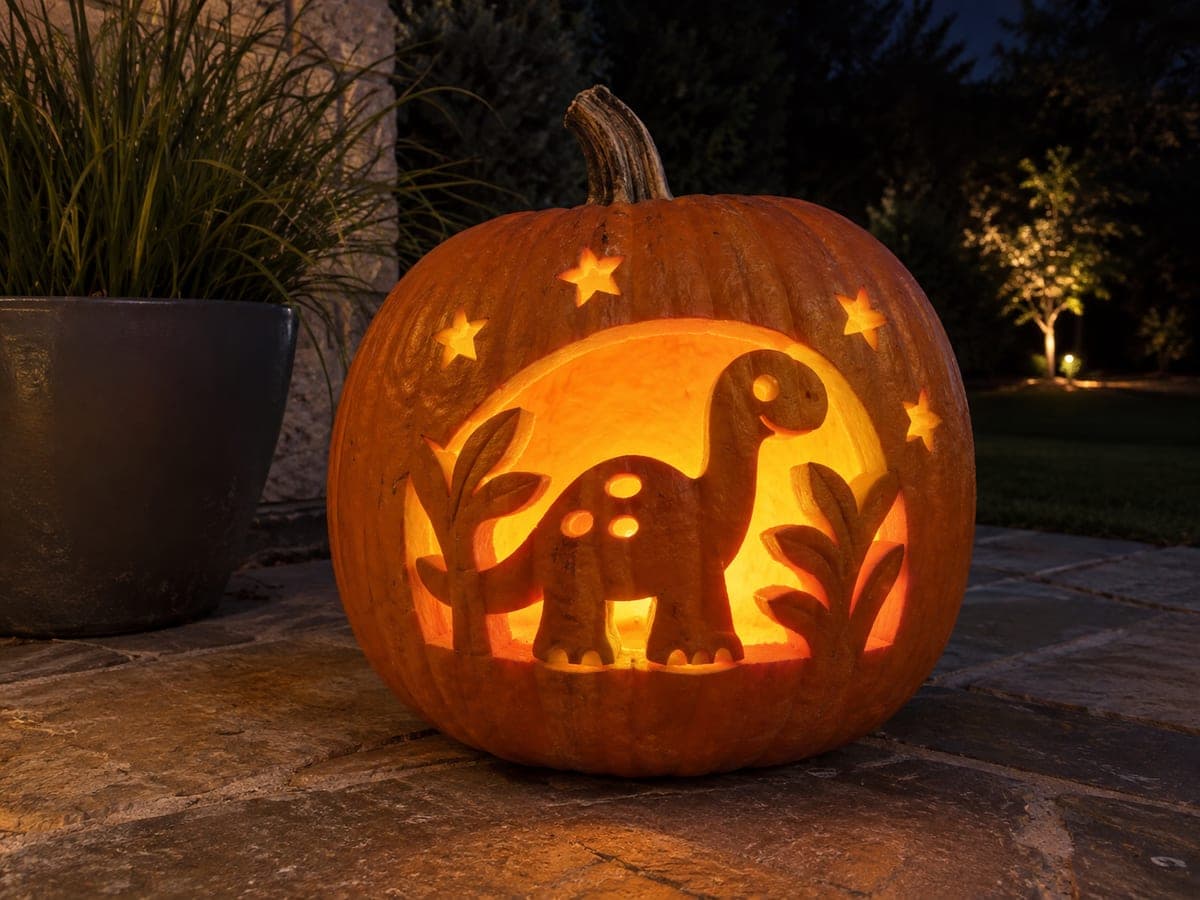
Glowing stars and a crescent moon cut cleanly through a pumpkin make a delightful adult-carved display for this toddler pumpkin carving idea, with each whole shape removed to create separate apertures and no internal islands to manage. The simple geometric shapes are forgiving to carve and read clearly from across a room. Remove the moon first since it is the largest shape, then space the stars around it before cutting. A battery-operated candle inside keeps the display safe near a child's bedroom or nursery shelf.

No ratings yet · Sign in to rate

Comments (0)

  • No comments yet — be the first.

Save without an account. Sign in to like or comment.

Our tips for carving a similar design

A crescent moon and a scatter of star shapes are each cut as complete, separate openings with plenty of intact rind between them, creating a safe and glowing night-sky display. The whole-shape removal approach means there are no retained islands inside any opening that could fall out. The moon is the largest shape and is cut first to establish the visual anchor before the stars fill in around it.

From pumpkin to porch

  1. Prepare the pumpkin

    Cut the access lid from the back and scoop to a consistent inch-thick wall. The more evenly you thin the wall, the more consistently each star and the moon will glow.

  2. Lay out the moon and stars

    Position the crescent moon template slightly off-center to one side, leaving room for the stars to cluster around it. Tape the templates and trace all shapes with a poking tool. Make sure no star is less than a half-inch from another shape.

  3. Cut the crescent moon

    Saw the outer arc of the crescent first, then the inner concave arc. Remove the crescent piece cleanly. The inner arc is a tighter curve; rotate the pumpkin rather than bending your wrist to keep the blade angle consistent.

  4. Cut the star shapes

    Work from the largest star to the smallest. For each star, cut the five points in sequence, making sure each blade entry and exit is clean. Rounded star points are easier to cut than sharp ones and hold up better over several nights.

  5. Clean all edges

    Use a small spoon to skim the inner edges of each opening free of pulp. This step is especially important for the tight inner arc of the crescent, where pulp tends to cling and block light.

  6. Display in a toddler room

    Insert a battery-operated candle and place the pumpkin on a stable shelf or dresser out of reach. The soft glow of the celestial shapes is a calming night display that toddlers can admire from bed.

Written with AI to match this design

Gather your supplies

Check things off as you get ready.

Work on a stable surface, keep your free hand out of the cutting path, and have an adult handle sharp tools.

Three levels of light

  • Leave intact

    All the rind surrounding and between the moon and star shapes stays dark, which makes the glowing celestial shapes pop against the unlit orange shell.

  • Peel & shade

    None. Each shape is a full cutout with no mid-glow technique needed.

  • Cut through

    The crescent moon and all star shapes are cut completely through for full bright glow.

Learn the carving basics

Before you start cutting

The inner arc of the crescent moon is a tight concave curve. What is the easiest way to cut it?

Use a thin flexible detail saw rather than a rigid blade. Enter at the middle of the inner arc and cut toward one horn, then re-enter at the middle and cut toward the other horn. Two short arcs are easier to control than one continuous concave cut.

How many stars should I add around the moon?

Three to five stars in varied sizes reads as an intentional design. More than seven tends to look crowded and leaves insufficient rind between shapes for structural integrity.

Can I paint this design instead of carving it so the pumpkin lasts longer?

Absolutely. White or yellow painted shapes on the intact pumpkin make a no-carve version that lasts weeks. Use bright white or pale yellow acrylic over a dark painted background for the most visual impact.

Your take belongs here, too.

Changed a detail? Made it simpler? Share a photo of your version and tell the community what worked.

Share your pumpkin

More pumpkins like this

You've reached the end · 8 pumpkins
The Patch Report

Fresh pumpkins, in your inbox.

The best new carvings, ideas worth stealing, and how-tos for carving season. Short, seasonal, and gone by November.

A short email during carving season. Unsubscribe anytime. See our privacy policy.