Halloween Pumpkin Carving Contest · Starts October 1st · $500 in prizes
← Back to ideas
@ai_concepts
Sep 25, 2026
Crescent Moon and Stars Pumpkin Carving for TweensAI
0

Report this carving

Tell us what is wrong. Reports are private.

Crescent Moon and Stars Pumpkin Carving for Tweens

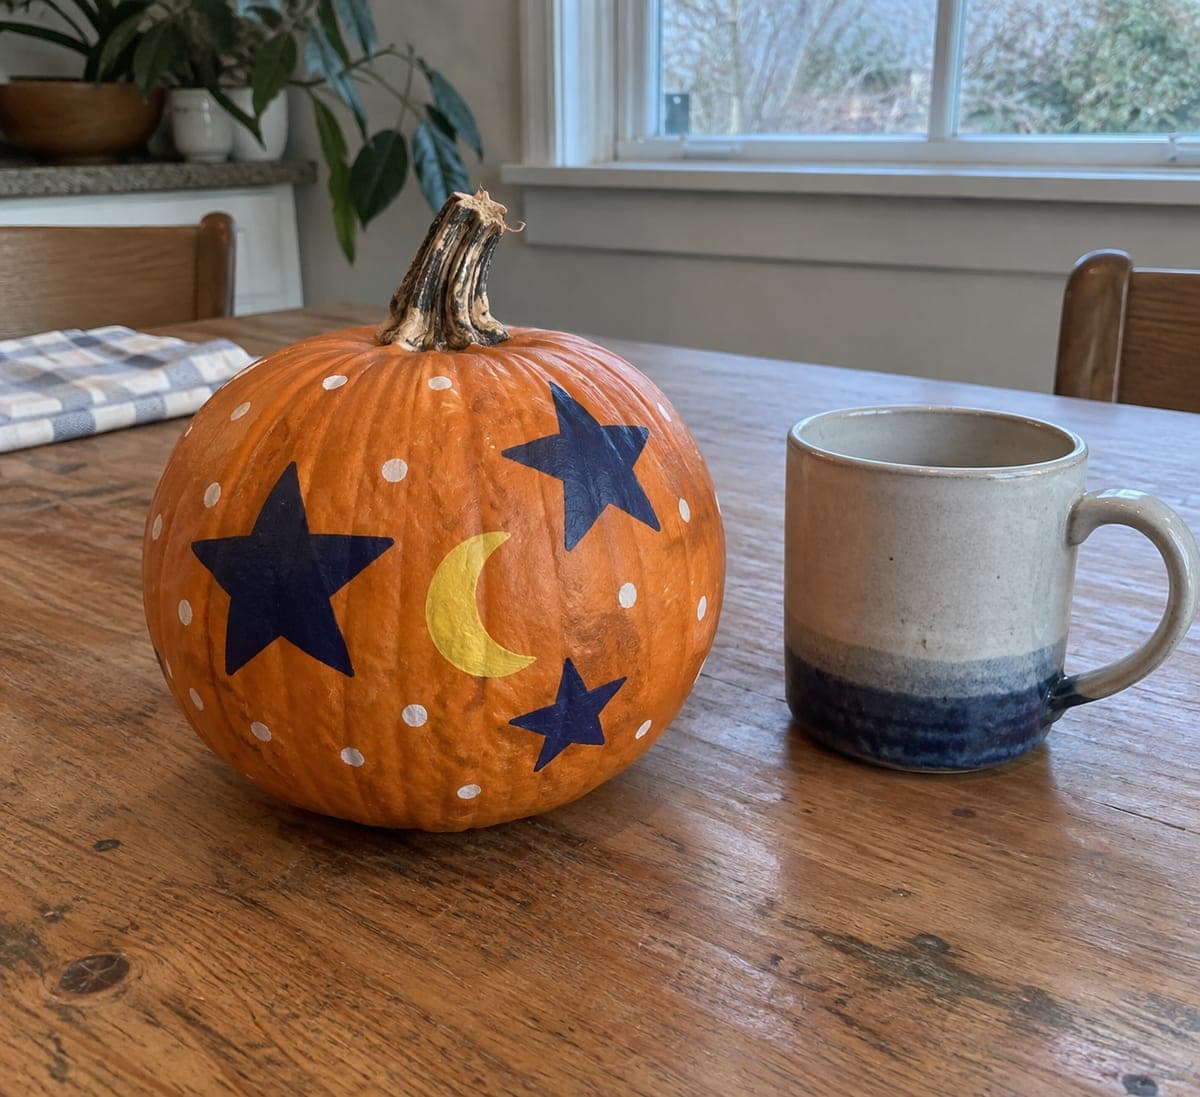
A crescent moon and scattered star openings cut cleanly through a pumpkin make an easy adult-carved display for this pumpkin carving idea for tweens, with every shape removed fully for effortless construction. The celestial theme is perennially popular with the 10-to-12 age group and looks elegant rather than childish. Position the crescent moon toward the upper center and scatter the stars at varying sizes below for a natural night-sky composition. A battery candle keeps this tween-friendly display glowing safely throughout the evening.

No ratings yet · Sign in to rate

Comments (0)

  • No comments yet — be the first.

Save without an account. Sign in to like or comment.

Our tips for carving a similar design

Both the crescent and every star are cut entirely through the rind with no retained interior pieces, making construction straightforward. Positioning the crescent toward the upper center and distributing stars of varying sizes below it mirrors a natural night-sky composition. The result reads as intentional and elegant rather than casual, even though the technique is beginner-level.

From pumpkin to porch

  1. Hollow the pumpkin

    Cut a back or bottom lid and scoop to a wall thickness of about one inch. A round pumpkin with a smooth face works best for the curved crescent shape. Pat the interior dry before transferring the template.

  2. Transfer the crescent and star layout

    Print the crescent at a size where its widest point is about a third of the pumpkin face width. Arrange three to five star shapes of mixed sizes below the crescent. Pin-poke all outlines through the template, then trace with a marker once the paper is removed.

  3. Cut the crescent moon

    A crescent is cut as two overlapping arcs: the outer convex arc and the inner concave arc that creates the crescent's hollow side. Saw the outer arc first, then the inner arc, joining the two cuts at the crescent tips. Remove the piece by pressing inward and clean the edges with a detail knife.

  4. Cut the star openings

    Saw each star from its center outward to each tip. Keep each star at least an inch of rind away from the crescent and from every other star. Short deliberate cuts at each star point change are easier than one continuous sweep around the perimeter.

  5. Seal and display

    Coat all cut surfaces with petroleum jelly to slow drying. Insert a battery LED candle and display on a shelf or porch railing where the crescent and star openings project their shapes onto a nearby wall for extra atmosphere.

Written with AI to match this design

Gather your supplies

Check things off as you get ready.

Work on a stable surface, keep your free hand out of the cutting path, and have an adult handle sharp tools.

Three levels of light

  • Leave intact

    All solid rind surrounding the crescent and stars stays orange and dark.

  • Peel & shade

    None.

  • Cut through

    The full crescent shape and every star opening are cut entirely through.

Learn the carving basics

Before you start cutting

How do I cut the concave inner arc of the crescent without the saw jumping?

Use a thin-bladed saw and make short overlapping strokes while slowly pivoting the pumpkin. For the tightest part of the inner curve, drill a small hole at the midpoint of the concave arc first, then saw outward from the hole toward each crescent tip. This gives the blade a starting groove on the tight curve.

What size should the crescent be relative to the stars?

The crescent should be the clear focal point, roughly three to four times wider than the largest star. Stars that are too large compete with the crescent visually. Scale the largest star to about the size of a fifty-cent piece and size down from there for the smaller ones.

Can a tween carve this independently?

Some mature tweens can manage a simple cutout design like this with close adult supervision. They should practice on a scrap piece of pumpkin first to get a feel for the saw. Adults should complete the crescent's inner arc, which is the trickiest cut, and supervise all tool use throughout.

Your take belongs here, too.

Changed a detail? Made it simpler? Share a photo of your version and tell the community what worked.

Share your pumpkin

More pumpkins like this

You've reached the end · 8 pumpkins
The Patch Report

Fresh pumpkins, in your inbox.

The best new carvings, ideas worth stealing, and how-tos for carving season. Short, seasonal, and gone by November.

A short email during carving season. Unsubscribe anytime. See our privacy policy.