Similar pumpkin stencils
View all stencils →About this stencil
Download the Happy Halloween Drip Text pumpkin stencil as a free printable PDF, then tape the pattern to your pumpkin and trace the lines. The words HAPPY HALLOWEEN wrap across this pumpkin stencil in a wide dripping horror typeface, the tall letters of HALLOWEEN spanning the full width of the pumpkin in a single solid banner with icicle-like drips hanging from each base. The smaller word HAPPY sits above in a lighter display face. All letters are carved as open cut-outs connected edge to edge, forming a wide horizontal band of glowing text. Thin the pumpkin wall to about half an inch across the whole text zone before carving, because the long horizontal band removes a large section of structural support and a thinner wall is easier to keep from cracking under the blade. It works as a carving template for a Halloween jack-o'-lantern or a fall porch display. It is rated Expert / Pro. Actual time varies with preparation, pumpkin size and experience. Intricate details and fragile supports need patience. Technique depends on the design; follow its PDF rather than assuming multiple depth layers.
Pumpkin size guide
- 🎃 Small (5 to 7"): print at 80%
- 🎃 Medium (7 to 10"): print at 100% (recommended)
- 🎃 Large (11 to 13"): print at 130%
- 🎃 Giant (14"+): print at 150% on tabloid paper
Frequently asked questions
Can I resize this stencil?▾
Yes. The PDF is vector so it scales cleanly. Print the pattern at 100% for a 7 to 10 inch pumpkin, 130% for 11 to 13 inch, or 150% for a giant. Use your printer's "Fit to page" or "Custom scale" setting.
What kind of paper works best?▾
Standard 20 lb letter or A4 printer paper is fine. Heavier paper is harder to bend around the pumpkin curve. If your printer supports it, set the quality to 'best' so the lines are crisp.
How long will the carved pumpkin last?▾
Usually 5 to 10 days. Coat all cut surfaces with petroleum jelly and store the pumpkin somewhere cool overnight. Avoid direct sun. Battery LED pumpkin lights produce no heat and help it last longer.
Can I sell pumpkins carved with this stencil?▾
Yes, the carved pumpkin you make is yours. The license covers personal and small-scale commercial carving (selling carved pumpkins, photographing them, posting on social). You may not resell the PDF file itself.
What if my printer doesn't print the whole stencil?▾
Set 'Page scaling' to 'Fit' in the print dialog and uncheck 'Auto-rotate'. If it still cuts off, the design includes 0.25" of safe-area margin so a small crop won't ruin it.
How to carve this stencil
- Thin the entire carving zone to about 1/2 inch before applying the stencil, as the wide letter band removes significant wall area.
- Pin-transfer all letter outlines, noting the enclosed counters inside letters like O, A, and E that must remain as solid islands.
- Cut the negative-space counters inside closed letters first so those islands stay firmly attached to the surrounding wall during the main cuts.
- Carve each letter of HALLOWEEN from left to right, completing one letter fully before moving to the next.
- Carve the smaller HAPPY letters above, which are less wide and easier to manage.
- Cut the icicle drip points along the base of the HALLOWEEN letters last, using a thin blade to preserve the sharp tips.
Tools you'll need
For a expert / pro carve like this you'll want a fine-detail pumpkin saw, spoon / scoop, pin transfer tool, and detail gouges if the pattern includes shading. Here's the kit we reach for, but start with whatever you already own.

Elmchee Pumpkin Carving Kit
13-piece kit with carrying case
Saws for the larger cutouts, plus a scoop for hollowing. Covers both jobs in one kit.
View on Amazon ↗
HOME MOST LED Pumpkin Lights
4-pack, battery operated, with remote + timer
Orange glow made for jack-o'-lanterns. The remote and timer light the pumpkin every evening without reaching inside.
View on Amazon ↗
Speedball 4131 Lino Cutter Set
Handle + 5 interchangeable cutters
Interchangeable cutters for peeling and shading the face. Useful for the finer details.
View on Amazon ↗
Reviews from carvers
Every rating comes from a written review by someone who downloaded this stencil.
Carved this one?
Reviews are open to carvers who downloaded the stencil. Grab the free PDF, then come back and tell everyone how it went.
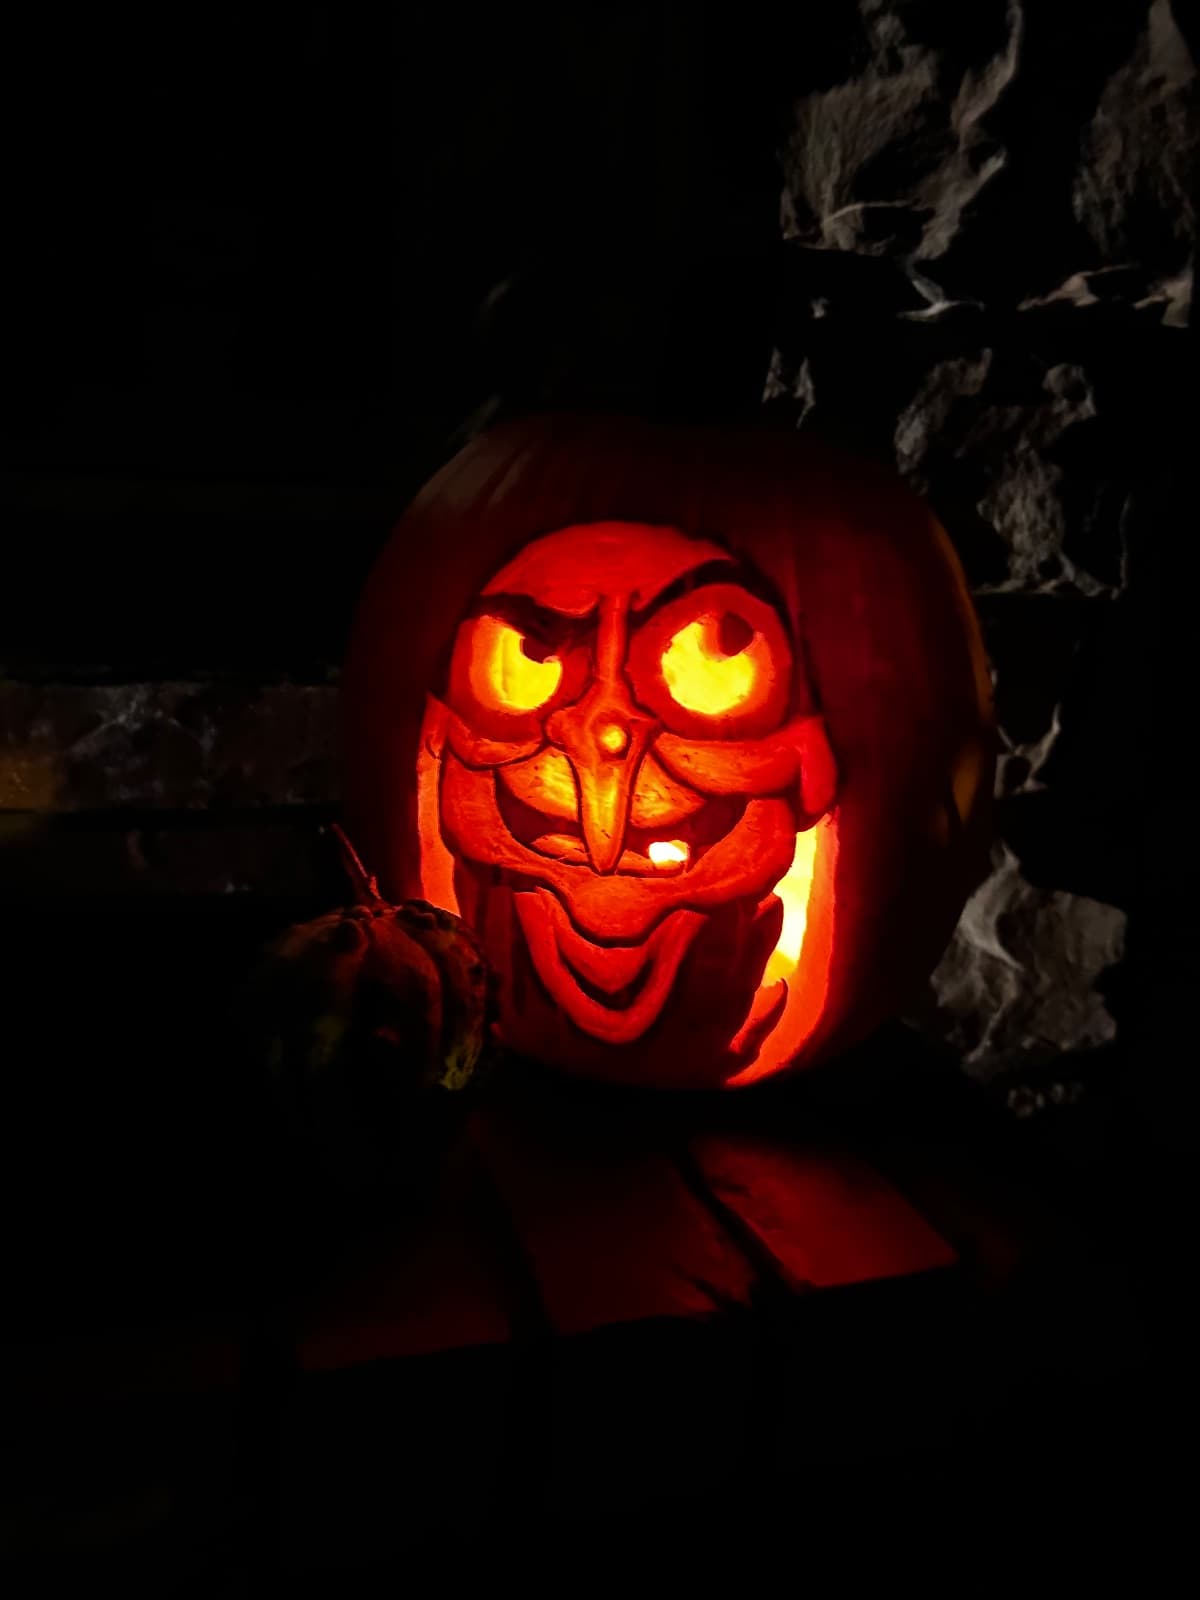
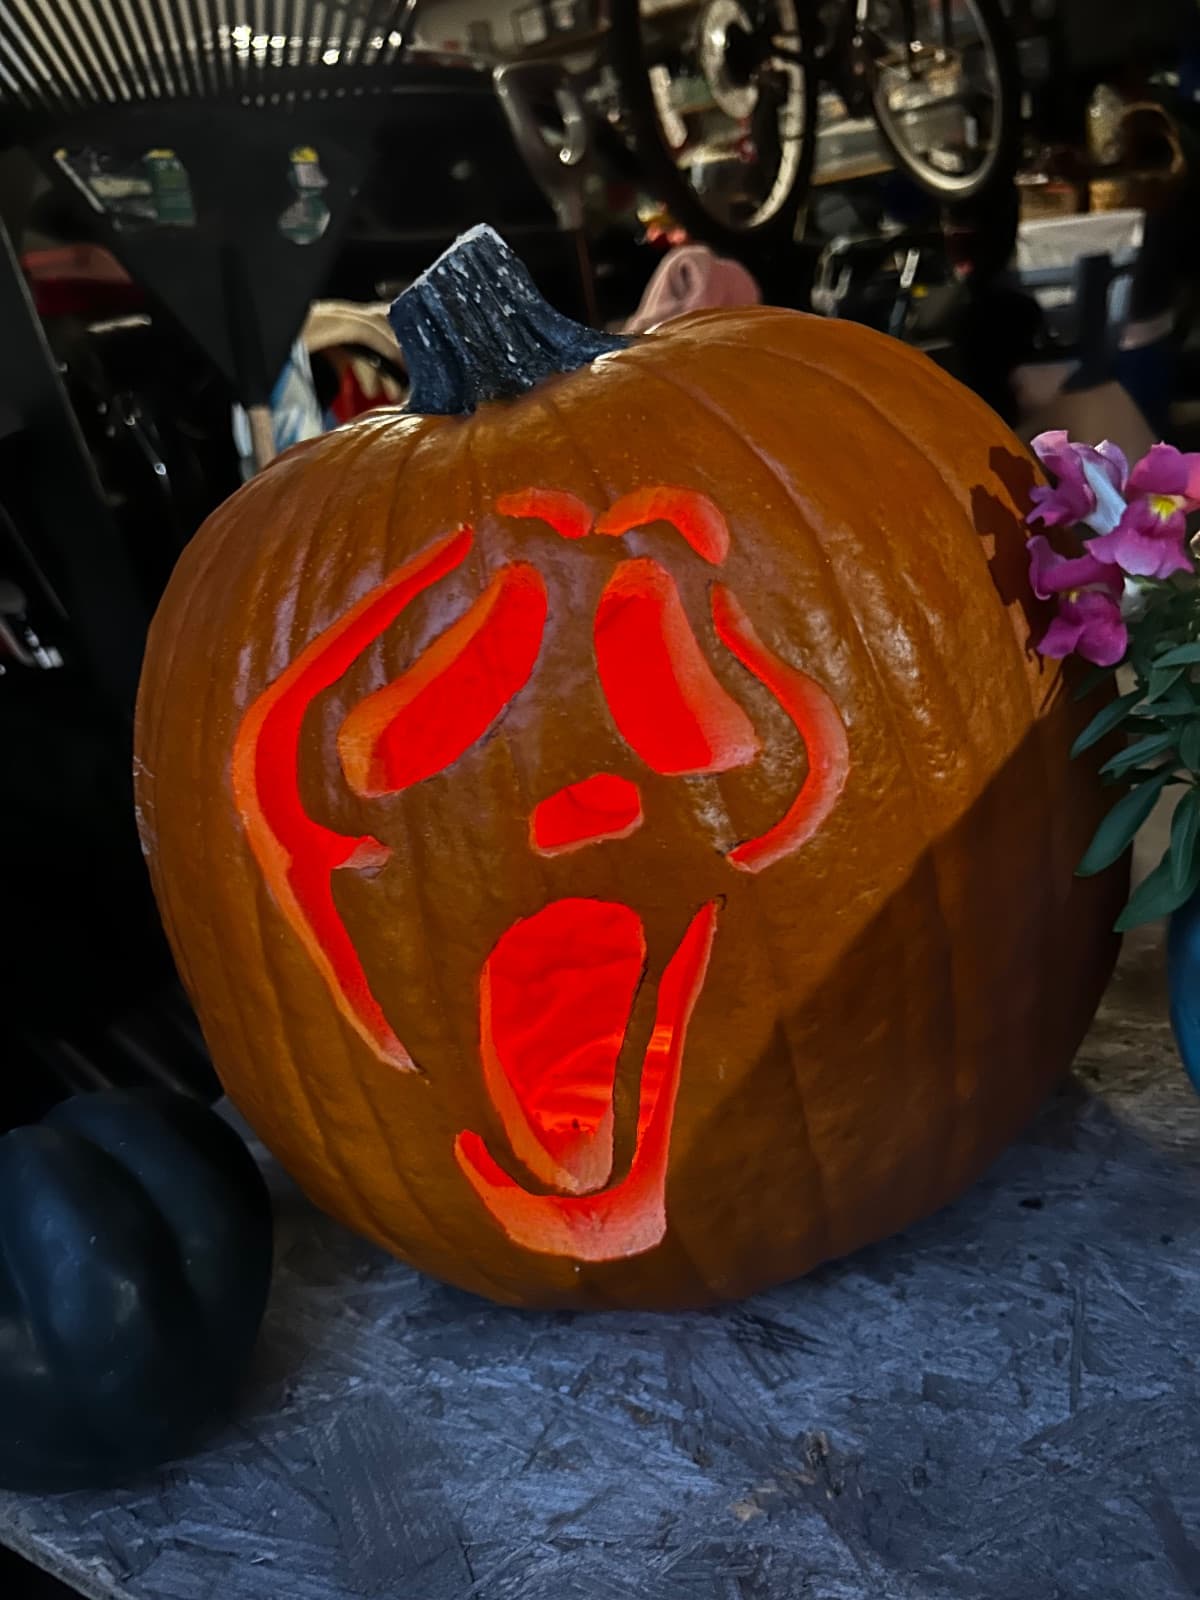
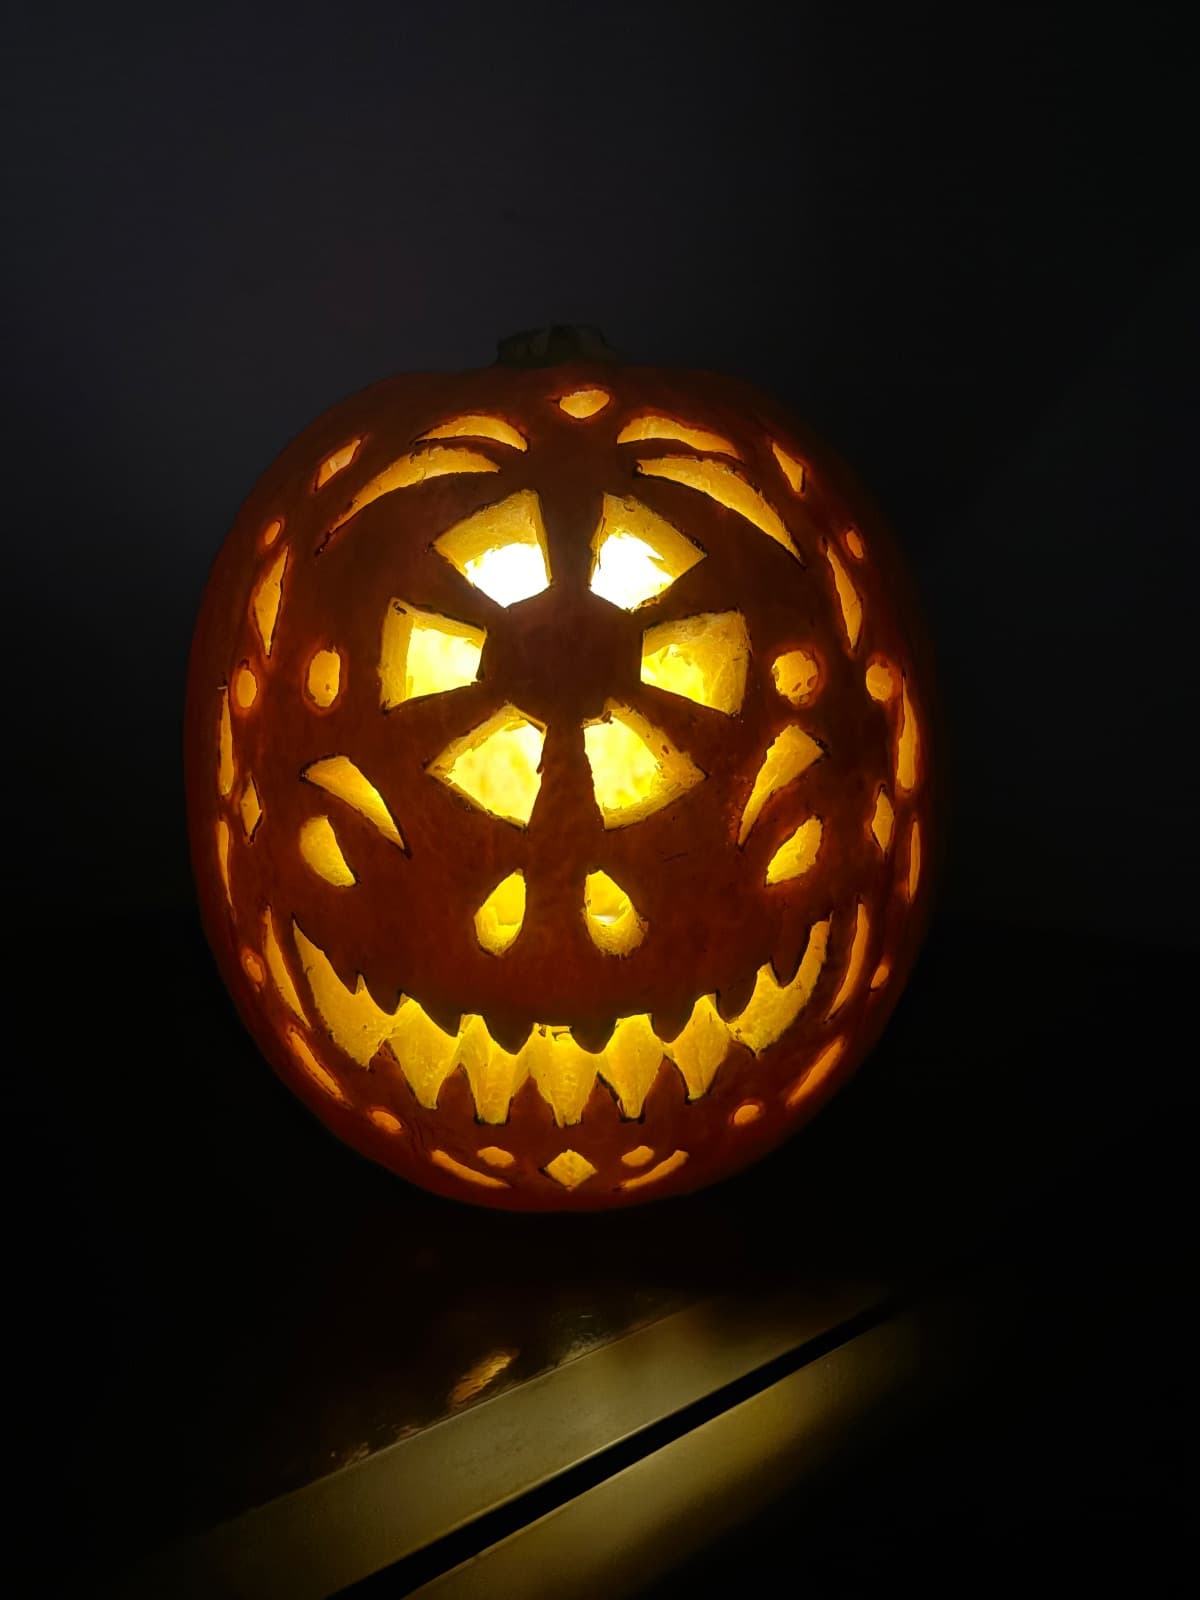
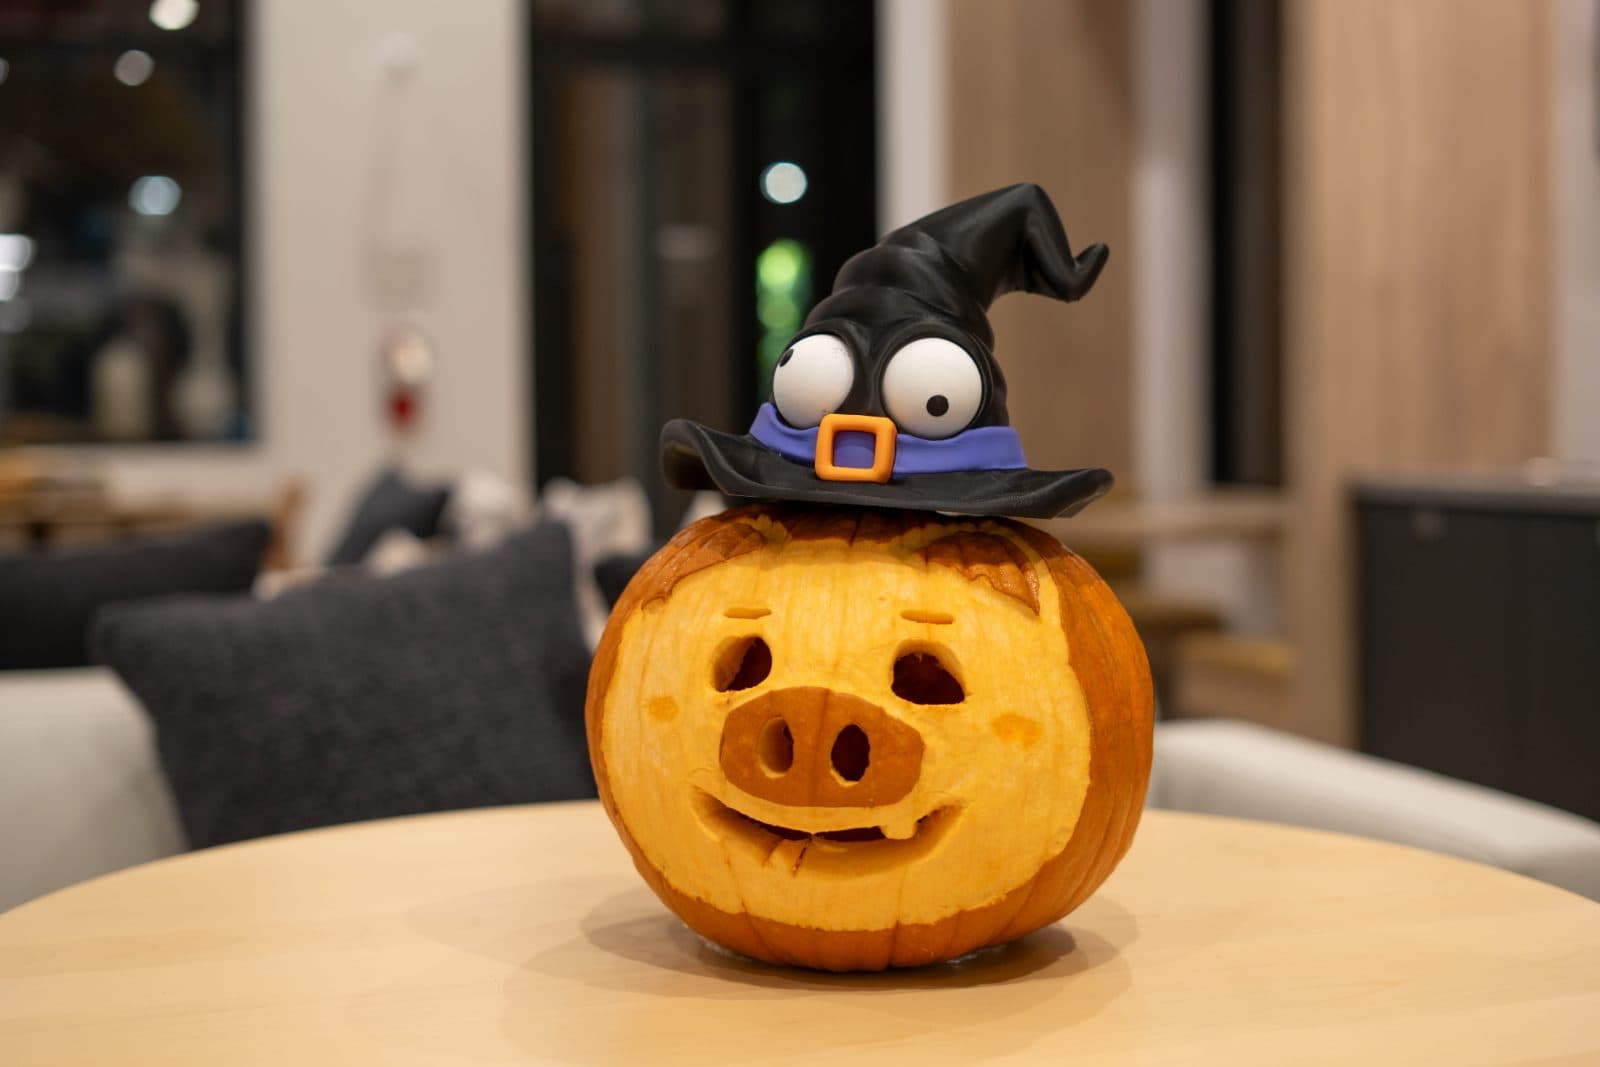
Community Pumpkin Carving Ideas
Carving ideas that use stencils like this one.

Related stencils
More patterns with a related subject. Compare their skill levels before you choose.
 Advanced
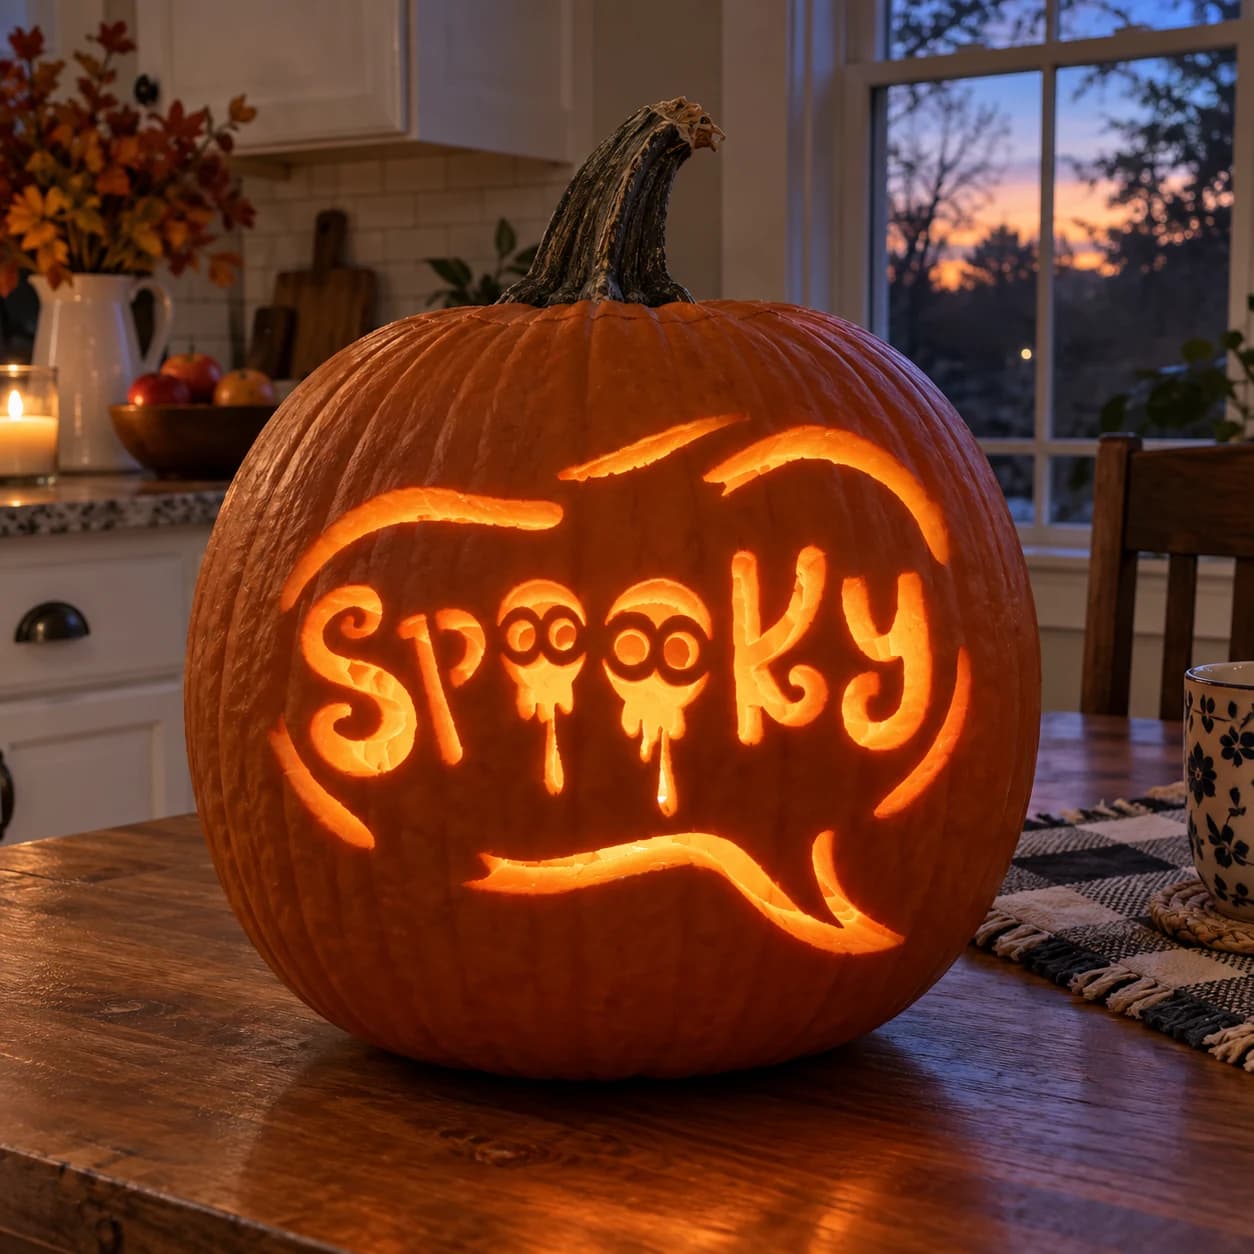
Spooky Text Pumpkin Stencil
The word "Spooky" is carved in bold bubbly lettering with each letter outlined as a cut-through shape on this Halloween pumpkin stencil. The two O's feature skull-like eye holes inside them, and drip lines hang from the letters below. Curling ribbon flourishes arc above and below the text, all pierced through. Lit from inside, the letters glow with dark gaps forming the decorative interior details. Take care to preserve the thin drip connections between letters, as those links keep each letter floating in place on the pumpkin wall.
 Advanced
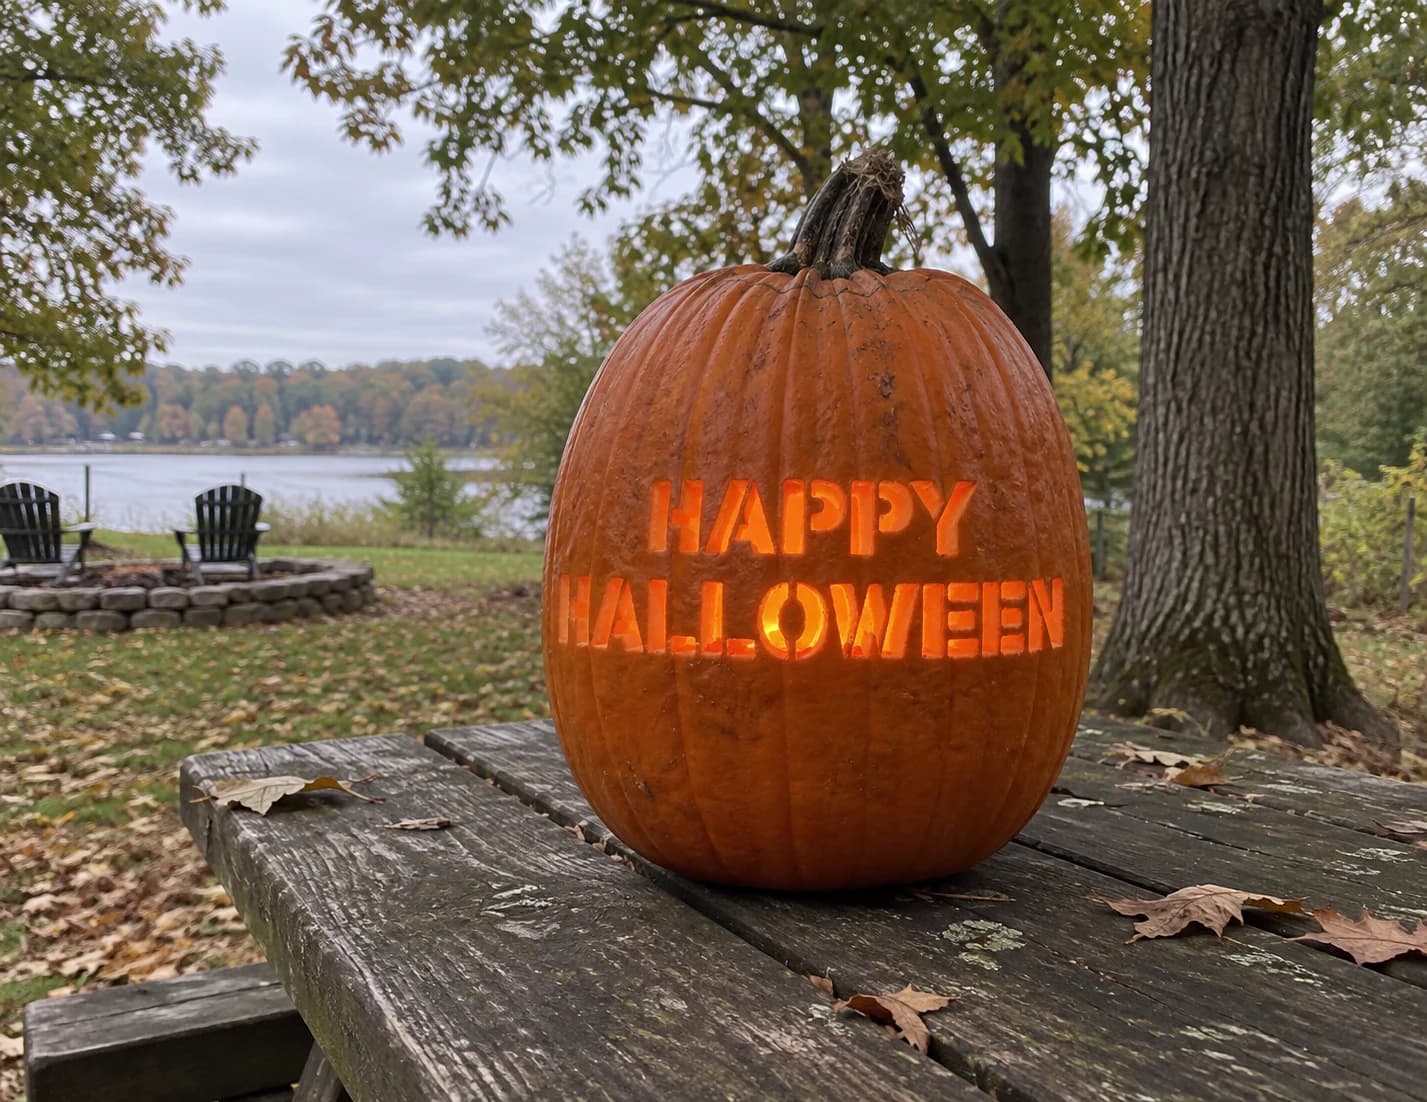
Happy Halloween Text Pumpkin Stencil
The words HAPPY HALLOWEEN appear in two stacked lines of wide block capital letters in this pumpkin stencil, the typeface clean and bold with squared serifs and open counters inside letters like A, P, O, and E. Every letter is a cut-through opening, so the lit jack-o-lantern displays a glowing two-line greeting. Before carving, identify the enclosed counter islands inside closed letters such as the inner triangles of A and the inner ovals of O and P, and cut those small interior pieces out first so each island stays anchored until its surrounding letter walls are removed.
 Advanced
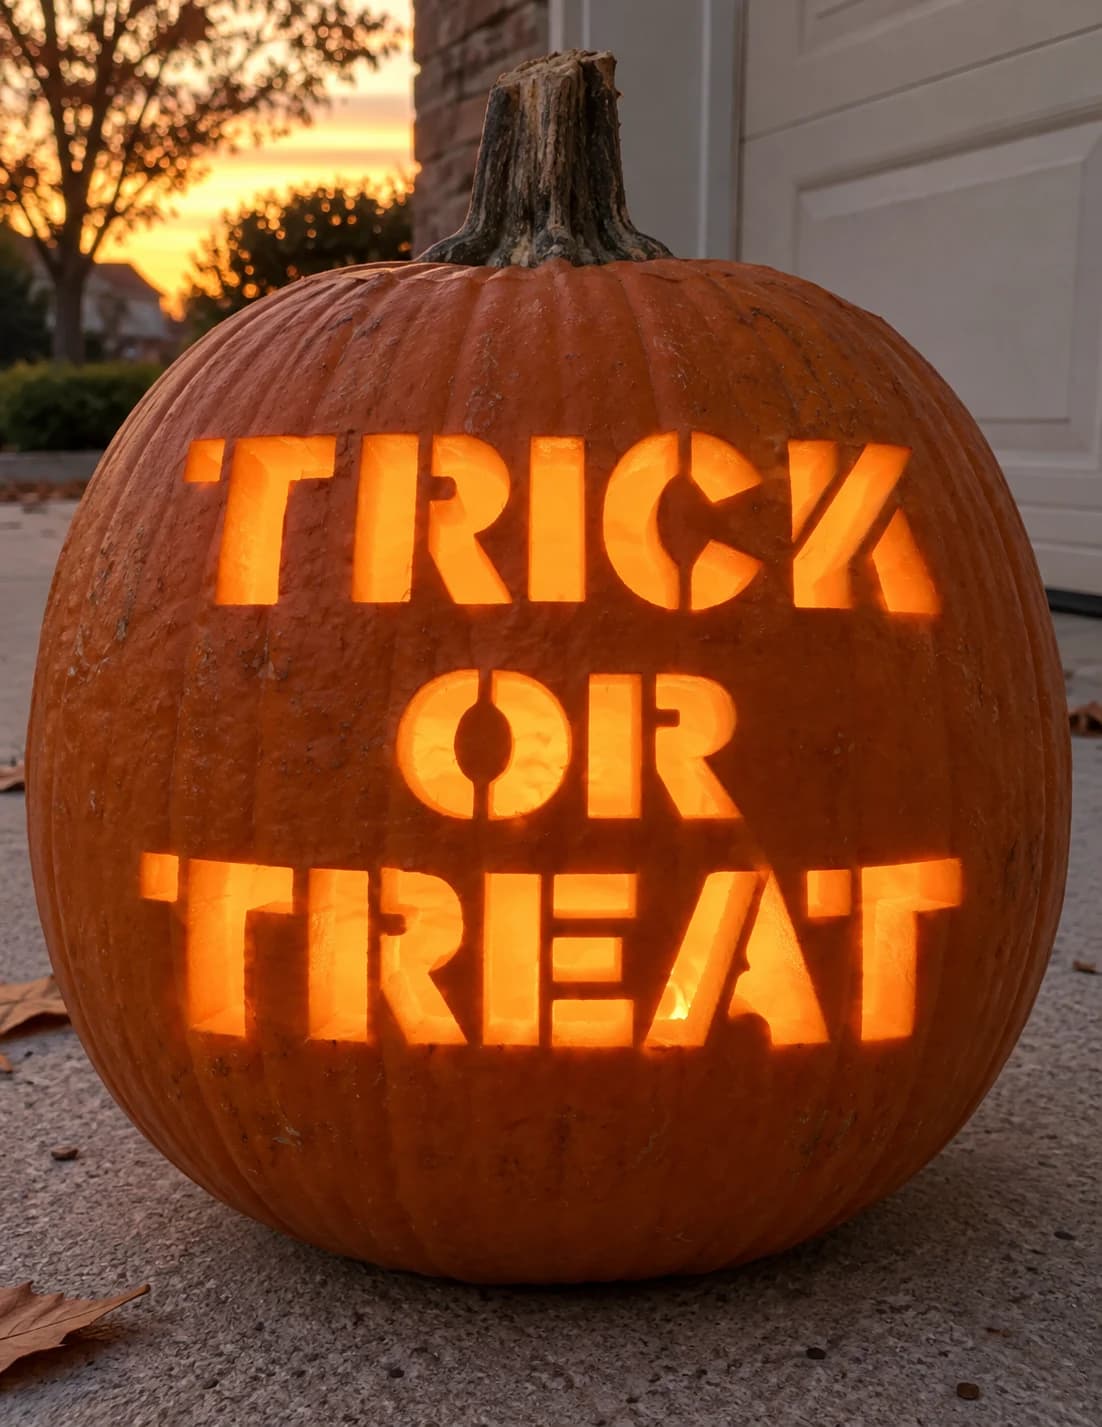
Trick or Treat Pumpkin Stencil
A bold typographic pumpkin stencil spelling out TRICK OR TREAT in three stacked lines of wide block stencil letters, each character separated by narrow bridges that keep the letterforms readable when carved through. The large open interiors of the letters glow with even, full-face brightness when lit. Cut enclosed letter counters, the circular center of the R and the inside of the O, before removing the surrounding letter bodies, so those islands stay in position while you work.
 Intermediate
Windswept Witch Pumpkin Stencil
A witch in a pointed hat rides her broom across the pumpkin, cloak trailing and broom bristles brushed out to the left as one bold glowing silhouette. The entire figure is cut through as a single connected opening, so the drama comes from the outline rather than fine interior detail. For this medium carve, start with the big body mass and work outward, cutting the hat point and individual bristle tips last so the surrounding rind supports your blade the whole way.
 Intermediate
The Bewitched Hat Pumpkin Stencil
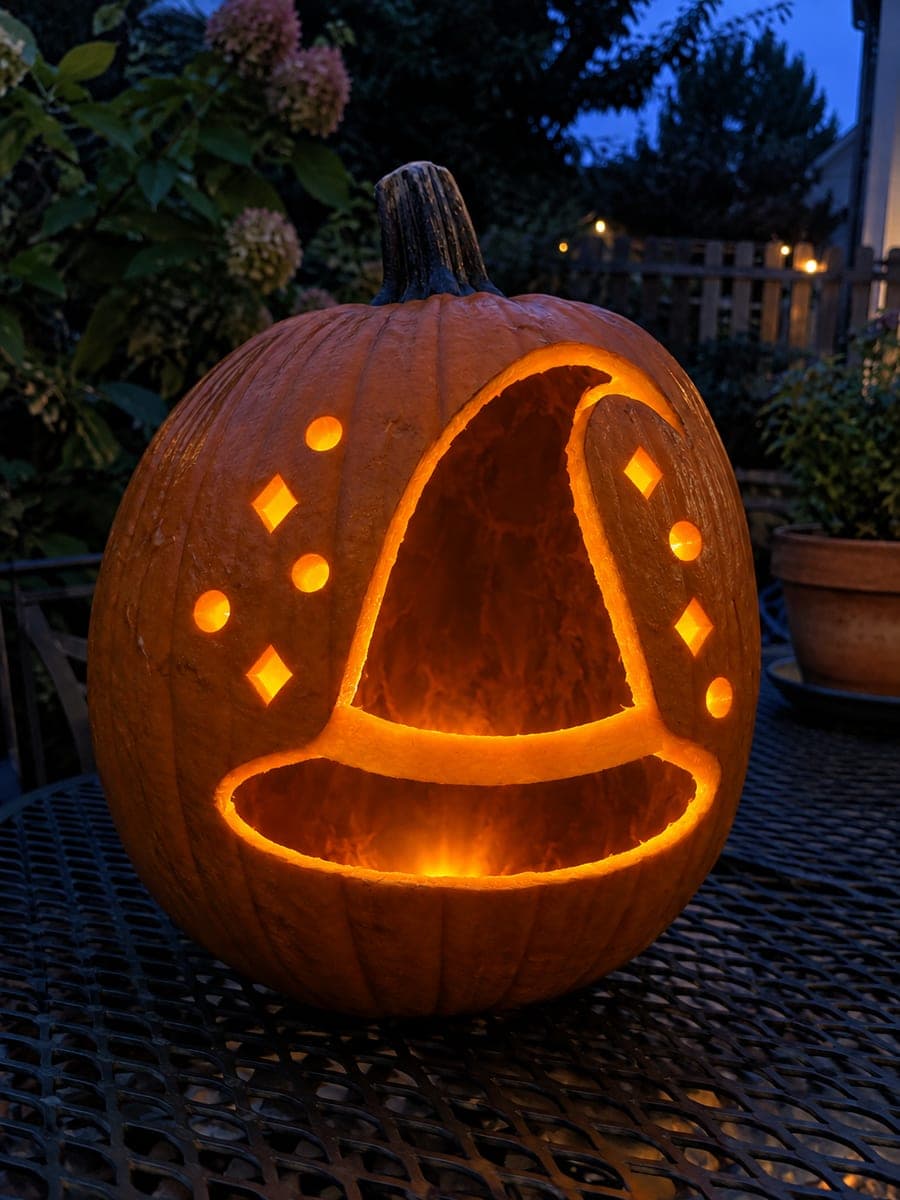
A tall witch hat with a jauntily bent tip glows from the pumpkin, its wide oval brim carved as a separate opening beneath the crown so the solid hatband reads as a dark stripe between them. Around the hat, small circles and diamonds sparkle like scattered magic. This medium design hinges on that hatband bridge; cut the crown and brim as two independent openings and never saw across the band, then finish with the little sparkle shapes using a drill and detail knife.
 Intermediate
Starlit Crescent Pumpkin Stencil
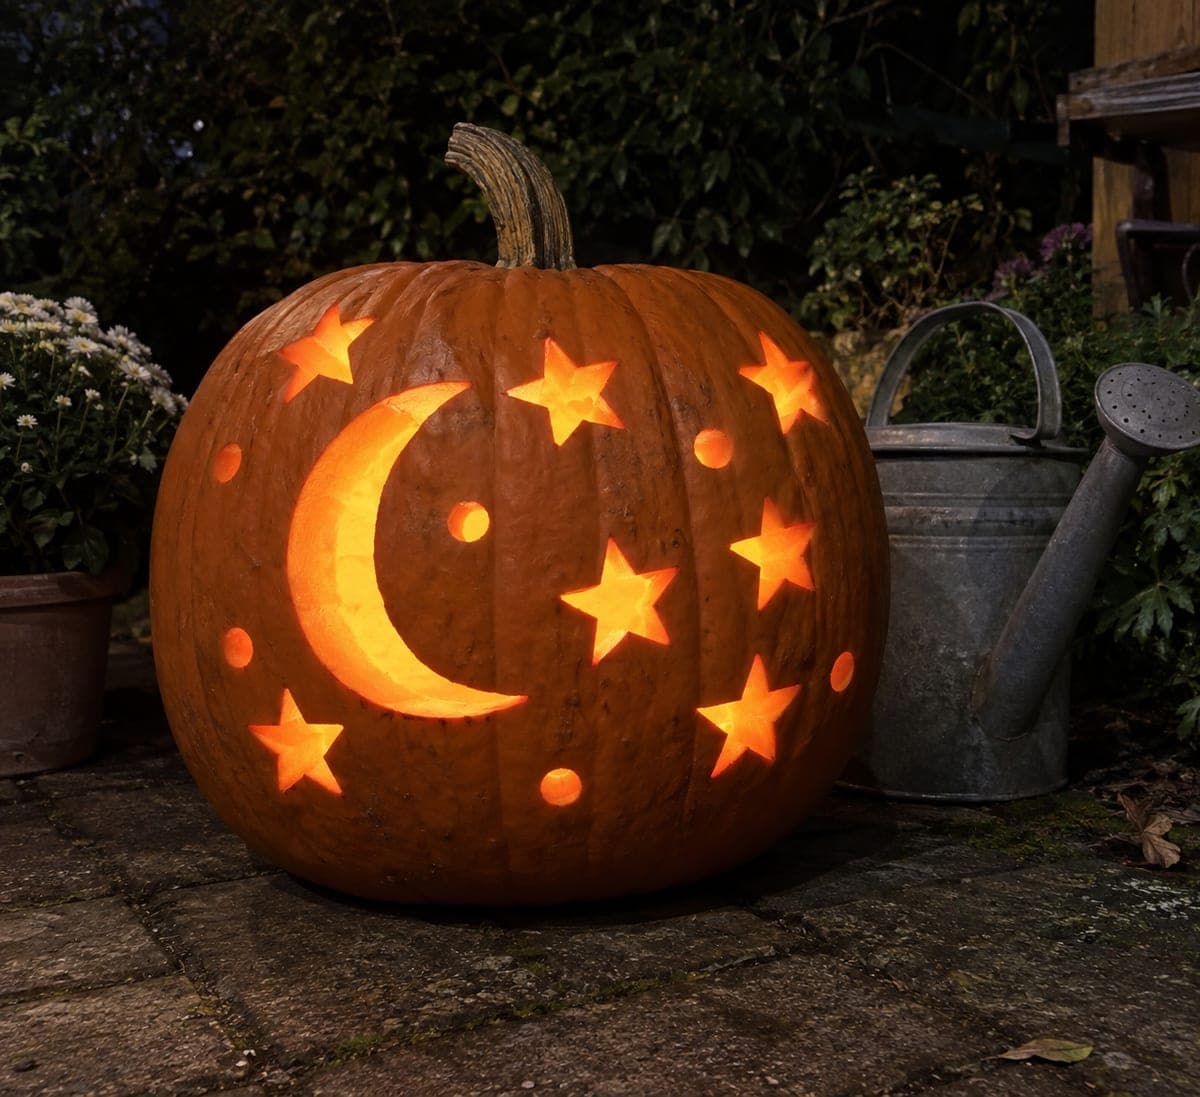
A large crescent moon glows at the left while seven chunky five-point stars and six round dots scatter across the rest of the pumpkin like a full night sky. Every moon, star, and dot is pierced through, so the whole surface twinkles when lit. Space your cuts out as you go, alternating sides of the pumpkin, so the wall keeps its strength until the final star is freed.