Similar pumpkin stencils
View all stencils →About this stencil
This free Spooky Text pumpkin stencil is a printable PDF pattern you can print at home, tape to your pumpkin, and trace. The word "Spooky" is carved in bold bubbly lettering with each letter outlined as a cut-through shape on this Halloween pumpkin stencil. The two O's feature skull-like eye holes inside them, and drip lines hang from the letters below. Curling ribbon flourishes arc above and below the text, all pierced through. Lit from inside, the letters glow with dark gaps forming the decorative interior details. Take care to preserve the thin drip connections between letters, as those links keep each letter floating in place on the pumpkin wall. Use it as a carving template for your Halloween jack-o'-lantern. It is rated Advanced. Actual time varies with preparation, pumpkin size and experience. Fine details and narrow supports need careful planning. Follow the cutting and shading key in this design’s PDF.
Pumpkin size guide
- 🎃 Small (5 to 7"): print at 80%
- 🎃 Medium (7 to 10"): print at 100% (recommended)
- 🎃 Large (11 to 13"): print at 130%
- 🎃 Giant (14"+): print at 150% on tabloid paper
Frequently asked questions
Can I resize this stencil?▾
Yes. The PDF is vector so it scales cleanly. Print the pattern at 100% for a 7 to 10 inch pumpkin, 130% for 11 to 13 inch, or 150% for a giant. Use your printer's "Fit to page" or "Custom scale" setting.
What kind of paper works best?▾
Standard 20 lb letter or A4 printer paper is fine. Heavier paper is harder to bend around the pumpkin curve. If your printer supports it, set the quality to 'best' so the lines are crisp.
How long will the carved pumpkin last?▾
Usually 5 to 10 days. Coat all cut surfaces with petroleum jelly and store the pumpkin somewhere cool overnight. Avoid direct sun. Battery LED pumpkin lights produce no heat and help it last longer.
Can I sell pumpkins carved with this stencil?▾
Yes, the carved pumpkin you make is yours. The license covers personal and small-scale commercial carving (selling carved pumpkins, photographing them, posting on social). You may not resell the PDF file itself.
What if my printer doesn't print the whole stencil?▾
Set 'Page scaling' to 'Fit' in the print dialog and uncheck 'Auto-rotate'. If it still cuts off, the design includes 0.25" of safe-area margin so a small crop won't ruin it.
How to carve this stencil
- Transfer all letter outlines and interior details, including the small drip points and ribbon curls.
- Begin with the ribbon flourishes at the top and bottom edges so removing them first doesn't disturb the letter zones.
- Carve the negative space around and between each letter, working from left to right.
- Cut the interior skull eye holes inside each O with a narrow blade, leaving the circular border intact.
- Remove the drip-shaped cutouts hanging below the letters last; these thin points are fragile, so use a single precise push-cut downward.
- Illuminate from below to send light upward through the drip tips for maximum effect.
Tools you'll need
For a advanced carve like this you'll want a fine-detail pumpkin saw, spoon / scoop, pin transfer tool, and small gouge if the pattern includes shading. Here's the kit we reach for, but start with whatever you already own.

Elmchee Pumpkin Carving Kit
13-piece kit with carrying case
Saws for the larger cutouts, plus a scoop for hollowing. Covers both jobs in one kit.
View on Amazon ↗
HOME MOST LED Pumpkin Lights
4-pack, battery operated, with remote + timer
Orange glow made for jack-o'-lanterns. The remote and timer light the pumpkin every evening without reaching inside.
View on Amazon ↗
Speedball 4131 Lino Cutter Set
Handle + 5 interchangeable cutters
Interchangeable cutters for peeling and shading the face. Useful for the finer details.
View on Amazon ↗
Reviews from carvers
Every rating comes from a written review by someone who downloaded this stencil.
Carved this one?
Reviews are open to carvers who downloaded the stencil. Grab the free PDF, then come back and tell everyone how it went.
Community Pumpkin Carving Ideas
Carving ideas that use stencils like this one.

Related stencils
More patterns with a related subject. Compare their skill levels before you choose.
 Advanced
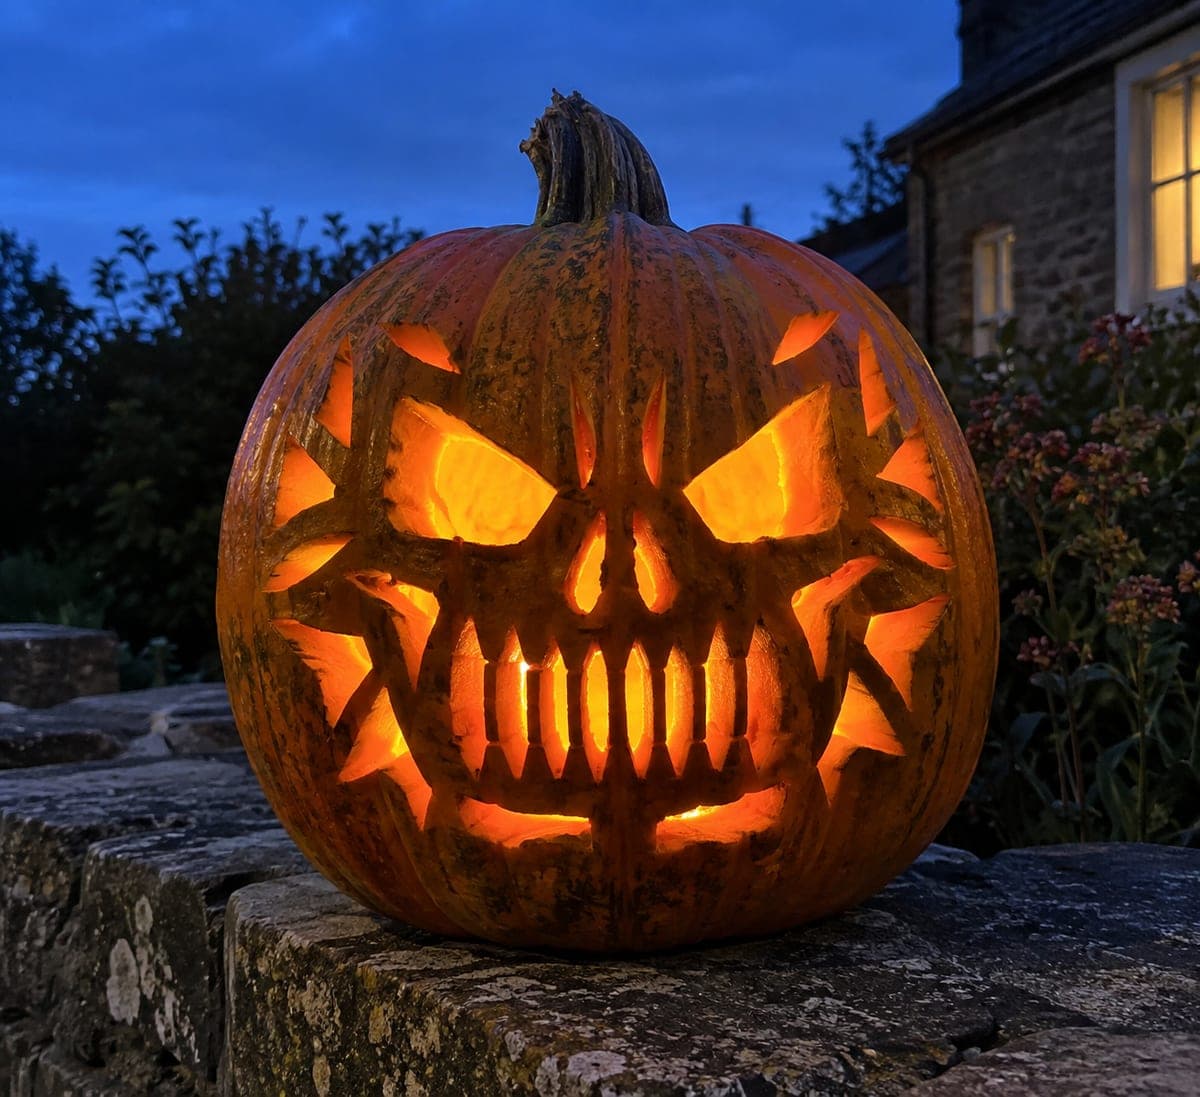
The Bone Warden Pumpkin Stencil
This menacing bony mask glares through huge slanted eye sockets, flares a split skeletal nose, and bares a wall of long vertical teeth framed by curved fangs at each corner, with angular temple slashes radiating from the sides. The sockets, nostrils, tooth gaps, and slash marks are all cut through, leaving thin ribs of skin as the teeth. Hard-level advice: carve the eight narrow tooth slits with a fine blade and leave the outer fangs until the very end.
 Advanced
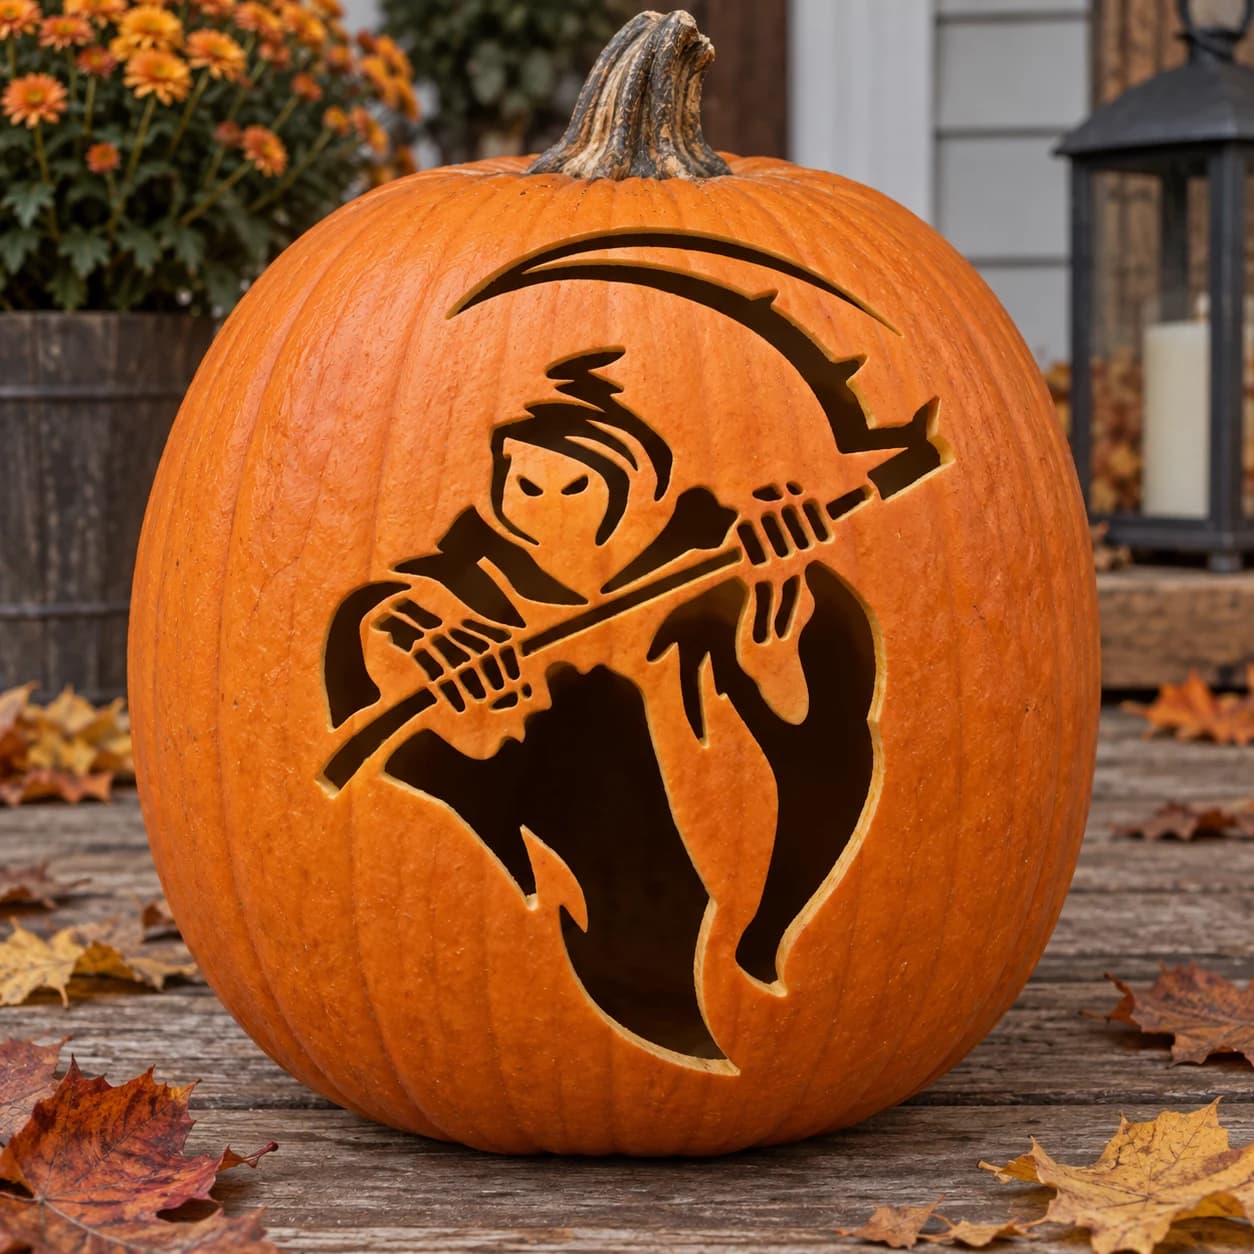
Flowing Grim Reaper Pumpkin Stencil
A flowing Grim Reaper figure grips a long scythe at chest height, its hooded skull face glowing with hollow eye sockets as the ragged robe billows outward below. The curved scythe blade arcs dramatically across the top of the composition. Lit from within, the open robe hem, skeletal hands, and skull interior create a layered halo of light around the solid hood shape. Carve the large open robe sections last so the scythe blade, the most slender element, stays braced by the surrounding pumpkin wall while you work.
 Advanced
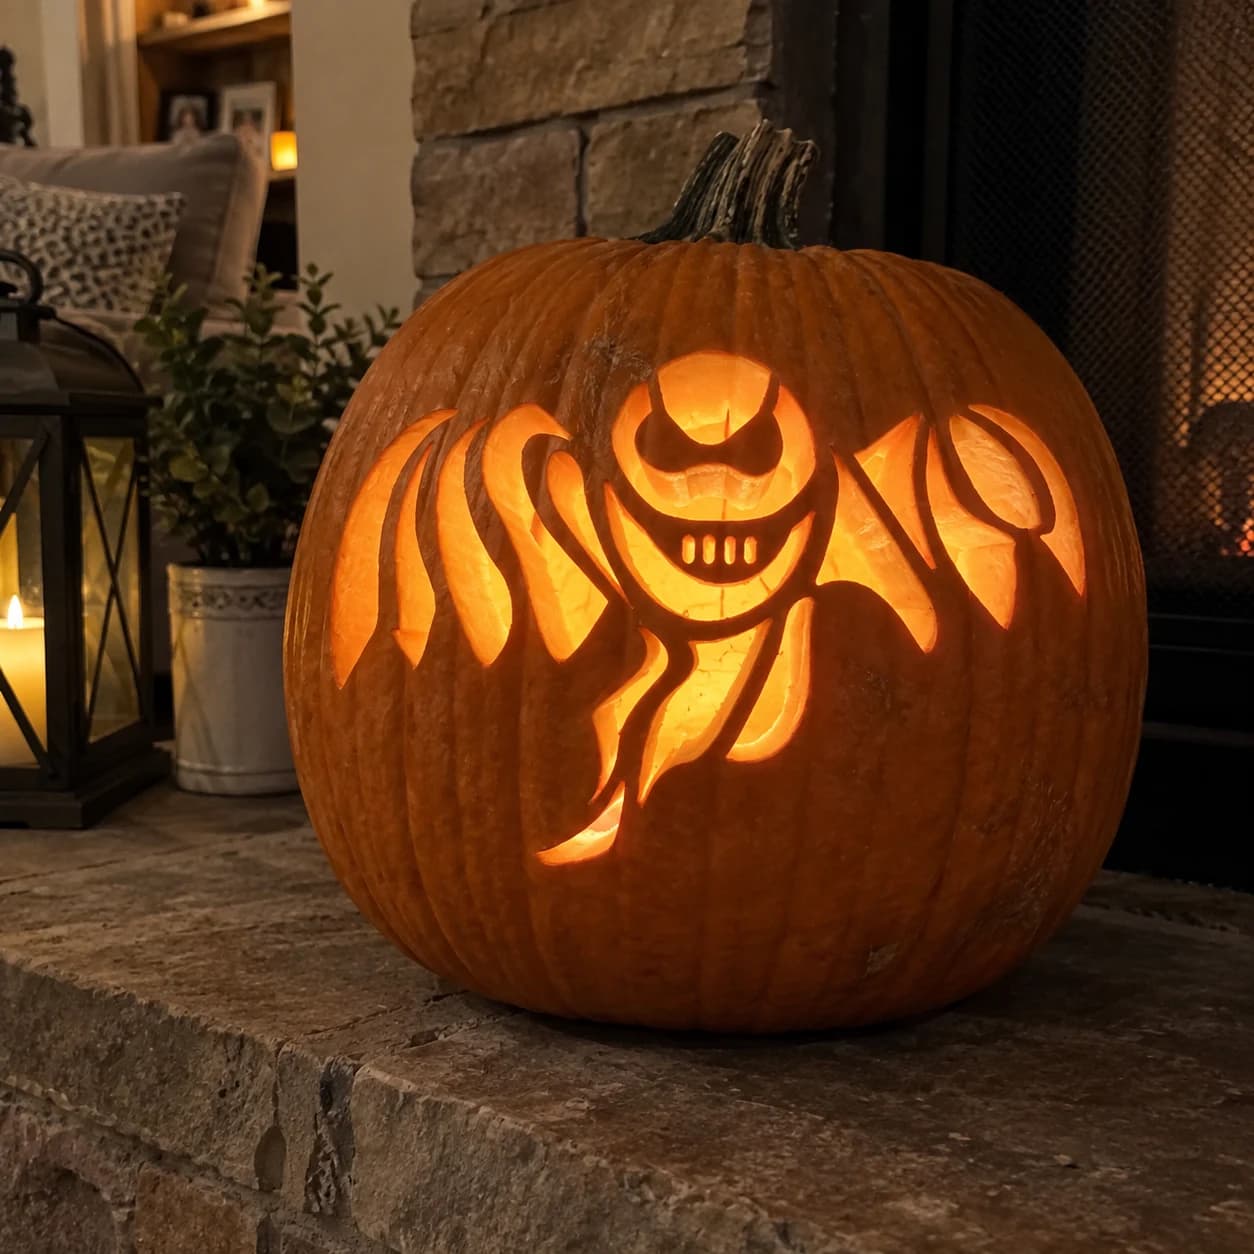
Skeletal Ghost Pumpkin Stencil
A skeletal ghost figure with a domed, skull-like head, jagged mouth slits, and broad swept wings dominates this pumpkin stencil. The design carves as widely spaced curved pierce-through sections that fan across both sides, leaving bold orange bridges to define the creature's torso and face. Lit from inside, the jack-o-lantern reads as a dark specter bursting outward. Cut the inner face details first before tackling the large wing panels so shifting your grip doesn't crack the delicate center column.
 Advanced
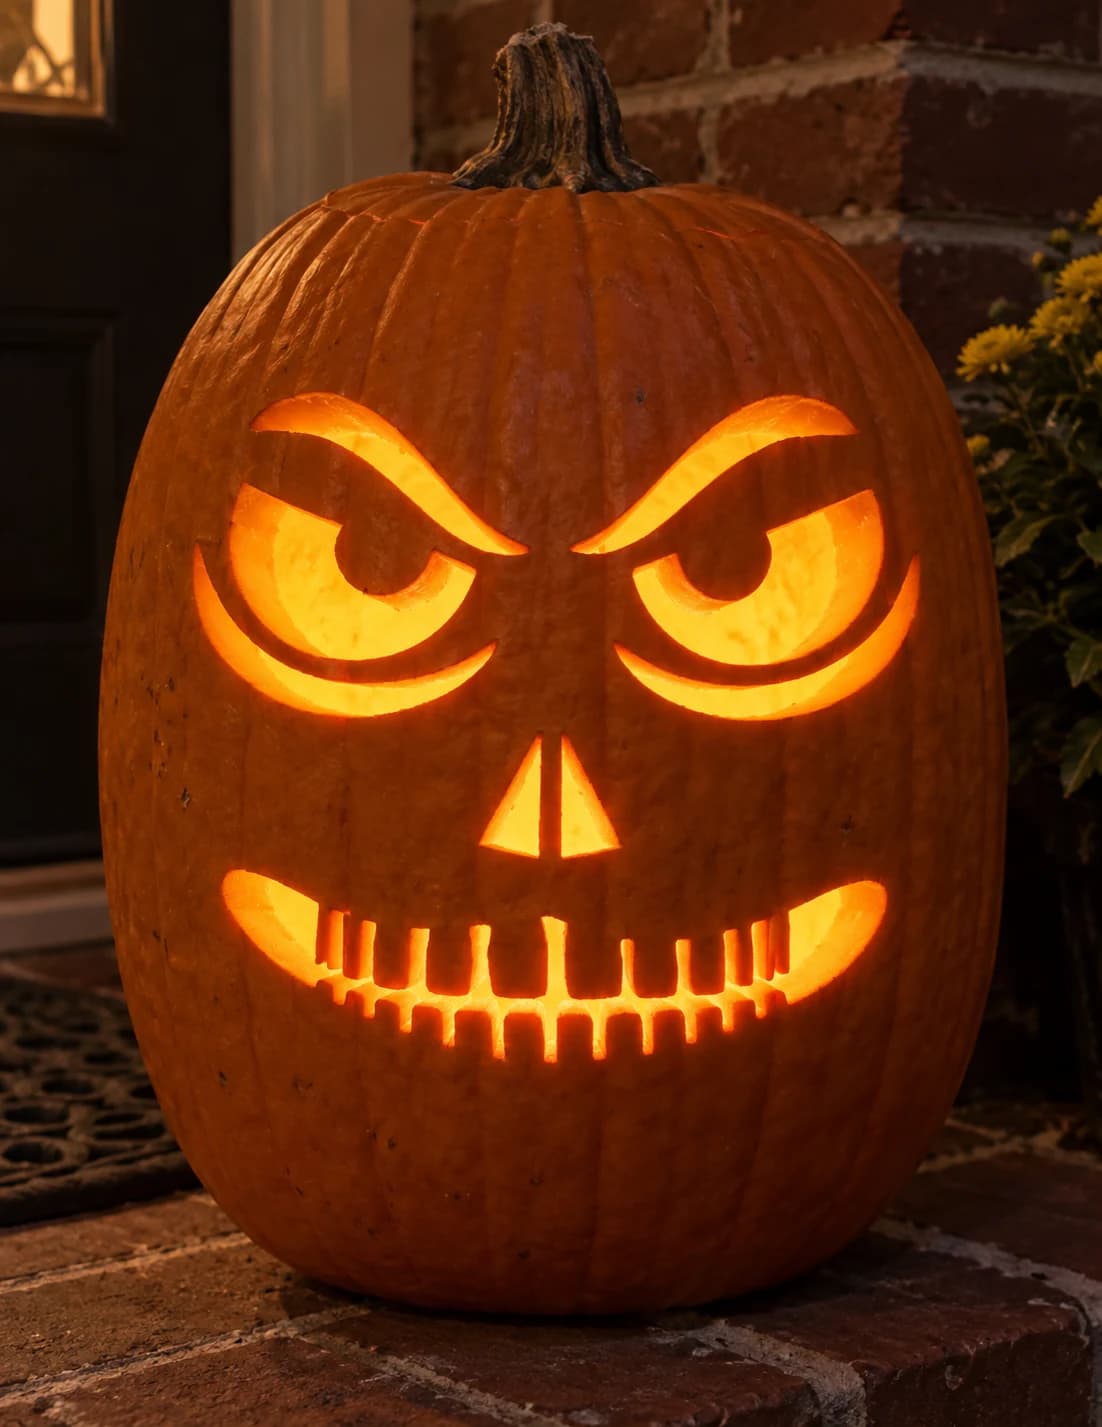
Sinister Skull Face Pumpkin Stencil
Two large angular eyes with curling inner-corner details and cocked brows form the upper half of this skull pumpkin stencil, with a small paired nasal cavity below and a wide clenched-teeth mouth at the bottom, all cuts floating separately on an otherwise solid pumpkin face. When lit, the glowing eyes and jagged teeth give the jack-o-lantern an intensely menacing expression. Cut the thin curling details inside each eye first, while the pumpkin is still rigid, then open the eye sockets, nasal holes, and wide tooth row in that order to keep the face from flexing during fine work.
 Advanced
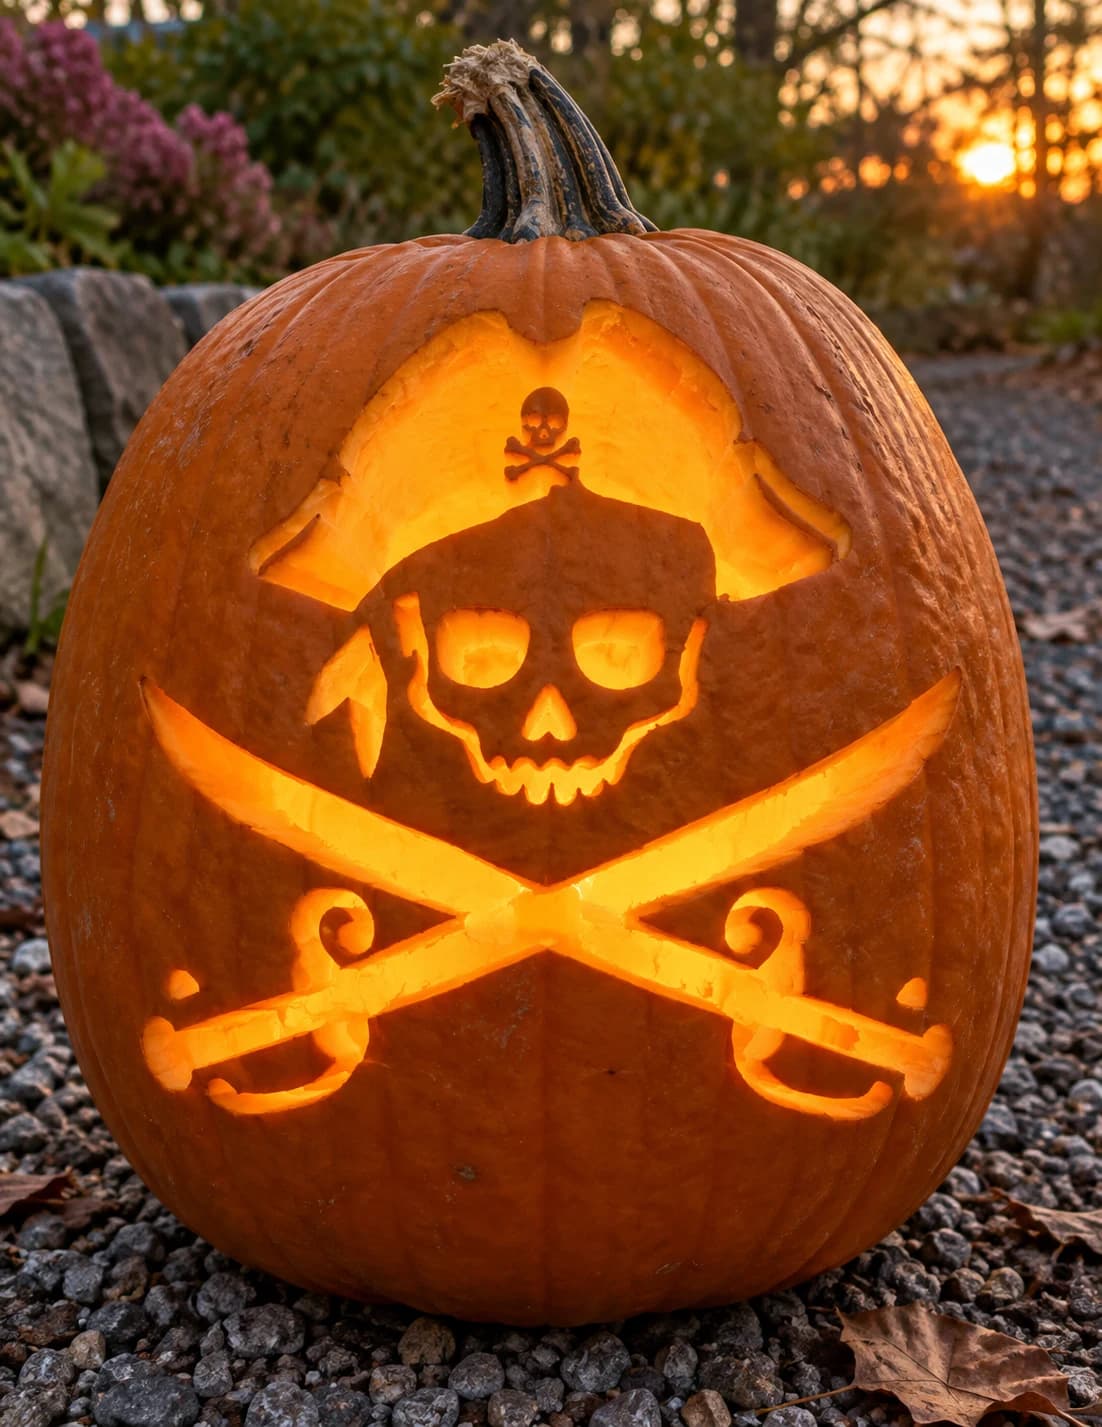
Jolly Roger Cutlass Pumpkin Stencil
A classic Jolly Roger design fills this pumpkin stencil: a grinning skull topped by a pirate hat bearing a tiny skull-and-crossbones badge sits above two crossed cutlass swords with curled hand-guards. The eye sockets, the hat badge, the small triangular nose cavity, and the gaps between the sword blades are all pierced through. Cut the miniature hat badge first since it is the most delicate isolated element, then the eye sockets and sword gaps, before finishing with the outer hat and blade silhouette.
 Advanced
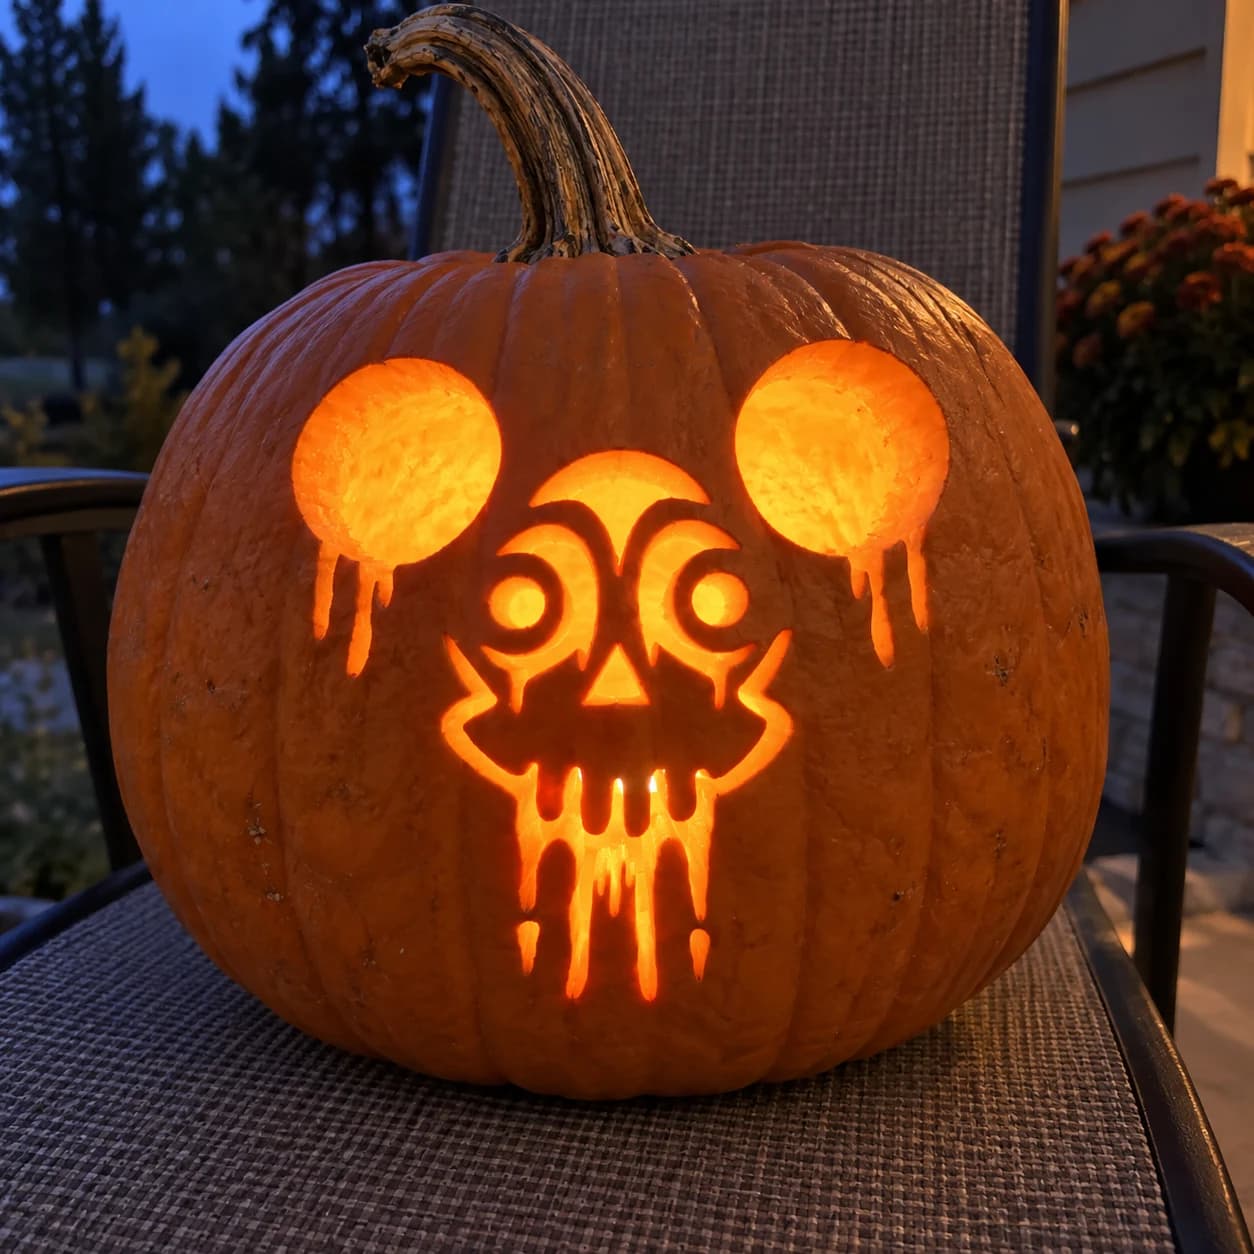
Mouse Skull Pumpkin Stencil
Two large round ear-shaped circles top a grinning skull face in this hard skull pumpkin stencil, the whole design dripping with melting-wax details that hang from the ears and chin. The skull's hollow round eyes and triangular nose are cut through, while the jagged smiling mouth and drip channels below the face create a pattern of narrow glowing slits. Lit inside a jack-o-lantern, the ears glow as two bright round openings above a menacing skull expression. Carve the two large ear circles first since they are structurally independent, then work down through the drips before tackling the fine interior face cuts.