Similar to This
View all stencils →About this stencil
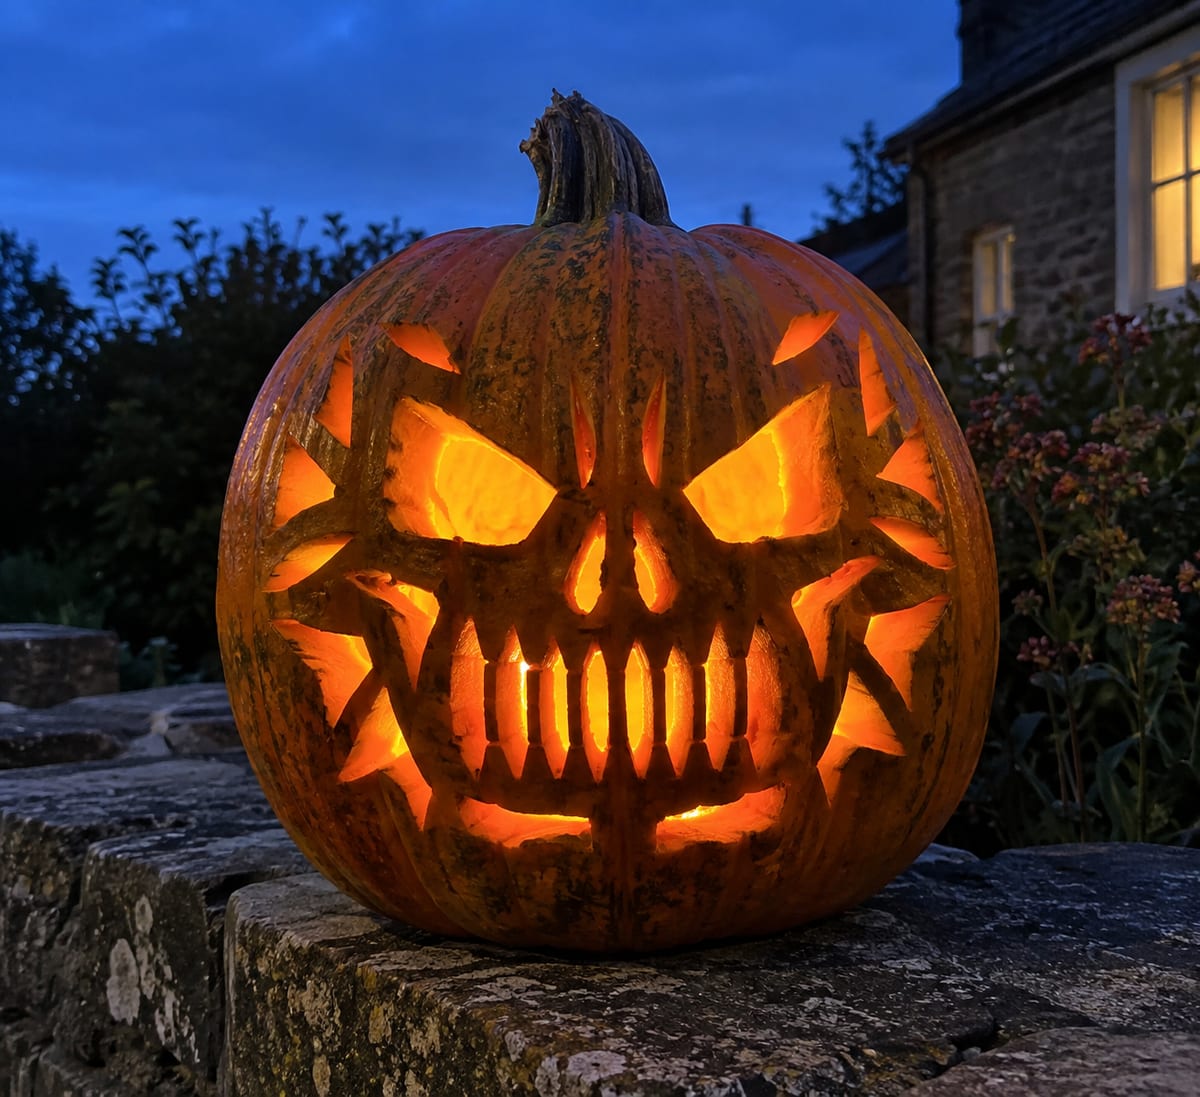
This menacing bony mask glares through huge slanted eye sockets, flares a split skeletal nose, and bares a wall of long vertical teeth framed by curved fangs at each corner, with angular temple slashes radiating from the sides. The sockets, nostrils, tooth gaps, and slash marks are all cut through, leaving thin ribs of skin as the teeth. Hard-level advice: carve the eight narrow tooth slits with a fine blade and leave the outer fangs until the very end. This design is rated Advanced and takes most carvers around 150 minutes from trace to glow. Multi-layer cuts with skin-peel shading. Plan your cuts first.
Pumpkin size guide
- 🎃 Small (5–7") — print at 80%
- 🎃 Medium (7–10") — print at 100% (recommended)
- 🎃 Large (11–13") — print at 130%
- 🎃 Giant (14"+) — print at 150% on tabloid paper
Frequently asked questions
Can I resize this stencil?▾
Yes. The PDF is vector so it scales cleanly. Print at 100% for a 7–10 inch pumpkin, 130% for 11–13 inch, or 150% for a giant. Use your printer's "Fit to page" or "Custom scale" setting.
What kind of paper works best?▾
Standard 20 lb letter or A4 printer paper is fine. Heavier paper is harder to bend around the pumpkin curve. If your printer supports it, set the quality to 'best' so the lines are crisp.
How long will the carved pumpkin last?▾
Usually 5–10 days. Coat all cut surfaces with petroleum jelly and store the pumpkin somewhere cool overnight. Avoid direct sun. Battery LED pumpkin lights produce no heat and double the lifespan.
Can I sell pumpkins carved with this stencil?▾
Yes, the carved pumpkin you make is yours. The license covers personal and small-scale commercial carving (selling carved pumpkins, photographing them, posting on social). You may not resell the PDF file itself.
What if my printer doesn't print the whole stencil?▾
Set 'Page scaling' to 'Fit' in the print dialog and uncheck 'Auto-rotate'. If it still cuts off, the design includes 0.25" of safe-area margin so a small crop won't ruin it.
How to carve this stencil
This is a cut-through stencil: the dark numbered regions on the printable pattern are the pieces you remove, and everything white stays attached. The numbers give you the safest carving order, and the steps below walk through them one by one. Plan on about 100-140 minutes from print to candle.
Set up first. Print the PDF at 100% scale on letter or A4 paper. Cut the lid at an angle, scoop the pumpkin clean, and thin the carving wall to about 1 inch where the design will sit. Tape the pattern on (snip small darts in the paper so it hugs the curve) and transfer every outline by poking dots along the lines, about one every 1/8 inch. Peel the paper away and carve dot to dot with short, straight strokes.
Carving order
- Cut eyes and center wrinkles. Cut all four regions marked 1: two slanted eyes and two narrow upright forehead wrinkles. Preserve the heavy center strip and all white separators above the nose.
- Trace nostrils and mask marks. Cut all sixteen regions marked 2: two narrow nostrils and fourteen unequal angular accents around the eyes and cheeks. Follow their pointed turns, keeping every white bridge between neighboring marks.
- Open the eight pointed slits. Cut all eight regions marked 3 across the mouth. Preserve their different heights, pointed ends and all seven narrow white bars between them. Work on one opening at a time.
- Finish the two lower jaw bars. Cut both regions marked 4 beneath the grill. Preserve the central divider and complete white band above these long shallow arcs. Keep the unequal ends and rising right edge.
Clear loose fibers out of each opening as you go, and never twist or pry the blade against the shell; back it out and recut instead. When every region is open, wipe the cut edges dry and drop in a battery LED puck.
Tools you'll need
For a advanced carve like this you'll want a linoleum cutter set, x-acto knife, peel tool, and pin transfer wheel. Here's the kit we reach for — start with whatever you already own.

Elmchee Pumpkin Carving Kit
13-piece kit with carrying case
Saws for the larger cutouts, plus a scoop for hollowing. Covers both jobs in one kit.
View on Amazon ↗
HOME MOST LED Pumpkin Lights
4-pack, battery operated, with remote + timer
Orange glow made for jack-o'-lanterns. The remote and timer light the pumpkin every evening without reaching inside.
View on Amazon ↗
Speedball 4131 Lino Cutter Set
Handle + 5 interchangeable cutters
Interchangeable cutters for peeling and shading the face. Useful for the finer details.
View on Amazon ↗
Community Pumpkin Carving Ideas
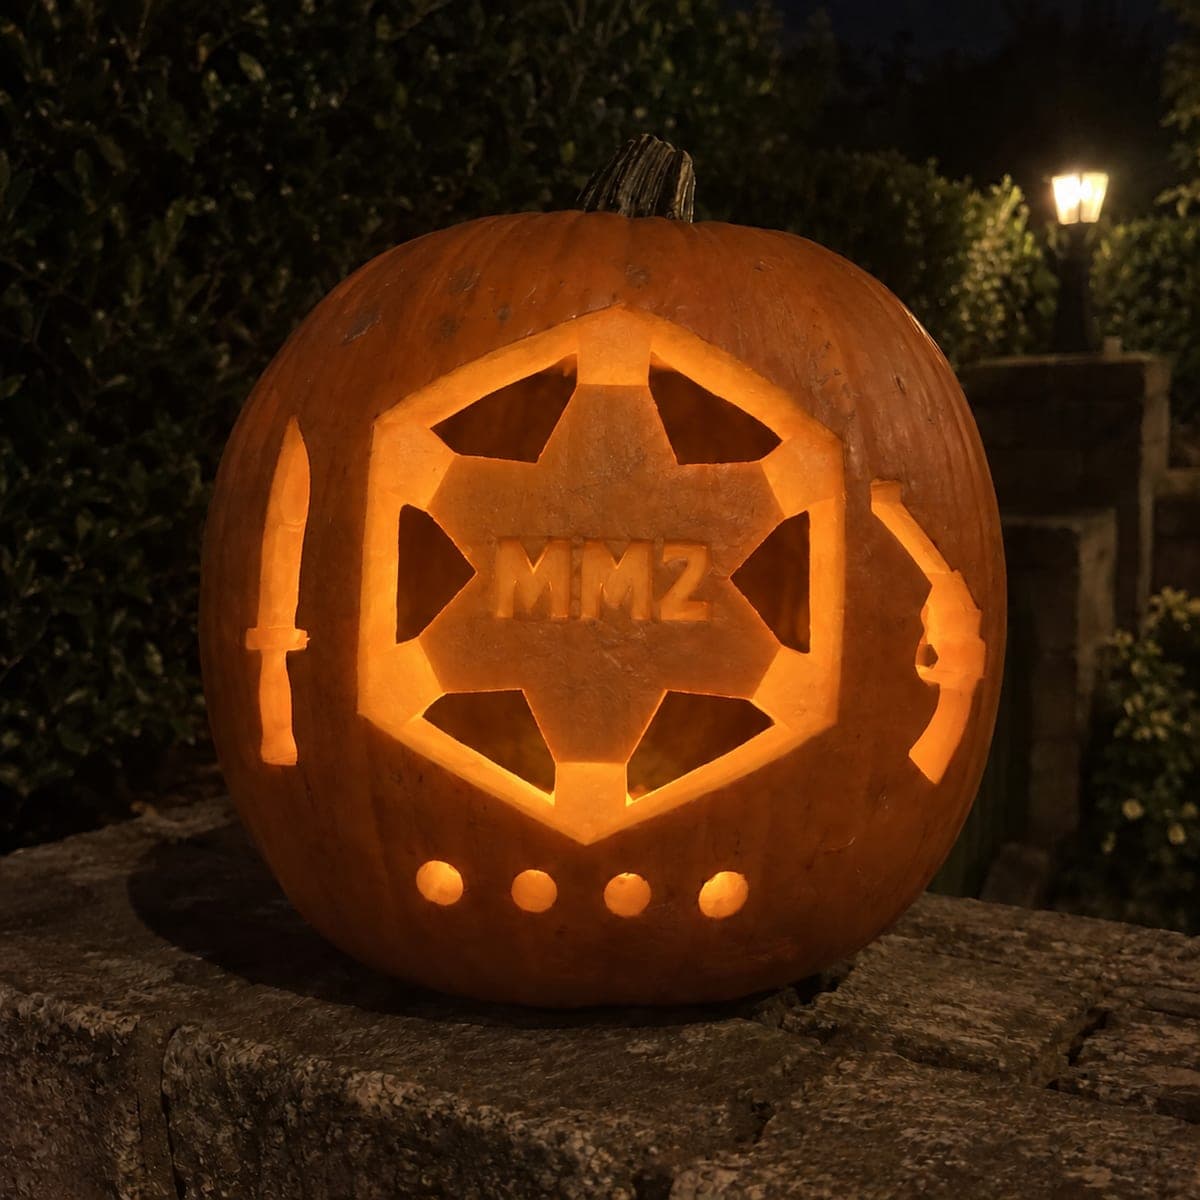
Carving ideas that use stencils like this one.


Related stencils
Carvers who liked this one also downloaded these.
 Expert / Pro
Flame Crown and Hooked Eyes
Hooked, furious eyes glare beneath a crown of flame-shaped cutouts that climb the pumpkin's forehead, while a jagged mouth bristles with rows of interlocking fangs and a diamond nose burns at the center. Nearly a hundred small pierced shapes surround the face, so this is a marathon of careful knife work. Cut from the center outward and rest often; the narrow skin bridges between flames and fangs cannot take rushed strokes.
 Expert / Pro
Furious Eyes and Diamond Mask
A ferocious mask of a face with slanted furious eyes, a flared nose, and a jagged mouth full of interlocking fangs, all framed by dense rows of diamond and wedge cutouts that cover the cheeks and brow like scales. Every diamond, wedge, and fang is pierced through, turning the whole front into a lattice of fire. This expert pattern demands order: carve from the center outward so surrounding cuts never weaken your working area.
 Advanced
Hanging Eyes and Stitch Smile
Two enormous wide eyes with hanging pupils stare beneath crackling zigzag brows, while small skull nostrils sit above a long stitched grin that stretches nearly ear to ear. The eyes are cut through around the drooping pupil tabs, the nostrils are pierced, and the mouth is one thin line crossed by vertical stitch slits. Those dangling pupils and skinny stitches make this a hard carve; keep every stitch cut short and support the pupil tabs while you saw around them.
 Advanced
Leering Eyes and Crooked Nose
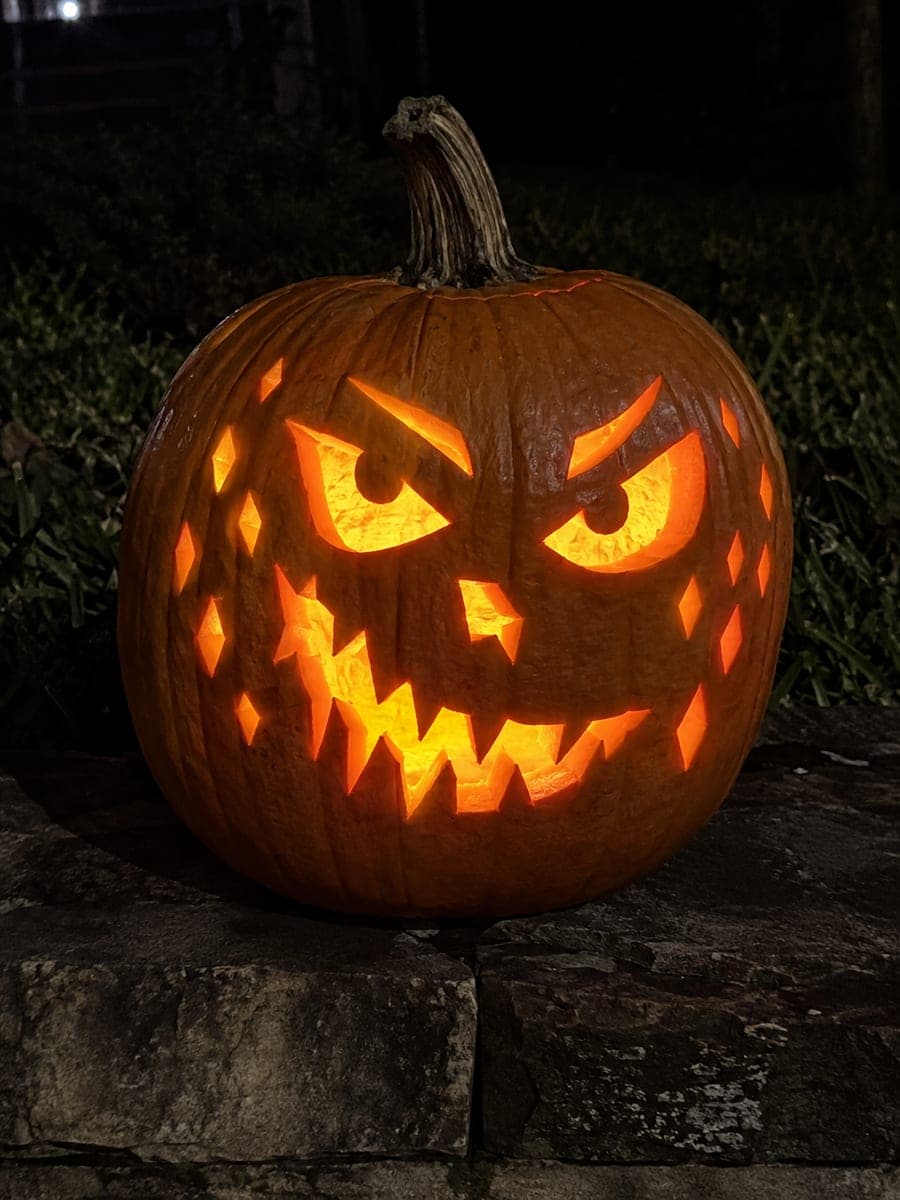
Slanted leering eyes with attached round pupils glare above a crooked off-center nose and a jagged sneer packed with pointed fangs, while scattered diamond scars glint across both cheeks. The eyes, nose, mouth, and diamonds are pierced with pupils and fang points left as shell. The hard part is the web of narrow fangs; cut each tooth gap from tip to base and never twist the blade mid-cut.
 Advanced
Double Wrinkles and Fang Grin
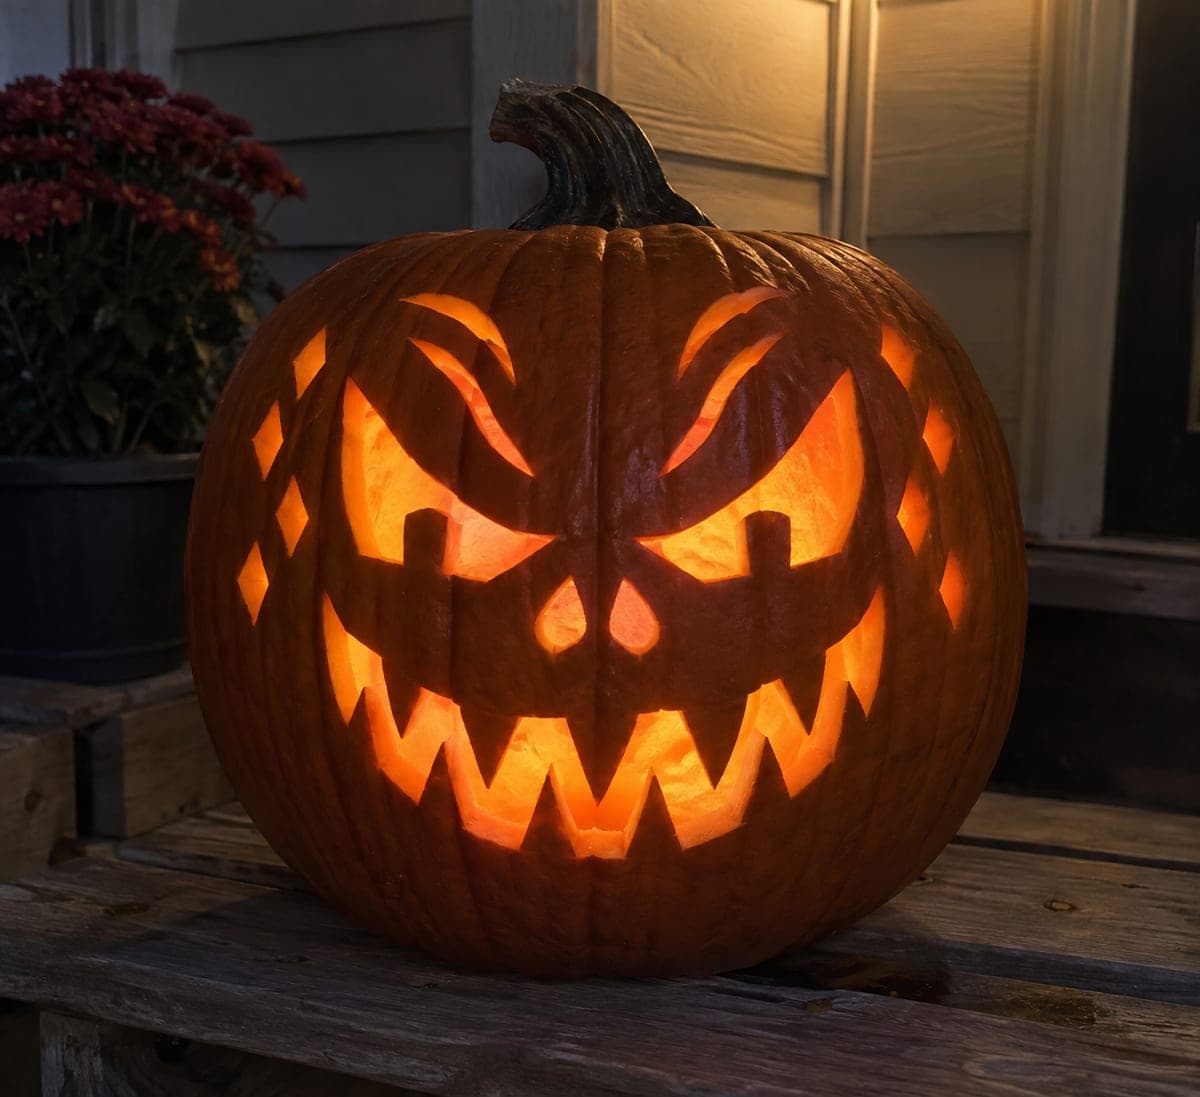
Deeply wrinkled brows curl over narrowed eyes with rooted pupil tabs, a flared nose snarls in the middle, and a wide fanged grin full of jagged teeth completes this genuinely sinister face, flanked by small diamond cutouts at each temple. Everything is pierced through, and the layered brow wrinkles are why it rates hard. Cut the thin wrinkle slits with a fine-detail saw before the larger eye and mouth openings weaken the surrounding wall.
 Expert / Pro
Unequal Eyes and Jagged Grin
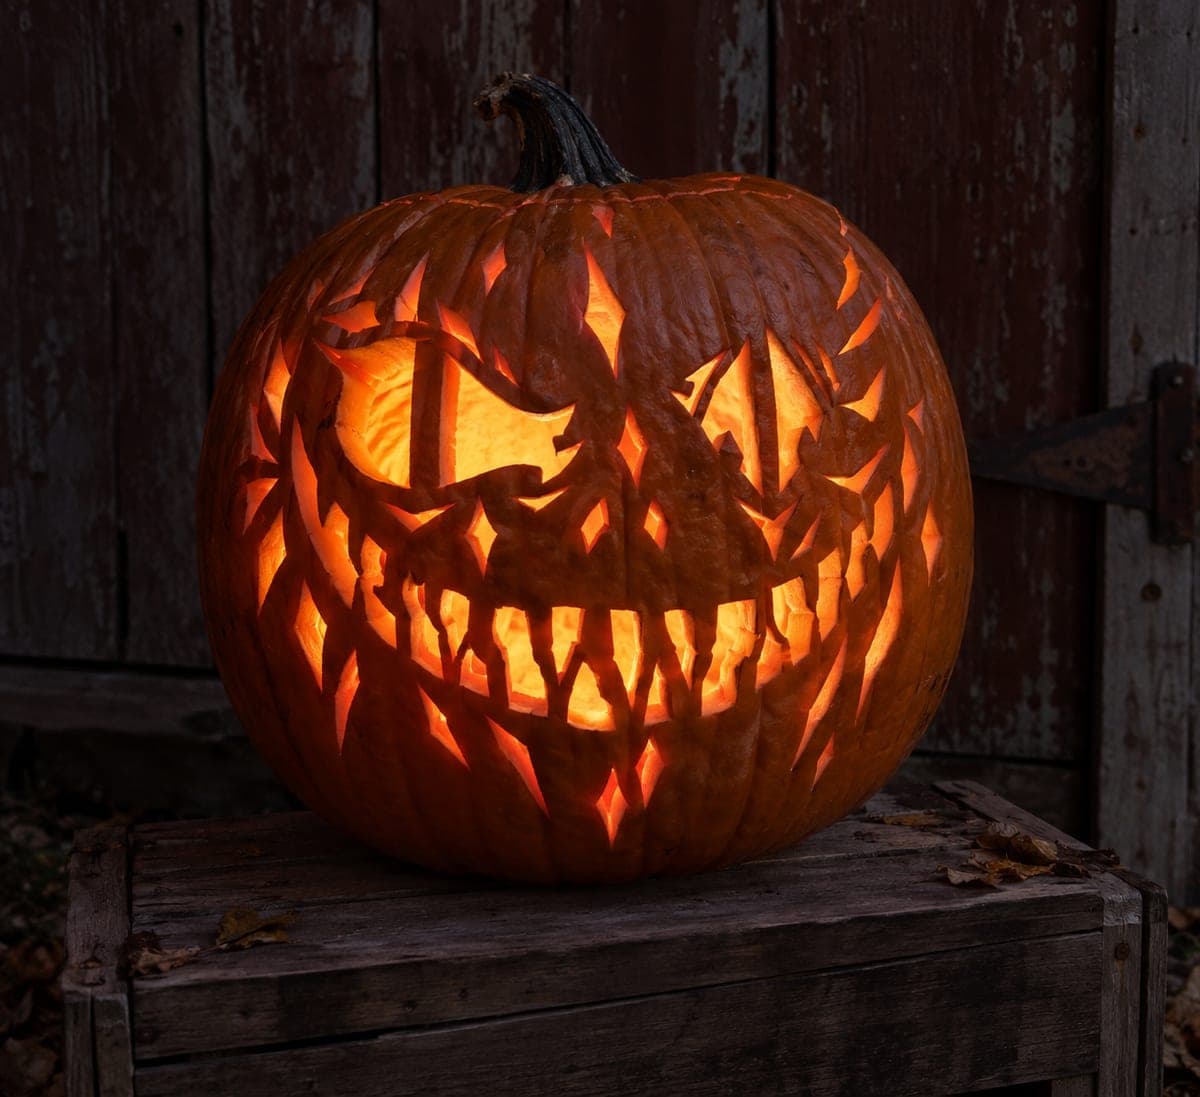
A nightmare grin stretches ear to ear, packed with dozens of jagged interlocking fangs, beneath two mismatched eyes, one wide and wild and one narrowed and crossed by scar lines, with flame like spikes radiating outward and diamond accents above and below. Nearly all of it is pierced through, leaving a web of thin rind spikes that demands real patience. Work from the center of the mouth outward with a fine saw, supporting each fragile spike as you free it on this expert carve.