How to Transfer Any Design onto a Pumpkin
The poke-and-connect method pros use, plus the flour trick, sizing your printout, and the right order to carve so nothing breaks.
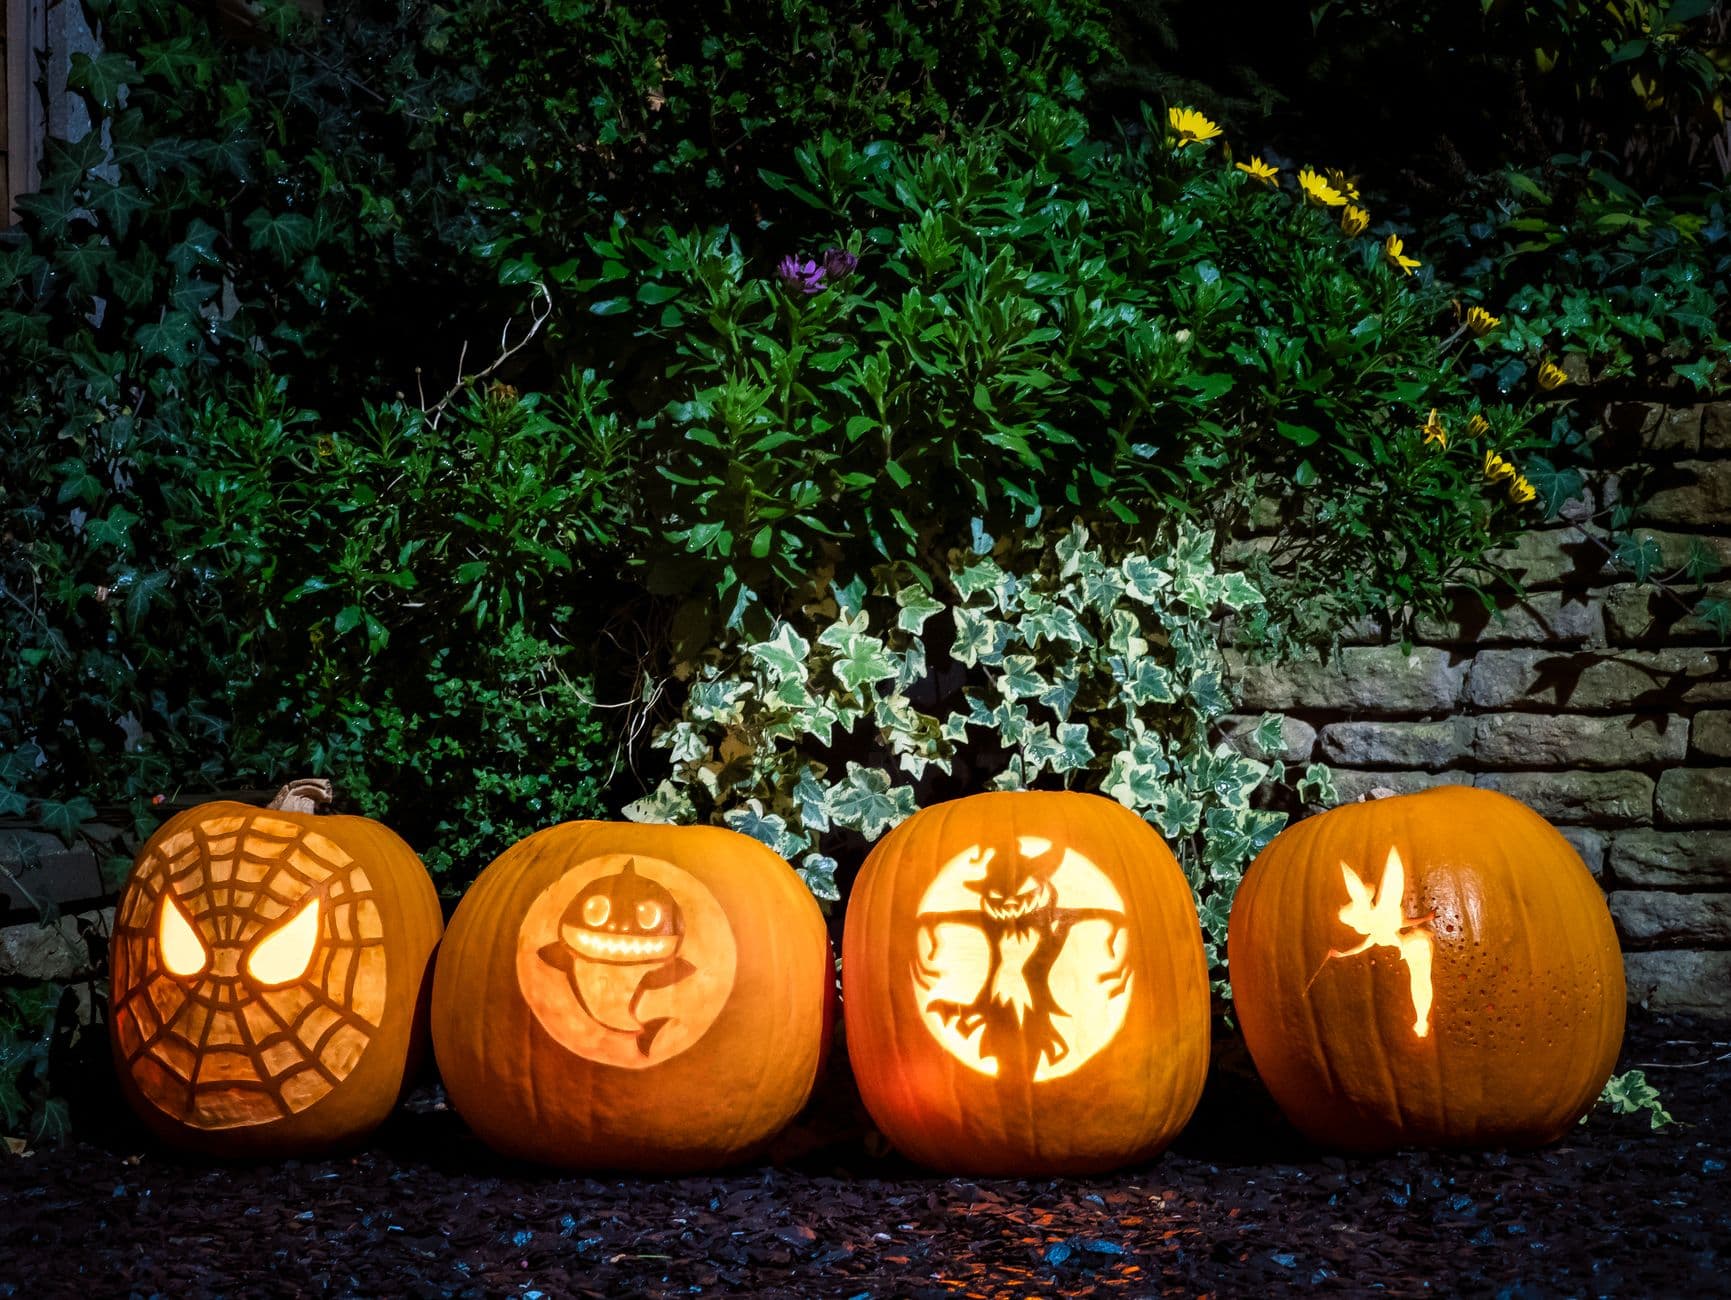
The gap between a wobbly freehand face and a carve that looks professional is usually not knife skill. It is transferring a good design accurately. Here is how to get any picture from paper onto pumpkin.
Size the printout first
Hold your printed design against the pumpkin before you commit. It should fill the flattest part of the face without wrapping into the deep ribs at the sides. Most home printers can scale a page in the print dialog; 100 to 130 percent covers most medium pumpkins. Bold designs with connected shapes transfer and carve far more easily than fine-lined ones.
Need material? Any photo in the ideas gallery can be your reference, and designs tagged easy are chosen for clean, carvable shapes.
Fit flat paper to a round pumpkin
Paper does not want to bend in two directions at once, so help it:
- Trim the printout close to the design.
- Cut short slits in from each edge toward the center, like sun rays.
- Tape the center of the design flat against the pumpkin first.
- Work outward, letting the slit edges overlap as the paper curves, taping as you go.
A lightly misted sheet of paper also molds to the shell and clings while you work.
The poke-and-connect method
This is the standard for a reason:
- With a poker tool, pushpin, or corn skewer, poke holes along every line of the design, about an eighth of an inch apart. Go closer together on tight curves.
- Pull the paper off and keep it; it is your map while carving.
- Connect the dots with a washable marker, or rub a little flour over the surface with your palm: the flour settles into the holes and makes the dotted lines pop.
Before poking, check the design for "floating" pieces, like a pupil inside an eye. Those need bridges left uncarved, or a toothpick to pin them back in after.
Carve in the right order
Order is what keeps fragile designs alive:
- Details first, big shapes last. Small cuts need solid shell around them for support.
- Work from the center of the design outward, so your hand never rests on carved (weak) areas.
- Push pieces out gently from inside. If a chunk will not come, cut it smaller instead of forcing it.
Marker lines wipe off with a damp cloth when you are done. Then it is on to lighting.
Ready to put it to use?
Pick a design from the gallery, then share your carve when it is done.