Peel-Technique Shading
Carve in grayscale. The peel technique adds a glowing midtone between skin and cutout, and it is how pros get faces that look alive.
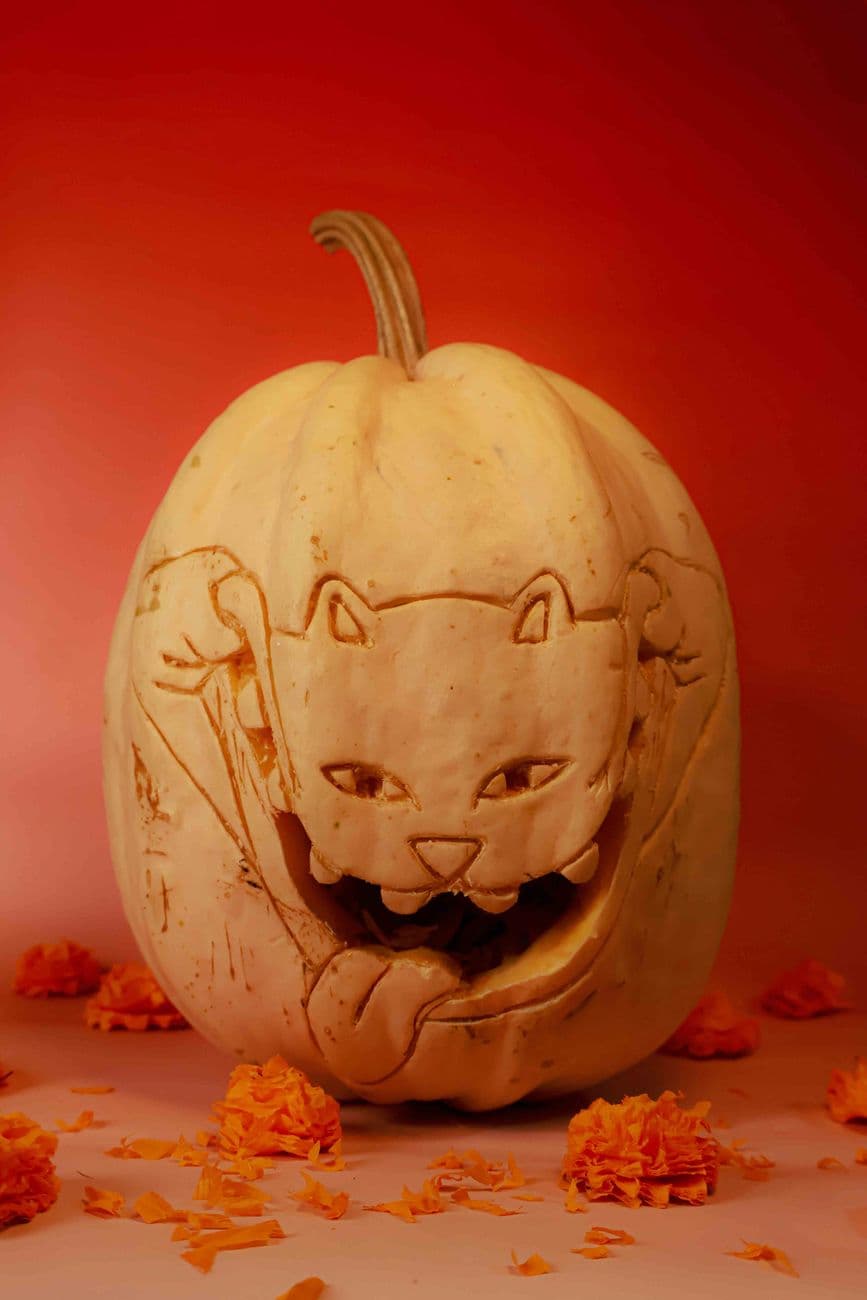
Classic carving is binary: either light comes through a hole or it does not. The peel technique adds a third value in between, and that middle tone is what makes carved portraits, fur, and expressions look alive instead of flat.
The three levels of light
Think of the pumpkin wall as a dimmer switch:
- Untouched skin blocks light completely. This is your black.
- Peeled flesh, where the skin is scraped away but the wall is left intact, glows a soft amber. This is your midtone, and it is the whole point of the technique.
- Full cutouts blast light straight through. This is your white, used sparingly for eyes, highlights, and accents.
Squint at any design and sort every area into one of those three buckets before you touch a blade.
Tools
Kit saws still handle the cutouts, but peeling wants clay tools: a ribbon tool for clearing large areas of skin and a loop tool for edges and fine lines. A vegetable peeler works in a pinch for broad areas. See the tools guide for the full rundown.
Step by step
- Gut the pumpkin and thin the carving wall to about an inch, thinner than for a normal carve. The peel only glows if light can push through what is left.
- Transfer the design (poke method), marking which areas peel and which cut through.
- Outline every peeled area by scoring its border with the loop tool. Clean borders now save ragged edges later.
- Peel the skin inside the outlines with the ribbon tool, shallow and even, maybe a quarter inch deep. Strip it like paint, not like digging a hole.
- Cut the full openings last, once the delicate peel work no longer risks a hand resting on it.
Check against the light constantly
This is the habit that separates good peel work from great: put a bright LED inside and turn the lights off every few minutes. Where the glow is too dim, shave the peeled area slightly deeper (from the front for detail, or scrape the wall from inside for broad areas). Where it is too bright, stop. You cannot put flesh back.
Depth is your brush. Shallow peel glows faintly, deep peel glows warm and bright. Portraits are just those two extremes blended patiently.
Two finishing notes
White and pale heirloom pumpkins etch beautifully; the contrast between pale skin and glowing flesh is stronger than on orange. And peeled pumpkins dry out faster than cutouts, so read make it last before carving days ahead of your reveal.
When it is glowing, upload it. Shaded carves rule the top-rated page for a reason.
Ready to put it to use?
Pick a design from the gallery, then share your carve when it is done.