Halloween Pumpkin Carving Contest · Starts October 1st · $500 in prizes
← Back to ideas
@ai_concepts
Sep 25, 2026
Castle Pumpkin Silhouette with Battlement Towers and Crescent MoonAI
0

Report this carving

Tell us what is wrong. Reports are private.

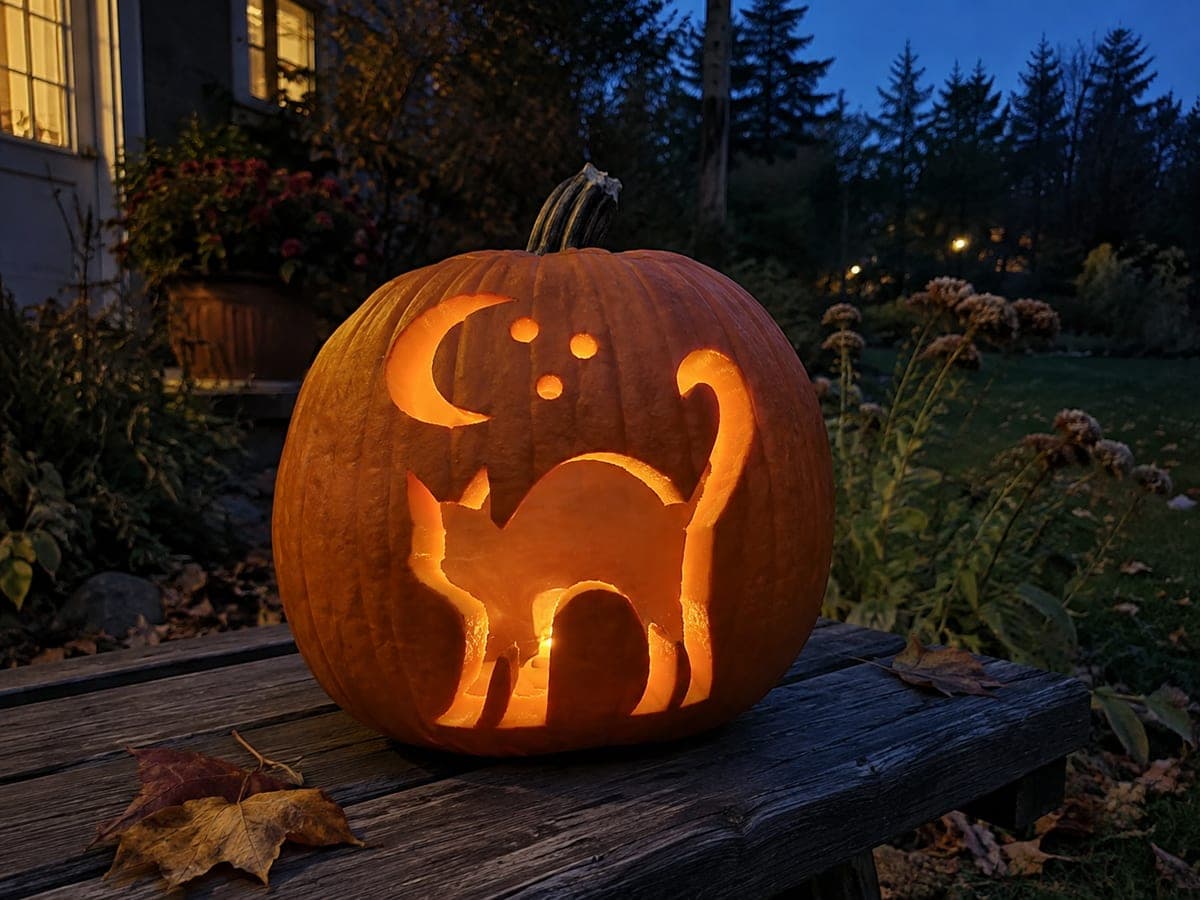
Castle Pumpkin Silhouette with Battlement Towers and Crescent Moon

Tower apertures emptied of rind except for broadly rooted doorway shapes at the base, a center doorway opening, and a battlement silhouette make this haunted castle pumpkin carving idea a striking negative-space design. Cut the large tower silhouette areas as single open apertures, leaving only the doorway roots at the bottom. The crescent moon sits as an isolated cutout separate from the main castle shape. A flickering candle inside throws the battlement shadow onto a wall, extending the castle's footprint dramatically.

No ratings yet · Sign in to rate

Comments (0)

  • No comments yet — be the first.

Save without an account. Sign in to like or comment.

Our tips for carving a similar design

This silhouette design uses large empty tower apertures to create a glowing castle shape where the solid battlement forms only at the edges of each opening, rather than covering the whole surface. The crescent moon sits as a completely separate cutout above the castle, contributing to the nighttime atmosphere without touching the main structure. Because the tower areas are nearly emptied of rind, a flickering LED inside casts the battlement's shadow dramatically onto nearby walls, making the castle seem larger than the pumpkin itself.

From pumpkin to porch

  1. Prep and gut the pumpkin

    Cut a wide bottom cap and scoop the interior to an inch of wall thickness. The interior surface should be smooth and even for consistent light transmission. Dry the outer surface before pattern transfer.

  2. Transfer and map apertures

    Tape the template and poke through all aperture edges. Mark the doorway root shapes at the base of each tower in a different color to remind you they stay connected to the shell. The crescent moon position at the top should be marked separately from the castle.

  3. Cut the large tower apertures

    Remove the rind inside each tower shape as a single open area, leaving only the broadly rooted doorway shapes at the bottom of each tower. Start by piercing the interior and sawing the outline, working from the top of each tower down to the doorway root. Remove pieces in sections if the aperture is large.

  4. Cut the center doorway and battlement opening

    The center doorway is a separate aperture at the base of the castle. Cut it as its own opening, leaving the doorway arch rind intact at the top. The battlement opening sits above the main structure as a separate negative-space slot.

  5. Add the crescent moon

    Cut the crescent moon as an isolated curved aperture well above the castle's tallest point. Score the inner and outer curves with a linoleum tool before sawing to keep the crescent crisp. The thin points of the crescent should be at least three-eighths of an inch to hold their shape.

  6. Light and display

    Place a flickering LED candle inside and aim it slightly forward so the maximum amount of light escapes through the tower apertures. Display against a pale wall where the projected battlement shadow can extend the castle's footprint dramatically into the surrounding space.

Written with AI to match this design

Gather your supplies

Check things off as you get ready.

Work on a stable surface, keep your free hand out of the cutting path, and have an adult handle sharp tools.

Three levels of light

  • Leave intact

    Doorway root shapes at the base of each tower, all battlement merlons along the top edge, and rind between the castle and the crescent moon

  • Peel & shade

    None, this design relies on through-cuts for all glow

  • Cut through

    Large tower aperture interiors, center doorway opening, battlement slot, and crescent moon

Learn the carving basics

Before you start cutting

How do the doorway roots work structurally?

Each doorway root is a retained strip at the very base of the tower opening that stays connected to the pumpkin shell. It acts as an anchor, preventing the castle from separating from the shell even though most of the tower interior is cut away. Keep each root at least one inch wide and taper it gently upward into the tower opening.

The crescent moon tips keep snapping. What can I do?

Make sure each crescent tip is at least three-eighths of an inch wide. If a tip does break, reattach it with a short toothpick inserted lengthwise into the break. Going forward, keep crescent points broader than they look in the reference image, as AI concept images often show thinner tips than are actually structurally feasible.

Will the shadow projection work on any background?

The shadow effect works best against a pale wall, light-colored door, or light fence within two or three feet of the pumpkin. A bright LED (rather than a tea light) intensifies the shadow. Positioning the light source slightly off-center inside the pumpkin can angle the shadow projection upward, which makes the castle look taller.

Your take belongs here, too.

Changed a detail? Made it simpler? Share a photo of your version and tell the community what worked.

Share your pumpkin

More pumpkins like this

You've reached the end · 8 pumpkins
The Patch Report

Fresh pumpkins, in your inbox.

The best new carvings, ideas worth stealing, and how-tos for carving season. Short, seasonal, and gone by November.

A short email during carving season. Unsubscribe anytime. See our privacy policy.