Halloween Pumpkin Carving Contest · Starts October 1st · $500 in prizes
← Back to ideas
@ai_concepts
Sep 25, 2026
Haunted Castle Facade Pumpkin with Glowing Gate and BatsAI
0

Report this carving

Tell us what is wrong. Reports are private.

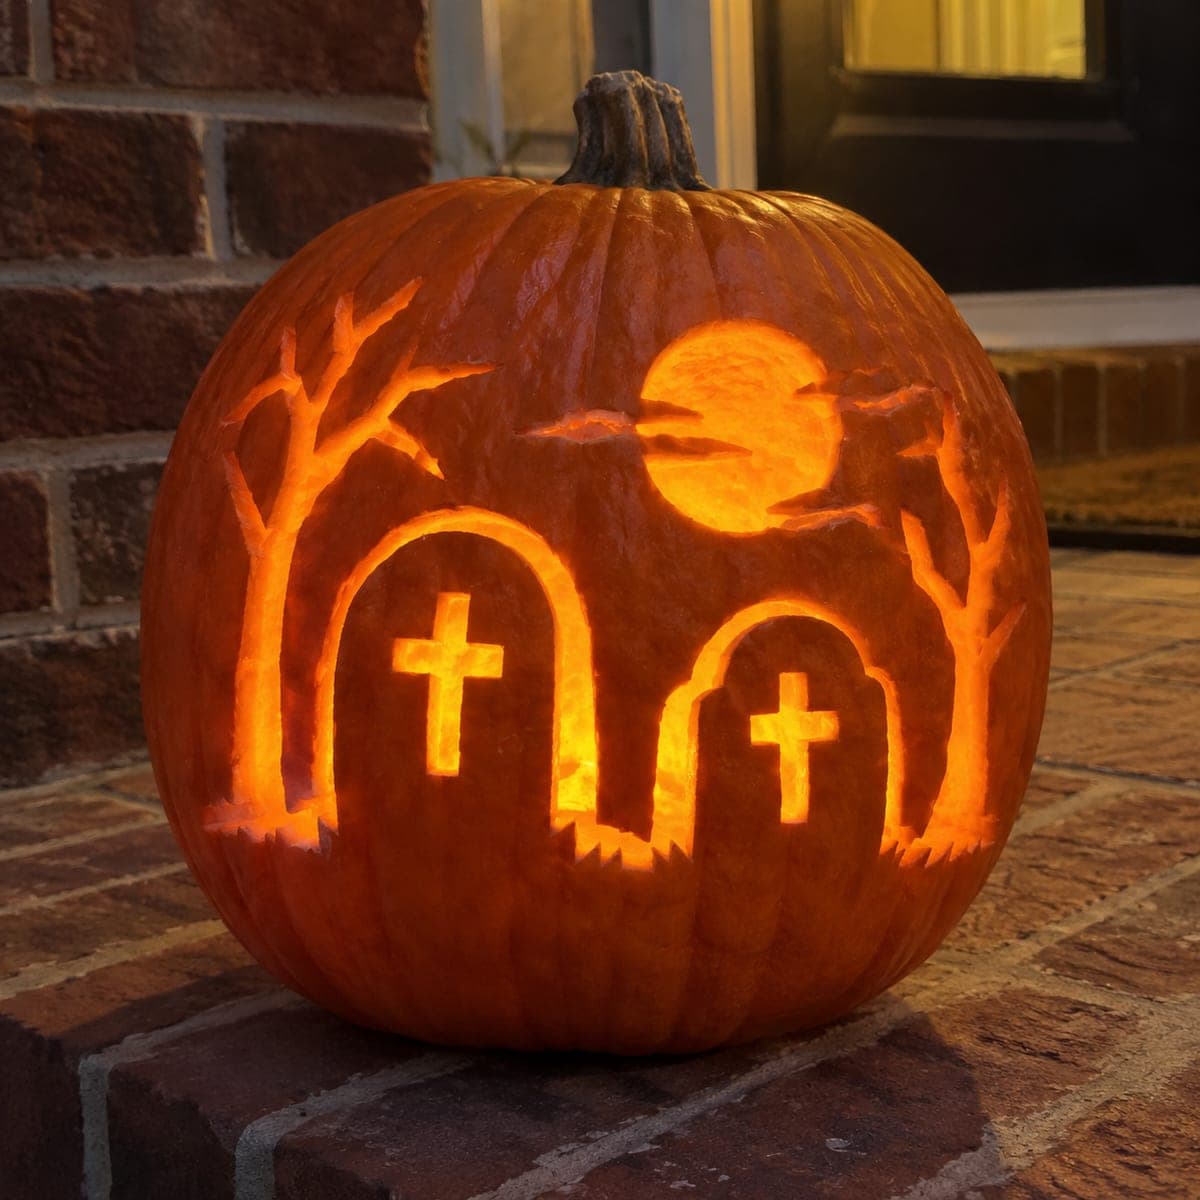
Haunted Castle Facade Pumpkin with Glowing Gate and Bats

A continuous castle wall facade with a glowing gate, battlement openings, and separate bat cutouts makes this haunted castle pumpkin carving idea a more complex architectural design requiring careful planning. Preserve the castle walls as solid connecting rind between every aperture, treating the design as a lattice rather than individual features. The gate divider must connect at both top and bottom to prevent the castle facade from separating. Small bat apertures should be cut last and placed where rind is thickest to avoid structural loss.

No ratings yet · Sign in to rate

Comments (0)

  • No comments yet — be the first.

Save without an account. Sign in to like or comment.

Our tips for carving a similar design

The challenge here is treating the entire design as a connected rind lattice rather than a collection of individual features: every wall strip, gate bar, and battlement merlon must stay joined to its neighbors, or the facade will lose coherence. The gate divider bar that runs through the gate opening must connect solidly at both its top and bottom, as a floating bar would drop out within days. Bat apertures are placed last, in the thickest available rind areas, to avoid weakening the structure at a point when the shell is already well-cut.

From pumpkin to porch

  1. Plan the lattice before cutting

    Print or sketch the full design and trace every continuous rind strip in marker. Confirm that no wall section is isolated: every piece of rind should connect to at least two other rind areas. Identify the gate divider and mark both its top and bottom connection points explicitly.

  2. Prep and gut the pumpkin

    Cut a wide bottom cap and scoop to about one inch of wall thickness. An even inner surface matters here because thin spots in the rind lattice will crack first. Dry the outer surface before transferring the full pattern.

  3. Cut the outer castle wall perimeter apertures first

    Remove the large open areas on either side of the facade to establish the overall castle outline. Work slowly around any curved or angled wall edges. Confirm the main wall strips are still solid and connected before moving to interior details.

  4. Cut battlement openings and gate aperture

    Work down through the battlement openings, then cut the gate aperture. When cutting the gate, leave the gate divider bar in place, cutting the upper gate half first and the lower half second to avoid torquing the bar. Confirm the divider is attached firmly at top and bottom after this step.

  5. Add bat cutouts last

    With the main lattice confirmed stable, locate the thickest remaining rind areas and place the bat silhouettes there. Cut each bat as a simple open shape with broad wings. If the shell feels at all soft, skip the bat details entirely rather than risk a collapse.

  6. Light and display

    Place a bright LED inside and set the pumpkin at eye level against a dark background. The glowing gate and battlement openings define the castle, while the bat cutouts add movement. Apply petroleum jelly to all cut edges before the first night of display.

Written with AI to match this design

Gather your supplies

Check things off as you get ready.

Work on a stable surface, keep your free hand out of the cutting path, and have an adult handle sharp tools.

Three levels of light

  • Leave intact

    All continuous castle wall strips, gate divider bar (both ends attached), battlement merlons, and all connecting rind between apertures

  • Peel & shade

    None, all depth comes from through-cuts

  • Cut through

    Outer facade apertures, battlement openings, gate upper and lower halves, and bat silhouettes

Learn the carving basics

Before you start cutting

How do I make sure the gate divider does not fall out?

Before cutting the gate aperture, mark both connection points at the top and bottom of the divider in bright marker. Cut the upper gate half first, then the lower half, leaving the divider bar intact throughout. After both halves are removed, press gently on the divider to confirm it is solid. If it moves, reinforce with a toothpick inserted horizontally through a cut edge.

What order should I cut the apertures to keep maximum strength?

Always cut the largest openings first, while the shell is stiffest, and save small accent details for last. For this design: outer perimeter apertures, then battlements, then gate halves, then bat silhouettes. This order keeps the most material in place at each structural stage.

Can I simplify this design if the bat step feels risky?

Yes. Simply skip the bat cutouts. The castle reads clearly without them, and the gate and battlements alone make an impressive hard-level carving. If you do want the bats, consider making them slightly larger and rounder than the reference image, which reduces the chance of snapping thin wing edges.

Your take belongs here, too.

Changed a detail? Made it simpler? Share a photo of your version and tell the community what worked.

Share your pumpkin

More pumpkins like this

You've reached the end · 8 pumpkins
The Patch Report

Fresh pumpkins, in your inbox.

The best new carvings, ideas worth stealing, and how-tos for carving season. Short, seasonal, and gone by November.

A short email during carving season. Unsubscribe anytime. See our privacy policy.