Halloween Pumpkin Carving Contest · Starts October 1st · $500 in prizes
← Back to ideas
@ai_concepts
Aug 18, 2026
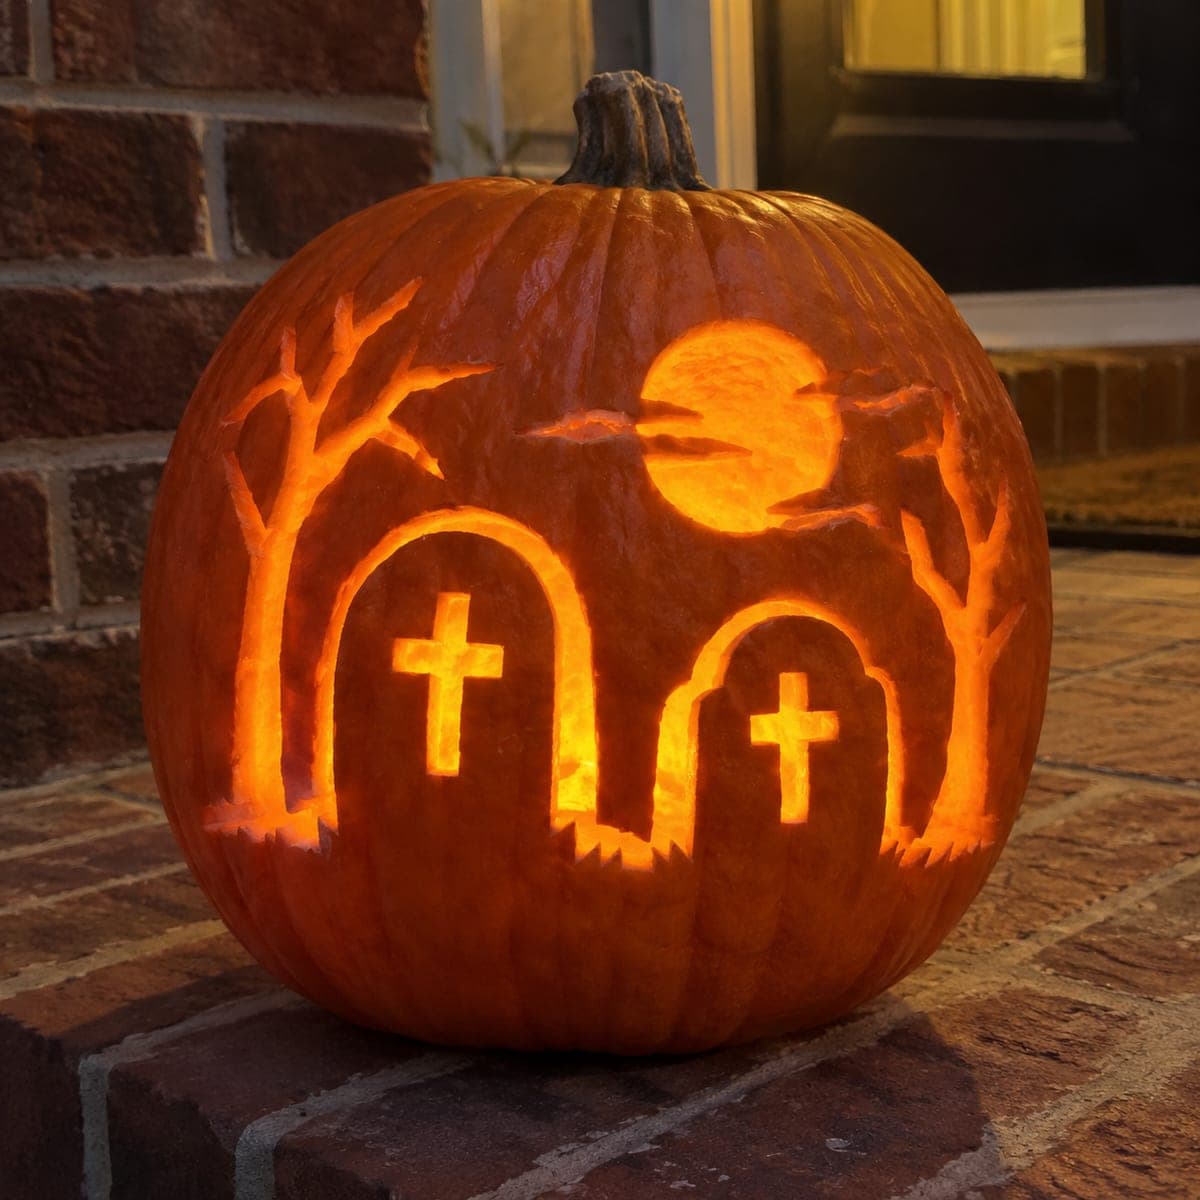
Haunted Graveyard Scene Pumpkin With Full MoonAI
0

Haunted Graveyard Scene Pumpkin With Full Moon

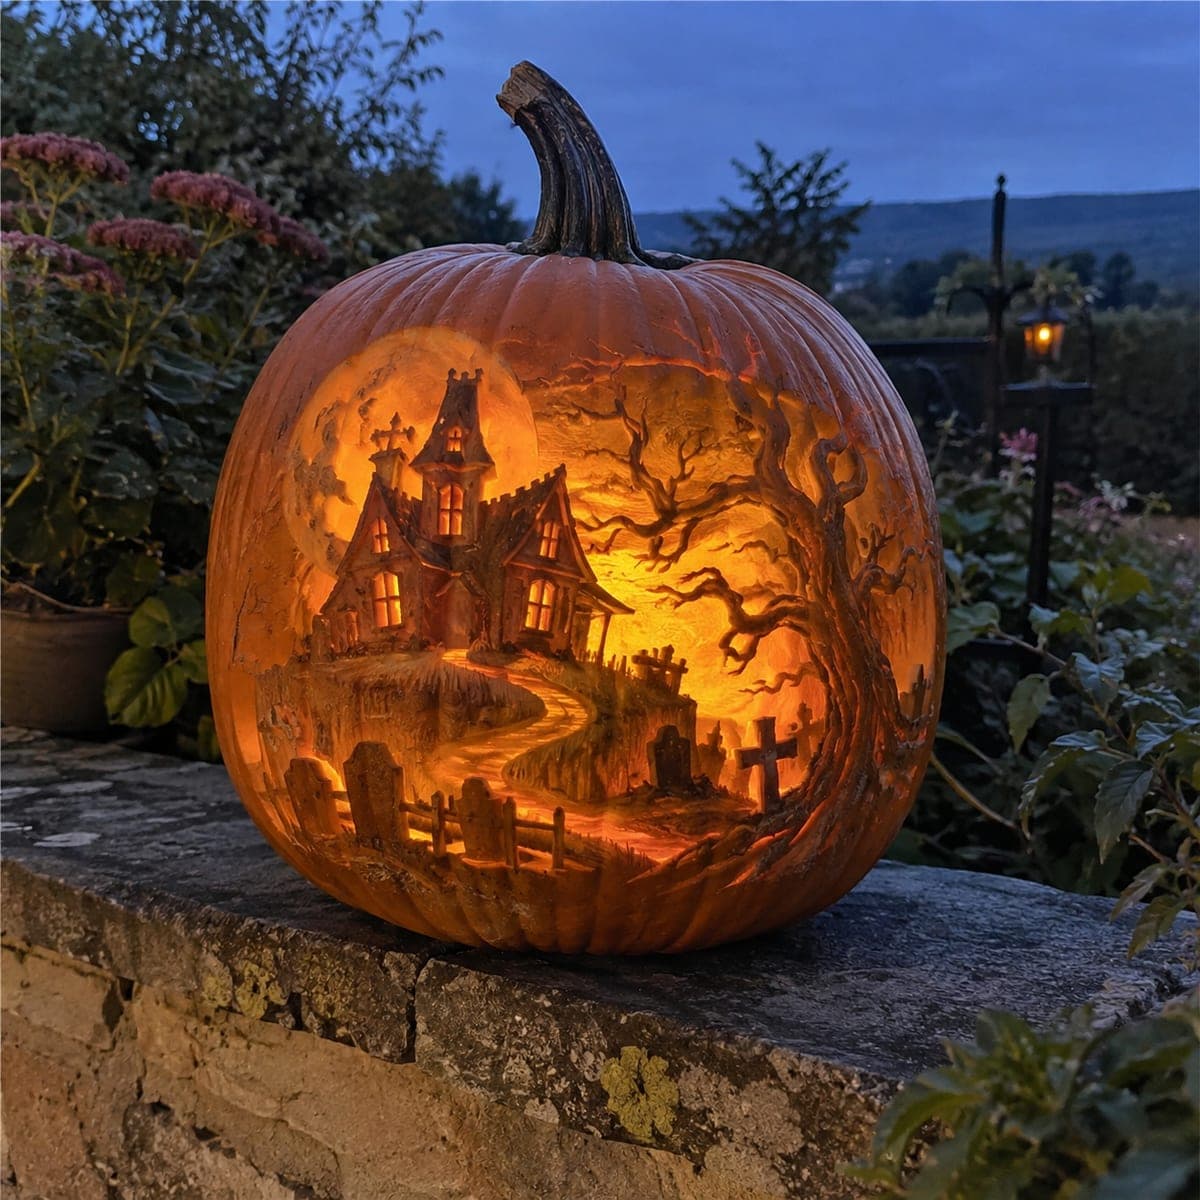
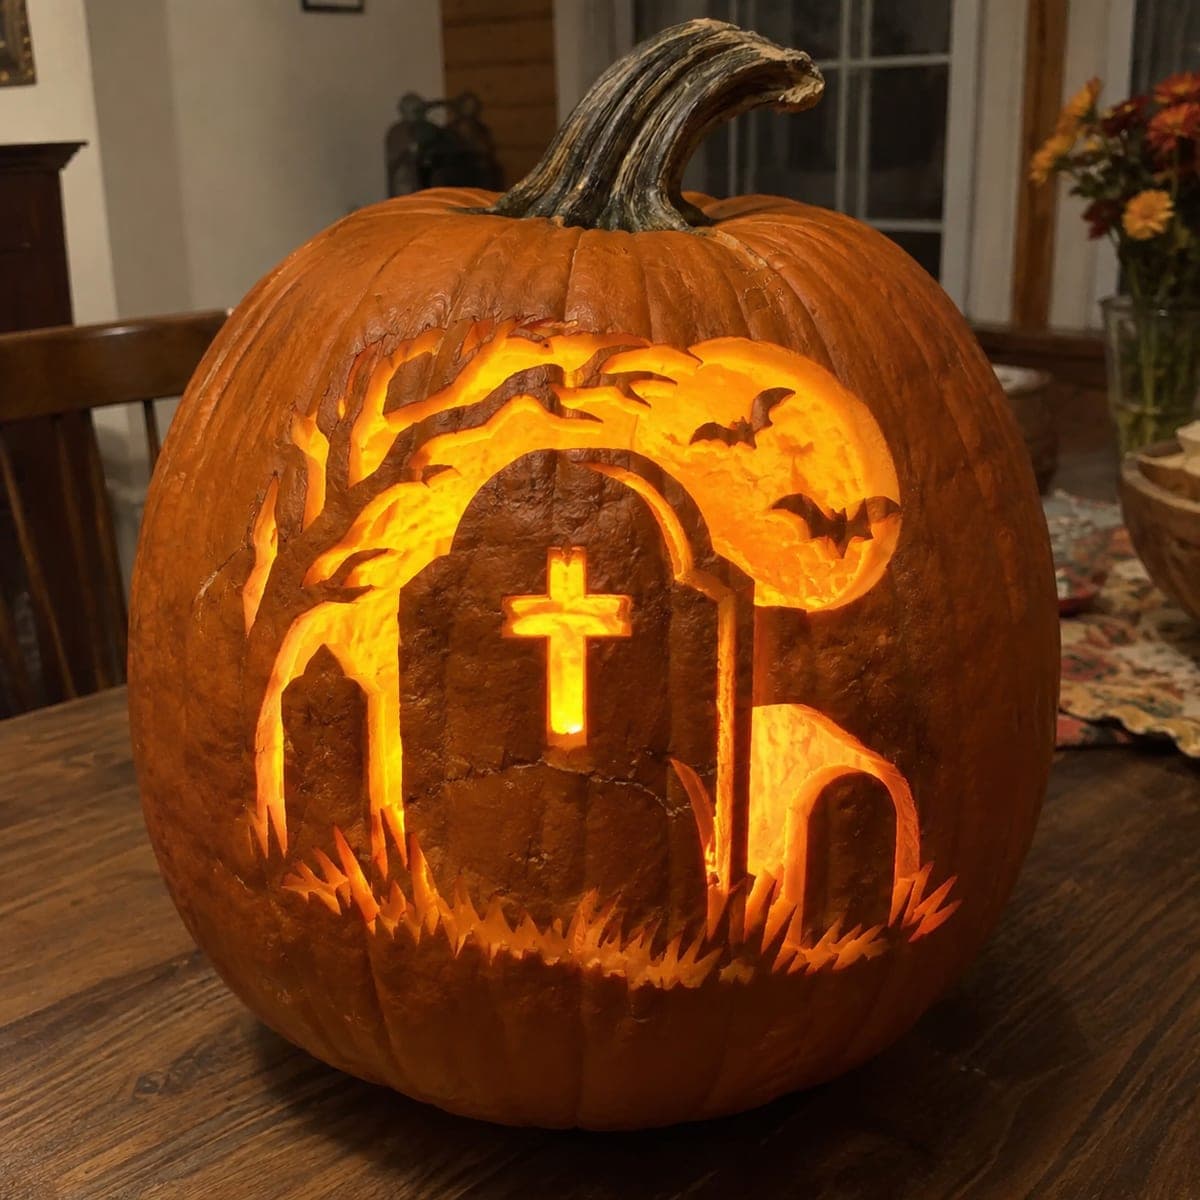
Cross-topped tombstones, bare clawing trees, a glowing full moon, and a flight of bats wrap this pumpkin in a complete graveyard scene. The moon and headstones are etched deep so they blaze brightest, while the trees and grass are scored shallow for a dimmer, misty glow. Carve the large moon first to relieve pressure on the shell, then work outward to the fine branches. One of the best spooky pumpkin carving ideas for a brick stoop.

This is an AI-generated concept image: a realistic, carvable design idea rather than a photo of a finished carve. AI concepts are always labeled and sit out the leaderboard and the contest.

No ratings yet · Sign in to rate
Comments (0)

  • No comments yet — be the first.

Save without an account. Sign in to like or comment.

Our tips for carving a similar design

The core trick here is layering three depths of light on one face so a full scene reads at night. The bright moon and cross-topped tombstones are cut through or thinned deep, while the bare trees, bats, and grass are only scored into the skin for a dimmer, misty glow. Plan your layout in pencil first, cut the large moon early to relieve pressure on the shell, then move outward to the fine branches.

Written by PumpkinCarvingIdeas.com, inspired by the image above. These are our suggestions, not instructions from the uploader. This approach to the AI concept has not been tested on a real pumpkin.

From pumpkin to porch

  1. Prep the pumpkin and transfer the scene

    Pick a tall pumpkin with a wide, fairly flat front so the whole graveyard fits without wrapping too far around. Cut a lid from the bottom or back instead of the top so the stem stays intact, then hollow the front wall until it is about one inch thick. Tape your stencil on smoothly and poke the outlines with a pin or transfer tool. Peel the paper and darken the dotted lines with a marker so you can see the plan clearly.

  2. Cut the full moon first

    Start with the moon because it is the largest opening and cutting it early relieves stress on the shell before you add fine detail. Use a small saw blade and take slow, steady strokes all the way around the circle, then gently push the plug out. Keep the edge clean and round. Leave the thin horizontal bat silhouettes crossing the moon as uncut skin so they stay dark against the glow.

  3. Carve and shade the tombstones

    Outline each arched headstone and saw through the background around them so the stones themselves stand as solid shapes. For the crosses, cut cleanly through so they blaze brightest. Then use a shallow gouge or lino tool to scrape the front of each tombstone thin, giving the stone a warm dim glow that sits between the dark background and the bright crosses. Work slowly around the narrow bridges so the arches keep their strength.

  4. Score the bare trees and bats

    The clawing trees and small bats are surface details, not cutouts. Use a small V gouge or a knife tip to score just through the outer skin, removing a thin ribbon of peel so the lines glow faintly. Keep the branches connected to the trunk and do not cut all the way through, or the delicate limbs will snap. Vary the pressure so thicker trunks glow a little brighter than the twig ends.

  5. Add the misty grass line

    Along the base of the tombstones, carve a row of short jagged points to suggest grass. Peel these shallow like the trees so they read as a soft dim band rather than a bright cut. This ties the ground together and hides the seam where deep cuts meet the untouched lower pumpkin. Step back and touch up any lines that disappear from a few feet away.

  6. Light it and photograph

    Drop in one or two battery LED lights rather than a candle, since the shaded areas are thin and can scorch. Warm white or amber LEDs give the classic orange graveyard glow you see in the concept. Set the pumpkin on a step or brick ledge, dim the surrounding lights, and shoot at dusk so the moon and crosses pop. Rotate the lights inside until the shaded trees catch just enough glow.

Gather your supplies

Check things off as you get ready.

Work on a stable surface, keep your free hand out of the cutting path, and have an adult handle sharp tools.

Three levels of light

  • Leave intact

    The bat silhouettes and the dark background sky between the tombstones stay as untouched skin.

  • Peel & shade

    The tree branches, trunks, grass tufts, and the faces of the tombstones are peeled shallow for a dim misty glow.

  • Cut through

    The full moon and the crosses on each headstone are cut through for the brightest light.

Learn the carving basics

Before you start cutting

How do I keep the thin tree branches from breaking?

Only score the branches through the outer skin instead of cutting all the way through the shell. Leaving the flesh behind them intact keeps every twig anchored to the pumpkin. Work with a small gouge and light pressure, and never pry on a branch line.

Why carve the moon before the tombstones?

The moon is the biggest opening, and removing a large plug early relieves tension in the shell before you weaken it with more cuts. If you save it for last, the surrounding detail can crack as you push the plug out. Cut big openings first, then work down to the fine scored lines.

Can I get the two glow levels without a shading tool?

Yes. A sharp spoon edge or a sturnip peeler can scrape the tombstone faces and tree lines thin enough to glow dimly. The goal is simply to remove the outer skin without breaking through. Test on the back of the pumpkin first to learn how thin gives you that soft orange light.

Your take belongs here, too.

Changed a detail? Made it simpler? Share a photo of your version and tell the community what worked.

Share your pumpkin

More pumpkins like this

You've reached the end · 8 pumpkins
The Patch Report

Fresh pumpkins, in your inbox.

The best new carvings, ideas worth stealing, and how-tos for carving season. Short, seasonal, and gone by November.

A short email during carving season. Unsubscribe anytime. See our privacy policy.