Halloween Pumpkin Carving Contest Β· Starts October 1st Β· $500 in prizes
← Back to ideas
@ai_concepts
Sep 7, 2026
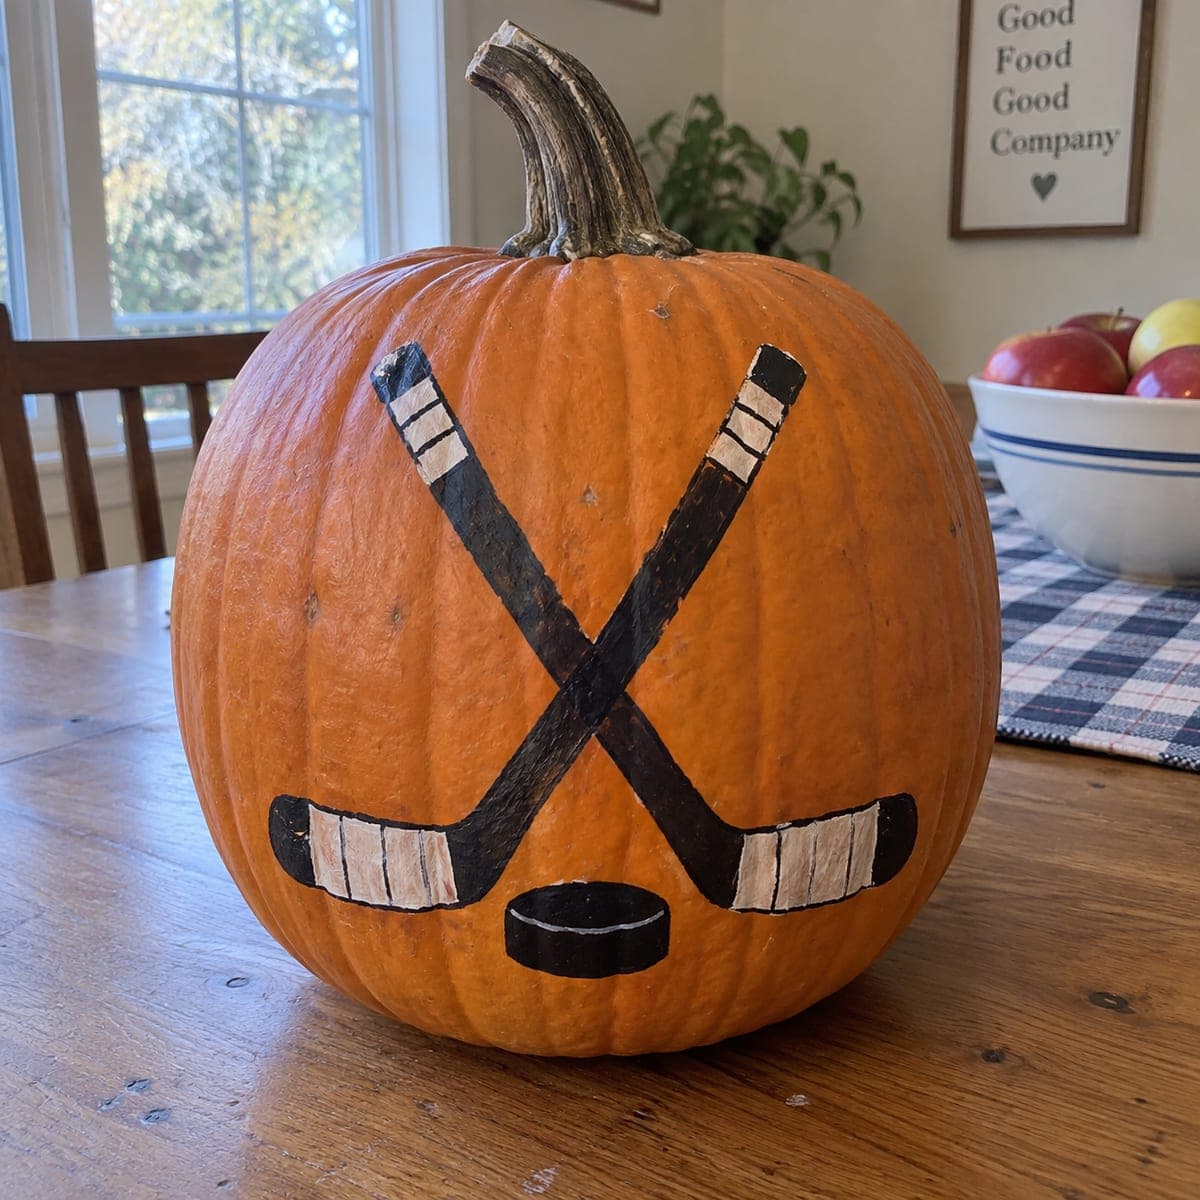
Crossed Hockey Sticks and Puck Painted PumpkinAI
0

Crossed Hockey Sticks and Puck Painted Pumpkin

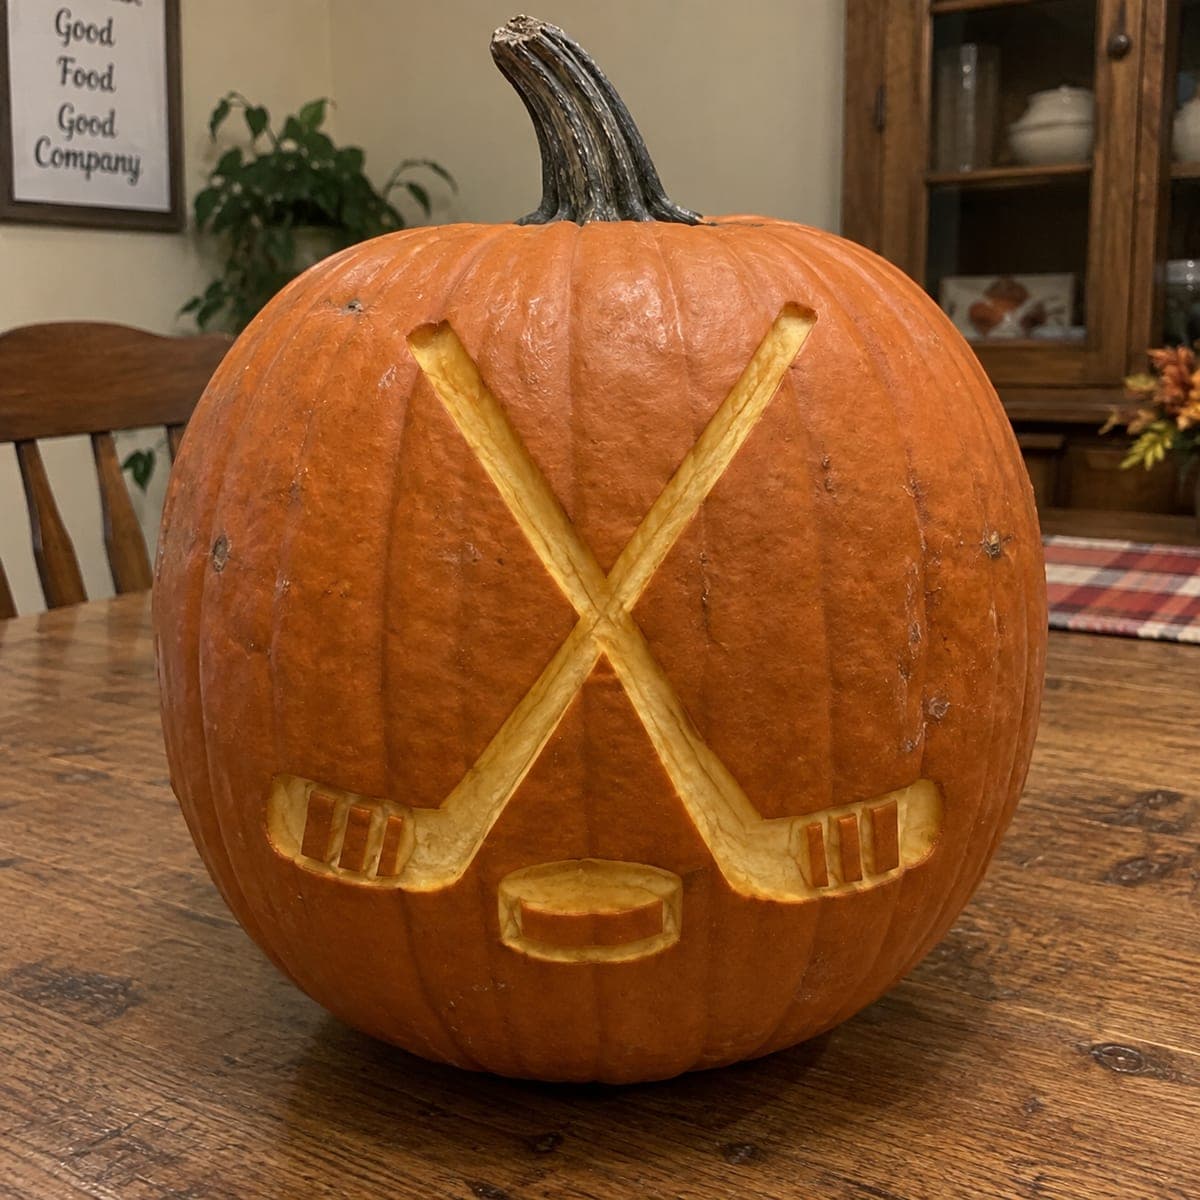
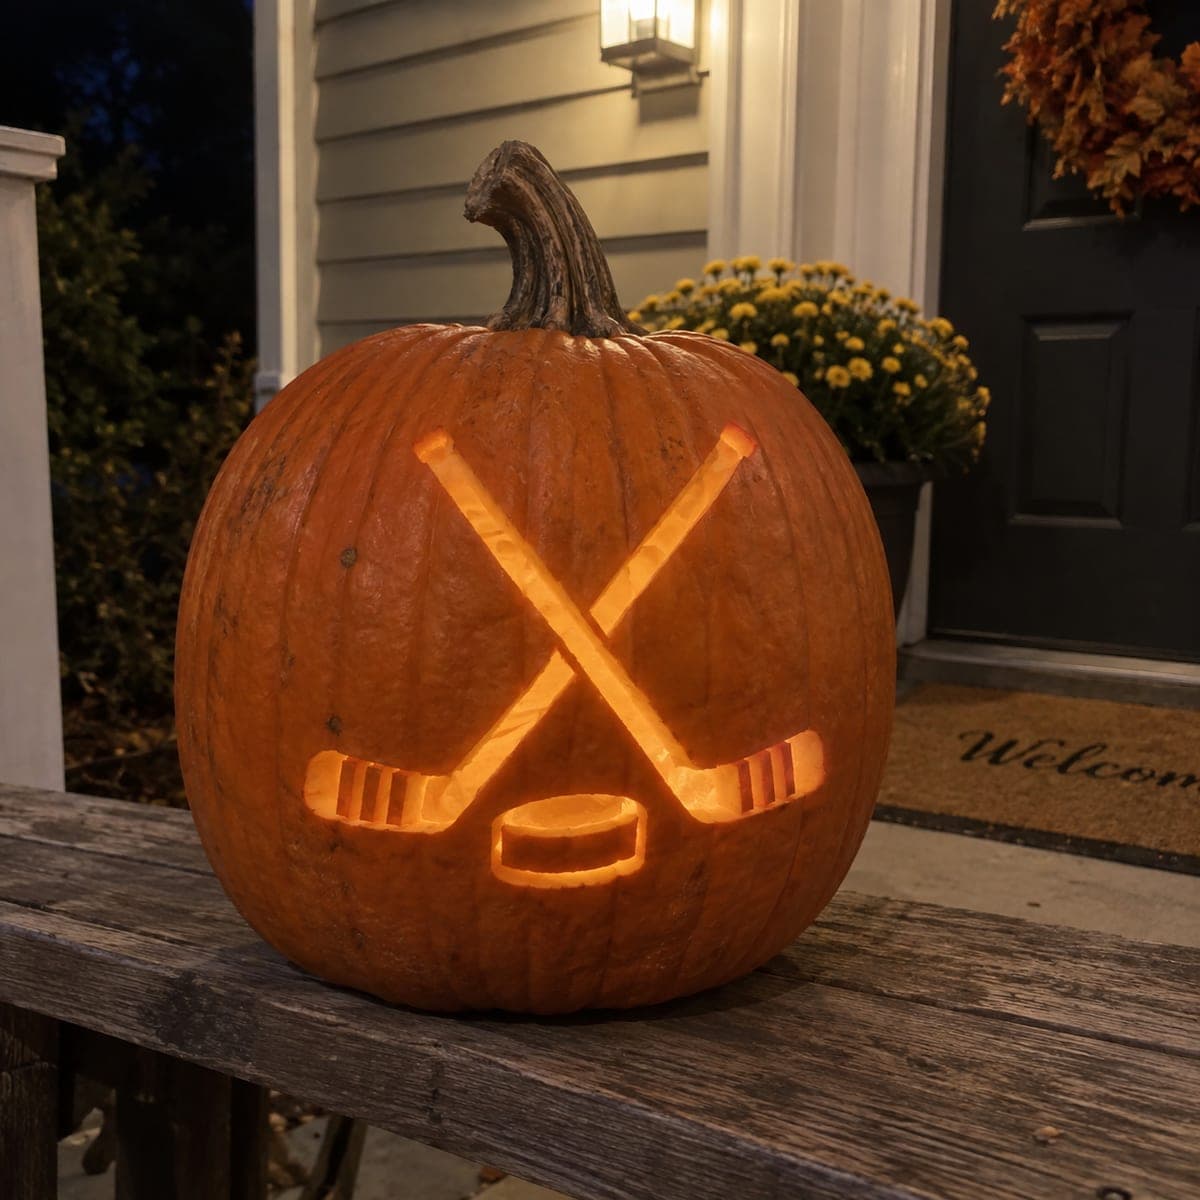
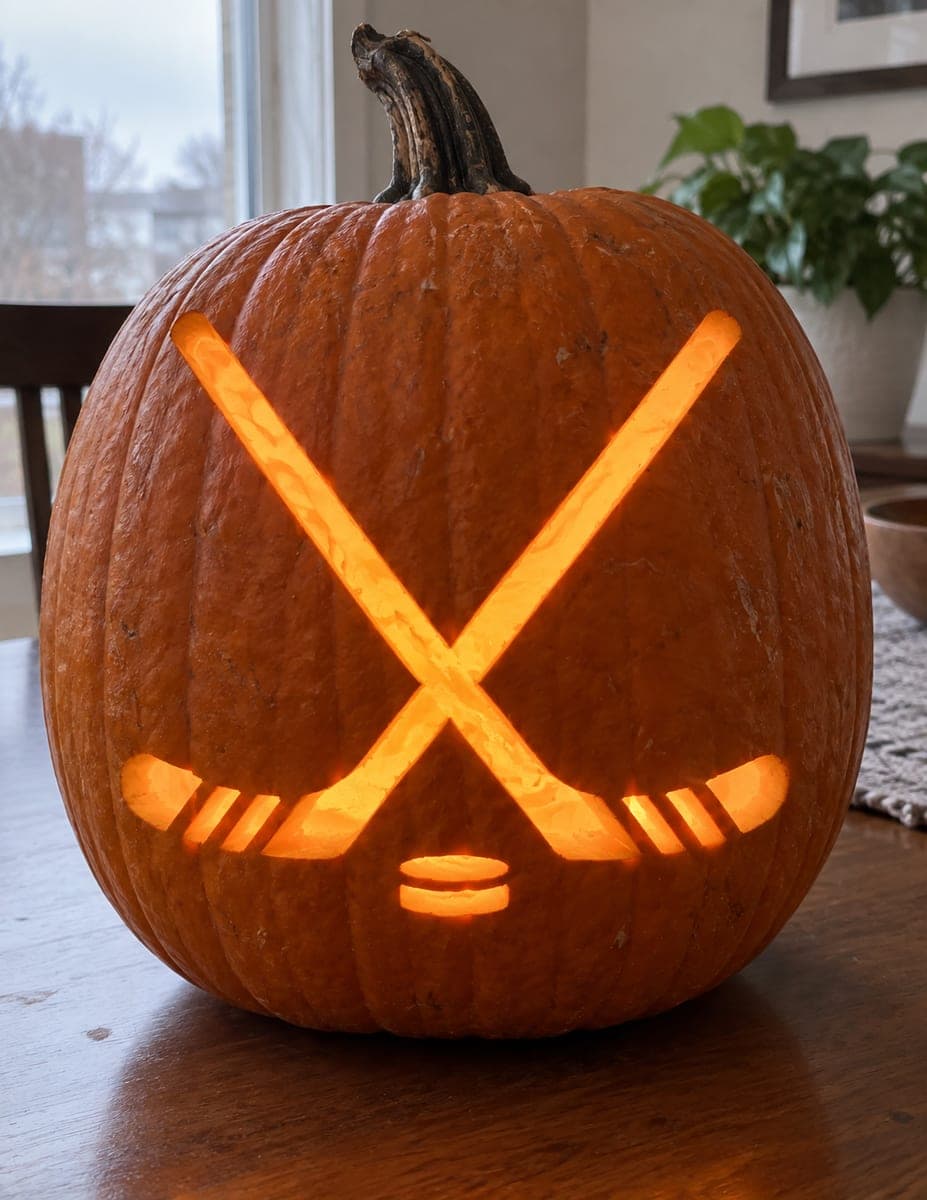
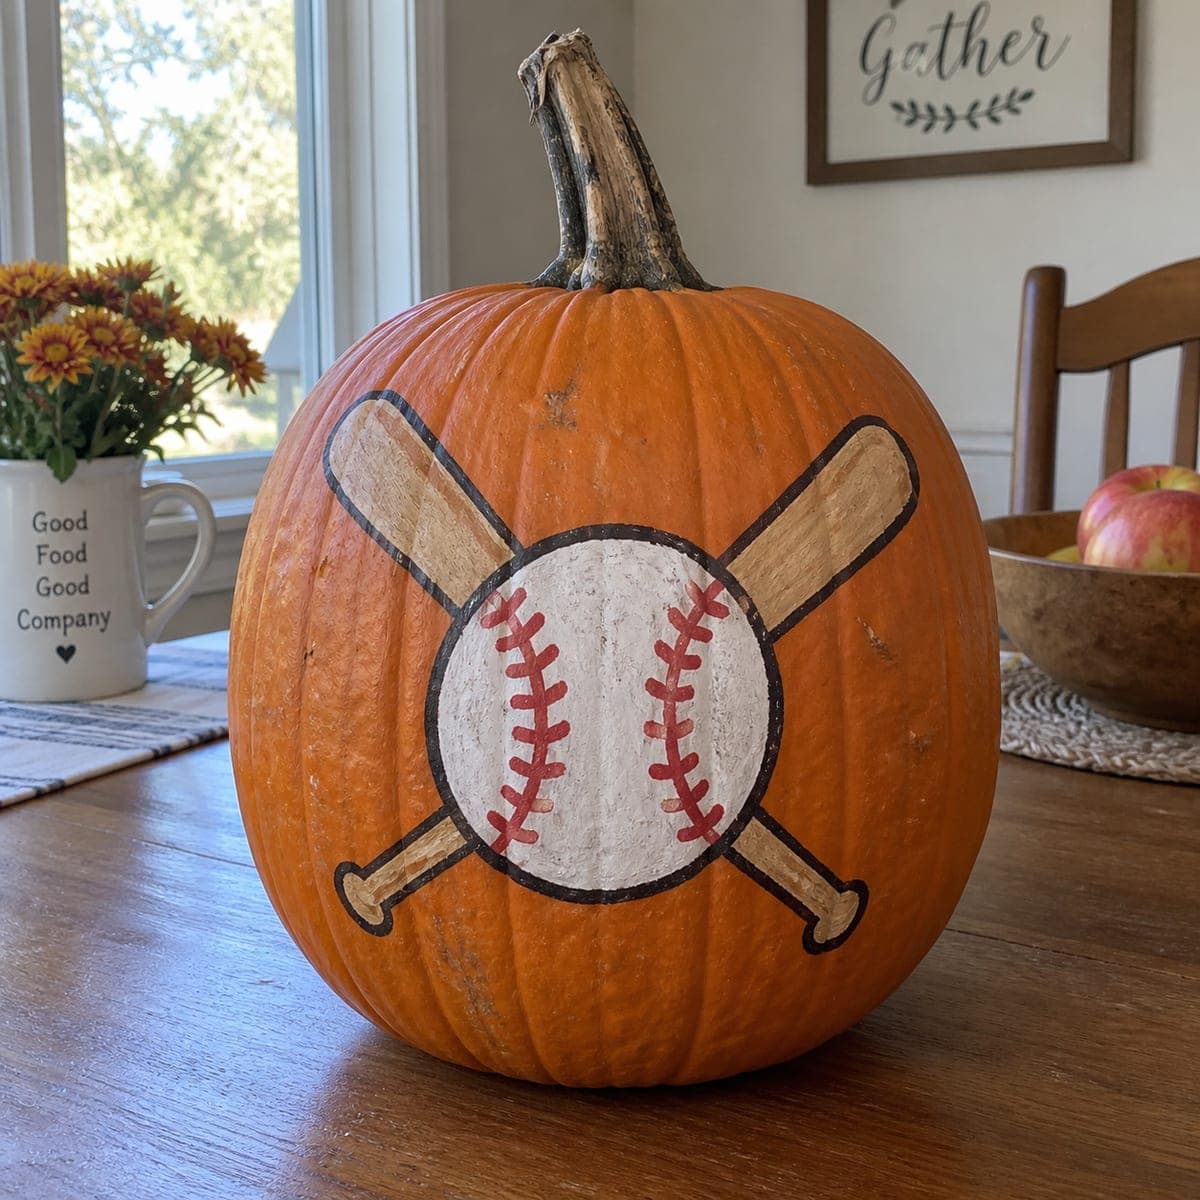
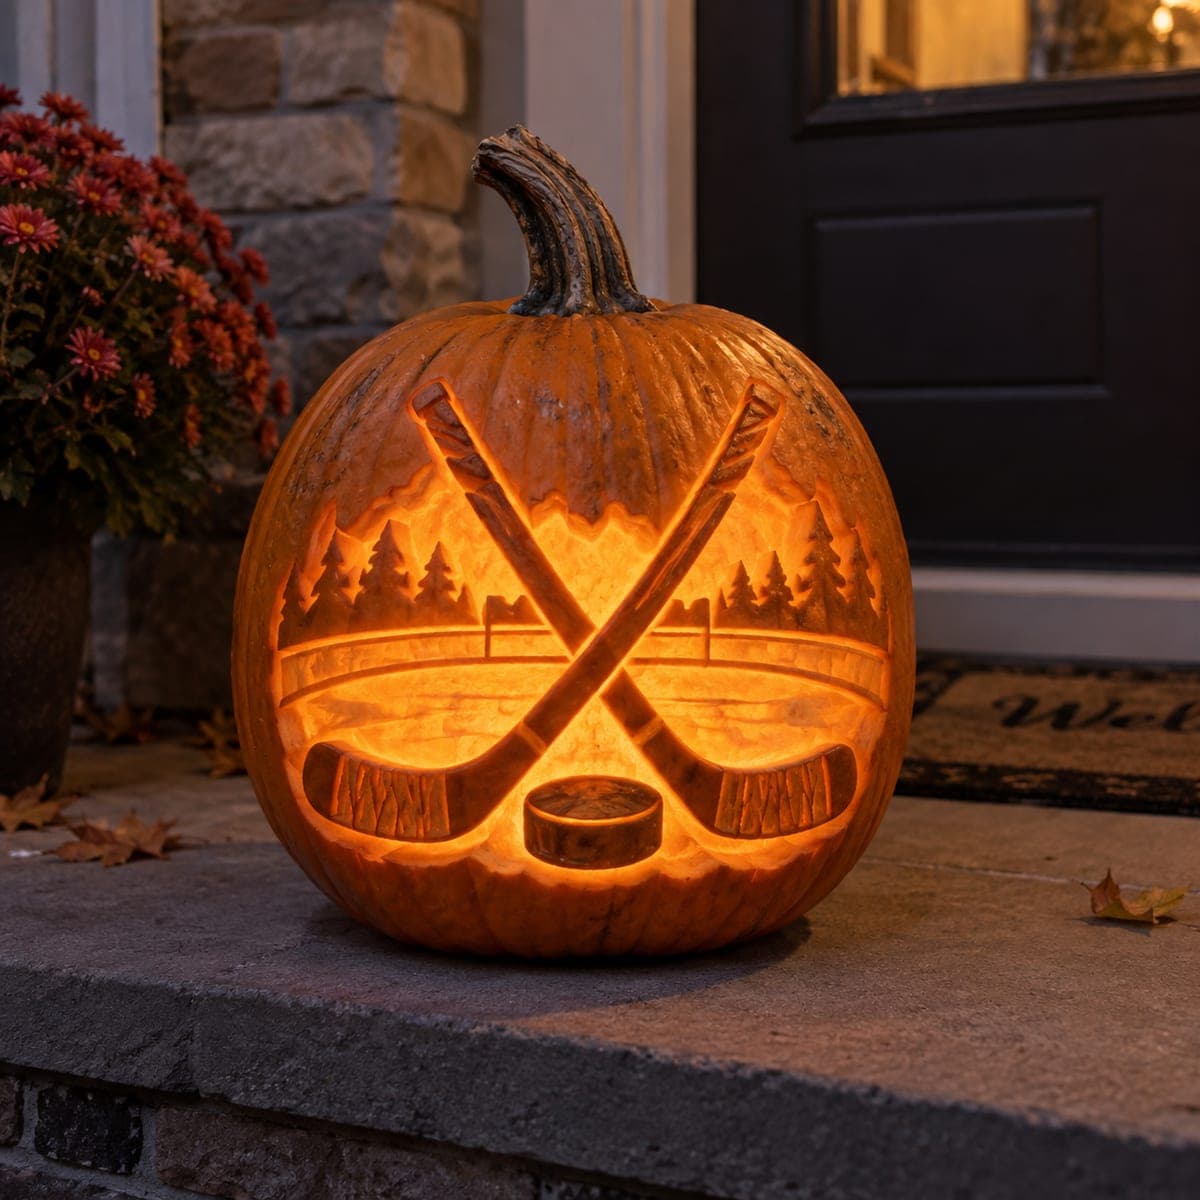
Two crossed hockey sticks and a puck turn a plain pumpkin into easy sports decor for a rink-loving household. The design is painted straight onto the uncut shell with black and white acrylic, so it lasts for weeks on a table or porch. Sketch the sticks in pencil first to get the X centered, then fill with two coats and add the tape stripes last.

This is an AI-generated concept image: a realistic, carvable design idea rather than a photo of a finished carve. AI concepts are always labeled and sit out the leaderboard and the contest.

No ratings yet Β· Sign in to rate

Comments (0)

  • No comments yet β€” be the first.

Save without an account. Sign in to like or comment.

Our tips for carving a similar design

The core trick here is a centered X, two hockey sticks crossing high on the face with a puck resting between the blades at the bottom. This concept was painted onto an uncut shell, but you can get the same bold look by peeling the skin for the sticks and cutting through only the tape stripes and puck highlights for glow. Sketch the X first so it stays balanced, then work the details around it.

Written by PumpkinCarvingIdeas.com, inspired by the image above. These are our suggestions, not instructions from the uploader. This approach to the AI concept has not been tested on a real pumpkin.

From pumpkin to porch

  1. Sketch the X and puck

    Wipe the pumpkin dry and draw both sticks in pencil so they cross a little above center. Keep the blades curving out toward the lower left and lower right, with a round puck sitting between them near the bottom. Step back and check that the X looks even before you commit. A washable marker over the pencil makes the lines easier to follow once you start cutting.

  2. Choose paint or carve

    For the fastest, longest-lasting version, fill the sticks and puck with black acrylic in two coats and add white tape stripes last, just like the concept image. If you want light to show, switch to carving by treating the black areas as shading and the white stripes and puck shine as cutouts. You can also mix both, painting the shafts and carving only the stripes.

  3. Peel the shaft and blades

    Using a lino or ribbon tool, skin off just the top layer of skin along each stick shaft and blade so they glow a soft orange. Peel slowly and keep the depth even, stopping at the pencil edges. Leave a thin border of untouched skin around each stick so the shapes stay crisp. Peeling instead of cutting keeps the long sticks strong and easy to control.

  4. Cut the tape stripes and puck

    With a small saw, cut fully through only the narrow tape bands near the top of each shaft and the highlight lines on the puck. Make each stripe a short, self-contained slot so no long cut weakens the shell. Save these openings for after the peeling is done, and cut the puck highlights last since they sit lowest. Push scraps out gently from the inside.

  5. Clean up and edge

    Trim any ragged edges with a paring knife so the stripes read as sharp rectangles. Bevel the inside of each cutout slightly, angling the cut wider toward the inside, to let more light spread. Brush away pulp and check the peeled areas for even thickness by holding a light behind them.

  6. Light it and photograph

    Set a battery LED puck light inside and set the brightness so the cut stripes pop without washing out the peeled sticks. Photograph in a dim room against a plain background so the crossed-stick shape stands out. Turn the pumpkin slightly until the X looks centered through the camera. If any stripe looks dim, nudge the light closer to that side.

Gather your supplies

Check things off as you get ready.

Work on a stable surface, keep your free hand out of the cutting path, and have an adult handle sharp tools.

Three levels of light

  • Leave intact

    The wide black stick shafts and the body of the puck stay as untouched skin for deep contrast.

  • Peel & shade

    The stick blades and shaft edges get skin-peeled so they glow a soft orange like worn wood.

  • Cut through

    The white tape stripes on each stick and the highlight lines on the puck cut through for the brightest accents.

Learn the carving basics

Before you start cutting

Should I paint it or carve it?

Painting is the easiest route and matches the concept exactly, giving you weeks of display with no glow needed. Carving takes more time but lets the design light up at night. You can also paint the shafts black and carve only the tape stripes for a bit of both.

How do I keep the two long sticks from weakening the pumpkin?

Peel the shafts and blades instead of cutting all the way through, which keeps the shell solid across the whole face. Only cut small, separate slots for the tape stripes and puck highlights. Because these openings are short and spaced apart, there is no long cut to crack.

How do I get the crossed X centered?

Draw a light vertical guideline down the center of the face first, then angle each stick out from a shared crossing point just above the middle. Sketch both sticks fully in pencil before any paint or cutting. Step back and view from a few feet away, adjusting until both sides look like mirror images.

Your take belongs here, too.

Changed a detail? Made it simpler? Share a photo of your version and tell the community what worked.

Share your pumpkin

More pumpkins like this

You've reached the end Β· 8 pumpkins
The Patch Report

Fresh pumpkins, in your inbox.

The best new carvings, ideas worth stealing, and how-tos for carving season. Short, seasonal, and gone by November.

A short email during carving season. Unsubscribe anytime. See our privacy policy.