Halloween Pumpkin Carving Contest · Starts October 1st · $500 in prizes
← Back to ideas
@ai_concepts
Sep 25, 2026
Crossed Hockey Sticks and Puck Glowing PumpkinAI
0

Report this carving

Tell us what is wrong. Reports are private.

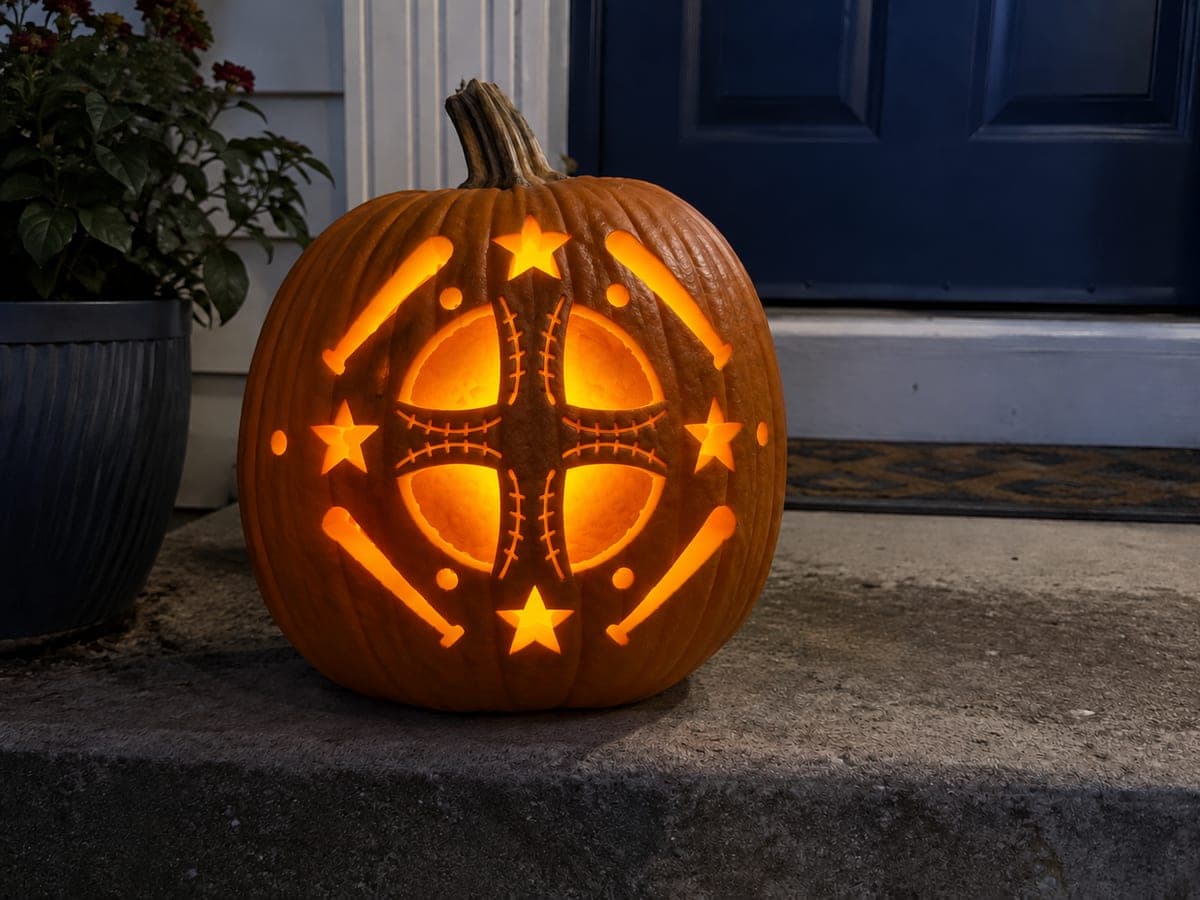
Crossed Hockey Sticks and Puck Glowing Pumpkin

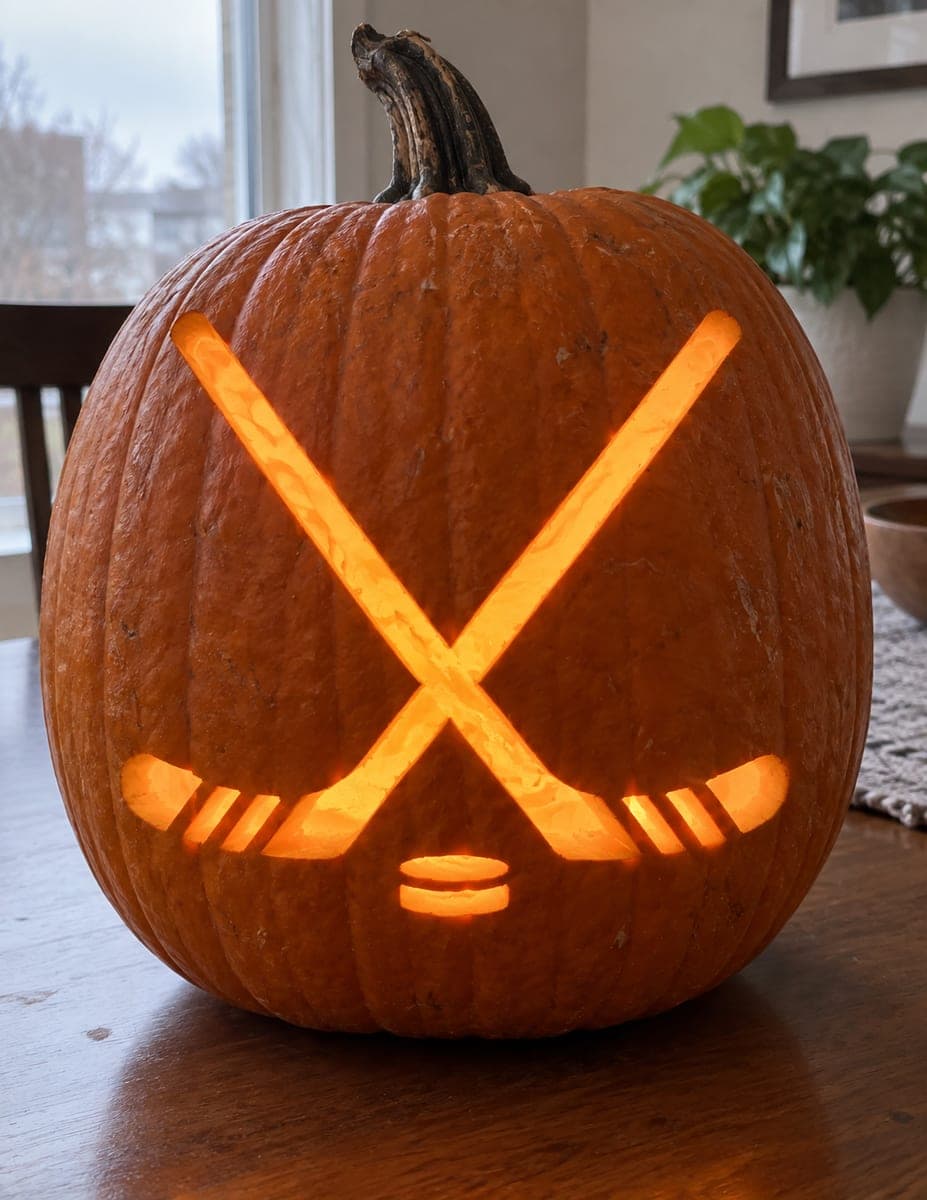
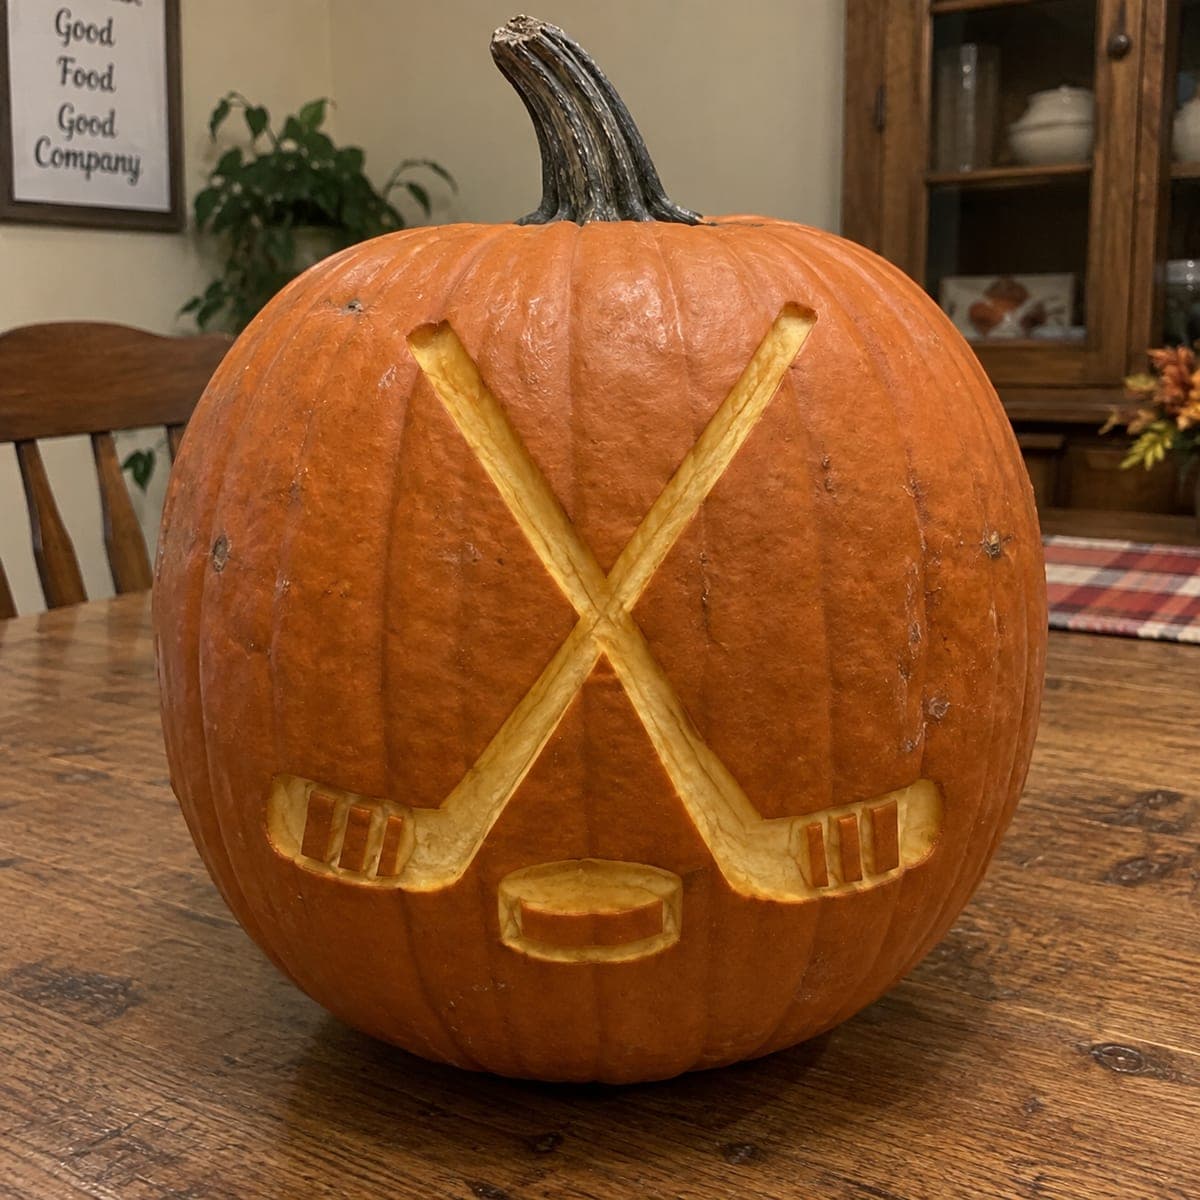
Two hockey sticks crossed at center ice with a puck below glow through this medium hockey pumpkin carving idea. The crossed-stick silhouette is one open shape, so the only separate cut is the oval puck aperture. Transfer both outlines with a pin tool before cutting, and start with the puck to practice your blade control. Small backed accent circles near the top add visual interest without risking structural integrity.

No ratings yet · Sign in to rate

Comments (0)

  • No comments yet — be the first.

Save without an account. Sign in to like or comment.

Our tips for carving a similar design

The whole crossed-stick composition is treated as a single open silhouette rather than two separate shapes, which keeps the structure simpler than it looks. The oval puck sits below as its own isolated aperture. Small backed circles near the top add texture without requiring through-cuts, so structural risk stays low.

From pumpkin to porch

  1. Prepare the pumpkin

    Cut an entry hole from the base and clean out the interior, scraping the inner wall to about three-quarters of an inch thickness in the carving area. A flat-sided pumpkin works best for this design since the crossed-stick silhouette needs a broad, fairly flat canvas to show its shape clearly.

  2. Transfer the design

    Print the crossed-stick template at a size that fills roughly two-thirds of the pumpkin face. Tape it in place and use a pin tool to prick the entire outline, including the puck oval below and the small accent circles above. Remove the template and connect the dots with a marker before cutting.

  3. Cut the crossed-stick silhouette

    Use a thin flexible blade and follow the outer edge of the crossed-stick shape in one continuous pass, working from the handle tips upward to the blade ends. The intersection point is the thinnest part of the design, so use short, controlled strokes there. Ease the cut-out free from inside with a skewer.

  4. Cut the puck aperture

    Move to the oval puck opening below the sticks and cut it cleanly with a round punch or narrow blade. Leave at least two finger-widths of rind between the puck and the bottom of the stick silhouette so both shapes read as distinct elements.

  5. Add the backed accent circles

    Use a small round gouge or the narrow end of a linoleum tool to scoop out the small accent circles near the top, leaving the shell intact. Remove only the outer skin and a thin layer of flesh so the circles glow with a softer, muted light compared to the full-cut sections.

  6. Light and display

    A cool-white LED works well with the crisp geometry of this design. Position the light toward the back of the cavity so both the open silhouette and the dimmer backed circles are lit evenly. Display on a bench or step where the full crossed-stick shape is visible from the front.

Written with AI to match this design

Gather your supplies

Check things off as you get ready.

Work on a stable surface, keep your free hand out of the cutting path, and have an adult handle sharp tools.

Three levels of light

  • Leave intact

    The solid rind around the sticks and puck stays dark, giving the silhouette strong contrast.

  • Peel & shade

    The small backed accent circles near the top glow at a lower intensity than the through-cuts.

  • Cut through

    The crossed-stick silhouette and the oval puck are cut fully through for full bright light.

Learn the carving basics

Before you start cutting

How do I keep the intersection of the two sticks from breaking?

The key is to treat the crossed shape as one silhouette, not two separate cuts, so the intersection is never isolated. Cut the entire outer perimeter without ever re-entering the middle. If the intersection area feels thin after carving, apply a thin bead of clear craft glue along the inner edge of the rind before inserting the light.

My oval puck looks more like a circle. Does that matter?

A slightly rounder puck is fine and still reads correctly in context with the sticks above it. If you want a truer oval, mark the long axis about thirty percent wider than the short axis before cutting, using a flexible ruler or a bent piece of card as a guide. The difference is subtle at viewing distance.

How are the backed accent circles different from the main cutouts when lit?

Backed circles have the outer orange skin and some flesh removed but the inner shell left intact, so light passes through a thinner layer rather than open air. They glow with a warm amber tone against the brighter white of the through-cut shapes, adding depth to the design without the structural risk of full cuts.

Your take belongs here, too.

Changed a detail? Made it simpler? Share a photo of your version and tell the community what worked.

Share your pumpkin

More pumpkins like this

You've reached the end · 8 pumpkins
The Patch Report

Fresh pumpkins, in your inbox.

The best new carvings, ideas worth stealing, and how-tos for carving season. Short, seasonal, and gone by November.

A short email during carving season. Unsubscribe anytime. See our privacy policy.