Halloween Pumpkin Carving Contest · Starts October 1st · $500 in prizes
← Back to ideas
@ai_concepts
Sep 25, 2026
Easy Deadpool Mask Jack-O-Lantern for BeginnersAI
0

Report this carving

Tell us what is wrong. Reports are private.

Easy Deadpool Mask Jack-O-Lantern for Beginners

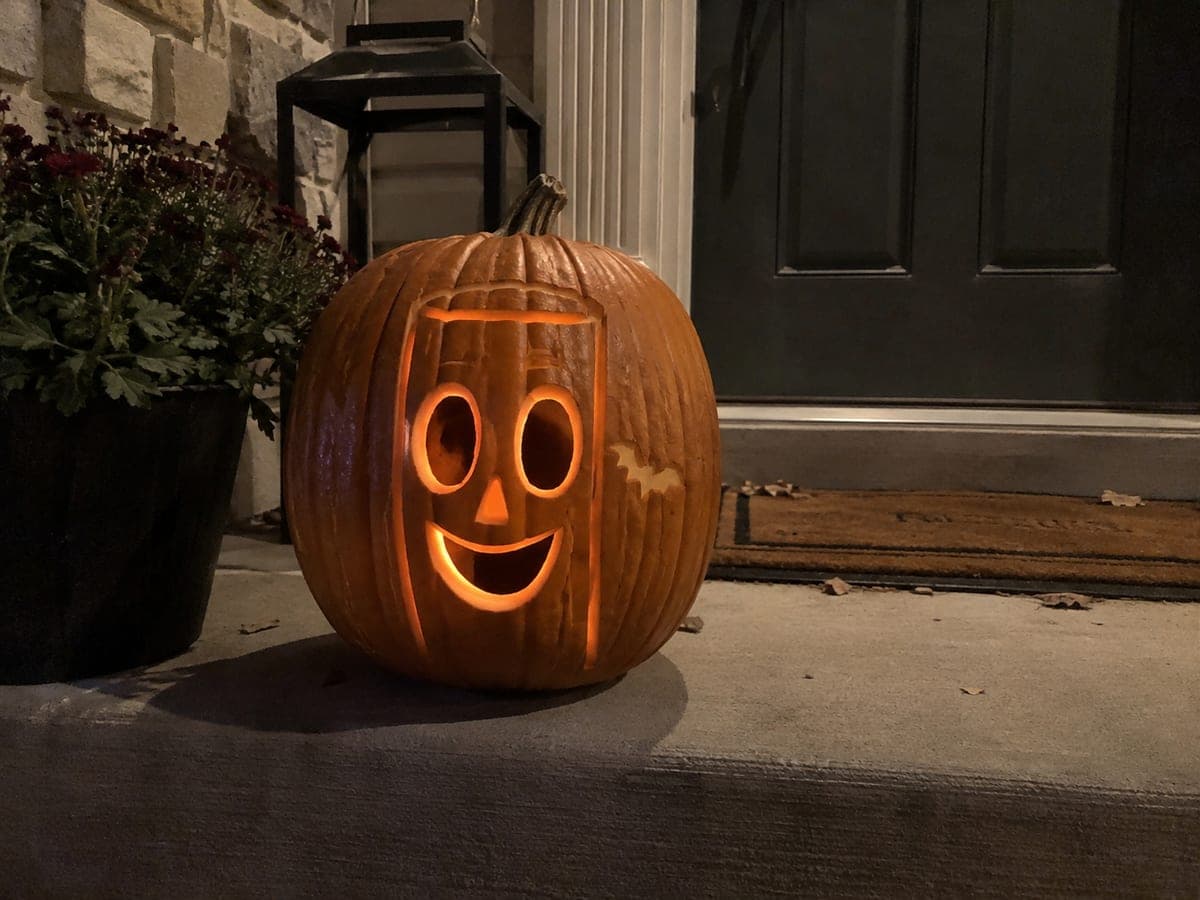
Two broad almond eye holes and a short forehead channel are all it takes to capture Deadpool's iconic mask on this easy pumpkin carving idea. Cut the eye slots first since they anchor the spacing for everything else, then add the curved side patch openings. Keeping the shapes simple and thick-walled means even beginners can finish this in under an hour. A single tea light makes the glowing eye slots pop in the dark.

No ratings yet · Sign in to rate

Comments (0)

  • No comments yet — be the first.

Save without an account. Sign in to like or comment.

Our tips for carving a similar design

Deadpool's mask reduces to a minimal set of cuts: two broad almond-shaped eye holes, a short forehead channel, and two curved side mask-patch openings. Because every cut is an open shape with no inner floating pieces, beginners can complete this design in under an hour. Cutting the eye slots first establishes the correct spacing and sets the proportion guide for every other element that follows.

From pumpkin to porch

  1. Prepare the pumpkin

    Select a round pumpkin with a broadly smooth front face. Hollow from the base and scrape the interior wall to about 1 inch of rind thickness. Simple designs like this one glow best when the wall is uniform so there are no bright or dark patches across the eye openings. Dry the interior before transferring the stencil.

  2. Transfer the eye slots first

    Tape the stencil to the pumpkin face and pin-tool the two almond eye shapes. Transfer the remaining cuts too, but the eye shapes are the most important marks to get right. Remove the stencil, connect the dots for the eye outlines clearly, and confirm both almonds are the same size and symmetric height before cutting.

  3. Cut both eye holes

    Use a detail blade to cut the pointed ends of each almond and a thin serrated knife for the longer curved edges. Cut around the full perimeter of each eye before pushing the piece free. The thick bridge of rind between the two eyes is a key structural element, so make absolutely sure neither cut runs through it.

  4. Cut the forehead channel

    The short central forehead channel sits above and between the eye holes. This is a simple slot cut that can be made with a detail blade alone. Score the top and bottom edges before cutting through to avoid tearing the rind at the narrow ends of the slot.

  5. Cut the curved side mask patches

    The two curved side openings frame the outer edges of the mask. Cut these with a detail blade using the same score-before-cut-through technique. These are separate from the eye holes with a solid rind panel between them, so work carefully to avoid accidentally merging the two openings.

  6. Light and display

    Insert an LED tea light inside and seal the bottom. The glowing eye slots are the star of the show, so display at roughly eye level where they will catch the most attention. Rub cut edges with petroleum jelly to slow drying. A single tea light or LED disc gives plenty of light through such a clean, simple set of openings.

Written with AI to match this design

Gather your supplies

Check things off as you get ready.

Work on a stable surface, keep your free hand out of the cutting path, and have an adult handle sharp tools.

Three levels of light

  • Leave intact

    The main red mask rind panels and forehead area between the eye slots stay dark.

  • Peel & shade

    None, this design is all through-cuts with no shallow-backed sections.

  • Cut through

    Both almond eye holes, the forehead channel, and the two curved side patches glow fully through.

Learn the carving basics

Before you start cutting

The almond shapes look more like circles after cutting. How do I keep the pointed ends sharp?

Use a detail blade rather than a serrated knife for the pointed ends of each almond. Score the point direction first with a single light stroke before cutting to full depth. The key is meeting the two curve cuts at a clean intersection at the point rather than overshooting and rounding it off. Slow down significantly at both ends of each almond.

Can kids help carve this design?

The overall design is simple enough that children can do the layout and transfer steps. Adults should handle all cutting since even this straightforward design requires a sharp blade and controlled pressure. Older teenagers with previous carving experience can attempt the cutting under close adult supervision.

The eye slots look uneven from a step back. Can I fix this after cutting?

You can widen a cut opening slightly by trimming more rind from one edge, but you cannot add rind back once it is removed. Assess the unevenness from two meters away to see if it actually bothers you, since small imperfections read less clearly at viewing distance than when you are close to the surface. If one eye is genuinely much larger, widening the smaller one to match is usually the cleanest fix.

Your take belongs here, too.

Changed a detail? Made it simpler? Share a photo of your version and tell the community what worked.

Share your pumpkin

More pumpkins like this

You've reached the end · 8 pumpkins
The Patch Report

Fresh pumpkins, in your inbox.

The best new carvings, ideas worth stealing, and how-tos for carving season. Short, seasonal, and gone by November.

A short email during carving season. Unsubscribe anytime. See our privacy policy.