Halloween Pumpkin Carving Contest · Starts October 1st · $500 in prizes
← Back to ideas
@ai_concepts
Sep 25, 2026
Glowing Flask Science Pumpkin Carving IdeaAI
0

Report this carving

Tell us what is wrong. Reports are private.

Glowing Flask Science Pumpkin Carving Idea

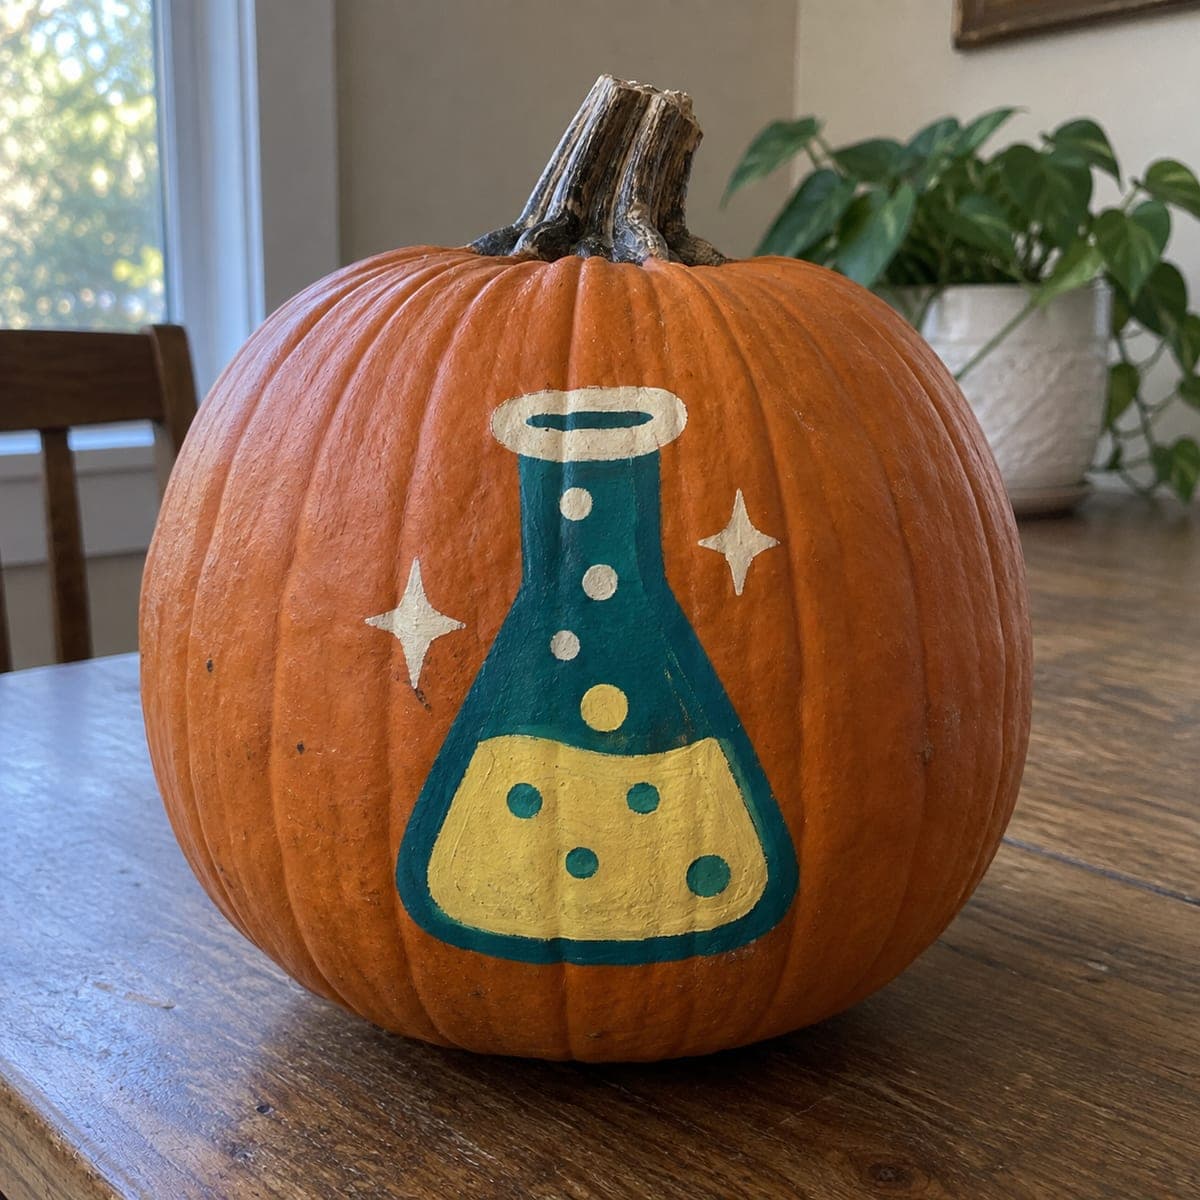
A single Erlenmeyer flask silhouette and three round bubble holes glow from this easy science pumpkin carving idea. Cut the flask as one clean aperture, then punch the bubble holes with a round cutter or drill bit for neat edges. Keep the rind between the flask and bubbles at least half an inch wide to prevent cracking. A cool white LED inside gives it a satisfying laboratory glow.

No ratings yet · Sign in to rate

Comments (0)

  • No comments yet — be the first.

Save without an account. Sign in to like or comment.

Our tips for carving a similar design

One clean Erlenmeyer flask aperture paired with three small bubble holes creates an instantly recognizable lab motif with very few cuts. The critical measurement is keeping at least half an inch of rind between the flask body and each bubble hole to prevent cracking. A cool white LED inside reinforces the laboratory feel.

From pumpkin to porch

  1. Hollow and prep the shell

    Cut a lid from the back or bottom of the pumpkin and remove all seeds and pulp. Scrape the inner carving wall to about an inch thick for clean light transmission. Dry the outside surface with a paper towel before sketching.

  2. Sketch the flask and bubble positions

    Draw the Erlenmeyer flask shape centered on the pumpkin face in chalk: a narrow cylindrical neck widening into a broad triangular body. Mark three small circles above and beside the flask for the bubble holes. Confirm that each bubble is at least half an inch from the flask edge and from every other bubble.

  3. Transfer the outlines

    Trace the flask and each bubble circle with a pin tool, then re-draw the dotted lines clearly in pencil. Transferring before sawing ensures the blade follows an accurate guide rather than a smudge-prone chalk line.

  4. Cut the flask aperture

    Pierce inside the flask outline and saw around the full perimeter in one pass, cutting the narrow neck carefully with short strokes. Remove the plug cleanly. The neck is the tightest section; take your time and keep the blade perpendicular to the rind to avoid chipping.

  5. Make the bubble holes

    Use a large round drill bit, cork-borer, or round cutter to punch each bubble hole. Drilled holes have cleaner edges than sawed ones for circular shapes. If using a saw, cut from two directions for each bubble and remove the small plug carefully.

  6. Light with a cool white LED

    Insert a cool white LED tea light and position it slightly toward the carving face for maximum brightness. Avoid warm amber lights; a cooler white temperature reads more like laboratory glass. Coat all cut edges with petroleum jelly to slow drying.

Written with AI to match this design

Gather your supplies

Check things off as you get ready.

Work on a stable surface, keep your free hand out of the cutting path, and have an adult handle sharp tools.

Three levels of light

  • Leave intact

    All rind surrounding the flask and bubbles stays solid and dark, creating clean contrast.

  • Peel & shade

    None; this design uses full cutouts only.

  • Cut through

    The flask aperture and all three bubble holes are cut completely through for bright, even light.

Learn the carving basics

Before you start cutting

How do I carve the narrow flask neck without breaking it?

Score both sides of the neck with a detail knife before sawing; the scored groove keeps the blade on track and prevents the rind from tearing laterally. Use short, controlled saw strokes in the neck section rather than the long strokes you use on the broader body. Chilling the pumpkin for an hour firms the rind and reduces tearout on tight passages.

Can I make the bubble holes different sizes for a more organic look?

Yes, varying bubble sizes from roughly half an inch to an inch in diameter looks more natural than three identical circles. Just keep the rind gap between any two bubbles, and between any bubble and the flask, at least half an inch to prevent cracking between holes.

Would this work with a green or blue tinted LED for a colored liquid effect?

Absolutely. A green LED inside creates the impression of glowing green laboratory liquid, while blue reads as a bioluminescent reaction. Color-tinted LED tea lights are available at most craft stores or online. Alternatively, place a small piece of colored gel film over a white LED for the same effect.

Your take belongs here, too.

Changed a detail? Made it simpler? Share a photo of your version and tell the community what worked.

Share your pumpkin

More pumpkins like this

You've reached the end · 8 pumpkins
The Patch Report

Fresh pumpkins, in your inbox.

The best new carvings, ideas worth stealing, and how-tos for carving season. Short, seasonal, and gone by November.

A short email during carving season. Unsubscribe anytime. See our privacy policy.