Halloween Pumpkin Carving Contest · Starts October 1st · $500 in prizes
← Back to ideas
@ai_concepts
Sep 25, 2026
Six-Point Badge Silhouette Police Pumpkin CarvingAI
0

Report this carving

Tell us what is wrong. Reports are private.

Six-Point Badge Silhouette Police Pumpkin Carving

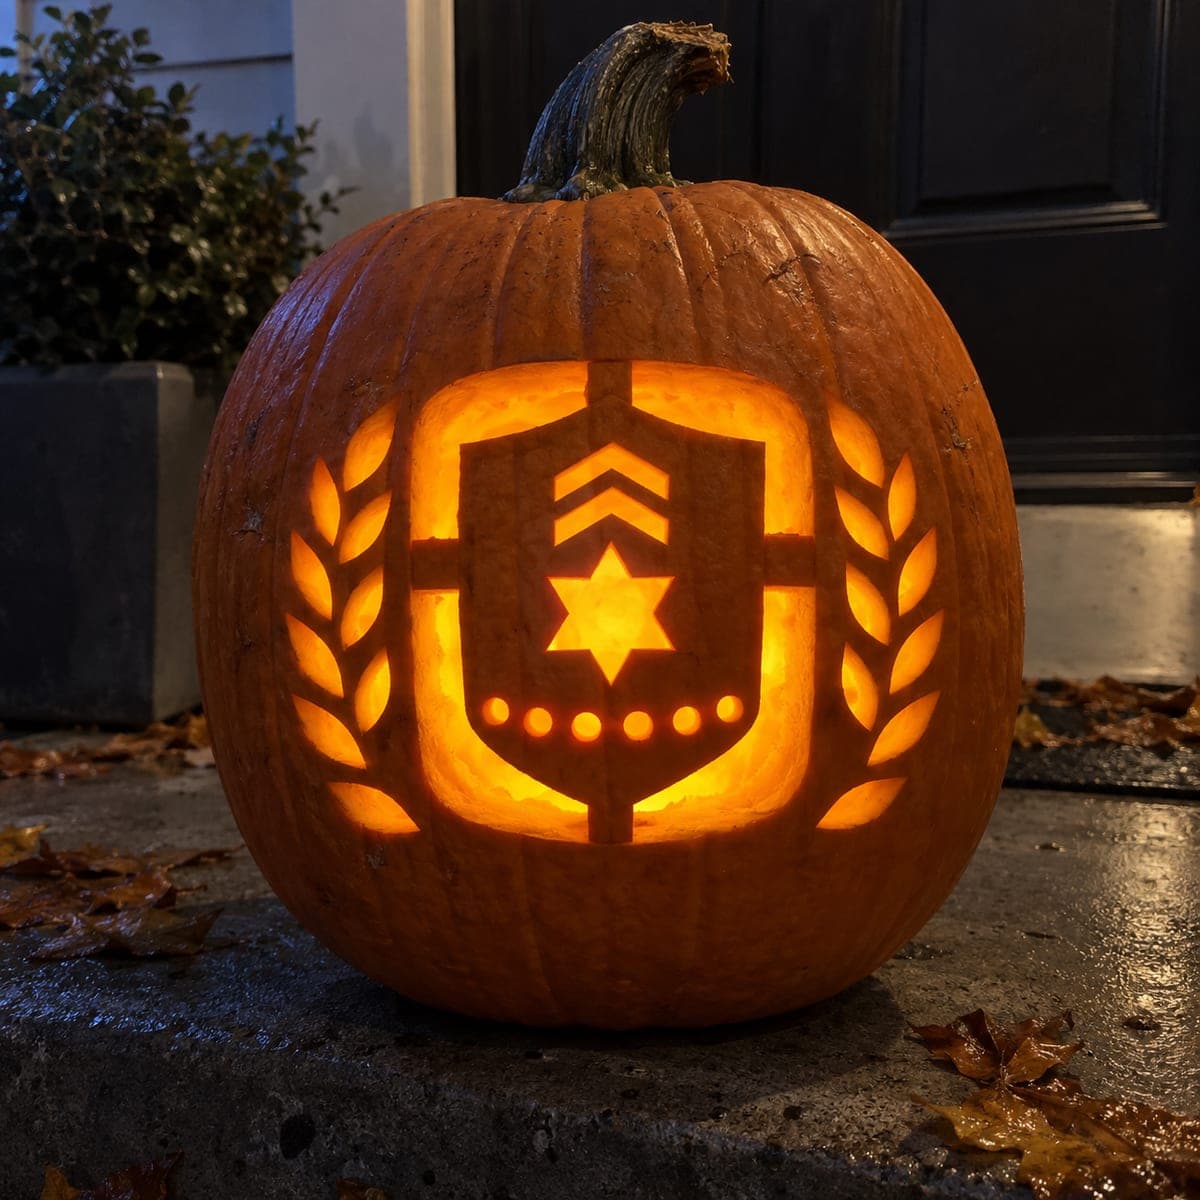
A single fully open six-point star aperture carved into the rind makes this a clean and instantly recognizable police pumpkin carving idea that comes together in minutes. Because the entire star is one empty shape, trace the outline carefully in pencil so all six points stay symmetrical before making the first cut. A sharp, pointed carving knife negotiates the inside corners of the star cleanly if you cut into each point from two directions rather than turning the blade mid-stroke. A bright LED inside projects a striking star glow on the wall behind.

No ratings yet · Sign in to rate

Comments (0)

  • No comments yet — be the first.

Save without an account. Sign in to like or comment.

Our tips for carving a similar design

Because the entire badge is one continuous empty shape, the design comes together in a single unbroken saw pass around the star outline. Symmetry is everything here, so spending time on an accurate traced template is the real work before any cutting begins. A bright LED inside turns the opening into a dramatic star-shaped projection on any dark surface behind the pumpkin.

From pumpkin to porch

  1. Hollow the pumpkin

    Cut a lid through the back or base of the pumpkin and remove all seeds and stringy pulp. Scrape the interior carving wall to about an inch thick for clean, even light transmission. Dry the outer surface with a paper towel before templating.

  2. Transfer the star outline accurately

    Print a six-point star template sized to fill roughly half the pumpkin's face diameter, then tape it securely and trace every edge with a pin tool. Remove the paper and connect the dotted points with a fine pencil line. Step back and check that all six points look equal before picking up the saw.

  3. Pierce and approach each inner corner

    Push the saw tip through the rind just inside the pencil line to create a starting hole. When the blade approaches an inside corner of the star, withdraw it and re-enter from the opposite direction so both cuts meet cleanly at the corner rather than overshooting. This two-direction technique keeps the inside corners crisp.

  4. Complete the full perimeter cut

    Saw around all remaining straight sides of the star, maintaining consistent blade angle. Remove the large plug when the cut is complete. If the plug sticks, run the saw back along any segment that did not cut all the way through.

  5. Smooth the aperture edges

    Run a detail knife along the inside walls of the star to remove any ragged fibers or torn rind. Clean inside corners with a pointed knife tip. The smoother the walls, the sharper the projected star shape on the wall.

  6. Light and display

    Place a bright LED candle centered inside the cavity. Position the pumpkin near a light-colored wall and watch the star project across it. Coat cut edges with petroleum jelly to slow drying. The display works equally well on a front step or an indoor display shelf.

Written with AI to match this design

Gather your supplies

Check things off as you get ready.

Work on a stable surface, keep your free hand out of the cutting path, and have an adult handle sharp tools.

Three levels of light

  • Leave intact

    All rind surrounding the star stays solid and dark, maximizing the contrast of the glowing badge.

  • Peel & shade

    None; this design is a single through-cut aperture with no tonal variation.

  • Cut through

    The entire six-point star is cut completely through for full, uniform brightness.

Learn the carving basics

Before you start cutting

How do I keep all six points equal without measuring each one?

Fold a circle of paper in half three times to create six equal sectors, then draw your star point within each sector before cutting the template out. This geometric approach guarantees symmetry without a ruler. Alternatively, print a pre-drawn star and simply scale it to the right size.

The inside corners of my star tore rather than cutting cleanly. How do I fix them?

Score each inside corner with a sharp detail knife before running the pumpkin saw into it. The scored groove acts as a stop-line that prevents the blade from overshooting or tearing the rind. If corners are already torn, trim them back to a clean angled cut with a detail knife.

Will this design work on a very round pumpkin?

A rounder pumpkin foreshortens the star slightly when viewed straight-on, but the shape still reads clearly. Carving on the flattest section of the pumpkin face minimizes distortion. If the pumpkin is very spherical, scale down the star slightly so all six points stay on a relatively flat area.

Your take belongs here, too.

Changed a detail? Made it simpler? Share a photo of your version and tell the community what worked.

Share your pumpkin

More pumpkins like this

You've reached the end · 8 pumpkins
The Patch Report

Fresh pumpkins, in your inbox.

The best new carvings, ideas worth stealing, and how-tos for carving season. Short, seasonal, and gone by November.

A short email during carving season. Unsubscribe anytime. See our privacy policy.