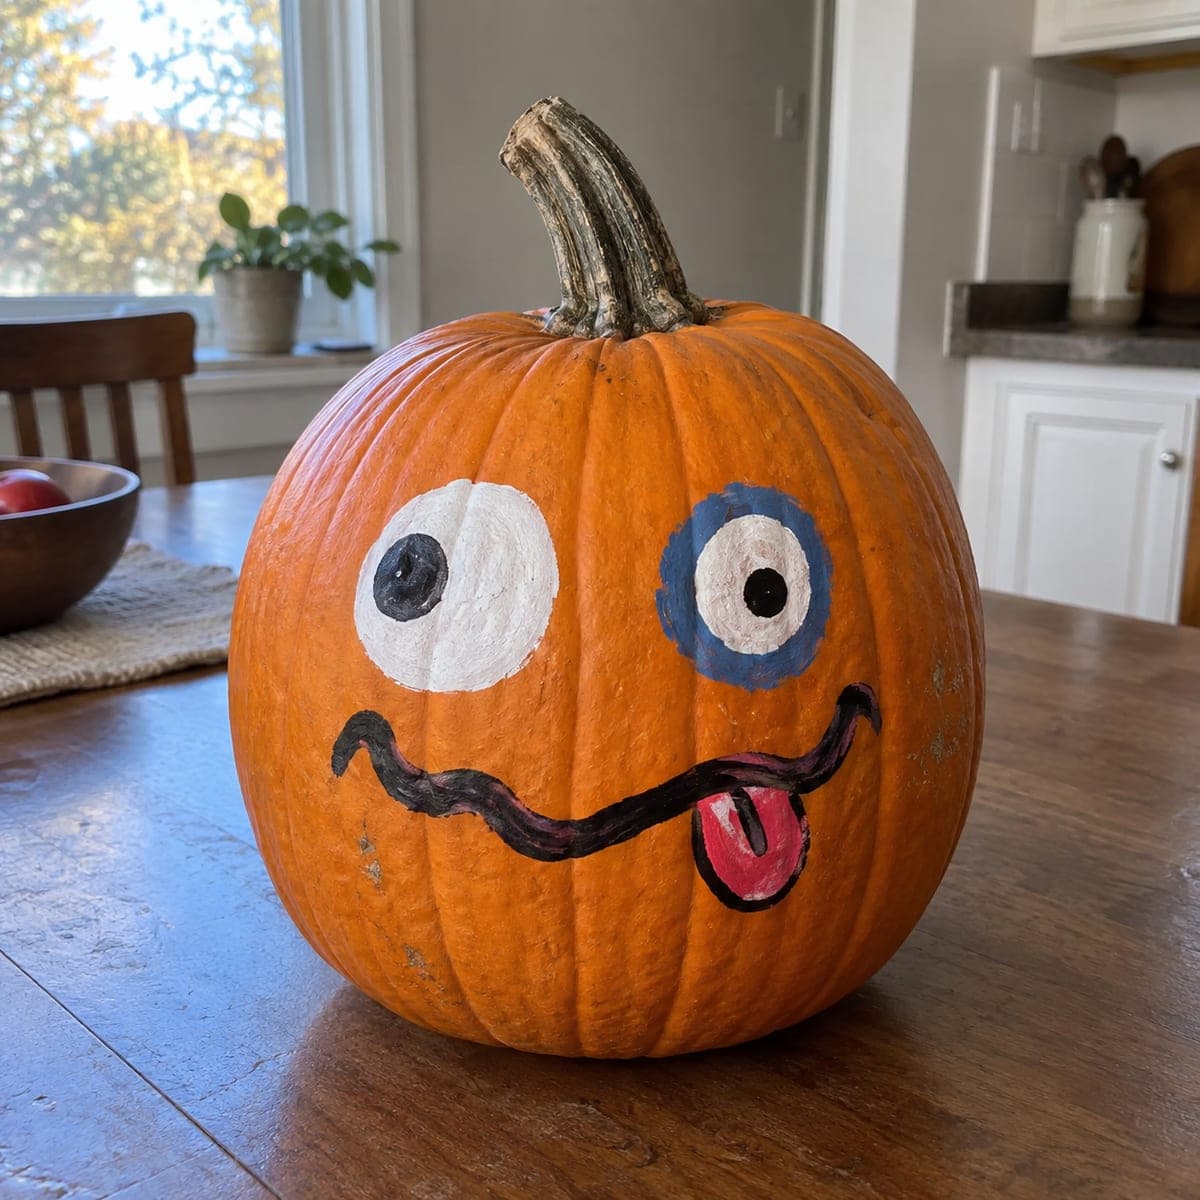
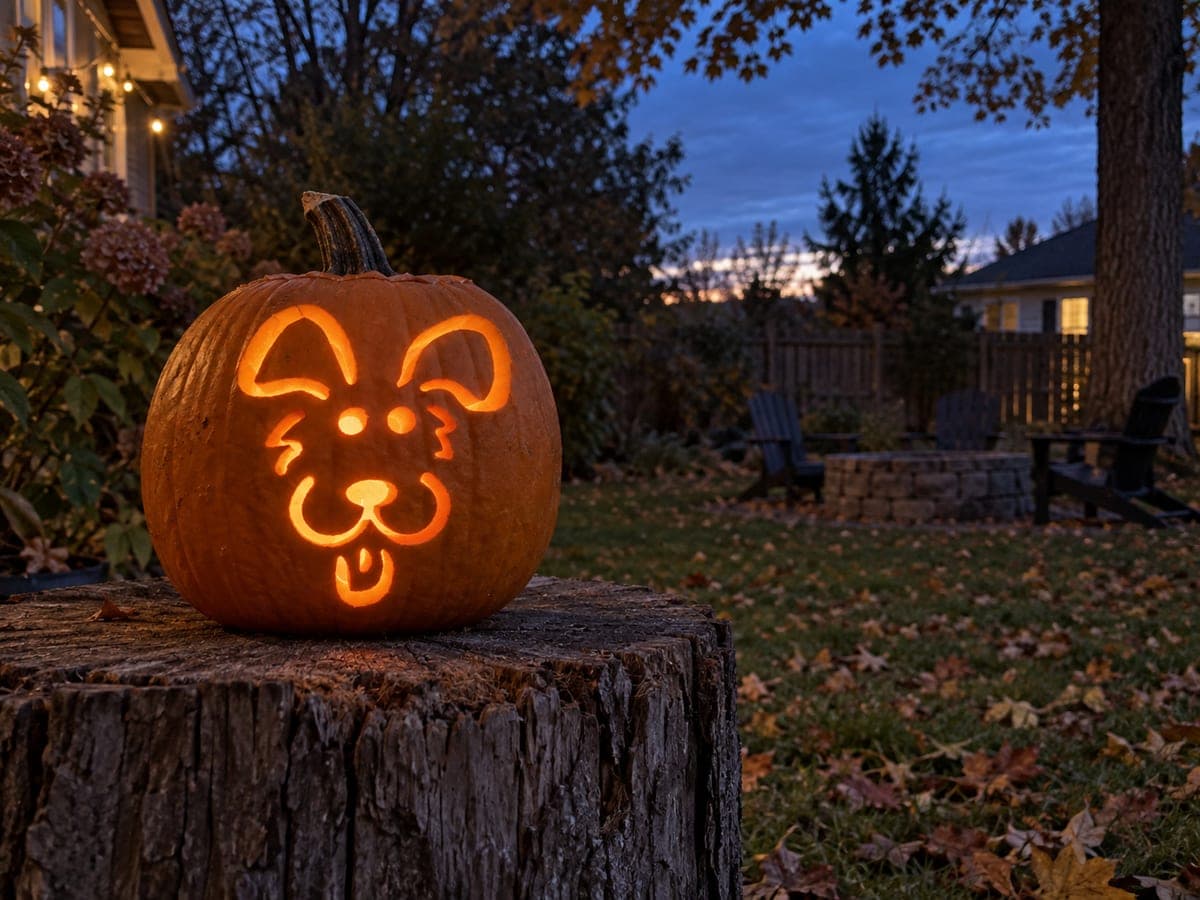
Mismatched googly eyes, a wobbly grin, and a lolling pink tongue make this painted pumpkin face pure silliness, no knives required. Kids can do most of it themselves with a small brush and four paint colors. Paint the white eye circles first, let them dry, then add the pupils and the loose squiggle of a mouth, finishing with the tongue in pink and red.
This is an AI-generated concept image: a realistic, carvable design idea rather than a photo of a finished carve. AI concepts are always labeled and sit out the leaderboard and the contest.
The whole trick here is mismatched googly eyes and a loose, wobbly grin painted on rather than carved, so nobody needs a blade. Block in the two white eye shapes first, one plain and one ringed in blue, then add off-center pupils, a squiggly mouth, and a lolling pink tongue. Because it is all surface paint, the pumpkin stays whole and can be reused as long as the skin holds.
Written by PumpkinCarvingIdeas.com, inspired by the image above. These are our suggestions, not instructions from the uploader. This approach to the AI concept has not been tested on a real pumpkin.
From pumpkin to porch
1
Wash and dry the pumpkin
Wipe the whole pumpkin with a damp cloth to remove dust and field dirt, then dry it fully. Paint grips much better on a clean, dry surface. Pick the flattest, smoothest face for the design and turn the stem slightly to frame it. Set the pumpkin on a towel so it will not roll while you work.
2
Sketch the face lightly
Use a pencil or a washable marker to rough in two circles for the eyes, one a bit higher than the other for the cross-eyed look. Draw a long wavy line for the mouth and a rounded tongue hanging off the lower right. Keep the lines loose and cartoonish since neatness is not the goal here. Step back and check the spacing before you commit to paint.
3
Paint the white eyes first
Fill both eye circles with white acrylic paint using a small round brush. Add a blue ring around one eye now while the white is still your base, or wait until it dries for a cleaner edge. Let the white dry completely, at least twenty to thirty minutes, before adding anything on top. Rushing this step will smear gray into your pupils later.
4
Add pupils and the grin
Once the whites are dry, paint a large off-center black pupil in one eye and a small black dot in the other to sell the goofy stare. Then paint the wavy mouth in black, keeping the line loose and uneven. A liner brush or a fine detail brush makes the thin curves easier. Let these dark lines dry before the tongue so colors do not bleed together.
5
Finish the tongue in pink and red
Paint the tongue shape in bright pink, then add a red center line and outline for depth. A tiny white dab near the top adds a wet shine. Let everything cure fully, then erase any pencil lines still peeking out. Seal with a clear acrylic spray if you want the paint to last outdoors.
6
Style and photograph
Set the finished pumpkin on a table or porch step with soft, even light for the best photo. Angle the silly face slightly toward the camera so both eyes and the tongue read clearly. Because this is a paint design, you can display it indoors without any candle or light inside. Snap your picture in daylight to keep the colors bright.
Gather your supplies
Check things off as you get ready.
Work on a stable surface, keep your free hand out of the cutting path, and have an adult handle sharp tools.
Three levels of light
Leave intact
Almost the entire pumpkin stays untouched orange, since this is a painted face with no cutouts.
Peel & shade
No skin is peeled here, though you could lightly scrape a thin halo around the eyes if you later want a soft glow.
Cut through
Nothing is cut through on this no-carve design, so there are no bright openings; it is meant to be seen by daylight or room light.
No, this is a fully painted design with no carving required. The pumpkin stays whole, which also means it does not rot as fast as a carved one. That makes it a great option for young kids and classrooms.
What paint works best and will it last?
Acrylic craft paint gives bright, opaque color and dries quickly, which matters since you layer pupils over white. Let each color dry before adding the next to avoid muddy edges. A light coat of clear acrylic sealer helps the face survive a few days outdoors.
How do I get the cross-eyed googly look right?
Make the two eyes different sizes and place their pupils off-center, pointing slightly toward each other. Ringing just one eye in blue adds to the mismatched effect. Keeping the pupils uneven is exactly what sells the silliness, so do not aim for symmetry.
Your take belongs here, too.
Changed a detail? Made it simpler? Share a photo of your version and tell the community what worked.
 AI
AI


Comments (0)