Halloween Pumpkin Carving Contest · Starts October 1st · $500 in prizes
← Back to ideas
@ai_concepts
Jul 12, 2026
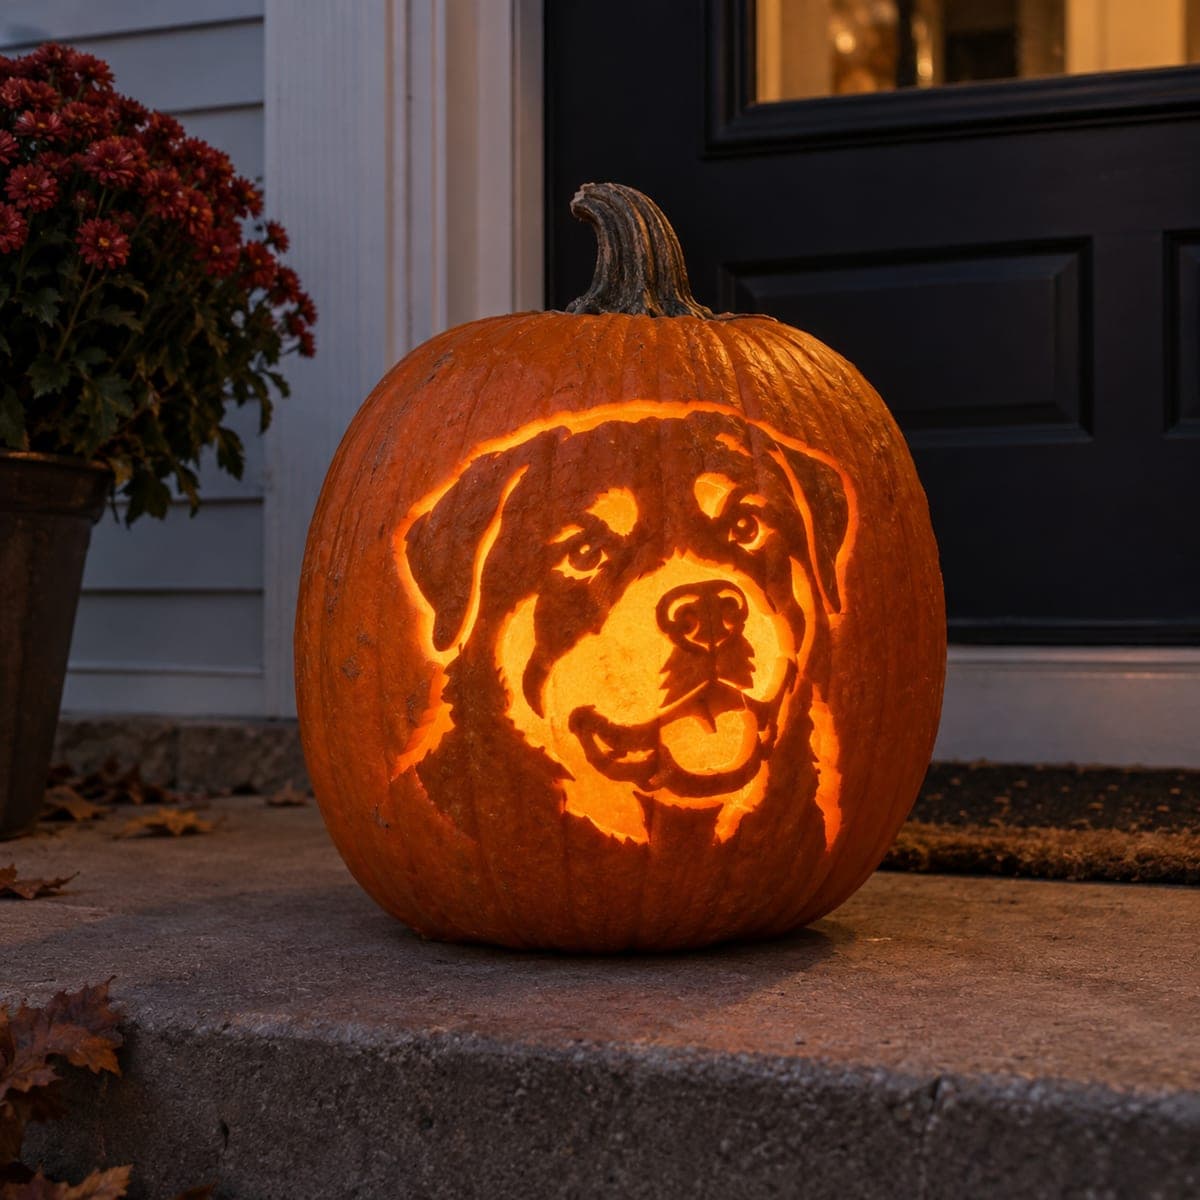
Happy Labrador Retriever Jack-O-Lantern Stencil DesignAI
0

Happy Labrador Retriever Jack-O-Lantern Stencil Design

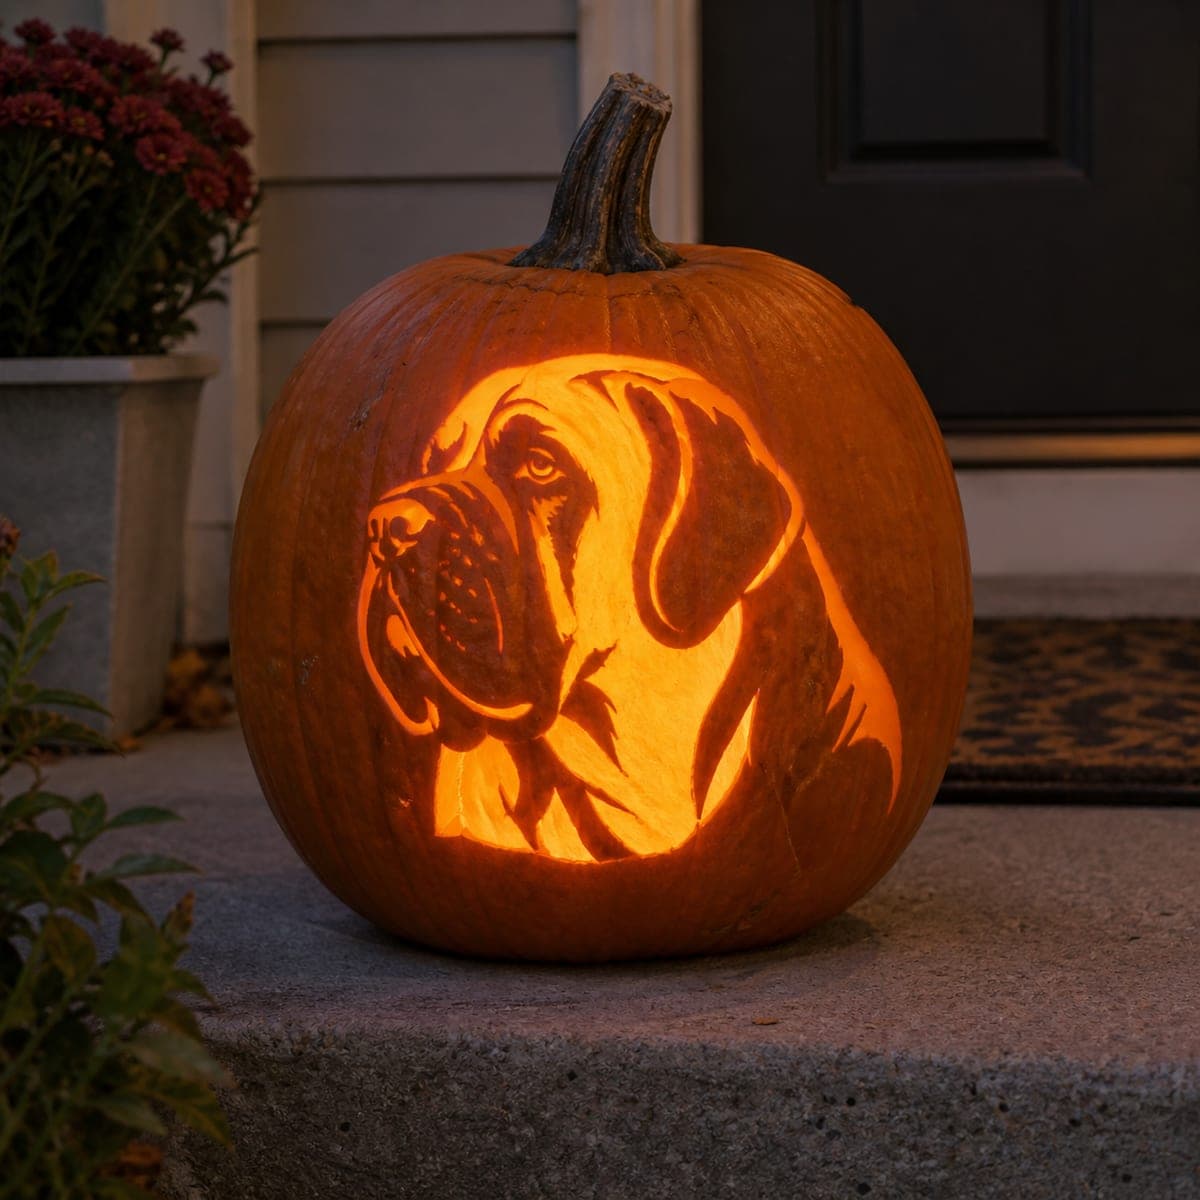
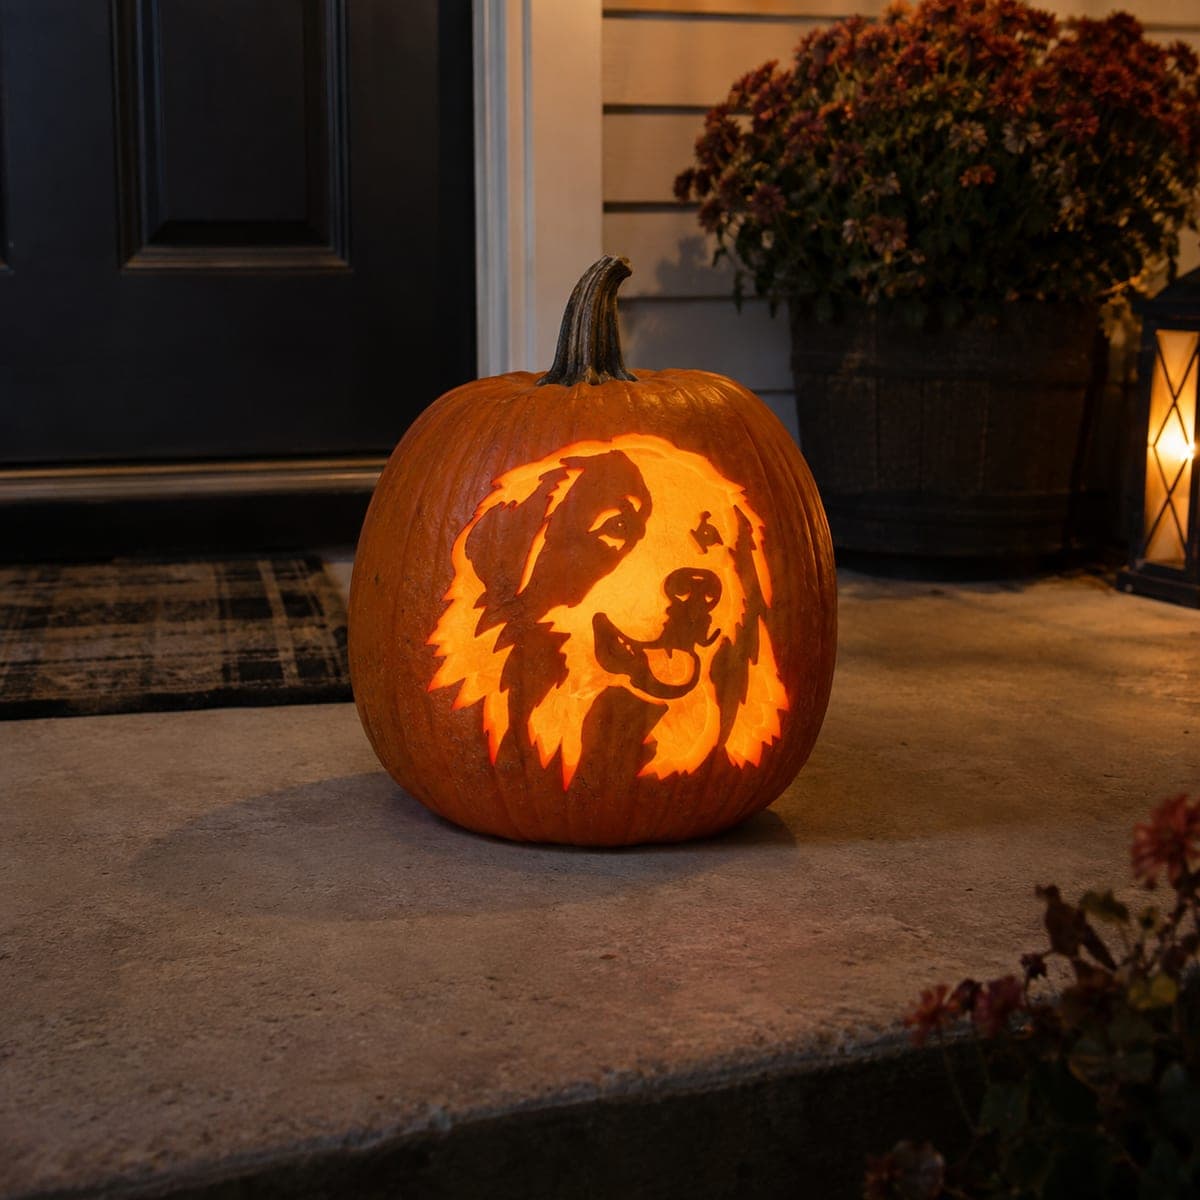
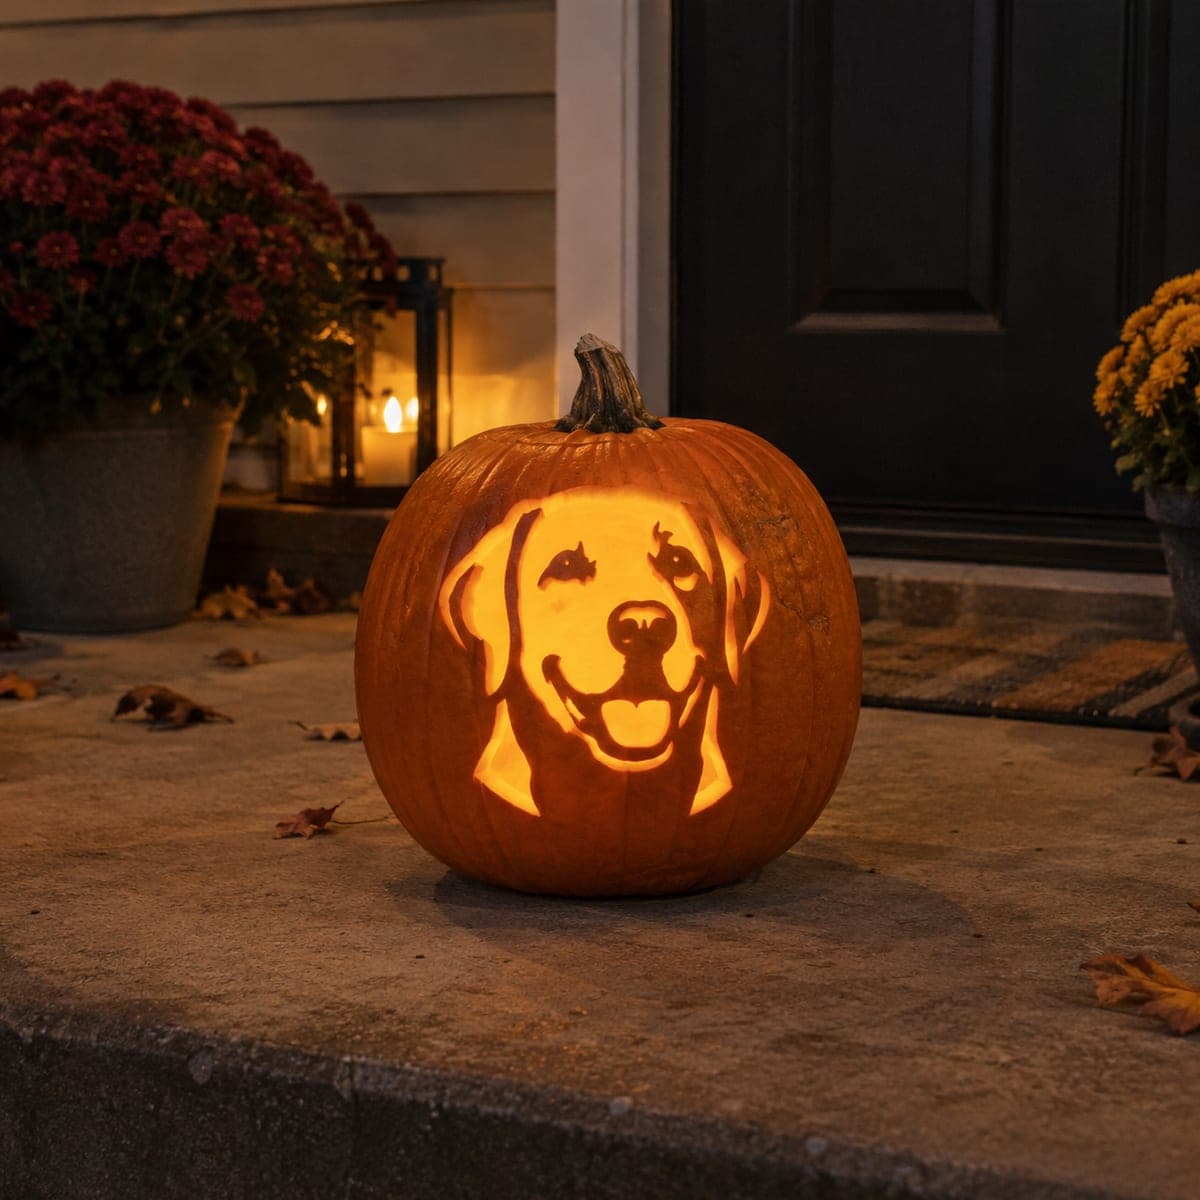
A grinning Labrador retriever with a lolling tongue beams from this classic stencil-style pumpkin carving, ideal for any dog household's front step. The design relies on wide connected cutouts, with rind bridges preserving the eyes, nose, and ear outlines. Tape the pattern on, score it with a poker tool, and cut the mouth opening first since it is the largest and most forgiving section.

This is an AI-generated concept image: a realistic, carvable design idea rather than a photo of a finished carve. AI concepts are always labeled and sit out the leaderboard and the contest.

No ratings yet · Sign in to rate
Comments (0)

  • No comments yet — be the first.

Save without an account. Sign in to like or comment.

Our tips for carving a similar design

The core trick here is negative space: the dog's face is defined by wide light cutouts, while thin rind bridges hold the eyes, nose, and ear outlines in place. Plan your dark shapes first, then transfer a clean stencil so every bridge is marked before you cut. Work from the smallest detail to the largest opening so the pumpkin stays sturdy.

Written by PumpkinCarvingIdeas.com, inspired by the image above. These are our suggestions, not instructions from the uploader. This approach to the AI concept has not been tested on a real pumpkin.

From pumpkin to porch

  1. Pick and prep your pumpkin

    Choose a large pumpkin with a wide, fairly flat front face so the Lab's head has room to read clearly. Cut a lid from the bottom or the back rather than the top, which keeps the stem intact and makes lighting easier later. Scoop the inside until the front wall is about one inch thick, using a scraper to shave it even. A thinner wall is easier to cut and lets the glow come through the peeled areas.

  2. Transfer the stencil

    Print the Labrador pattern and trim it so it wraps the front without buckling. Tape it flat, making small relief cuts around the edges so the paper hugs the curve. Use a poker tool or pin to score along every line, dotting closely around the eyes, nose, and ear outlines. Peel the paper and connect your dots with a pencil so the bridges are obvious before any blade touches the rind.

  3. Score all the bridges first

    Before cutting, lightly outline the thin strips that separate the eyes, the nose highlight, and the ear edges. These rind bridges are what keep the face from collapsing into one blob of light. Keep each bridge at least a quarter inch wide so it stays strong. Marking them now means you will not accidentally slice through a support once you get into a rhythm.

  4. Cut the mouth opening first

    Start with the mouth and tongue area since it is the largest and most forgiving cut. Use a fine saw blade and let the tool do the work with gentle strokes, keeping the blade perpendicular to the surface. Push the cut piece inward and out rather than prying, which protects the surrounding bridges. Working the biggest opening first while the pumpkin is still solid gives you the most stability.

  5. Work the smaller cutouts and eyes

    Move on to the eye openings, the space around the muzzle, and the neck and chest cutouts. Cut these carefully, always leaving the marked bridges intact so the eyes and nose stay outlined. If a section feels large, cut it in two passes rather than forcing one long stroke. Save any tiny interior shapes for last so the face has maximum support while you carve.

  6. Light it and photograph

    Drop in a battery LED puck or string, never a candle, since the enclosed cutouts trap heat and the bridges are thin. Set the pumpkin on a porch step at dusk and check that the eyes and nose read clearly from a few feet back. If a bridge looks too bright, dab a little petroleum jelly on the cut edges to slow drying and keep the shapes crisp. Snap your photo while the surrounding light is still soft.

Gather your supplies

Check things off as you get ready.

Work on a stable surface, keep your free hand out of the cutting path, and have an adult handle sharp tools.

Three levels of light

  • Leave intact

    The eye markings, nose shading, and ear outlines stay as untouched skin so they read dark against the glow.

  • Peel & shade

    Shallow skin peels along the muzzle and cheeks can give a soft mid glow that suggests the dog's rounded face.

  • Cut through

    The mouth, tongue gap, eyes, and the open space framing the head cut all the way through for the brightest light.

Learn the carving basics

Before you start cutting

How do I keep the eyes and nose from falling out?

Those features survive because of rind bridges, the thin strips of skin left between cutouts. Mark every bridge on your stencil before cutting and keep each one at least a quarter inch wide. Cut around them slowly and push waste pieces inward instead of prying outward.

This is a concept image, so can a real pumpkin look like this?

Yes, a design like this is very achievable on a real pumpkin. The key is a thin, even front wall and clean bridges, which is why we suggest scooping to about one inch and scoring the supports first. Keep the tongue and muzzle shapes slightly chunky rather than razor thin so they hold up.

Why cut the mouth first instead of the eyes?

The mouth is the largest opening, so removing it while the rest of the pumpkin is still solid gives you the most stability. Larger cuts are also more forgiving if your blade wanders. Saving the small, detailed cuts for last means the face keeps its support until the very end.

Your take belongs here, too.

Changed a detail? Made it simpler? Share a photo of your version and tell the community what worked.

Share your pumpkin

More pumpkins like this

You've reached the end · 8 pumpkins
The Patch Report

Fresh pumpkins, in your inbox.

The best new carvings, ideas worth stealing, and how-tos for carving season. Short, seasonal, and gone by November.

A short email during carving season. Unsubscribe anytime. See our privacy policy.