Halloween Pumpkin Carving Contest · Starts October 1st · $500 in prizes
← Back to ideas
@ai_concepts
Sep 14, 2026
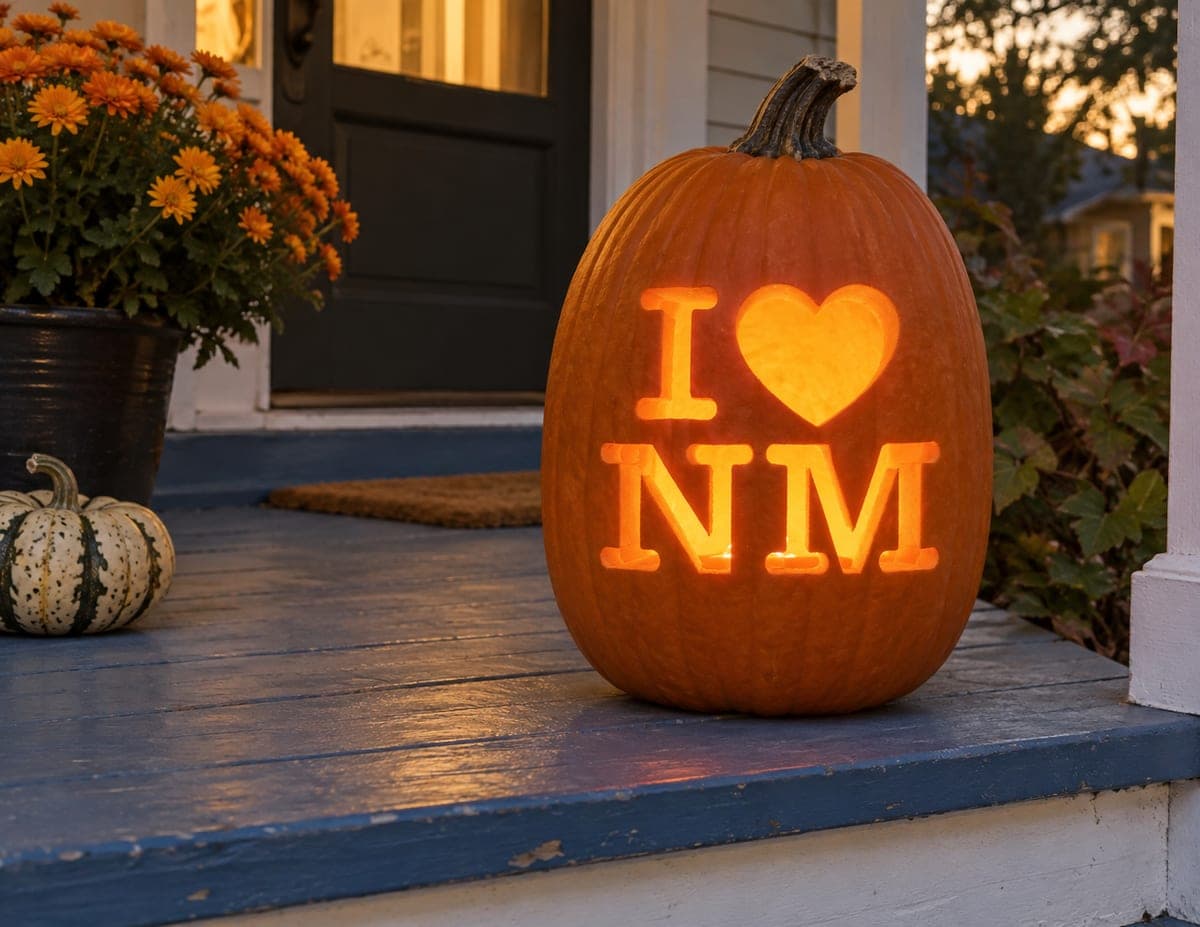
I Love New Mexico Heart Lettering PumpkinAI
0

I Love New Mexico Heart Lettering Pumpkin

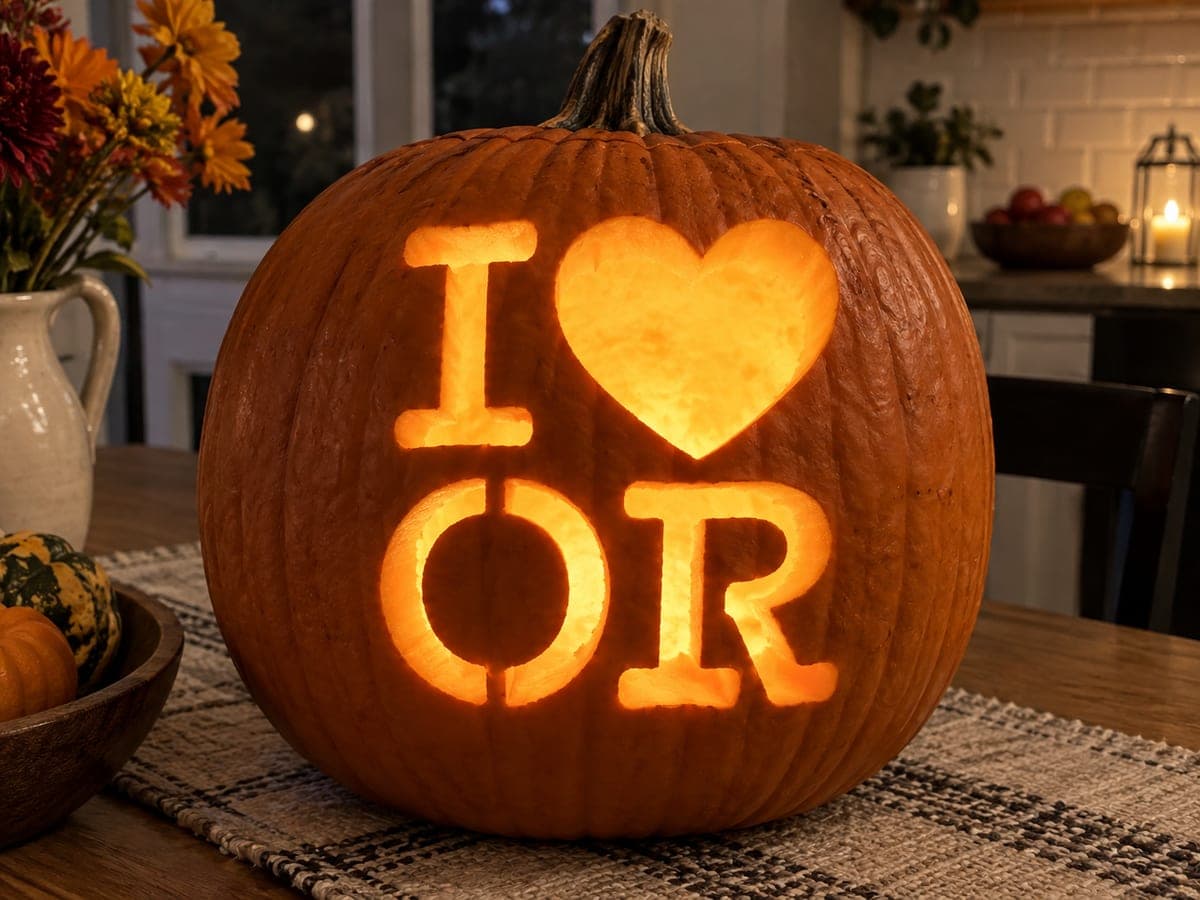
Block letters spelling "I" and "NM" flank a large glowing heart in two stacked rows on this I Love New Mexico pumpkin carving idea, the letters and heart all cut through the rind for a bright, bold display. The heart is the largest single opening and anchors the visual weight of the design, so carve it first and use it as the reference point for centering the letters. Keep a small uncut bridge inside the enclosed counter of the M to prevent the interior island from dropping out.

This is an AI-generated concept image: a realistic, carvable design idea rather than a photo of a finished carve. AI concepts are always labeled and sit out the leaderboard and the contest.

No ratings yet · Sign in to rate

Comments (0)

  • No comments yet — be the first.

Save without an account. Sign in to like or comment.

Our tips for carving a similar design

This design leans on clean block letters and one big heart, all cut clean through the rind so the light reads sharp from the street. The trick is treating the heart as your anchor: carve it first, center it, then space the letters around it in two even rows. Keep the strokes wide and the negative gaps tidy so each shape stays legible once the pumpkin glows.

Written by PumpkinCarvingIdeas.com, inspired by the image above. These are our suggestions, not instructions from the uploader. This approach to the AI concept has not been tested on a real pumpkin.

From pumpkin to porch

  1. Plan the layout and prep the pumpkin

    Pick a pumpkin with a tall, flat front face so the two rows of text sit without warping. Have an adult cut a lid at the back or bottom rather than the top, which keeps the front face uninterrupted, then scoop the inside until the front wall is about an inch thick. Print or sketch your I, heart, and NM sized to fit with clear margins. Tape the pattern flat and poke transfer holes along every outline before you cut anything.

  2. Carve the heart first as your anchor

    Since the heart is the largest single opening and holds the visual weight, start there. Use a small serrated carving saw and work slowly along the outline, cutting straight in rather than at an angle. Push the piece out gently from the inside once the full outline is cut. This finished shape becomes your reference point for centering everything else.

  3. Cut the top row letter

    The capital I sits to the left of the heart, so measure equal spacing between them before you saw. Keep the vertical stroke wide and the top and bottom serifs squared off so it stays strong. Cut the whole letter through the rind, then clear the piece out. Step back and check that the I and heart line up along the same top edge.

  4. Carve the NM row with a bridge

    Lay out N and M directly below, keeping the two letters evenly spaced and the same height. When you reach the M, leave a small uncut bridge inside its enclosed center so that interior island does not drop out and leave a hole. Cut the outer strokes first and save any narrow inner gaps for last so the letter stays supported while you work. Trim the bridge only if you want, but leaving it keeps the shape reliable.

  5. Clean edges and light it up

    Run your saw or a detail blade back through each opening to smooth ragged edges, which sharpens the letterforms. Wipe away pulp and pat the inside dry. Set a battery LED puck or string inside, never a candle, so the flat front face lights evenly. Turn it on in a dark room to confirm every stroke reads clearly.

  6. Stage and photograph

    Place the pumpkin on a porch step or table where the front face points toward viewers. Angle a second small LED off to the side if the lower NM row looks dim. Shoot at dusk so the warm glow pops against the darker background. Keep it out of direct rain to protect the cut edges.

Gather your supplies

Check things off as you get ready.

Work on a stable surface, keep your free hand out of the cutting path, and have an adult handle sharp tools.

Three levels of light

  • Leave intact

    The main body of the pumpkin skin stays untouched and dark, framing the message.

  • Peel & shade

    Optional: lightly skin-peel a thin border around the letters for a soft halo if you want extra depth.

  • Cut through

    The I, the heart, and the N and M are all cut fully through for the brightest glow.

Learn the carving basics

Before you start cutting

How do I keep the M from losing its center piece?

The M has an enclosed area in the middle that would otherwise fall out once cut. Leave a small uncut bridge of rind connecting that interior island to the surrounding wall. Cut the outer strokes first for support, and save narrow inner gaps for last.

Why carve the heart before the letters?

The heart is the largest opening and carries the most visual weight, so it sets the balance for the whole face. Carving it first lets you use it as a centering reference for spacing the I on one side and the NM row below. This keeps the whole layout even without a lot of remeasuring.

How thick should the letter strokes be?

Keep every stroke wide, roughly the width of your thumb or more, so the front wall stays sturdy and the shapes read from a distance. Thin strokes can crack or sag as the pumpkin ages. Wider cuts also let more light through for a bolder display.

Your take belongs here, too.

Changed a detail? Made it simpler? Share a photo of your version and tell the community what worked.

Share your pumpkin

More pumpkins like this

You've reached the end · 8 pumpkins
The Patch Report

Fresh pumpkins, in your inbox.

The best new carvings, ideas worth stealing, and how-tos for carving season. Short, seasonal, and gone by November.

A short email during carving season. Unsubscribe anytime. See our privacy policy.