@gourdon_ramsay
Sep 5, 2026

Lid inspector
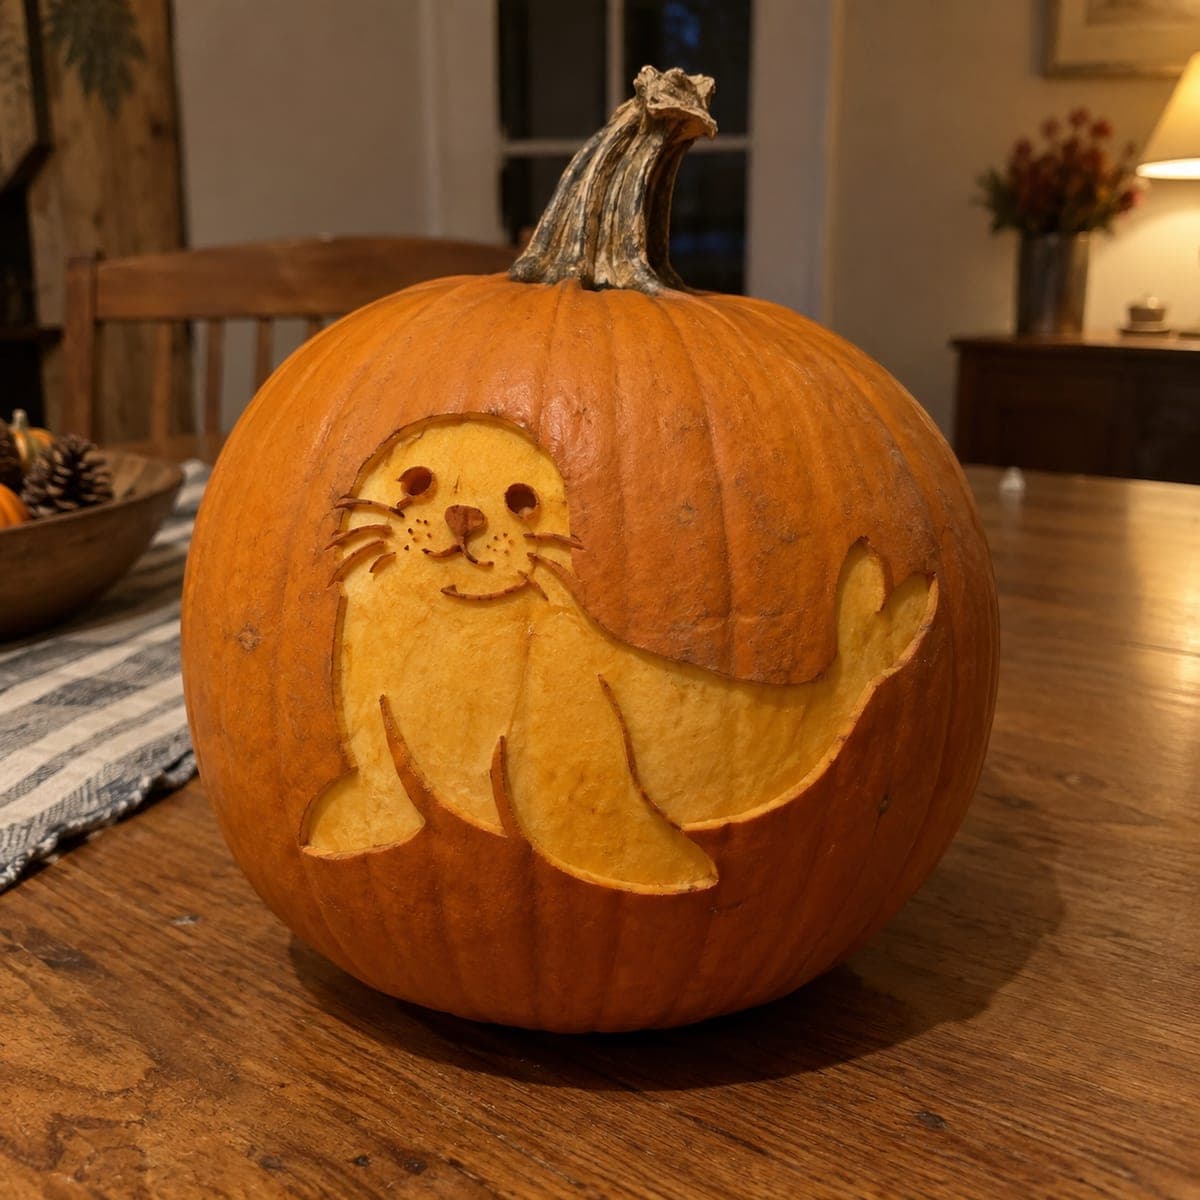
A masked junior inspector examining the lid while the fresh carve glows through its first candle test.
No ratings yet · Sign in to rate
A masked junior inspector examining the lid while the fresh carve glows through its first candle test.
The core trick here is keeping the classic face simple, three triangle cutouts and a friendly toothy grin that light passes straight through. Everything is a full cutout, so there is no shading to fuss over, just clean straight edges. Plan the whole face before you cut so the eyes, nose, and mouth stay balanced and evenly spaced.
Written by PumpkinCarvingIdeas.com, inspired by @gourdon_ramsay's photo above. These are our suggestions, not instructions from the uploader, and this approach hasn't been tested on their exact carve.
Choose a small, round pumpkin with a flat side for the face and a stable base so it will not roll. Wipe the skin clean and dry. If it wobbles, trim a thin slice off the bottom to give it a steady seat. A smaller pumpkin like this one is easier for kids to help with and quicker to hollow.
An adult should cut the lid around the stem, angling the knife inward so the lid rests on a ledge and will not fall through. Lift the lid off and scoop out the seeds and stringy pulp with a sturdy spoon or scraper. Thin the front wall to about one inch so your cuts go through easily. Save some seeds for roasting if you like.
Draw two matching triangles for the eyes, a smaller triangle for the nose, and a wide grinning mouth with a few square teeth. Keep the points of the triangles facing inward toward the nose for that traditional look. Use a washable marker so you can wipe off and redo any line. Step back and check that both eyes sit level before cutting.
Start with the eyes and nose using a small carving saw, working slowly along each drawn line. Push the freed pieces out from the inside with your thumb. Cutting these smaller openings before the big mouth keeps the pumpkin wall strong while you work. Take your time on the triangle points so the corners stay crisp.
Carve the mouth last since it is the largest opening. Follow the outline of the grin, then carefully cut around each tooth, leaving them attached top and bottom so they stay put. Ease the waste pieces out gently to avoid snapping a tooth. Clean up any ragged edges with the tip of your tool.
Drop a battery LED tealight inside for a safe, steady glow, then set the lid back on top. Dim the room and place the pumpkin on a plain surface so the light shining through the triangles really pops. Snap your photo from the front at eye level. Battery lights let kids handle the finished pumpkin safely.
Check things off as you get ready.
Work on a stable surface, keep your free hand out of the cutting path, and have an adult handle sharp tools.
The full orange skin across the face and body stays dark and solid.
Optional: lightly scrape a thin outline around the eyes or mouth for a soft halo, though this classic look skips it.
The two triangle eyes, triangle nose, and toothy grin are cut clean through for the brightest glow.
Cut each side of the triangle as a separate straight stroke rather than trying to curve around the corner. Meet your cuts right at the point and push the piece out gently. If a corner tears, trim it clean with the tip of your tool.
We recommend a battery LED tealight instead of an open flame. It gives the same warm glow without the fire and heat risk, which matters a lot when kids are handling the pumpkin. It also lets you put the lid back on without smoke stains.
Leave each tooth connected to the pumpkin at both the top and bottom of the mouth rather than carving them as loose points. Cut the openings on either side of a tooth and remove those pieces, leaving the tooth as a solid bridge. Ease waste out slowly so nothing snaps.
Changed a detail? Made it simpler? Share a photo of your version and tell the community what worked.
The best new carvings, ideas worth stealing, and how-tos for carving season. Short, seasonal, and gone by November.







Comments (0)