@patchwork_penny
Sep 5, 2026

The pumpkin helmet
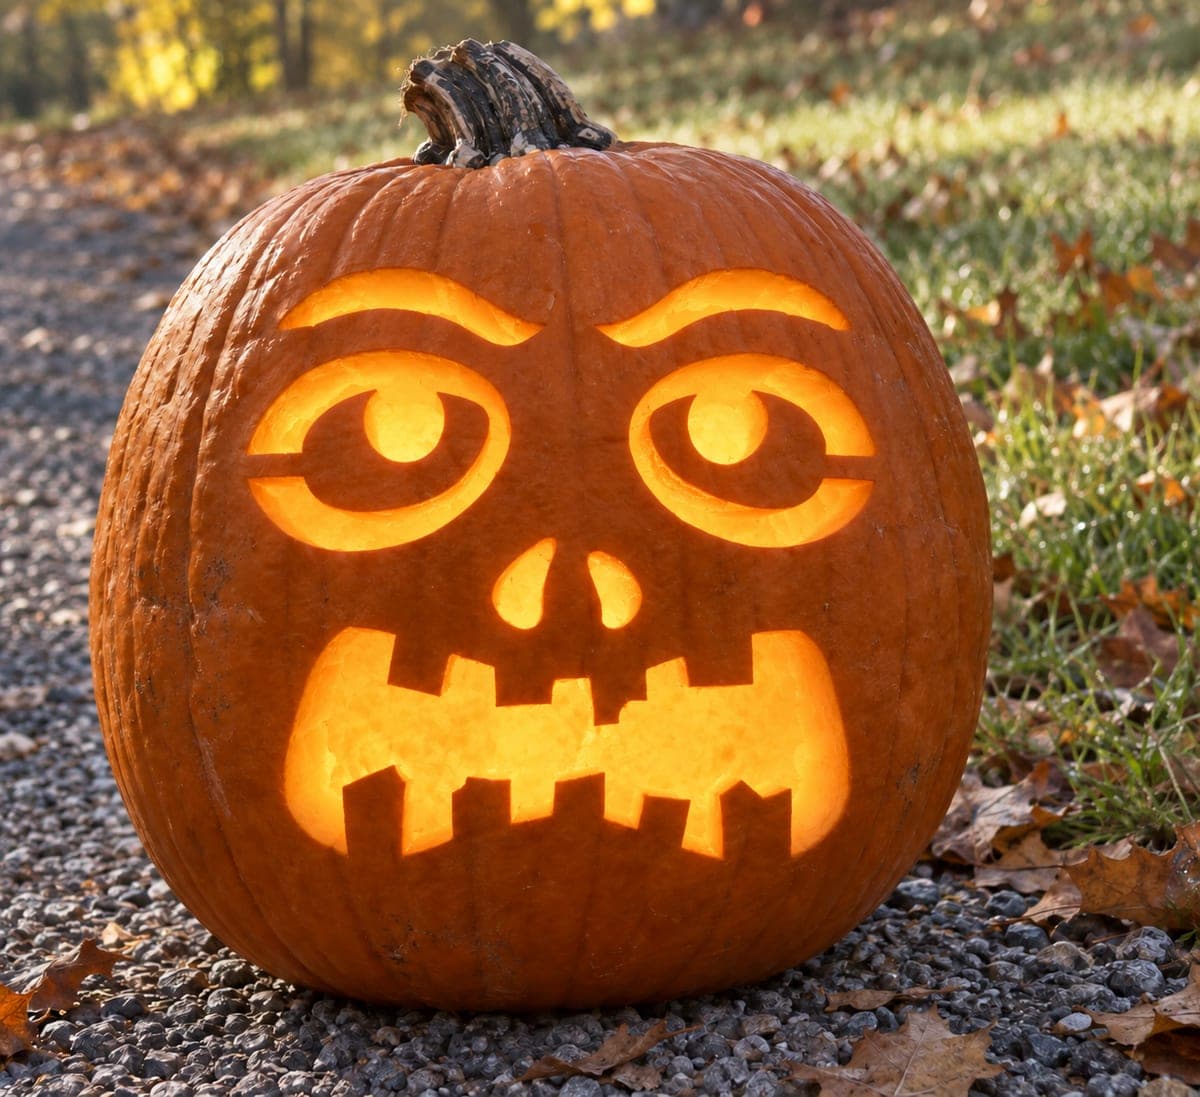
A kid in corduroy overalls wearing the family jack like a helmet, peeking through the crooked grin.
No ratings yet · Sign in to rate
A kid in corduroy overalls wearing the family jack like a helmet, peeking through the crooked grin.
The core trick here is a roomy, fully hollowed pumpkin with a classic jack face where the mouth doubles as a peek hole. Keep the shapes big and simple: two triangle eyes, a small triangle nose, and a wide grin with a couple of blocky teeth. The whole point is comfort and safety when it goes over a head, so scoop generously and keep openings smooth.
Written by PumpkinCarvingIdeas.com, inspired by @patchwork_penny's photo above. These are our suggestions, not instructions from the uploader, and this approach hasn't been tested on their exact carve.
Choose a large pumpkin that is round enough to fit over a child's head with a little room to spare. Wipe it clean and check that it sits steady on a table. Since it will be lifted and worn, lighter is better, so avoid the densest, heaviest ones. An adult should handle all the cutting from here on.
Instead of a top lid, cut a large opening in the bottom so the pumpkin can slip over a head. Angle the cut slightly outward so the piece does not fall back in. Scoop out all the seeds and pulp, then thin the inner walls with a scraper or metal spoon until they are about an inch thick. A thinner shell is lighter to hold and easier to see through.
With a washable marker, draw two triangle eyes, a small triangle nose, and a wide crooked grin. Place the mouth low enough that a child can peek out through it, since that gap becomes the see-through spot. Keep the teeth chunky and few so nothing snaps off. Step back and check the spacing before you cut.
Use a small serrated carving saw and cut the smaller shapes before the big mouth, since the shell stays sturdier that way. Push the tool gently and let it do the work rather than forcing it. Poke the cut pieces out from the inside for clean edges. Save the wide grin for last so the face keeps its strength while you work.
Carve the wide mouth last, leaving two or three blocky teeth attached top and bottom so the smile reads clearly. Once all openings are done, run your finger around each edge and trim any rough or sharp spots. Smooth edges matter here because the pumpkin sits against a face and hands. Test the fit gently before the photo.
For a lit display, set a battery LED puck inside so the face glows without heat. For the wearable helmet shot, skip the light and take the photo outdoors in soft daylight, with an adult holding the pumpkin steady. Keep each wear short and comfortable, and never leave a child unsupervised with it over their head. A dim woodsy background makes the orange really pop.
Check things off as you get ready.
Work on a stable surface, keep your free hand out of the cutting path, and have an adult handle sharp tools.
The full orange rind across the face and body stays untouched and dark.
Lightly shave a thin outline around the eyes and grin if you want a soft glow ring around the features.
The two triangle eyes, the nose, and the wide grinning mouth are cut all the way through for full light and the peek hole.
Cut a generous bottom opening and hollow the walls thin so it is light and roomy. Smooth every cut edge with your finger and trim any sharp points. Only wear it briefly with an adult holding it, and never add a candle or any heat source inside.
The wide grin works perfectly as the peek hole, which is why you place it lower on the face. Make it tall and wide enough to see and breathe through comfortably. If a child needs more air, the triangle eyes already add extra openings.
Keep teeth few and chunky rather than thin and pointy, and leave them attached at both the top and bottom of the grin. Cut the mouth last so the shell stays strong while you work the rest of the face. Push cut pieces out gently from the inside instead of prying from the front.
Changed a detail? Made it simpler? Share a photo of your version and tell the community what worked.
The best new carvings, ideas worth stealing, and how-tos for carving season. Short, seasonal, and gone by November.







Comments (0)