Halloween Pumpkin Carving Contest · Starts October 1st · $500 in prizes
← Back to ideas
@ai_concepts
Sep 25, 2026
Navy Moon and Star No-Carve Painted Pumpkin IdeaAI
0

Report this carving

Tell us what is wrong. Reports are private.

Navy Moon and Star No-Carve Painted Pumpkin Idea

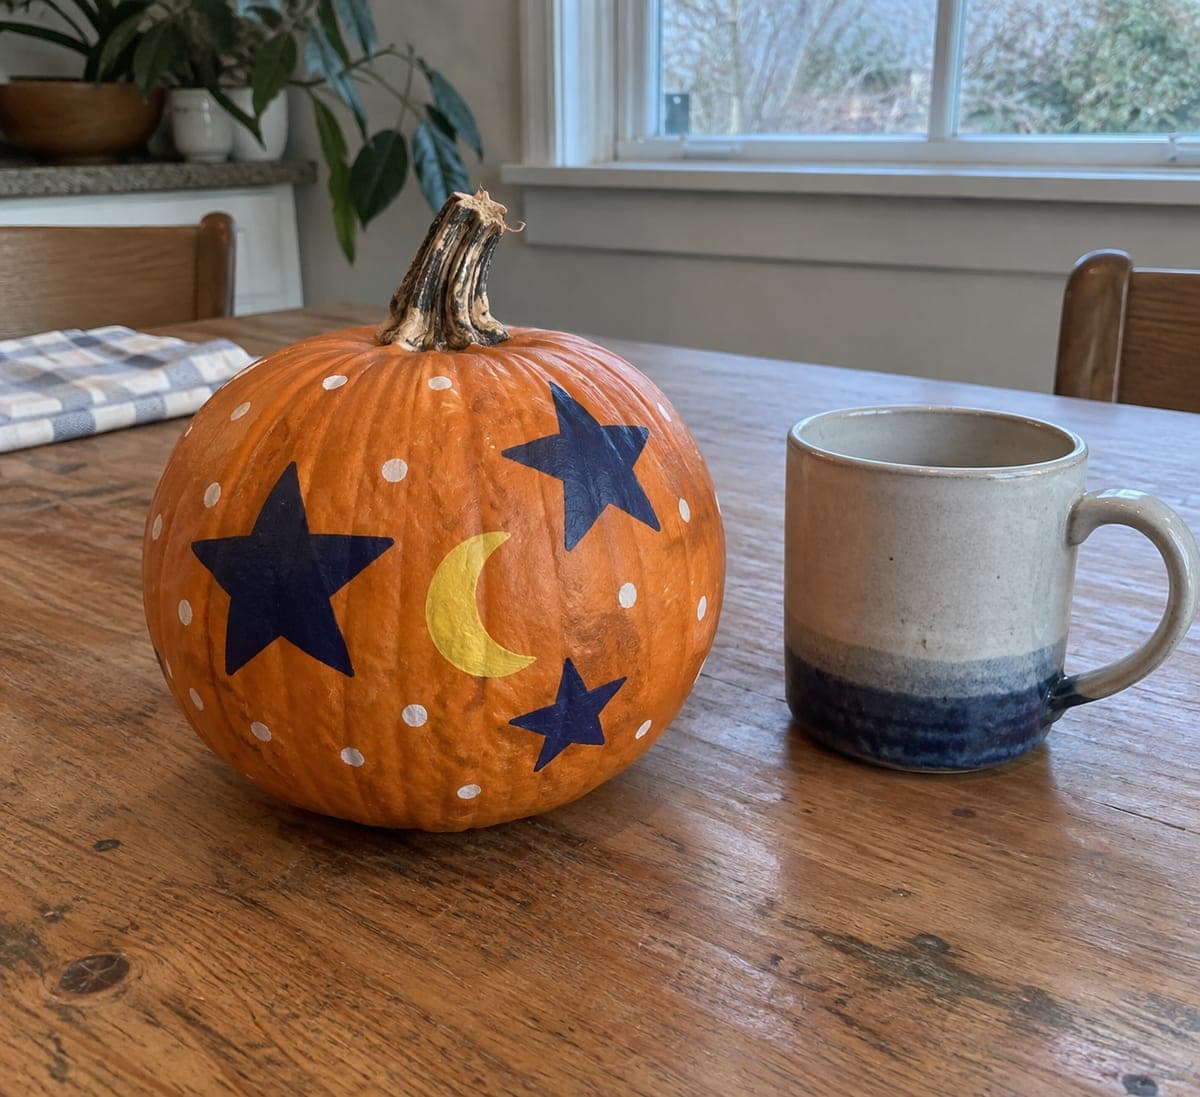
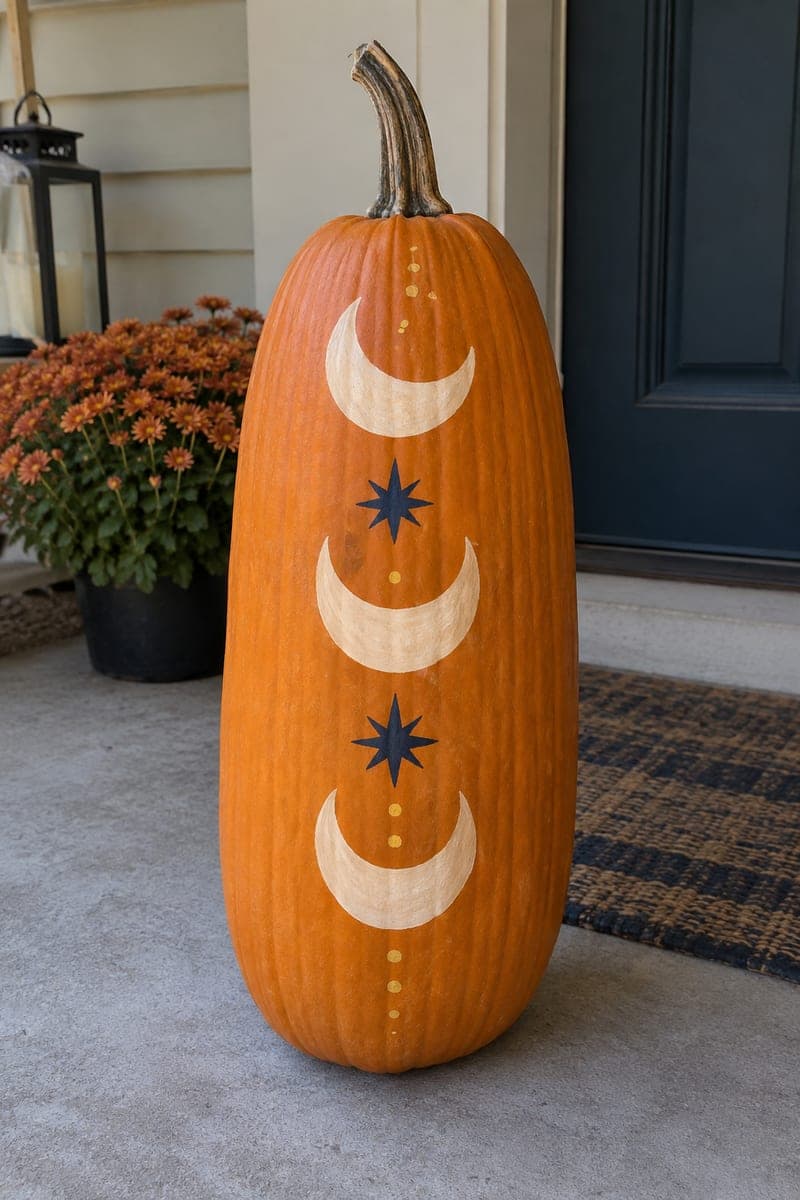
A large navy crescent moon, five small four-stroke navy stars, and twelve golden-yellow dots on a natural cream pumpkin make this no-carve pumpkin idea look like a celestial art print in just two paint colors. The cream or white pumpkin background does the heavy lifting, letting the deep navy and warm gold read with maximum contrast. Paint the crescent moon first since it is the dominant shape, then add the stars at varied distances rather than in a grid. The golden dots fill the remaining sky and create a sense of depth when varied in size from large to small.

No ratings yet · Sign in to rate

Comments (0)

  • No comments yet — be the first.

Save without an account. Sign in to like or comment.

Our tips for carving a similar design

The cream or white pumpkin background does the compositional heavy lifting, letting a deep navy and warm gold palette read with maximum contrast using only two paint colors. The crescent moon is the dominant shape and goes on first. Stars added at varied distances and the golden dots filling the remaining sky create a sense of depth without requiring any gradient or blending.

From pumpkin to porch

  1. Choose a cream or white pumpkin

    A pale pumpkin makes this design look like a printed art piece. If only orange is available, apply a cream base coat over the full painting area and let it dry completely before proceeding. The white base does not need to be perfectly even since the navy will cover most of it.

  2. Clean and dry the surface

    Wipe the pumpkin with a damp cloth and let it dry. Even on a pale pumpkin, a clean surface prevents the navy paint from beading on any residue.

  3. Paint the crescent moon

    Sketch the crescent moon lightly with a washable marker, placing it slightly off-center on the face. Fill the crescent shape with navy acrylic using a medium round brush. Apply two coats for full opacity, letting the first dry before the second. Keep the crescent wide and generous so it reads from a distance.

  4. Add five four-stroke stars

    Paint five small stars using four short strokes each: two crossing diagonals or one vertical plus one horizontal. Scatter them at varied distances from the moon rather than placing them in a grid. Varying star sizes between larger near the moon and smaller toward the edges adds a sense of perspective.

  5. Dot the golden sky

    Load the handle end of a small round brush or a cotton swab with golden-yellow paint and dot twelve circles across the remaining background. Vary dot sizes from larger at the center to smaller at the edges. Dots placed in clusters of two or three look more like a starfield than evenly spaced individual marks.

  6. Seal and display

    Apply a clear acrylic matte sealer spray when all paint is fully dry. Display on a shelf, mantel, or side table where the celestial print can be appreciated up close. This design also looks striking displayed beside other white-and-navy objects as part of an autumnal table setting.

Written with AI to match this design

Gather your supplies

Check things off as you get ready.

Work on a stable surface, keep your free hand out of the cutting path, and have an adult handle sharp tools.

Three levels of light

  • Leave intact

    The cream rind background forms the sky, remaining visible throughout the composition

  • Peel & shade

    None, shell stays intact

  • Cut through

    None, display in ambient light or with a small directed spotlight from the front

Learn the carving basics

Before you start cutting

How do I paint a crescent without getting a flat edge on one side?

Paint a full circle first, let it dry completely, then paint the background cream color back over one side of the circle to create the concave inner edge of the crescent. This two-step method is far easier than trying to paint a crescent shape freehand in a single pass on a curved surface.

What is the easiest way to make consistent four-stroke stars?

Mark the center of each star with a tiny dot first, then paint four strokes of equal length radiating from it. A liner brush loaded with a small amount of paint gives the best stroke control. Stars do not need to be geometrically perfect: slight variation between them looks more hand-painted and less mechanical.

Can I use metallic gold paint for the dots instead of flat golden-yellow?

Metallic gold paint works beautifully for the dots and adds a dimensional shimmer that suits the celestial theme well. Apply it over fully dried navy paint rather than wet paint so the metallic particles do not blend with the navy and turn green.

Your take belongs here, too.

Changed a detail? Made it simpler? Share a photo of your version and tell the community what worked.

Share your pumpkin

More pumpkins like this

You've reached the end · 8 pumpkins
The Patch Report

Fresh pumpkins, in your inbox.

The best new carvings, ideas worth stealing, and how-tos for carving season. Short, seasonal, and gone by November.

A short email during carving season. Unsubscribe anytime. See our privacy policy.